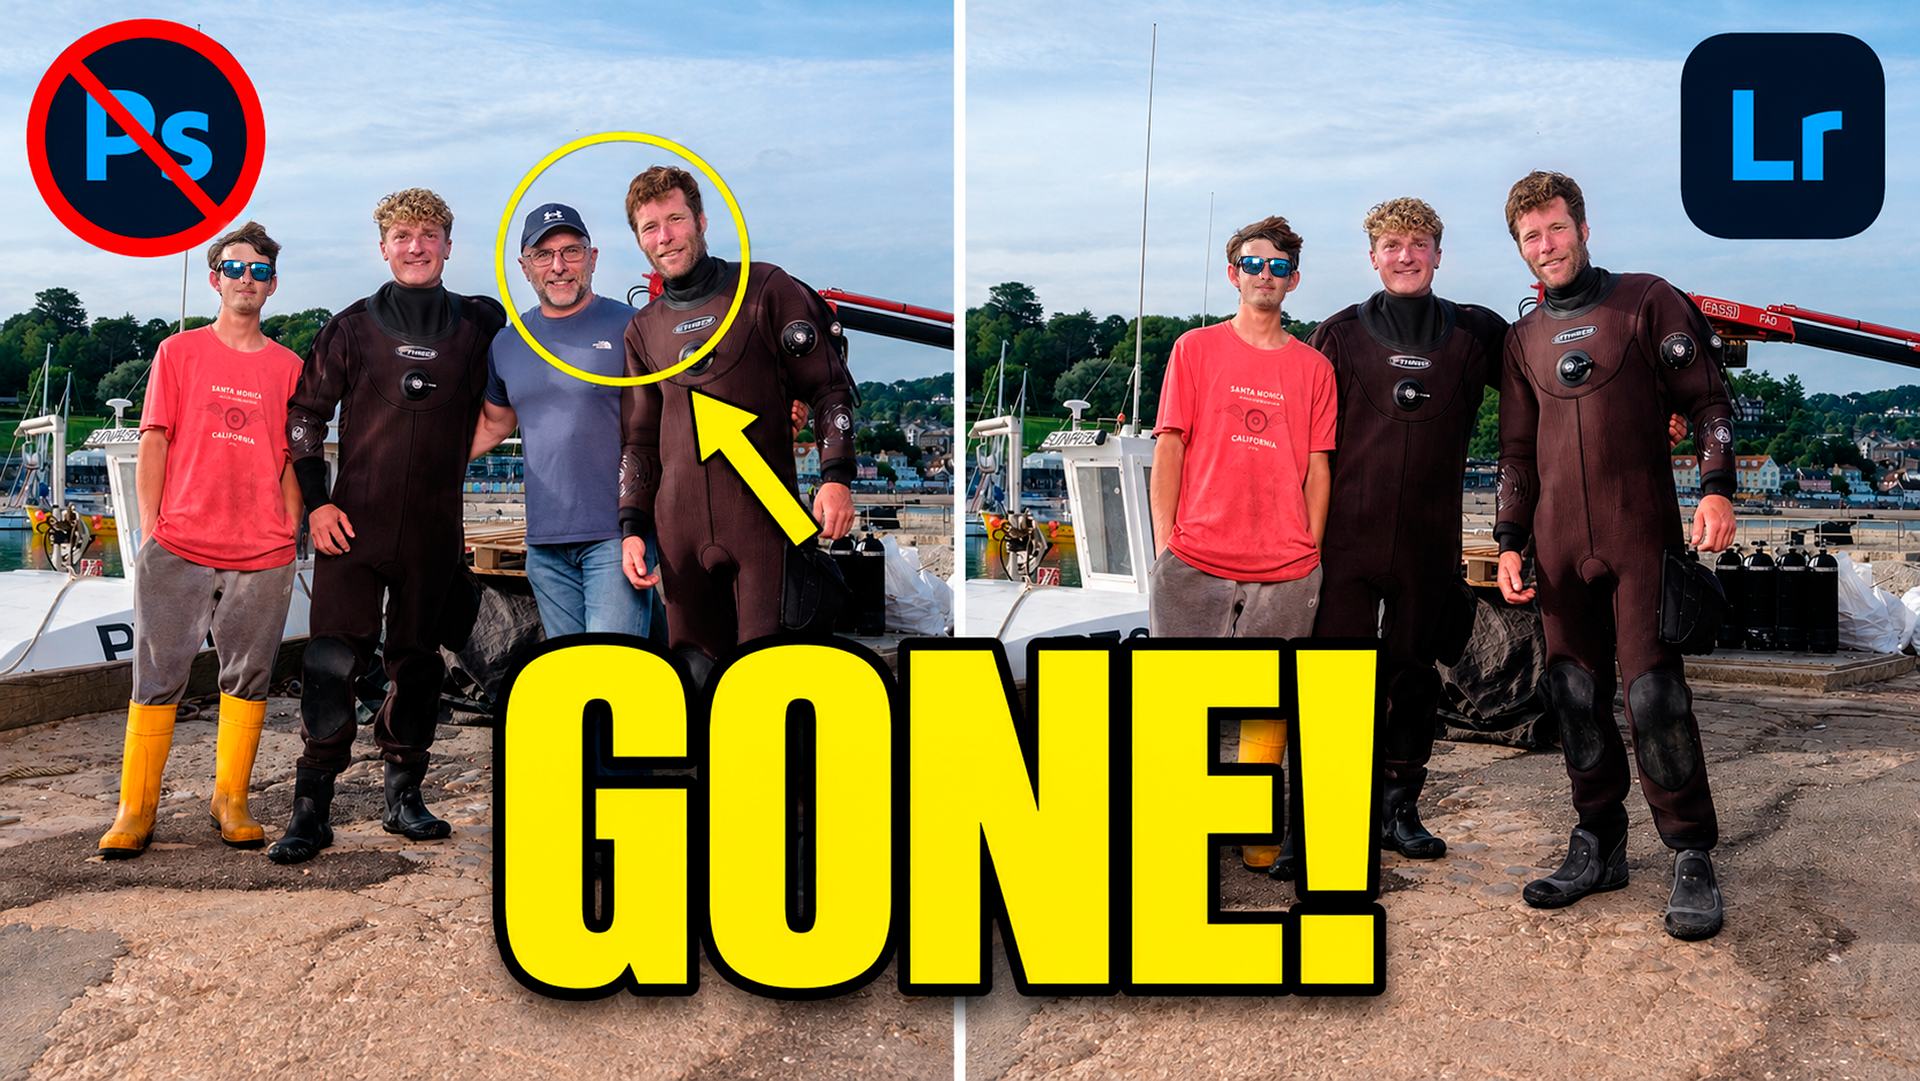
Taking a person out of the middle of a group shot isn't something I'd do this way. If it were my picture I'd be in Photoshop, on layers, doing it properly by hand, because that's what I know and that's what gives me control over every last bit of it.
But that's me, and I've spent years getting comfortable in there. Plenty of people haven't, and don't want to, and have no particular reason to. So this post isn't really for photographers who already live in Photoshop. It's for everybody else.
Who this is actually for
If you edit in Lightroom and that's where you're happy, this is for you. If you don't have Photoshop installed and can't see the point in paying for something you'd open twice a year, this is for you as well. If you've had a go at layers and masks and found the whole thing off-putting, same again.
It doesn't have to be for professional work either. Most of the time it won't be. It's the family photo where somebody's stood in the middle who you'd rather wasn't, the holiday shot that would be lovely if it were just the four of you, the picture you want to get printed and stick on the wall. That's a perfectly good reason to want this, and there's no sense in learning a whole other application for it.
Why the Remove tool struggles here
Lightroom has Generative Remove built in and for everyday bits it's brilliant. A bin in the background, a stray sign, someone wandering through the far side of the frame, it deals with all of that without any fuss.
Ask it to take a whole person out of the middle of a group, though, and it tends to come unstuck. You get warped detail where the arms and hands were, limbs that seem to belong to nobody, and a strange empty space where the person was stood. Everybody else stays exactly where they were, which is really the giveaway. The gap is the problem, not the person.
Sending it over to Firefly
What you can do instead, without leaving your catalogue, is push the photo across to Adobe Firefly and let it rebuild that part of the frame.
It works like this.
go to the Photo menu in Lightroom
choose Generate in Firefly, then Edit photo
pick your model in the panel at the bottom
set the output quality to High
write your prompt
hit Generate
I tried a few models and GPT Image 2 gave me the most natural result of the lot. Worth trying a couple yourself, because they behave differently on the same picture.
The prompt is doing most of the work
This is the part that decides whether it works, so it's worth slowing down over.
A vague prompt gets you a vague result. Tell it to remove the person and that's all it'll do, which puts you straight back where you started with a hole in the middle of the photo. What you want is to describe the finished picture, not the job.
So ask for three things. Remove the person. Close the space between the people either side of them. Keep the original faces, clothing and background as they are. That last one is the bit most people leave out, and it's why results come back with faces that look subtly wrong and nobody quite able to say what's changed.
Say all three plainly, in a sentence or two, then generate.
Getting the resolution back
Firefly gives you a clean result, but a smaller one than you sent it. The original here was over 6000 pixels wide straight out of the camera, so there's one more step before you're done.
On the left hand toolbar there's an Upscale option. Take it up by 4x and you're back over 6000 pixels wide, which matches the original file. Hit Download, bring it back into your catalogue, and carry on editing it like any other frame.
That's it. No layers, no masks, no learning a second application.
What you're trading
I'd be doing this differently, and it's worth being honest about what that means. Doing it by hand in Photoshop gives you control over every pixel, and if the picture really matters, that control is the reason to learn it. Handing it to Firefly means accepting whatever it decides to give you, and sometimes that'll be a couple of goes before you get something you're happy with.
For a lot of pictures, though, that's a fine trade. You get the photo you wanted, in the software you already use, in about two minutes.
Have a watch of the video above if you'd rather see it happen than read about it. It goes quicker than it sounds.