
Bird photography is one of those genres that quietly takes over. It's challenging, unpredictable, sometimes maddening – and completely addictive when it all comes together. You need patience, good fieldcraft, solid camera technique and the ability to make quick decisions, all at the same time.
This post pulls together some of the core ideas from a full guide I've put together for members of my Photography Community on Skool.
Think of this as a taster of what's waiting in the classroom ( LINK )
It's Not About the Gear (Not Really)
One of the strongest themes that comes up again and again is simple: bird photography is less about kit and more about understanding birds. Long lenses help, of course, but timing, fieldcraft, and awareness are what actually make the photograph.
Work with the gear you already have and learn to use it well. Focus on reading behaviour, light, and opportunities rather than chasing the "perfect" setup. And be realistic about what you can comfortably carry for a full outing – staying fresh and present matters more than hauling the biggest lens available.
Your Behaviour Matters More Than You Think
How you move and behave around birds will make or break your images. Rush in, move suddenly, or push too close and the bird will tell you it's uncomfortable long before it flies. Stay calm, move slowly, and respect its space and everything changes.
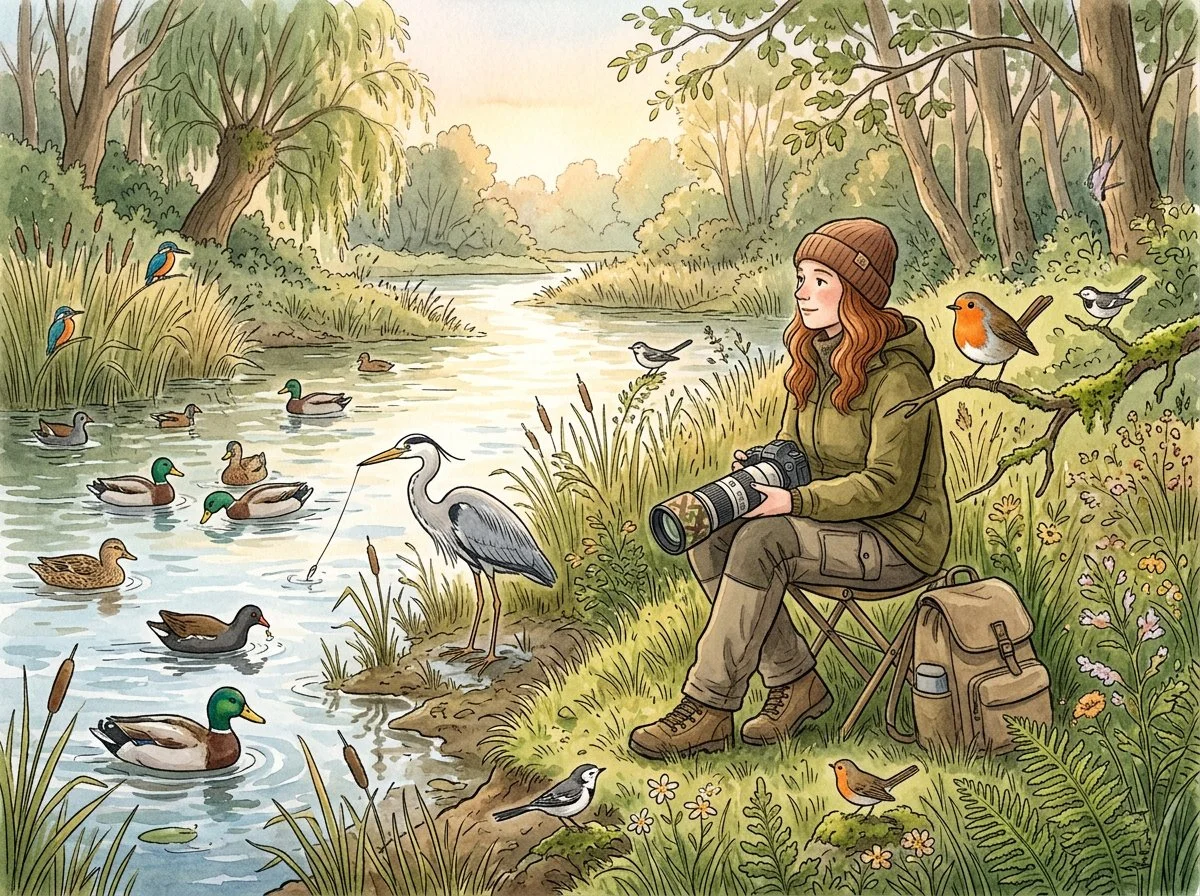
Learn to recognise a bird's comfort zone and stay on the right side of it. Sit and watch first – you'll start to see patterns in perches, feeding routines, and pre-flight behaviour. Patience isn't passive; it's an active technique that gives you better light, cleaner backgrounds, and more meaningful moments.
Start Close to Home
You don't need an exotic destination to make strong bird photographs. Your garden, local park, or the green space at the end of the road are perfect training grounds.
Regular access to familiar birds beats occasional trips to impressive locations. Repetition sharpens your reactions, improves camera handling, and helps you truly learn both the species and the location. Familiar spots let you predict where birds will appear, how the light falls, and when something is likely to happen – and that groundwork pays off when you do travel further afield.
The One Setting to Protect First
If there's a single technical priority in bird photography, it's shutter speed. Birds rarely stay still, long lenses magnify every movement, and softness from motion blur can't be rescued later.
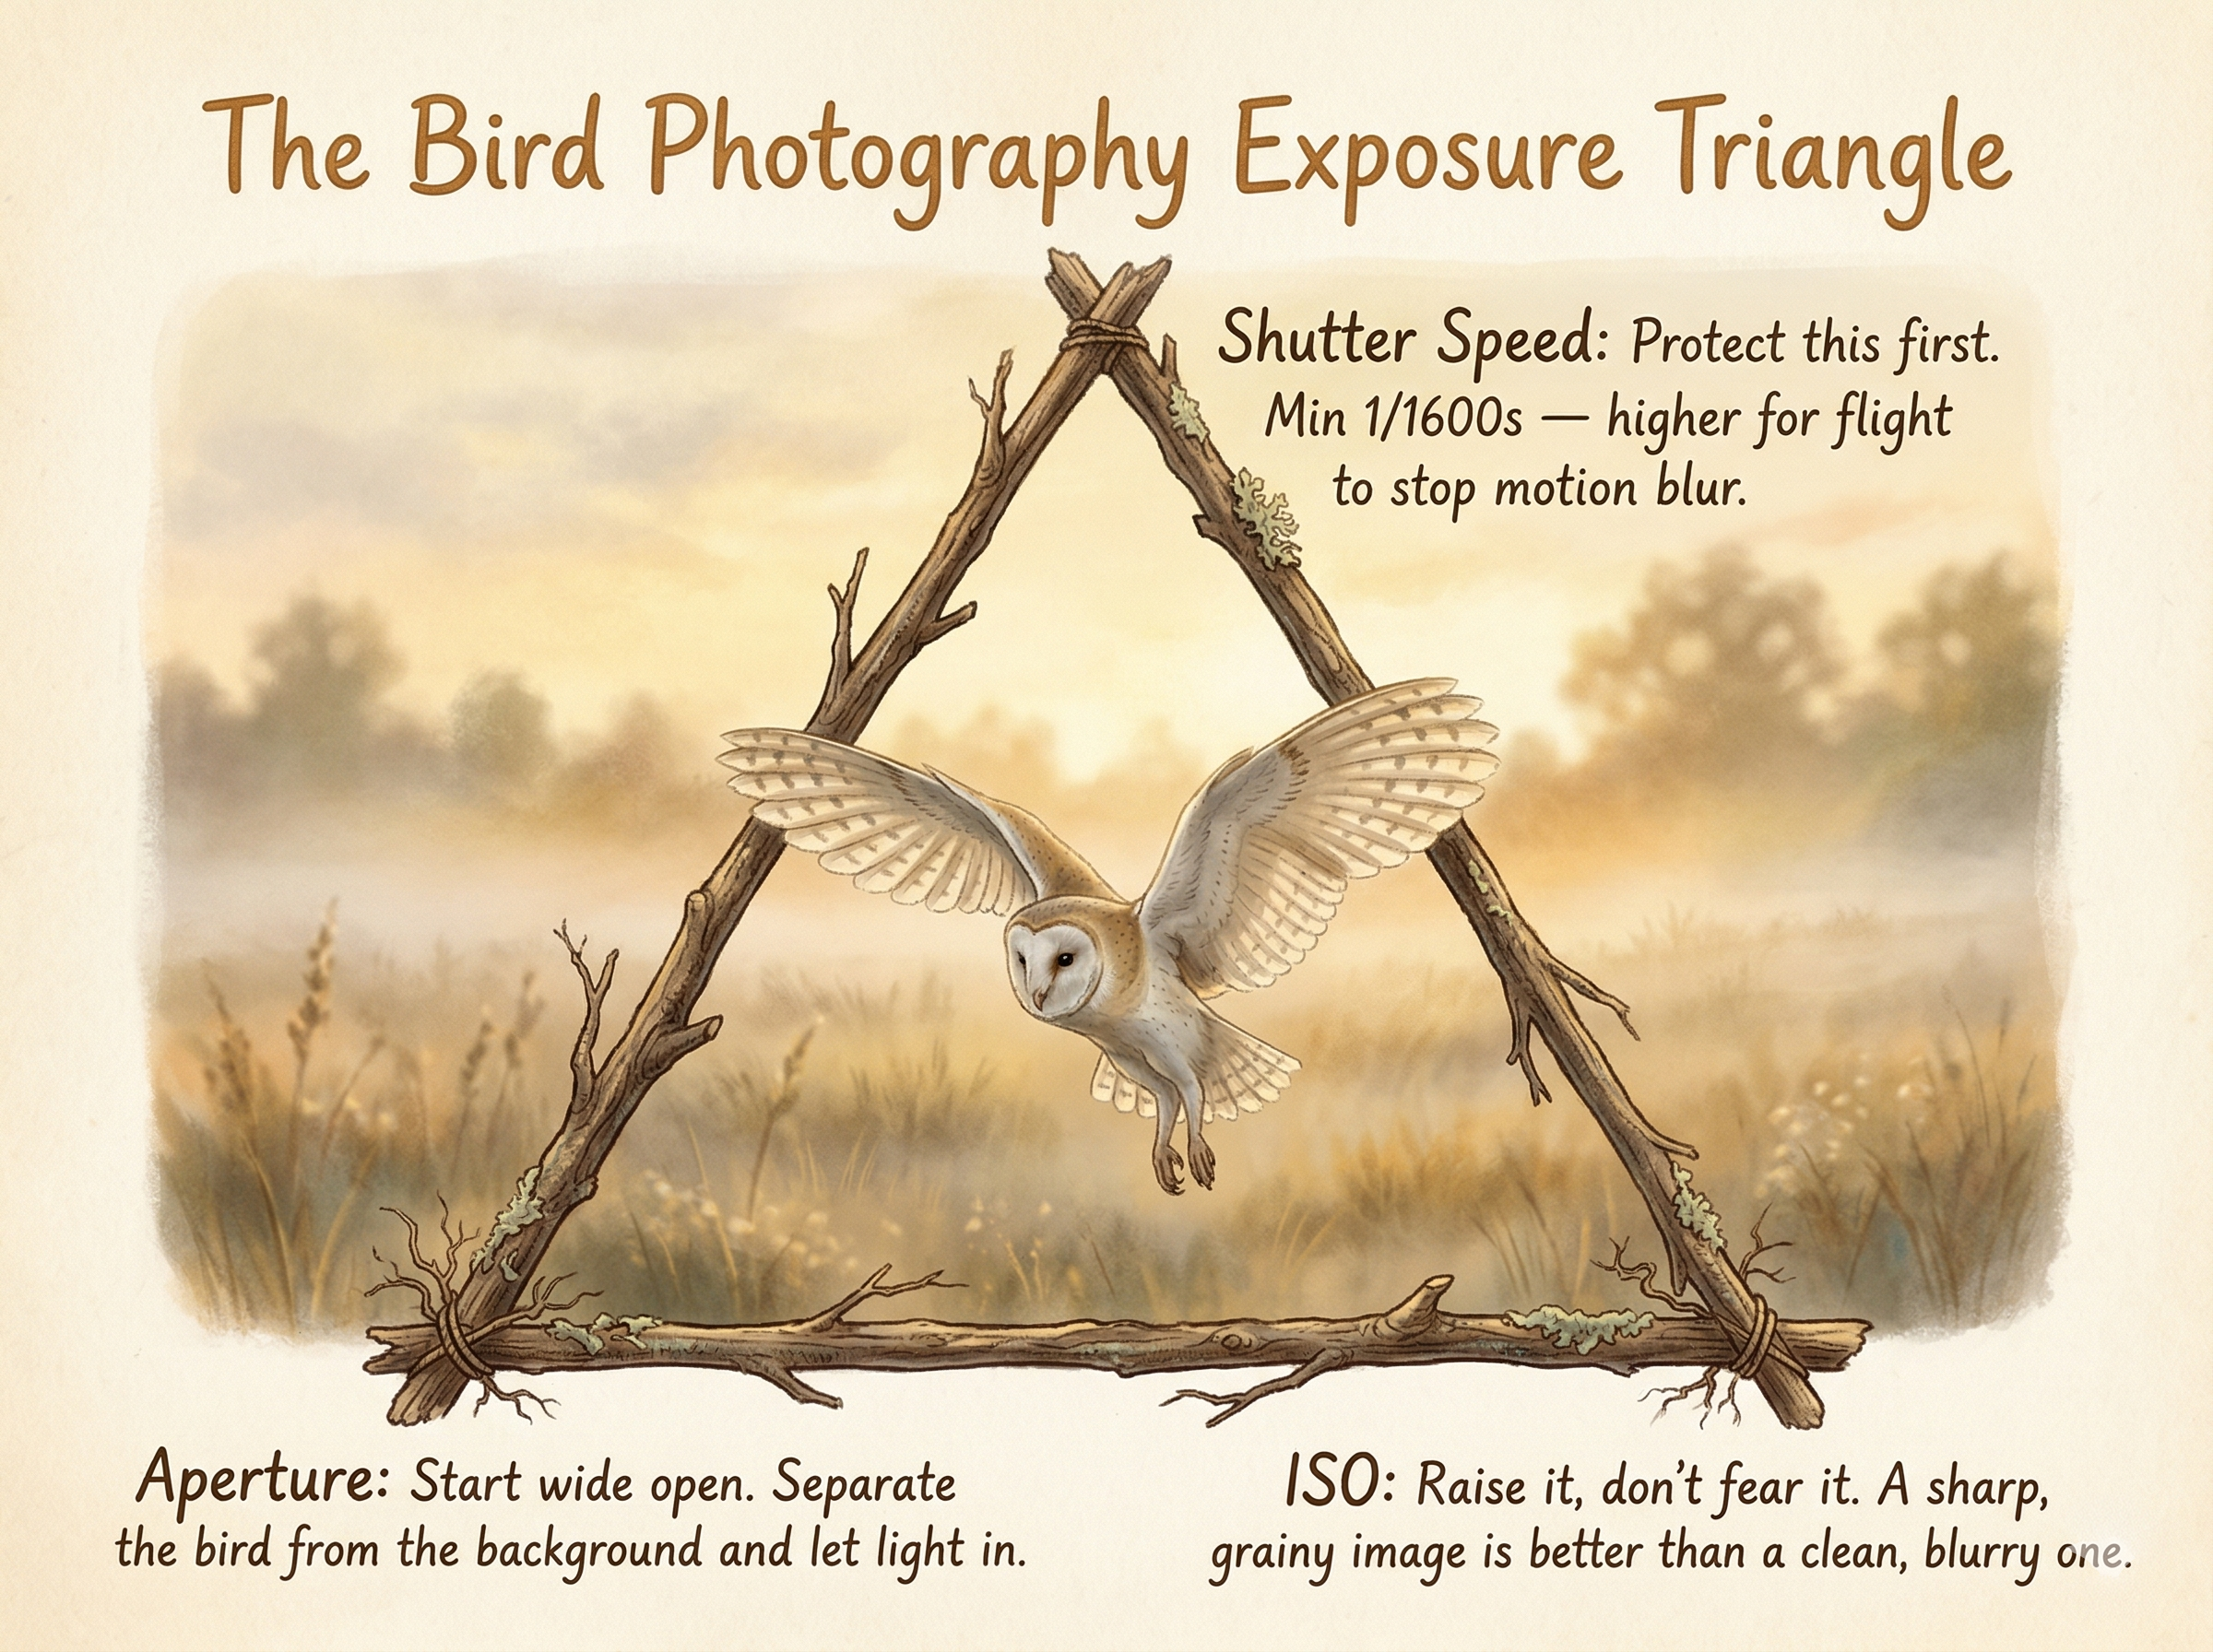
A simple working approach: aim for around 1/1600 sec as a starting point, higher for small, fast birds or birds in flight. Let ISO rise to protect that shutter speed rather than sacrificing sharpness, and use your widest useful aperture to support both speed and subject separation from the background.
Autofocus, Flight, and the Hard Stuff
Birds in flight can feel like a different discipline altogether – and in many ways, they are. Fast shutter speeds, accurate tracking, and clean framing all need to come together in fractions of a second.
Use continuous AF and subject tracking, and take the time to learn how your specific system actually behaves. Start with larger, slower, more predictable birds to build confidence before tackling the fast, erratic ones. And use burst mode thoughtfully – fire it when something is actually happening, rather than spraying at everything that moves.
Light, Background, and Story
Good bird photographs aren't just about the bird – they're about light, background, and what's actually happening in the frame.
Early and late light give softer contrast, warmer tones, and better feather detail, often when birds are most active too. Your shooting position has a huge impact on how connected the final image feels – getting down to eye level with the bird changes everything. And clean, sympathetic backgrounds combined with considered use of habitat can turn a simple record shot into a photograph with real story and mood.
Where to Begin: A Simple Starting Plan
If you're getting serious about bird photography, here's a straightforward framework to work from:
Start in your garden or local park and visit often. Spend time watching before you shoot – look for perches, patterns, and pre-flight behaviour. Work with the gear you already own, using as much focal length as is comfortable. Keep shutter speed high, let ISO do its job, and begin at a wide aperture. Use continuous AF and subject tracking if your camera supports it. Pay attention to the bird's comfort, the quality of light, your background, and your shooting angle. And wait for behaviour and gesture – not just a "bird on a stick" confirmation shot.
Want the Full Guide?
This post just scratches the surface of what's inside A Community Guide to Bird Photography, which lives in the classroom inside my Photography Community on Skool.
In there you'll find the complete written guide laid out step by step, diagrams and example images with breakdowns from real shoots, and practical starting setups, checklists, and exercises you can take straight into the field.
If you'd like to dive deeper and join a group of photographers actively working on this together, come and join us.