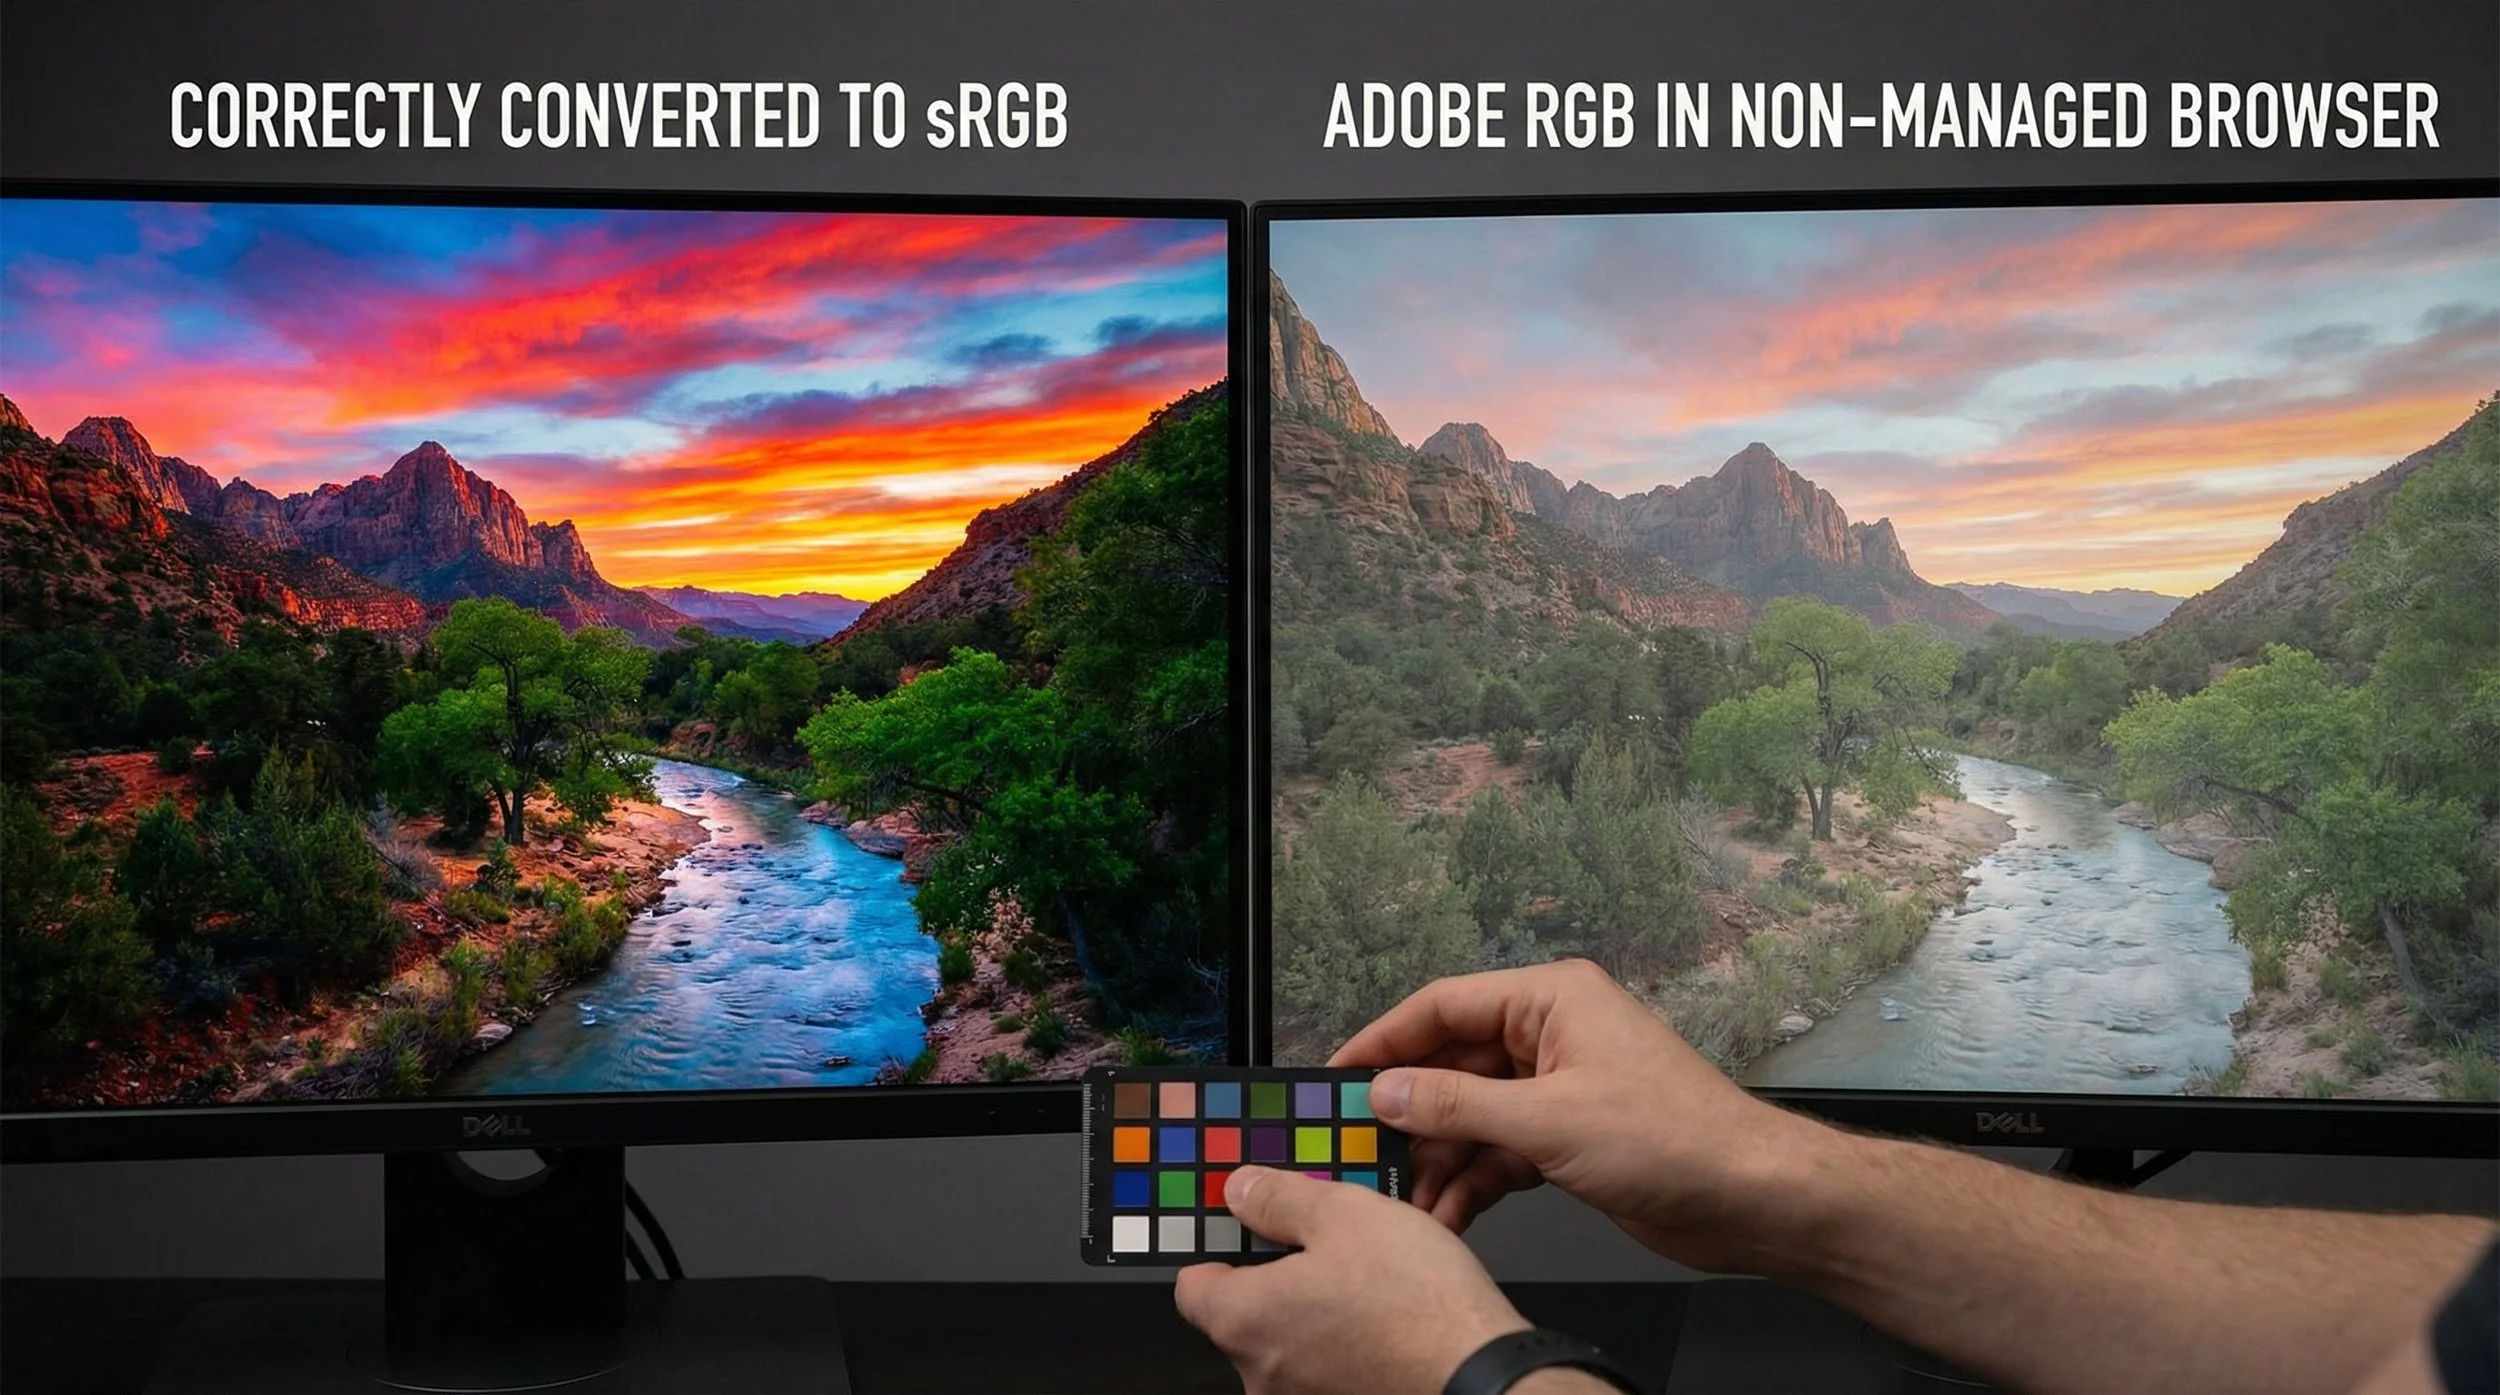
This post follows on from my previous article where I explained what colour spaces actually are. If you haven't read that yet, you can check it out here: Colour Spaces Simplified.
If you have read that one, you know that ProPhoto RGB is a massive container of colours, Adobe RGB sits in the middle as a wide-gamut space popular for printing and high-end displays, and sRGB is a smaller container that became the standard default for monitors, operating systems, and the web. But knowing what they are is only half the battle. The real magic, and the potential disaster, happens when we move an image from one container to another. This process is called Colour Space Conversion.
If you don't understand what happens during this conversion, you are gambling with the final look of your images, so let's look under the bonnet at the mechanics of moving colour.
The Core Problem: The Definition of "Red" Changes
To understand conversion, you need to grasp one slightly technical concept: Pixels are just numbers. Every pixel in your digital photo is defined by three numbers: Red, Green, and Blue (RGB). In an 8-bit image, these numbers run from 0 to 255.
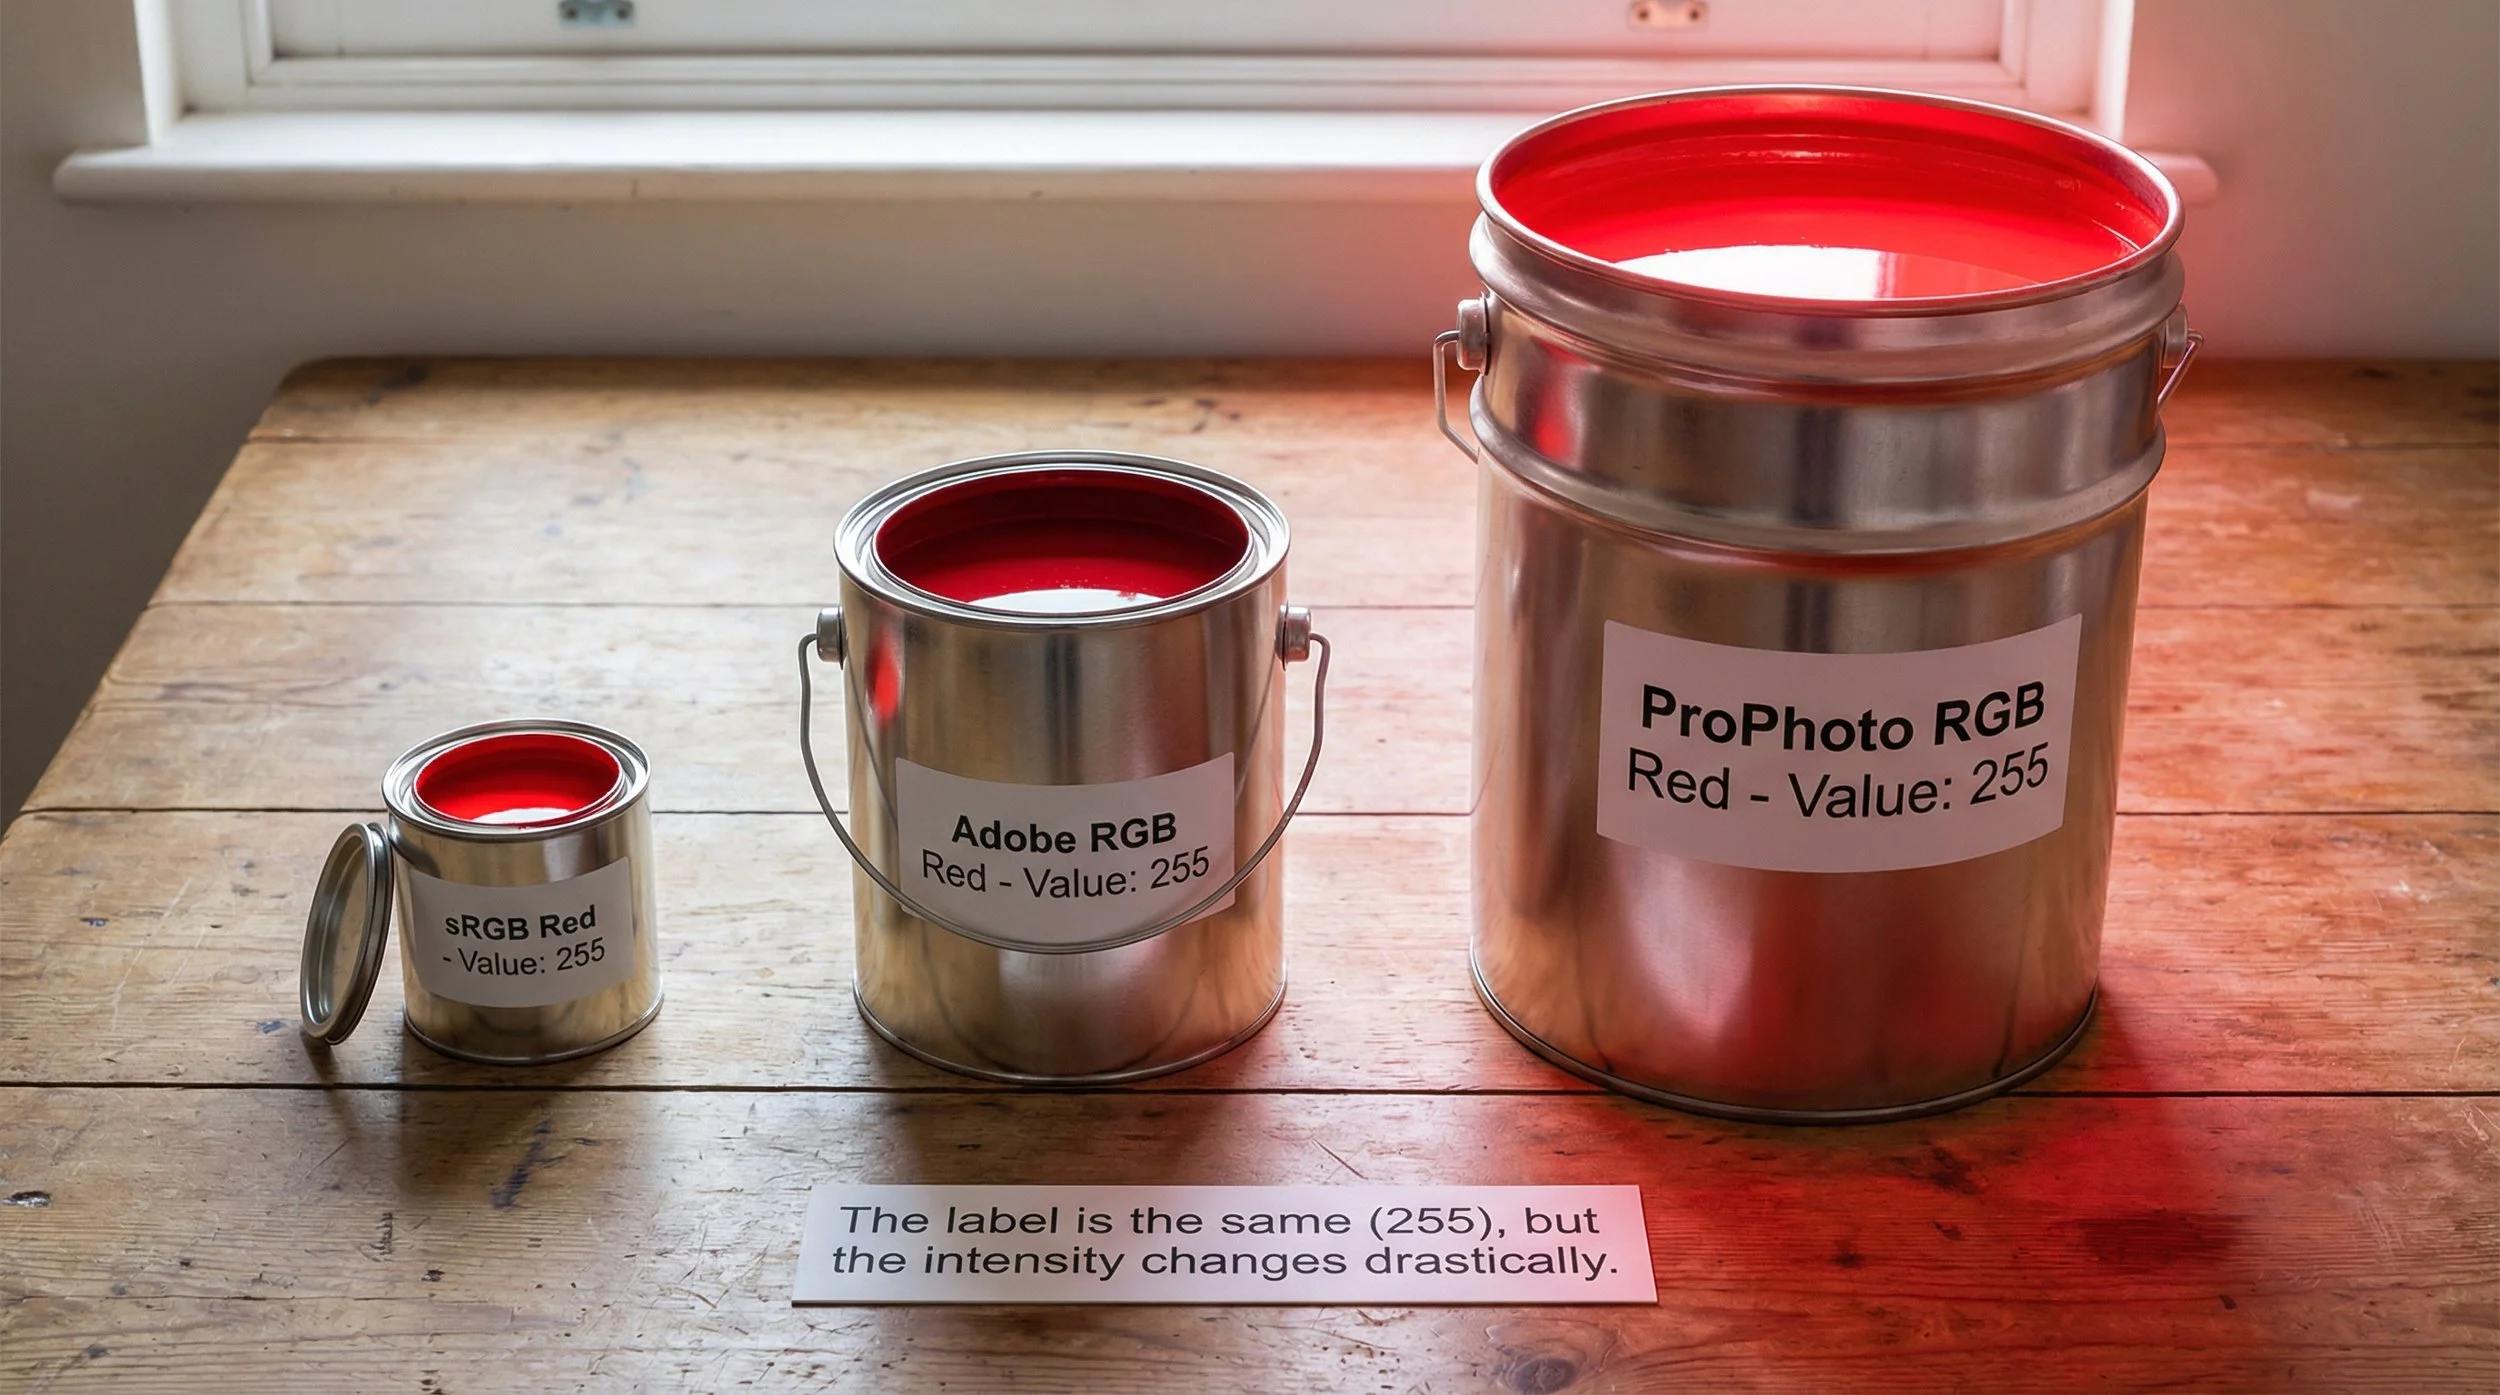
If a pixel is pure, maximum red, its value is R:255, G:0, B:0. Here is the mind-bending part: A pixel valued at R:255 in ProPhoto RGB, Adobe RGB, and sRGB represents three different actual colours, even though the numbers are the same.
ProPhoto's R:255, G:0, B:0 is an extremely saturated, incredibly intense deep red, defined right at the long-wavelength edge of what human vision can see, and on a real device it will be mapped to the most saturated red your display or printer can show. Adobe RGB's R:255, G:0, B:0 is still a very strong red, but not as extreme as ProPhoto, and designed to sit well with high-quality inkjet and press gamuts. sRGB R:255, G:0, B:0 is the red of a standard fizzy drink can: still bright, but nowhere near as intense as the ProPhoto or Adobe RGB versions.
When you convert an image, you aren't just moving pixels around; you are fundamentally translating their meaning.
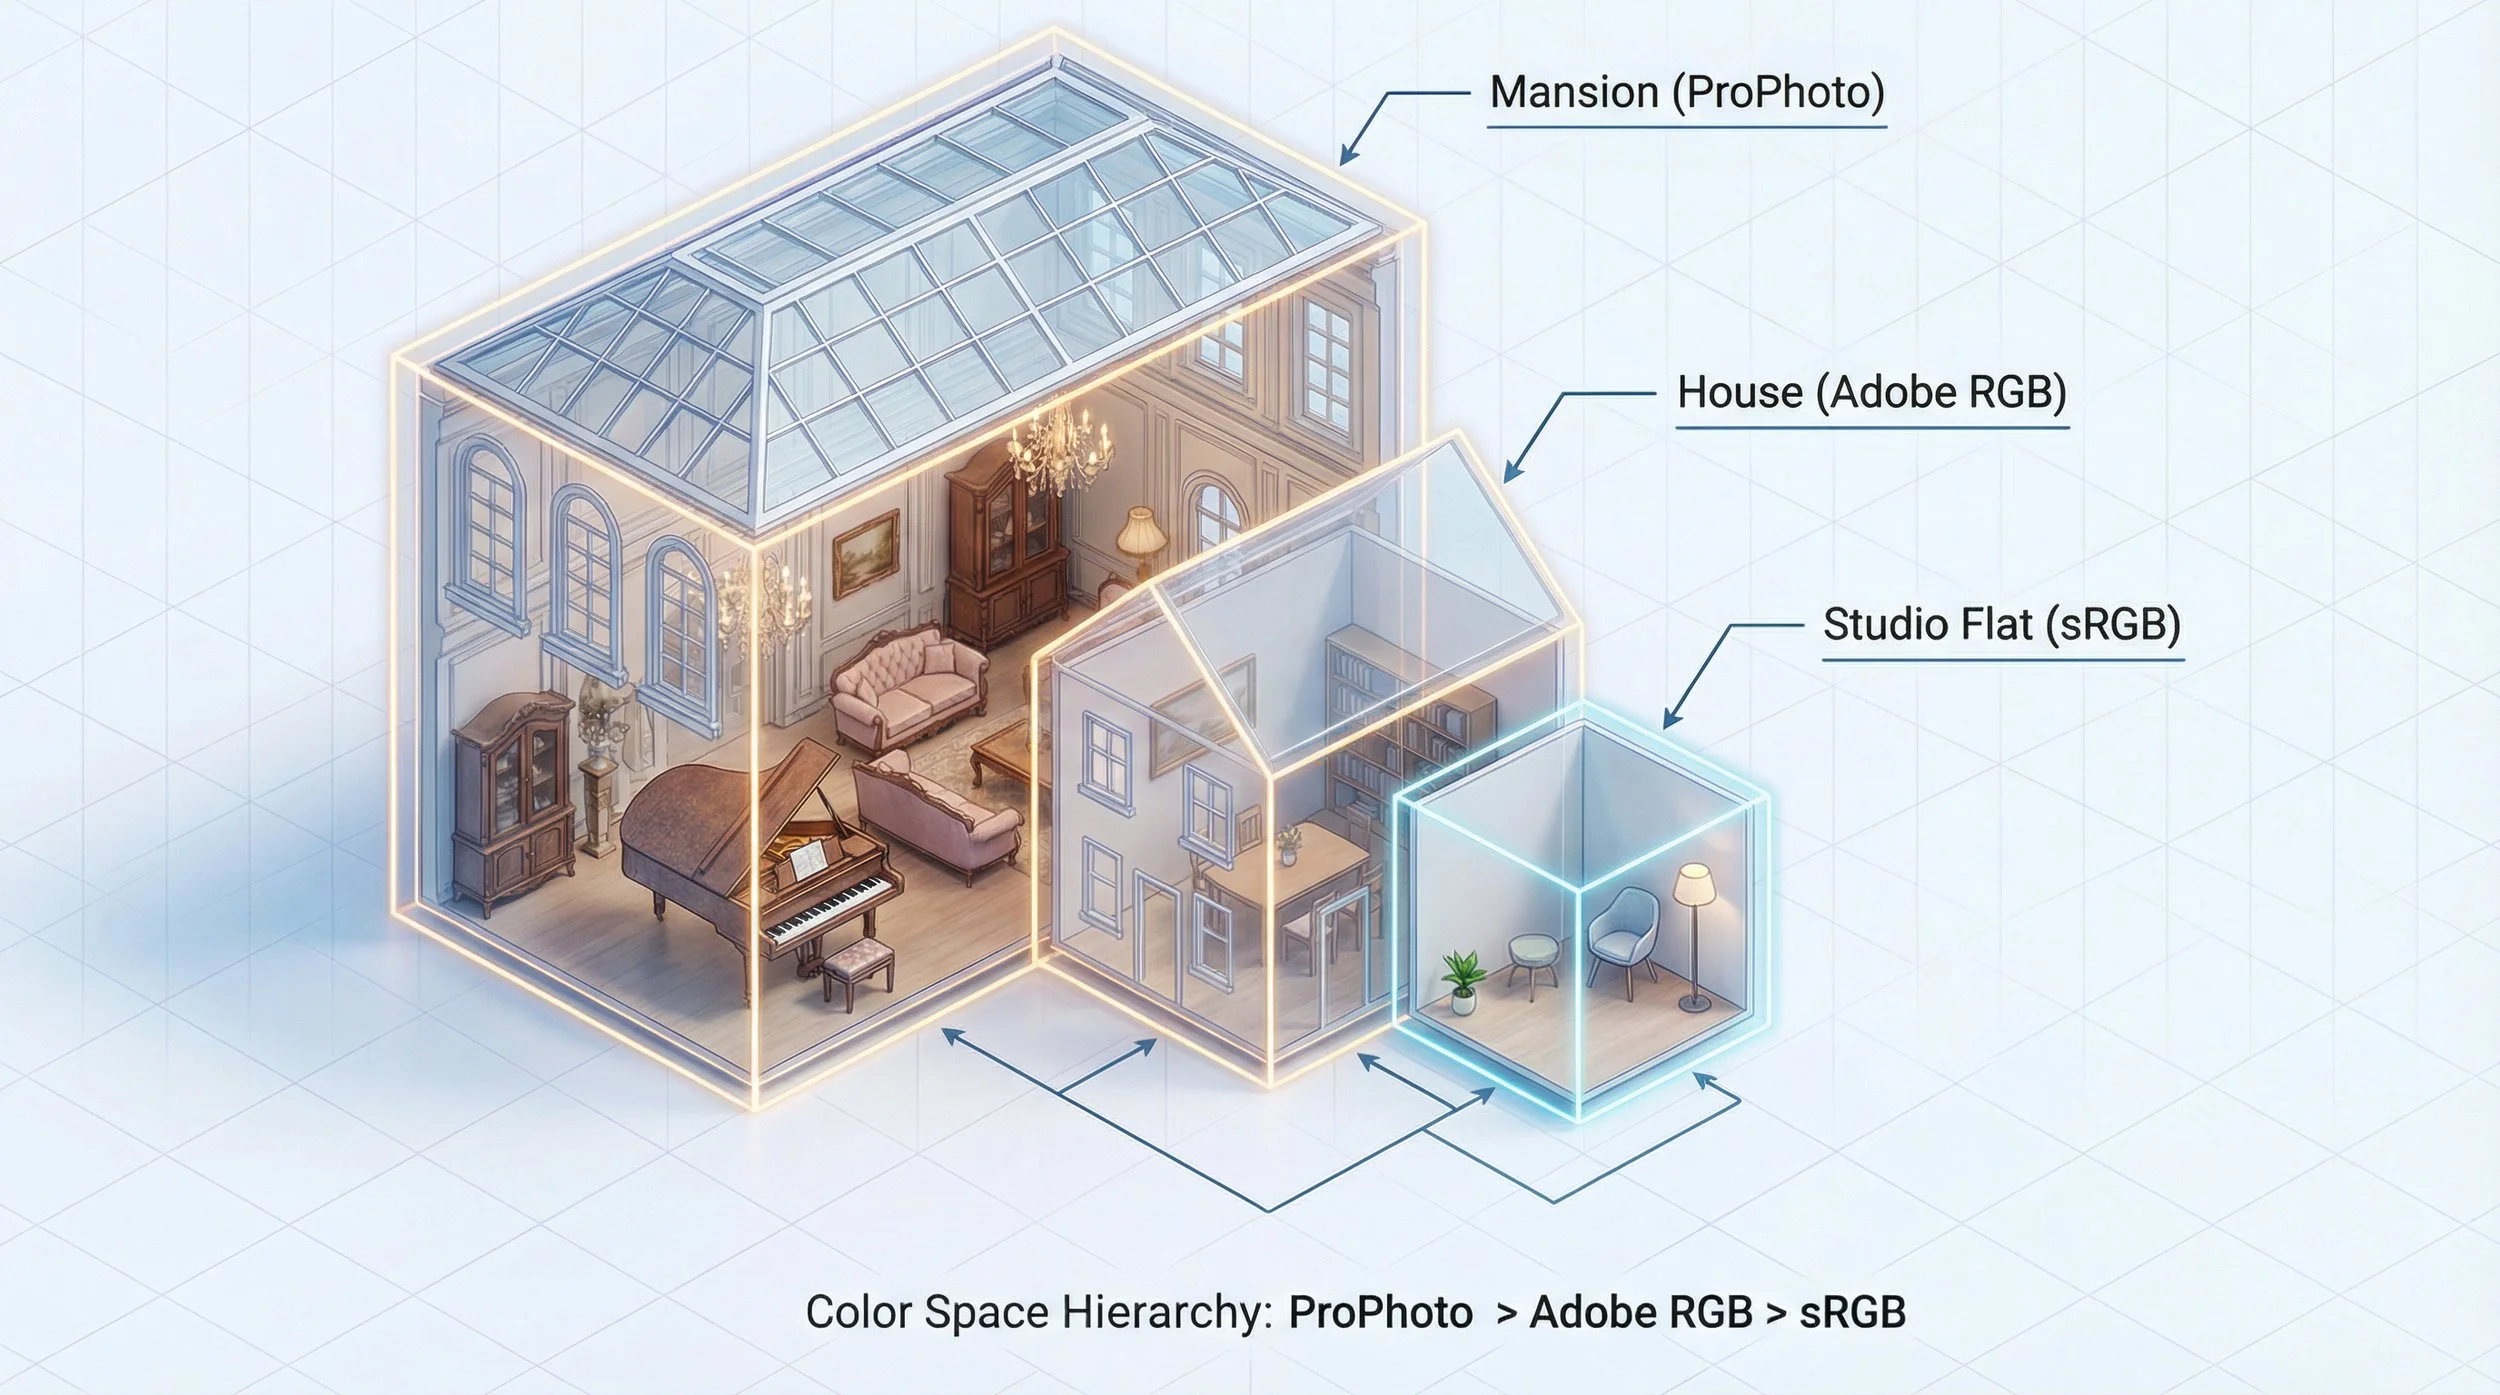
The Analogy: Moving from a Mansion to a Studio Flat
Think of ProPhoto RGB as a giant mansion. You have massive rooms and enormous furniture: a grand piano, huge chandeliers, and king-sized beds.
Think of Adobe RGB as a generous three-bedroom house: much more space than a studio, plenty of room for big pieces, but not quite the sprawling scale of the mansion. Think of sRGB as a small studio flat. It's functional and cosy, but it has very strict space limits. The Conversion Process is moving day. You have to fit everything from the mansion into the house, or all the way down into the studio flat.
Many items fit easily. Your normal clothes, books, and kitchen plates (these represent the standard skin tones, sky blues, and foliage greens in your photo) fit into all three spaces without issue; they exist comfortably in ProPhoto, Adobe RGB, and sRGB.
The "Out of Gamut" Problem
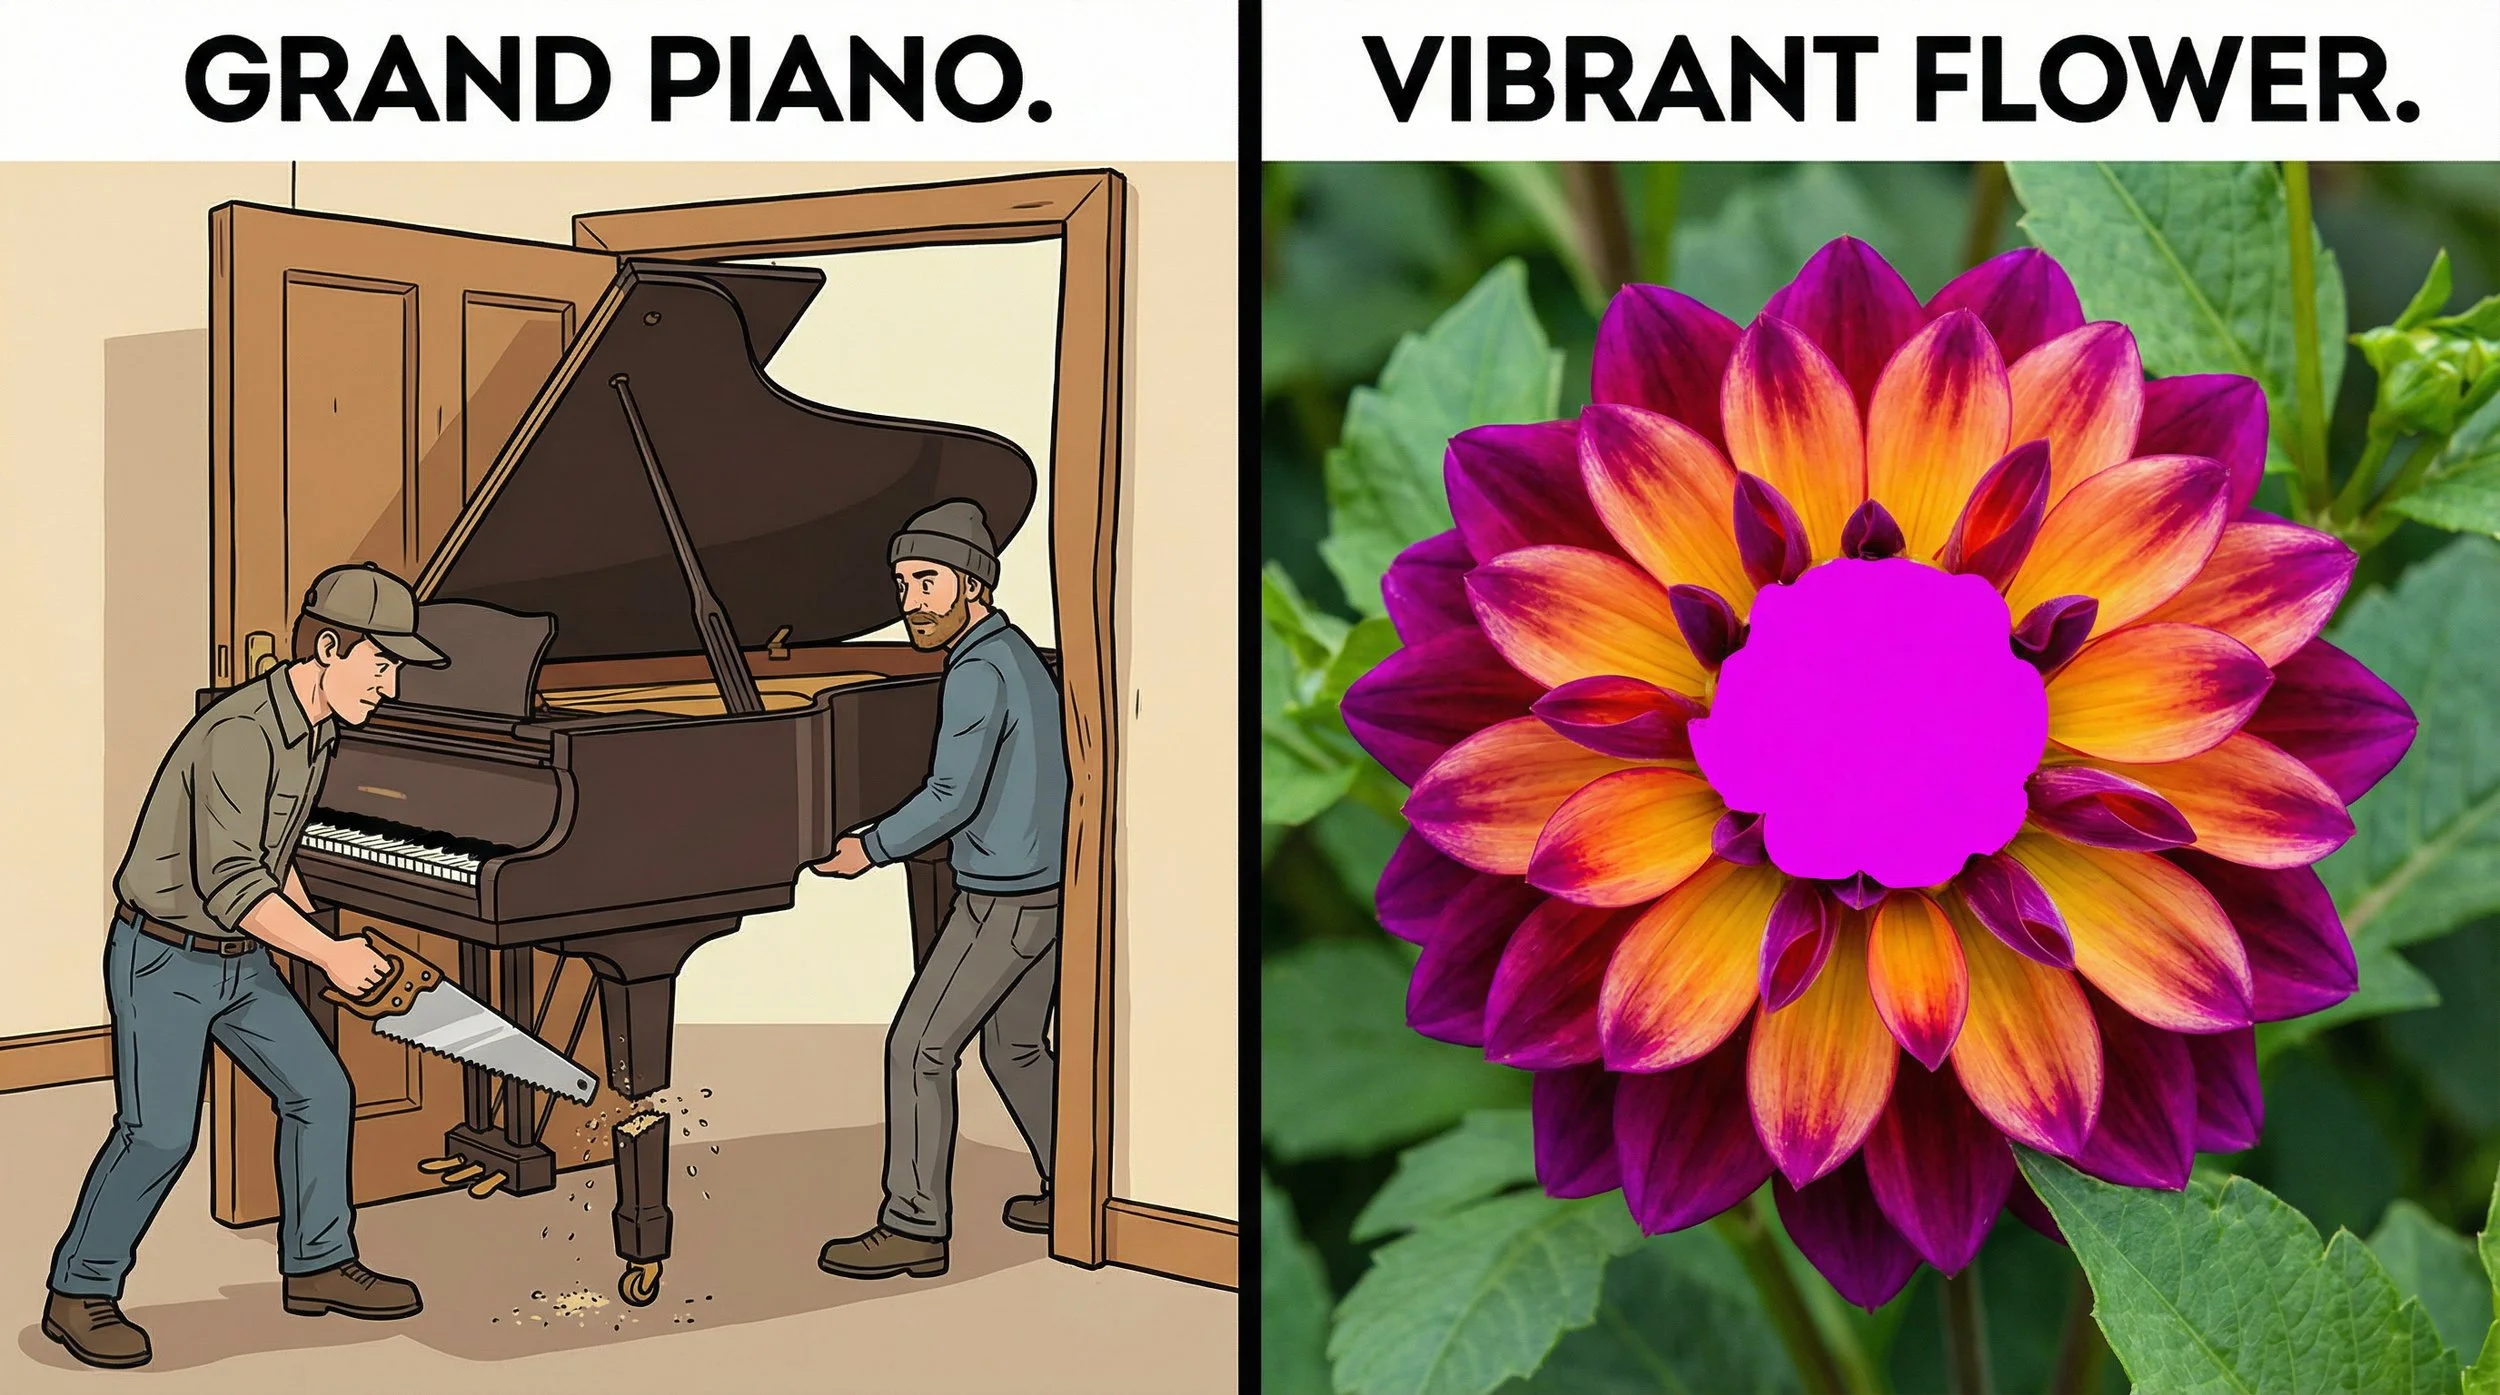
The problem arises when you try to move the grand piano (highly saturated colours, like a vibrant sunset orange or a neon flower petal). The piano is "out of gamut". It might just squeeze into the Adobe RGB house but still refuse to fit through the door of the sRGB studio flat, or it may already be too big even for Adobe RGB.
You now face a critical choice on how to handle that piano. This choice is what we call Rendering Intent.
The Solution: How We Fit the Piano
When you convert colours in Photoshop (via Edit > Convert to Profile), you are telling the software how to fit the furniture. You might be going from ProPhoto to Adobe RGB for print prep, or straight from ProPhoto/Adobe RGB down to sRGB for the web. You generally have two choices for photography:
Choice 1: Relative Colourimetric (The "Saw" Method)
This method prioritises accuracy for the colours that do fit.
What it does: It looks at the grand piano, realises it won't fit, and saws off the legs until it does. In Photo Terms: This is called Clipping. The software takes any colour that is too saturated for the destination space (whether that's Adobe RGB or sRGB) and maps it to the closest colour at the edge of what that space can display, which can flatten subtle gradations in those brightest, most saturated areas.
The Good: All your normal colours (skin tones, etc.) that fall inside the destination space remain essentially identical to the original.
The Bad: You can lose detail in highly saturated highlights where colours are pushed beyond that space and get clipped.
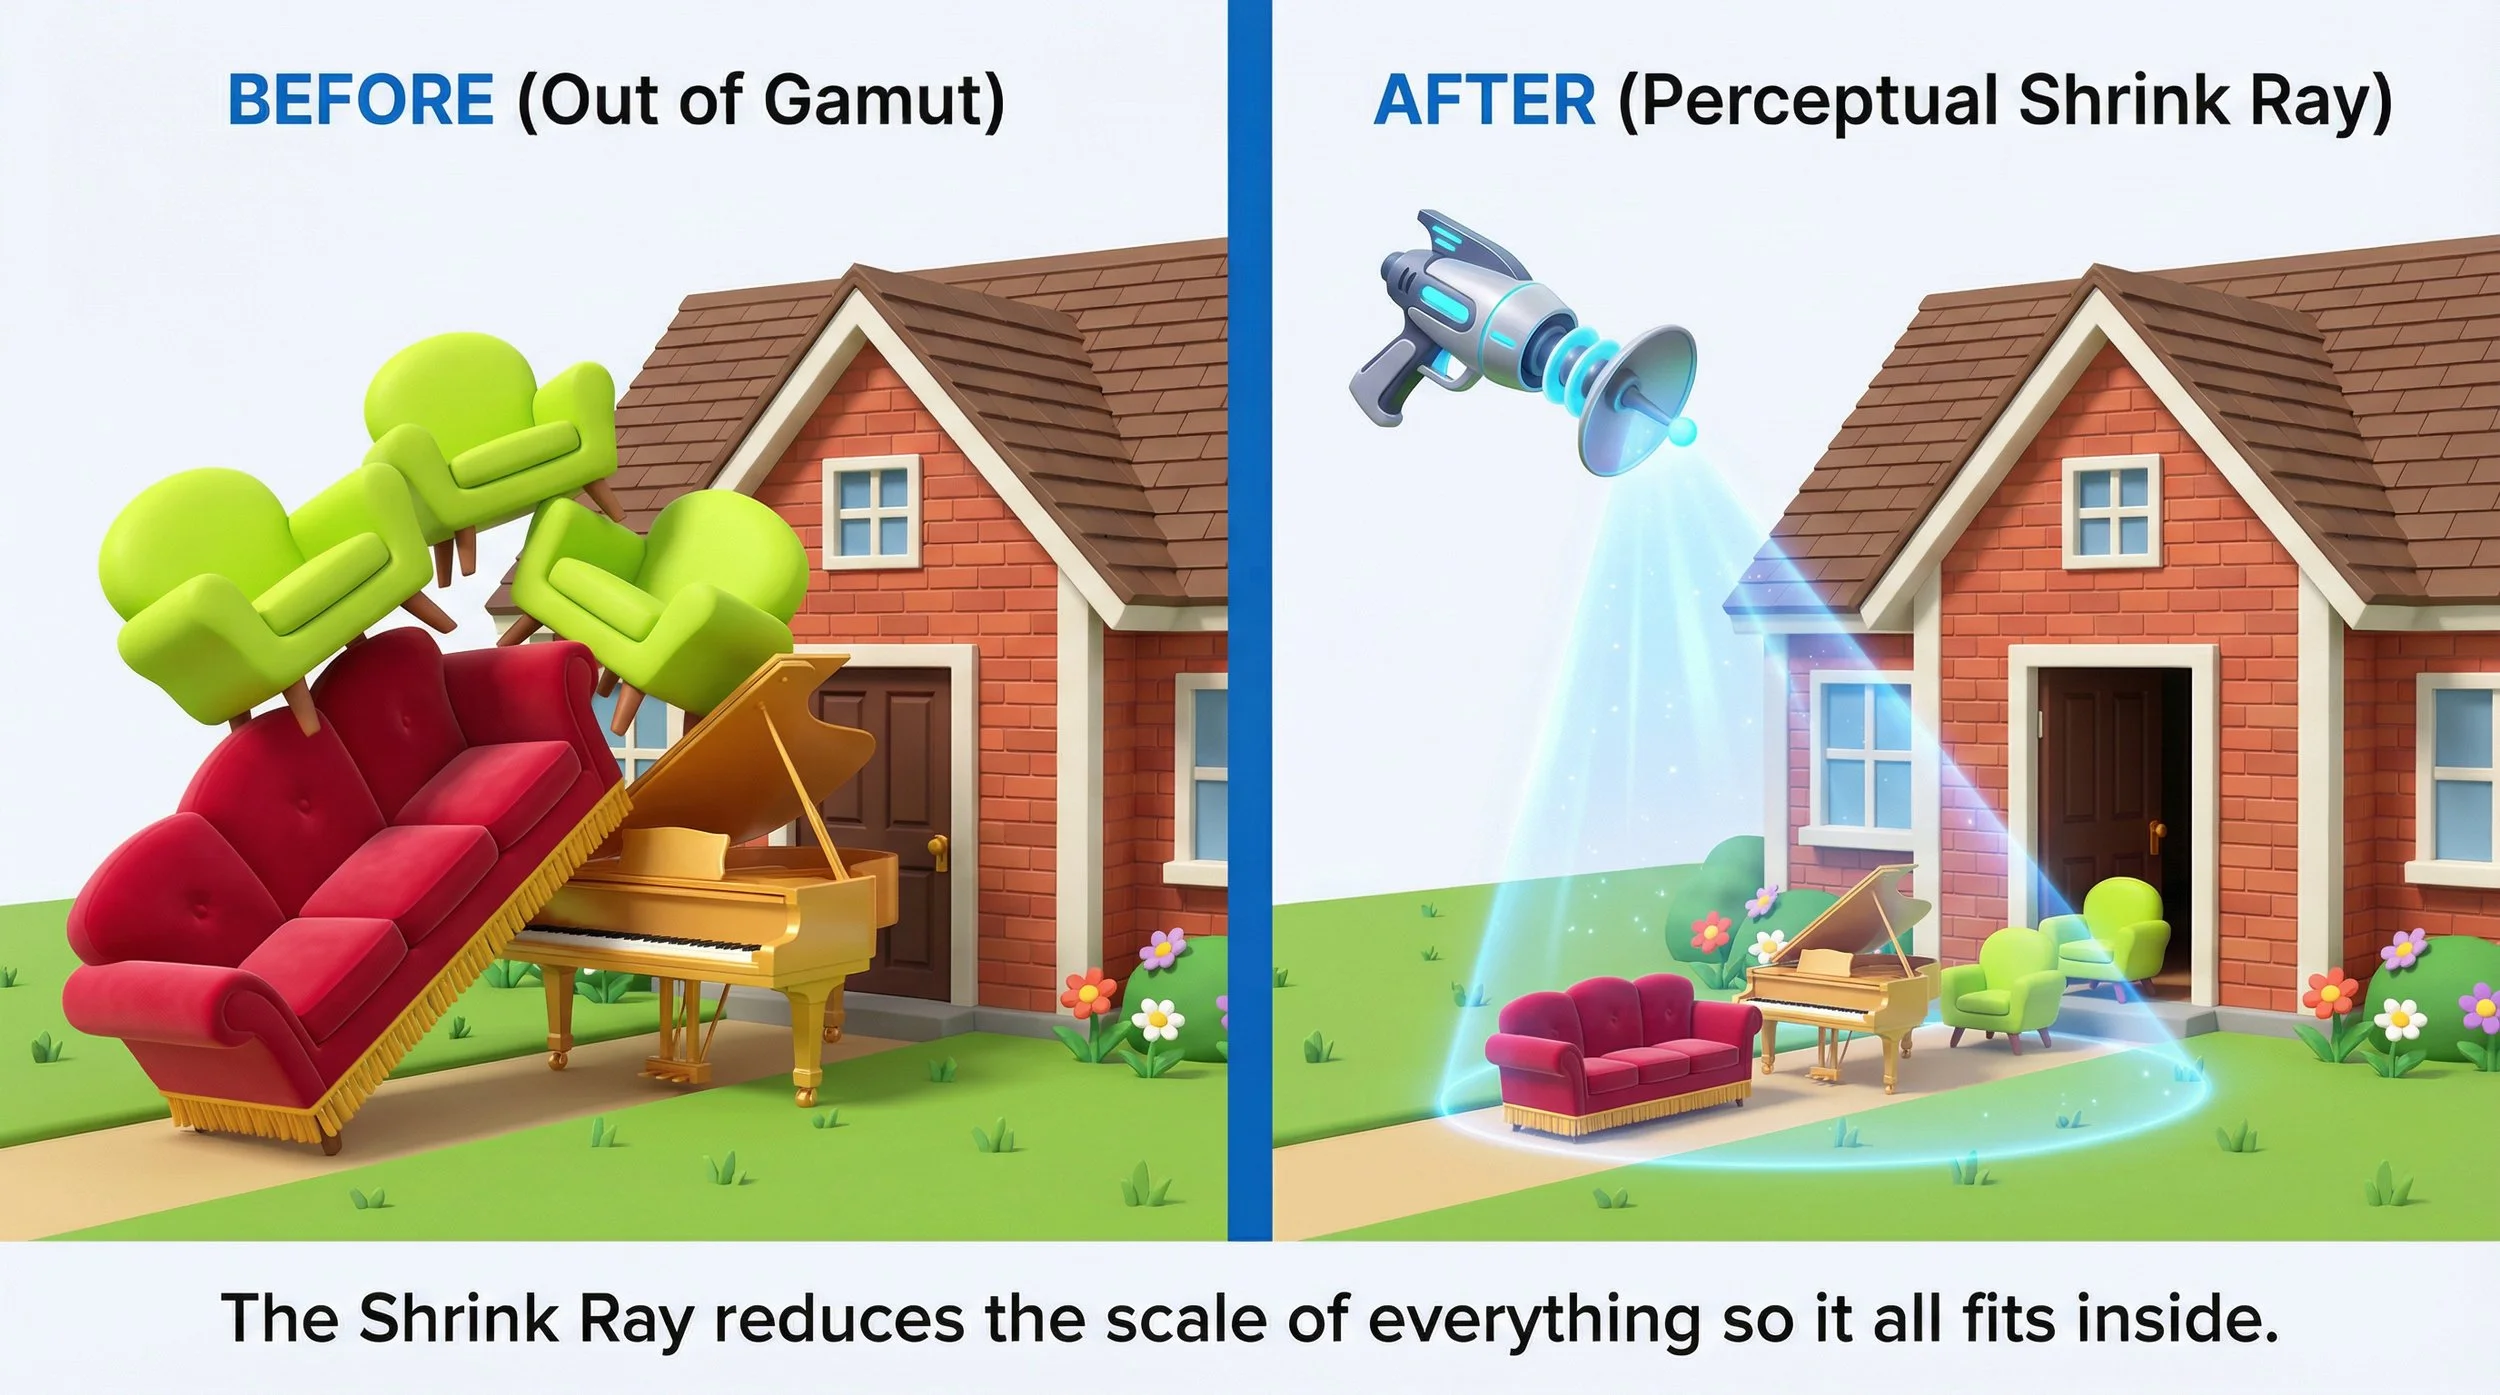
Choice 2: Perceptual (The "Shrink Ray" Method)
This method prioritises the relationship between colours.
What it does: It uses a sci-fi shrink ray on all your furniture just enough so that the grand piano fits through the door. In Photo Terms: To make room for the highly saturated colours, it slightly compresses the entire colour range of the image so that out-of-gamut colours are brought inside Adobe RGB or sRGB with smoother transitions.
The Good: You keep smoother detail and gradation in your bright sunsets and flowers; the piano fits whole, and the relationships between colours tend to look natural.
The Bad: Your entire image might look slightly less punchy or saturated than the original because everything got shrunk a little. How strong this effect is depends on the specific profiles involved.
In many simple RGB-to-RGB conversions (for example, between Adobe RGB and sRGB), perceptual and relative colourimetric may look very similar, but the intent choice becomes especially important when mapping from a wide space like ProPhoto or Adobe RGB into printer profiles with more complex colour ranges.
Why You Must Control This (Don't let the browser decide!)
This is the crucial takeaway.
If you upload an Adobe RGB or ProPhoto image directly to the web, you are relying on the browser, operating system, and device to handle that wide-colour file correctly, and that is risky. Many systems expect sRGB, some sites strip embedded profiles, and some viewers may ignore or mishandle wide-gamut profiles, especially if the file is untagged or metadata has been removed. The result can be incorrect colour or harsh clipping and posterisation in saturated areas, or simply dull, wrong-looking colour where Adobe RGB or ProPhoto numbers are interpreted as if they were sRGB.
By doing the conversion yourself in Photoshop or Lightroom before you export, you get to choose. You can convert from ProPhoto or Adobe RGB down to sRGB, select relative or perceptual rendering intent, and preview the result rather than leaving those decisions to whatever defaults the viewer's browser and device happen to use.
Is the image mostly portraits with normal colours? The "Saw" method (Relative Colourimetric) to sRGB or Adobe RGB might be perfect, because it keeps all in-range colours very accurate and most portrait colours already fall comfortably inside those spaces. Is it a vibrant landscape with intense colours that really push ProPhoto or Adobe RGB? You probably need the "Shrink Ray" (Perceptual) to save the smooth detail in those saturated areas.
You are the Artist. You should decide how your furniture gets moved, not the moving company.

