
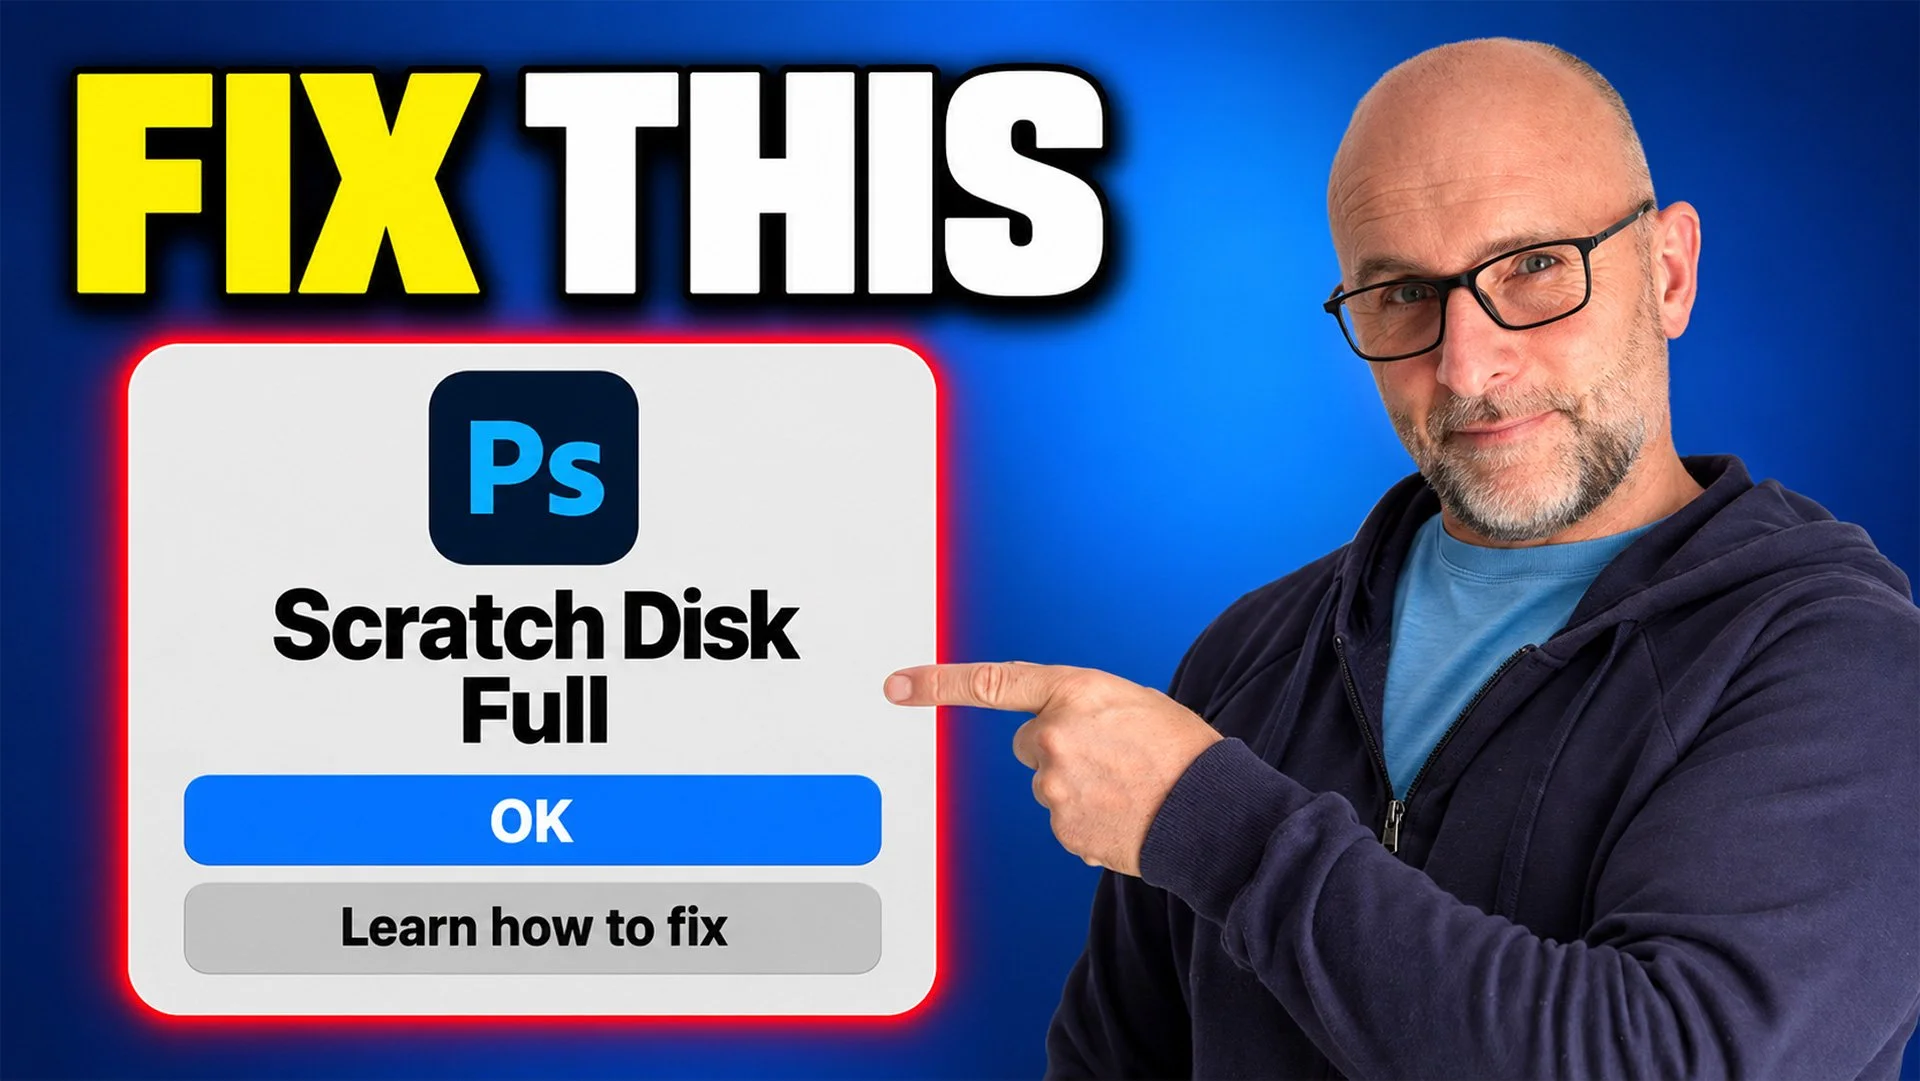
This warning has popped up a few times recently when I’ve been using Photoshop, and if you’ve seen it too, you might be wondering what a scratch disk actually is… and what you’re supposed to clear.
So, to accompany the video, I thought I’d put the steps here so you’ve got something to refer back to. There’s also a way to change your scratch disk if Photoshop won’t even open.
First, check which drive Photoshop is using
Before doing anything else, save your work if Photoshop will let you.
Then head to:
Mac: Photoshop > Settings > Scratch Disks
Windows: Edit > Preferences > Scratch Disks
Look at which drive is selected and how much space is available. That’s the drive we need to check.
You might have another drive connected with loads of room, but unless Photoshop is configured to use it, that space isn’t helping.
What exactly is a scratch disk?
Think of it as extra working room.
Imagine working on a print at a table. The print itself might be quite small, but you still need space around it for everything you’re using.
Photoshop needs that working room too. It uses space on a drive to store temporary information whilst you edit, so the size of your saved photograph doesn’t tell you how much space Photoshop might need to work on it.
There’s also a difference between a warning that space is getting low and an error that stops you opening Photoshop, editing or saving. A warning doesn’t necessarily mean the drive is completely full, but dismissing it doesn’t give Photoshop any more room.
Free up some space
Adobe recommends having at least 100 GB free on your primary scratch drive when troubleshooting this error. That’s guidance rather than a guarantee that every job will fit. Larger projects may need more.
Start with files you recognise: old video exports, downloads or projects you’ve already finished.
If you move them to another drive, check that the copies are there and open properly before removing the originals. And remember, putting files in the Trash or Recycle Bin doesn’t immediately free up the space. Review what’s in there before emptying it.
Once you’ve made room, save your work if you can, quit Photoshop completely and reopen it. Then try whatever you were doing when the warning appeared.
Give Photoshop another drive to use
If storage on your computer is always tight, another option is to give Photoshop a suitable drive with plenty of available space.
I use an SSD as a dedicated scratch disk.
Go back into Scratch Disks, select the drive and, if you’ve selected more than one, use the arrows to set their order. Adobe recommends putting the fastest drive first.
Click OK, then restart Photoshop.
Oh, and changing this setting doesn’t move your photographs. You’re choosing where Photoshop can put its temporary working data. If you’re using an external SSD, keep it connected whilst Photoshop is using it.
What if Photoshop won’t open?
You can’t get into Settings if Photoshop refuses to launch, but there’s a shortcut for that.
Hold these keys whilst launching Photoshop:
Mac: Command + Option
Windows: Ctrl + Alt
This lets you choose a scratch disk during startup. Select a suitable drive with space available, then continue opening Photoshop.
Don’t add the Shift key. That’s the shortcut for resetting preferences, which we’ll come to shortly.
Of course, if your only drive is full, the shortcut won’t create any extra space. You’ll need to make room outside Photoshop first.
Still getting the warning?
First, double-check that the free space you’re looking at belongs to the drive selected in Photoshop.
Then try quitting Photoshop completely and reopening it. Its temporary working data can build up during a session, and closing your photographs doesn’t necessarily release everything.
A restart can help, but it won’t solve a drive that’s consistently running out of room.
It’s also worth checking History States, under Settings / Preferences > Performance > History & Cache.
This controls how many previous editing steps Photoshop keeps available for you to return to. Keeping more can require more scratch space.
Adobe’s documented default is 50. If you’ve increased yours to several hundred, consider whether you really need that many. Reducing the number may help, but you’ll have fewer steps you can go back to.
Be careful with Purge
You might have seen advice to choose Edit > Purge > All.
This can release memory and scratch space, but understand what it does before clicking it: purging clears temporary editing information, including your history.
It doesn’t return your photograph to its original appearance, but you lose the ability to go back through the history you’ve cleared. You can’t undo the purge.
Save your work first if possible, and treat this as an optional troubleshooting step.
Resetting preferences
If you’ve checked the correct drive, made room and restarted, but the error keeps returning, resetting Photoshop’s preferences is another troubleshooting option.
This can help if damaged preference files are contributing to the problem. It doesn’t create storage, and it can remove your custom settings, so back those up first.
With Photoshop open, go to Settings / Preferences > General > Reset Preferences on Quit. Confirm, quit and reopen Photoshop, then check your scratch disk selection again.
If Photoshop won’t open, hold these keys whilst launching:
Mac: Command + Option + Shift
Windows: Ctrl + Alt + Shift
That’s the shortcut with the extra Shift key. You’ll be asked whether you want to delete the Photoshop settings file.
Start with the Scratch Disks panel
The main thing is to check which drive Photoshop is actually using and how much room it has. Then free up space or give it another suitable drive to work with.
Make one change at a time and repeat whatever caused the warning. That way, you’ll know what helped.
The video above takes you through where to find everything.
Right, I hope that’s useful.
Glyn