Street photography is one of the most rewarding types of photography you can do, and also one of the most misunderstood. A lot of people assume it requires a big city, a specific camera, or nerves of steel. It doesn't. It mostly requires the right mindset, and that's something you can develop from day one.
Here are the key things that will make a real difference when you head out.
Get your head right first
Before you even think about camera settings, think about how you're going to carry yourself. You have every right to be in a public space with a camera. Move at a normal pace, act like you belong, and don't hover. Most awkward moments in street photography come from how you behave before and after the shot, not from pressing the shutter.
If someone questions you, have a simple honest answer ready. "I loved the contrast of colours," or "I'm working on a project about everyday life" goes a long way. Some photographers carry a small business card. It can turn a wary stranger into a willing subject.
Three ways to work the street
There are really three approaches, and knowing which one you're using keeps you focused:
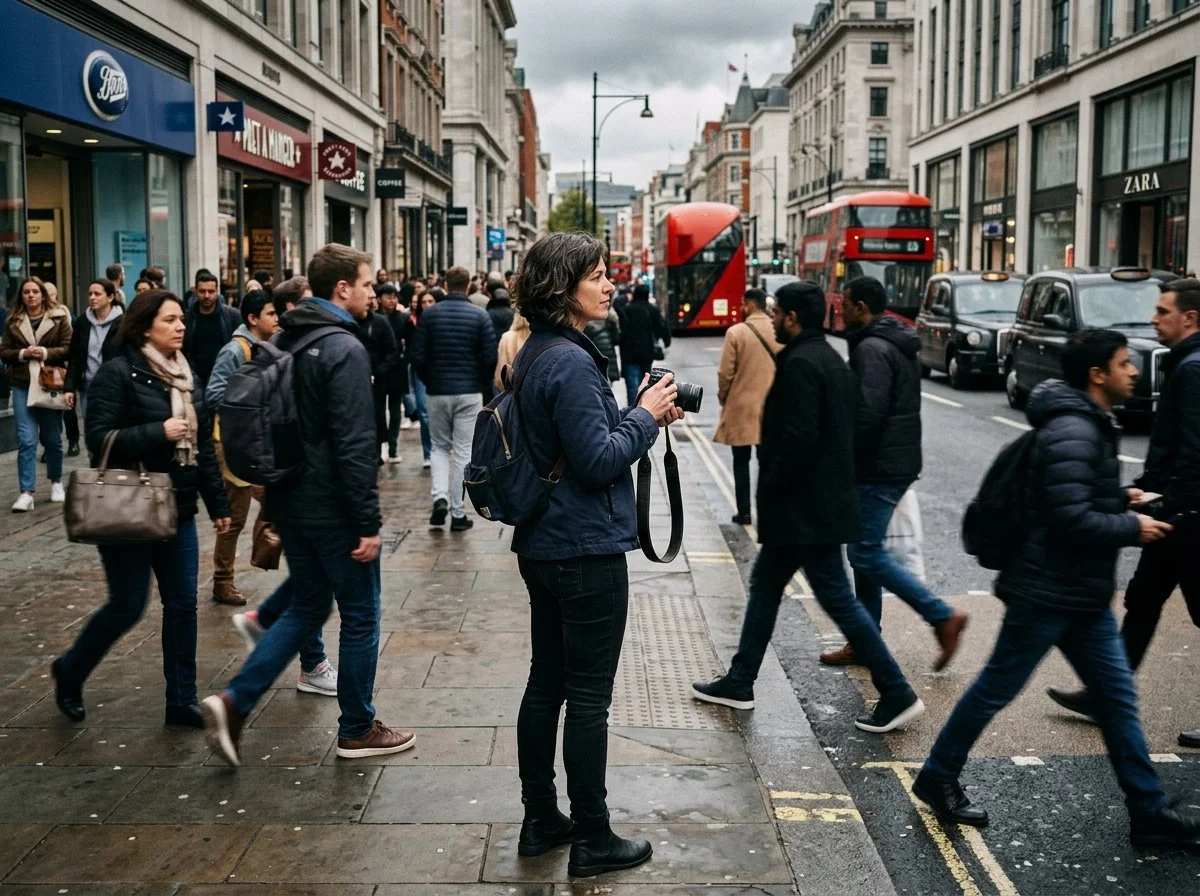
Hunting means walking and actively looking for moments. Keep your head up and your eyes moving. Start small; a funny sign or someone's reaction to something is often more interesting than a dramatic scene.
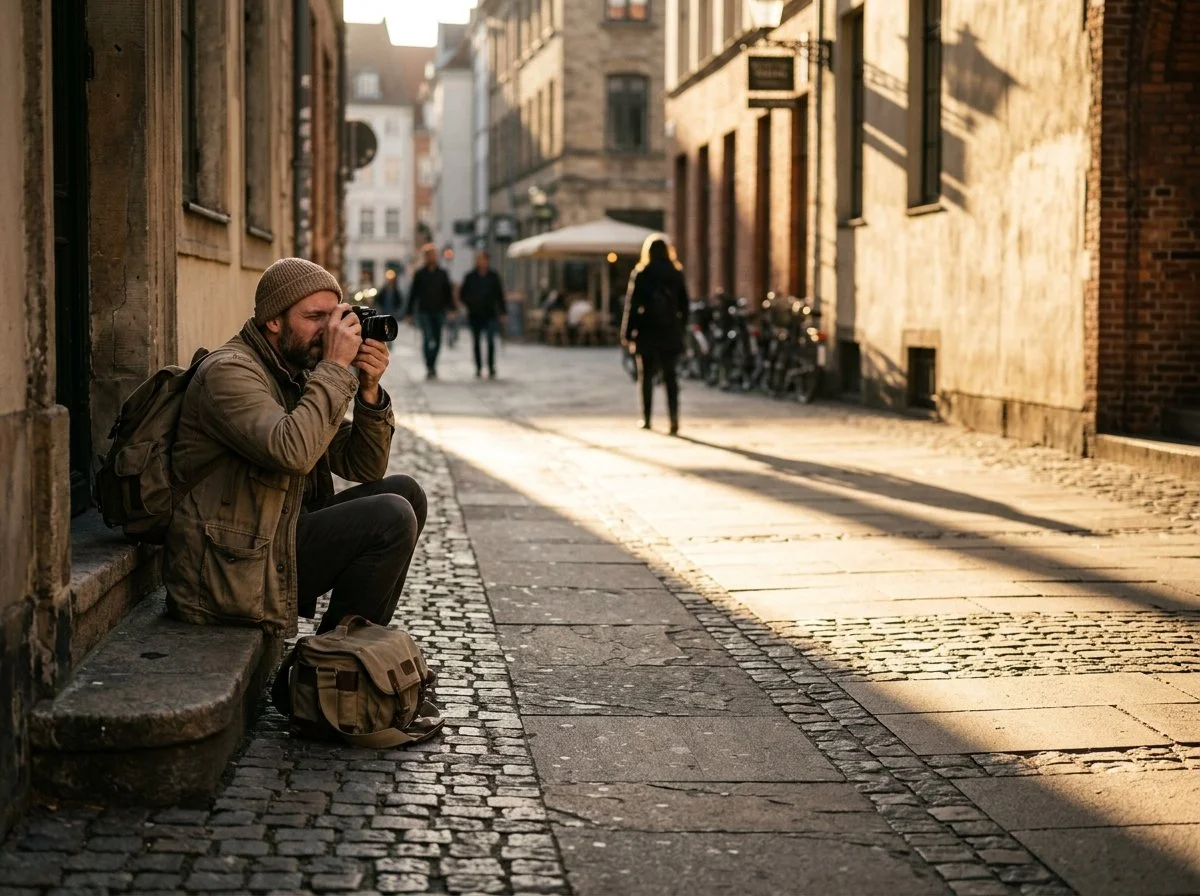
Fishing means finding a spot with great light or an interesting background and waiting for life to walk into it. Strong shadows, reflections, colourful walls. Set yourself up and be patient. It's also brilliant if you're shy, because you're not chasing anyone.
Street portraits are a different thing entirely. You approach someone, have a brief chat, then ask. Keep the conversation going while you shoot. People are usually more than happy to help if they can see you're genuinely trying to make a good image.
Light and composition
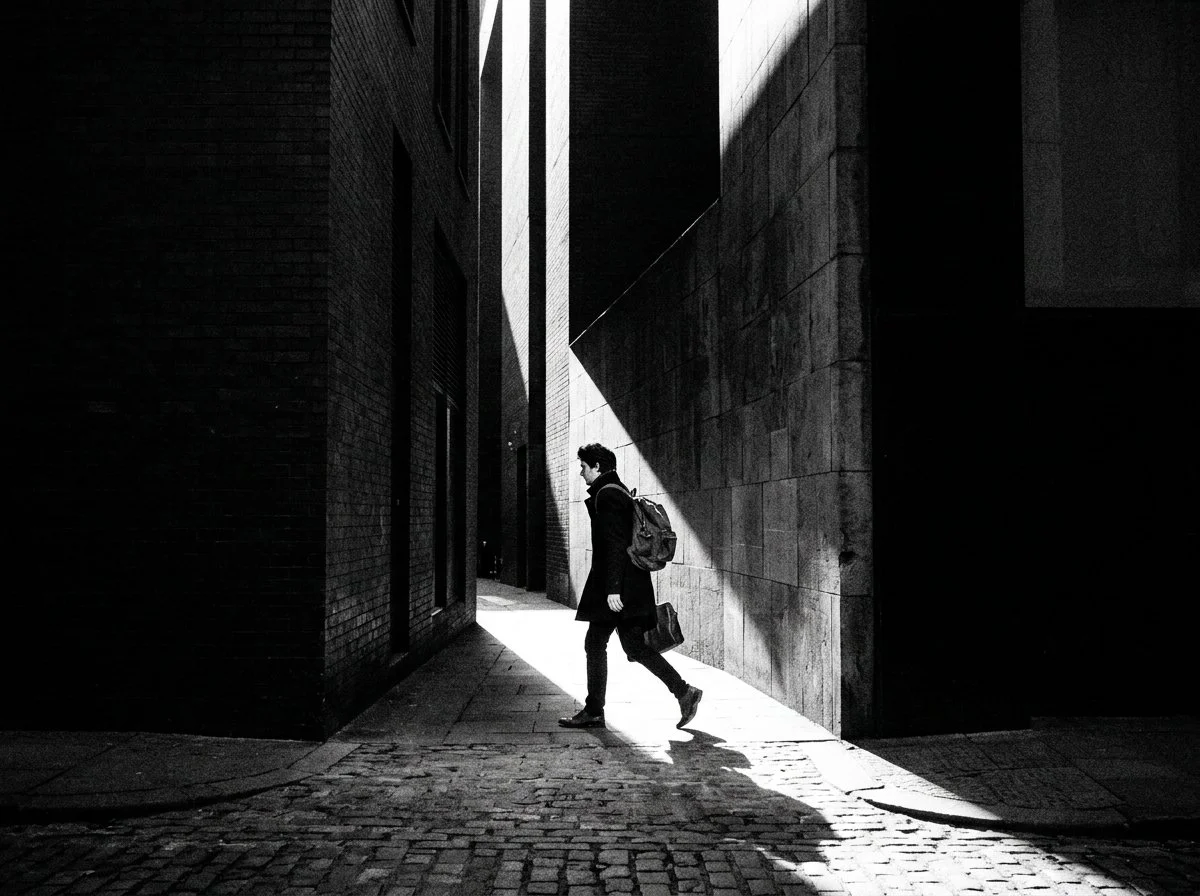
Find the light before you find the subject. Shafts of sunlight, deep shadows, silhouettes; light shapes everything. Once you've found good light, think about the whole frame: what's in the background, what's at the edges, what's pulling the eye away from where you want it to go.
One tip worth remembering: give yourself a theme for the day. Hats. Dogs. Reflections. The colour red. It sharpens your eye dramatically.
Gear and settings
Any camera works, including your phone. What matters is being ready. Most experienced street photographers use aperture priority or manual with auto ISO so they're not constantly adjusting. A starting point that works well: 1/500s shutter speed, f/5.6 to f/8, auto ISO. Push the shutter to 1/1000s if there's faster movement. Don't be afraid of grain; it often suits street photography well.

Keep your camera out and ready, not buried in a bag. By the time you've got it out, the moment's gone. A silent shutter, if your camera has one, makes a big difference too.
You don't need a big city
This one catches a lot of people out. Street photography isn't only for London or New York. Market squares, bus stops, seafronts, quiet high streets; interesting moments happen everywhere. If you're nervous about photographing faces, start with people from behind, silhouettes, or detail shots: hands, shadows, dogs, bags. You're still telling a story.
The best thing you can do is head out and start. Everything else comes with time.
This post is drawn from The Community Guide to Street Photography, a full beginner's resource put together by members of The Photography Creative Circle on Skool. It covers everything in much more depth, including camera setups, focusing techniques, how to handle conversations on the street, and practical exercises to push your skills forward.
If you want to read the full guide and be part of the conversations that created it, come and join us over at the community …