HDR

How to Edit and Export True HDR Photos in Lightroom

Mention HDR to most photographers, and they immediately picture the overprocessed, crunchy trend from 2010 or complex, multi-exposure bracketing. True HDR is different. It uses a single image to unlock the actual brightness and tonal capabilities of modern screens.

This step-by-step guide covers how to edit, export, and share true HDR images using Lightroom Mobile, Desktop, or Classic.

Step 1: Check Your Screen Compatibility

Before editing, you need to know if your device can actually display high dynamic range.

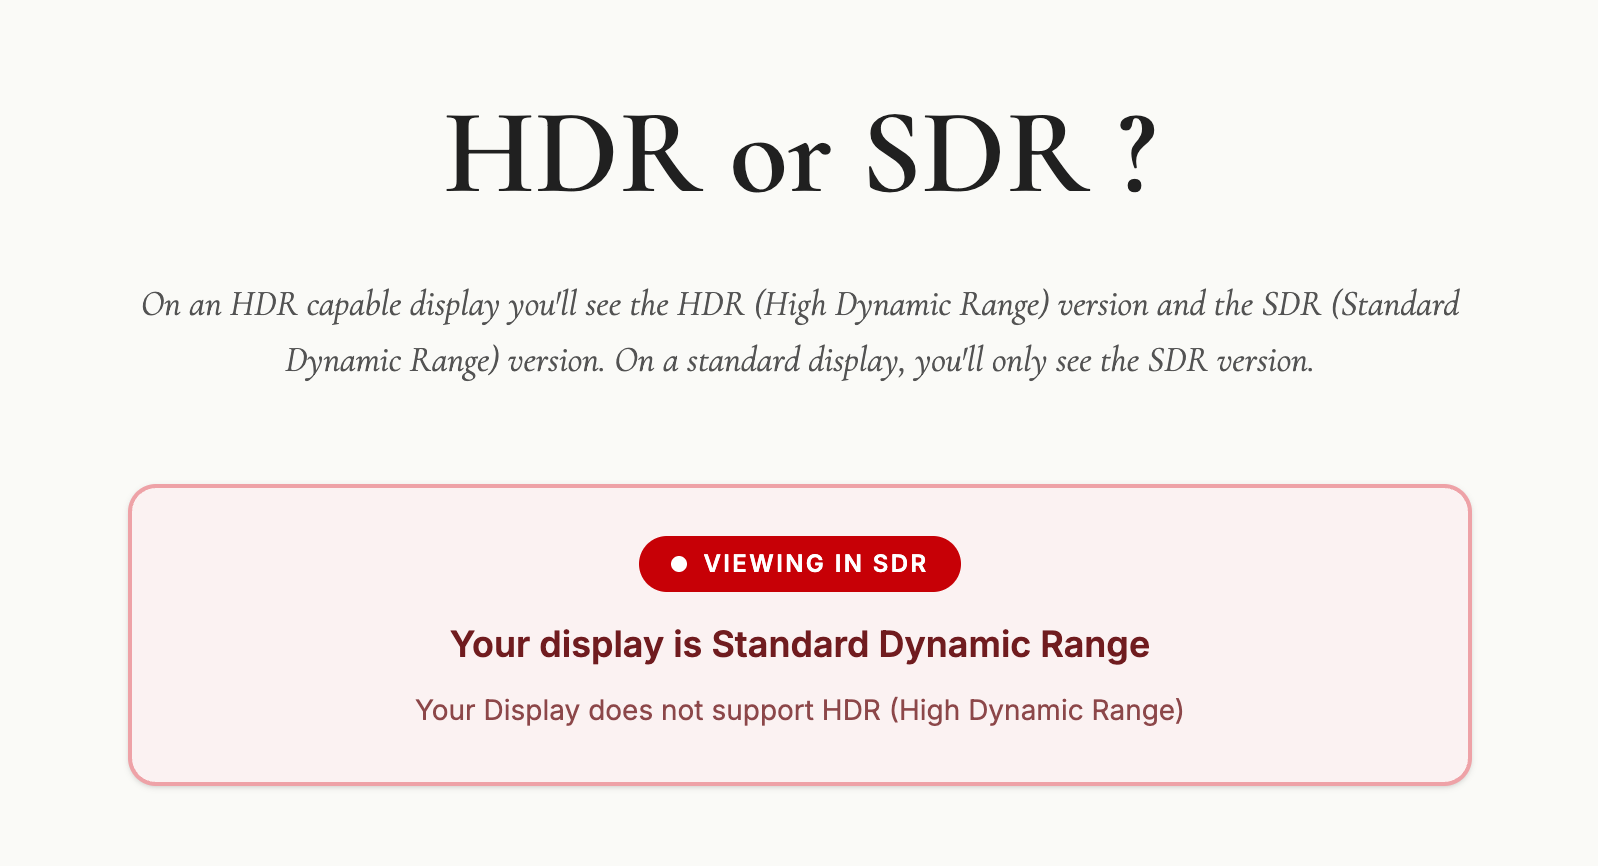
  • Many modern screens (like iPhones, iPads, and MacBook Pros) support it, but standard monitors do not.

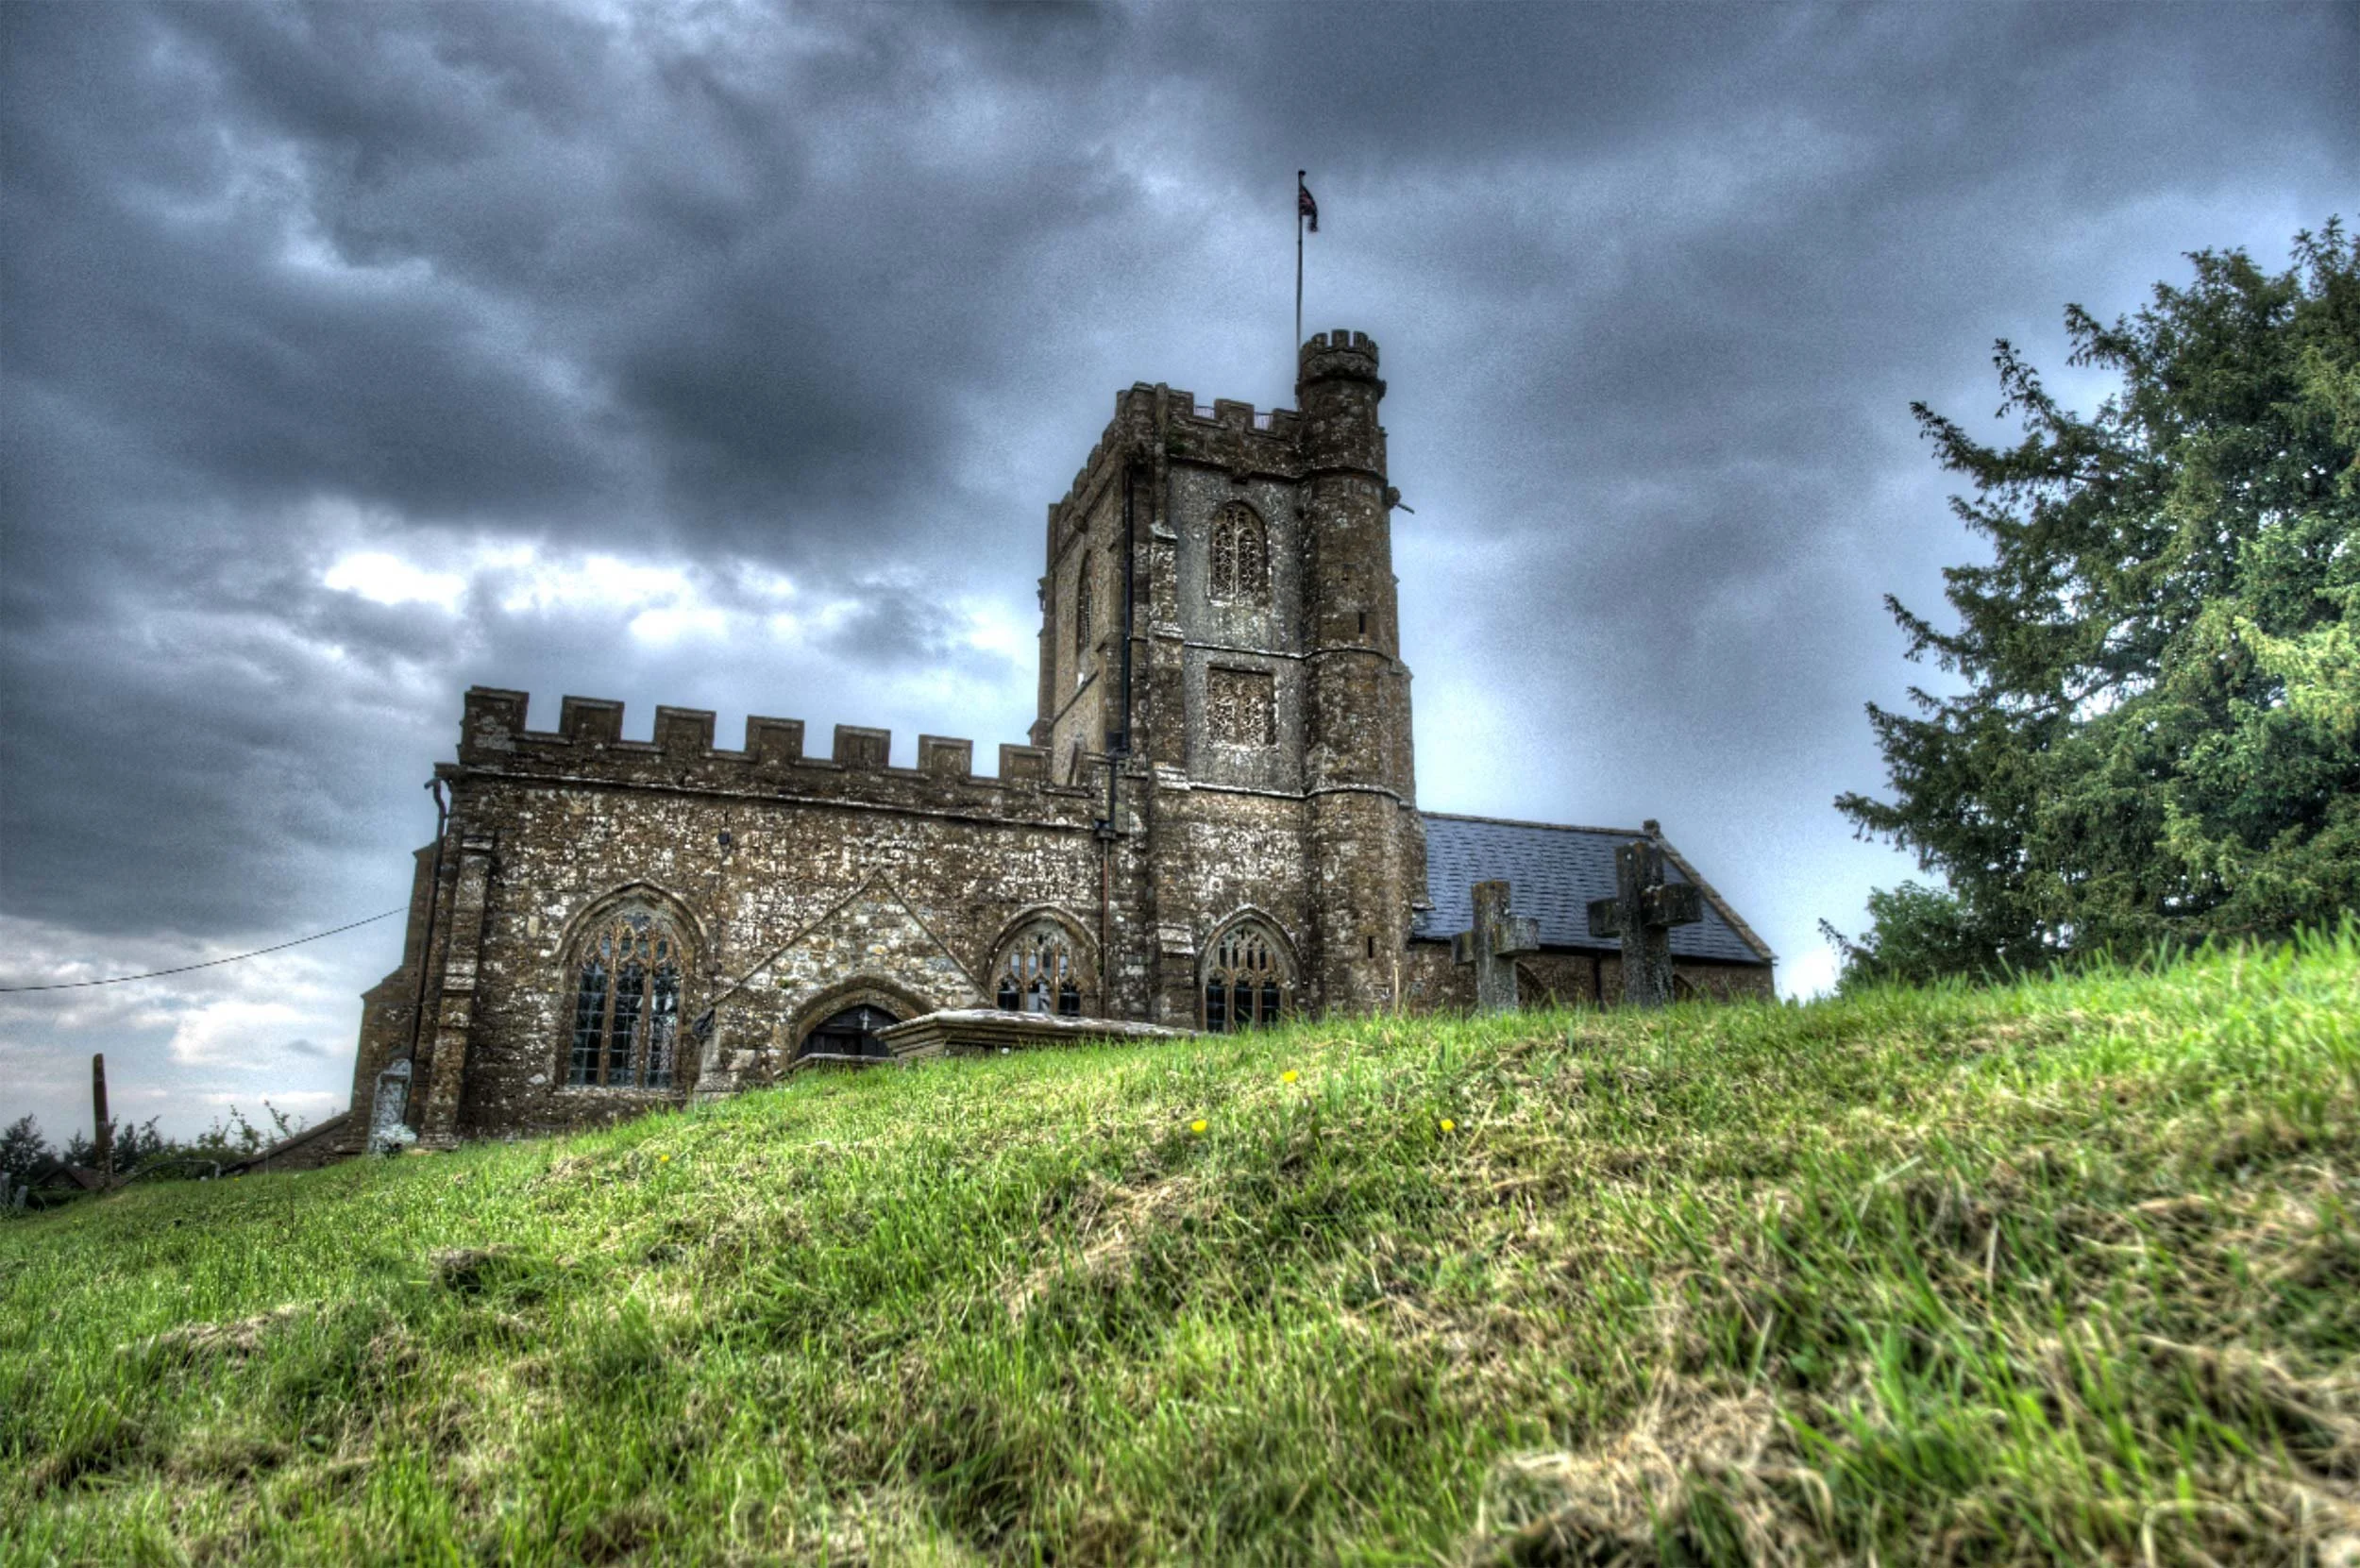
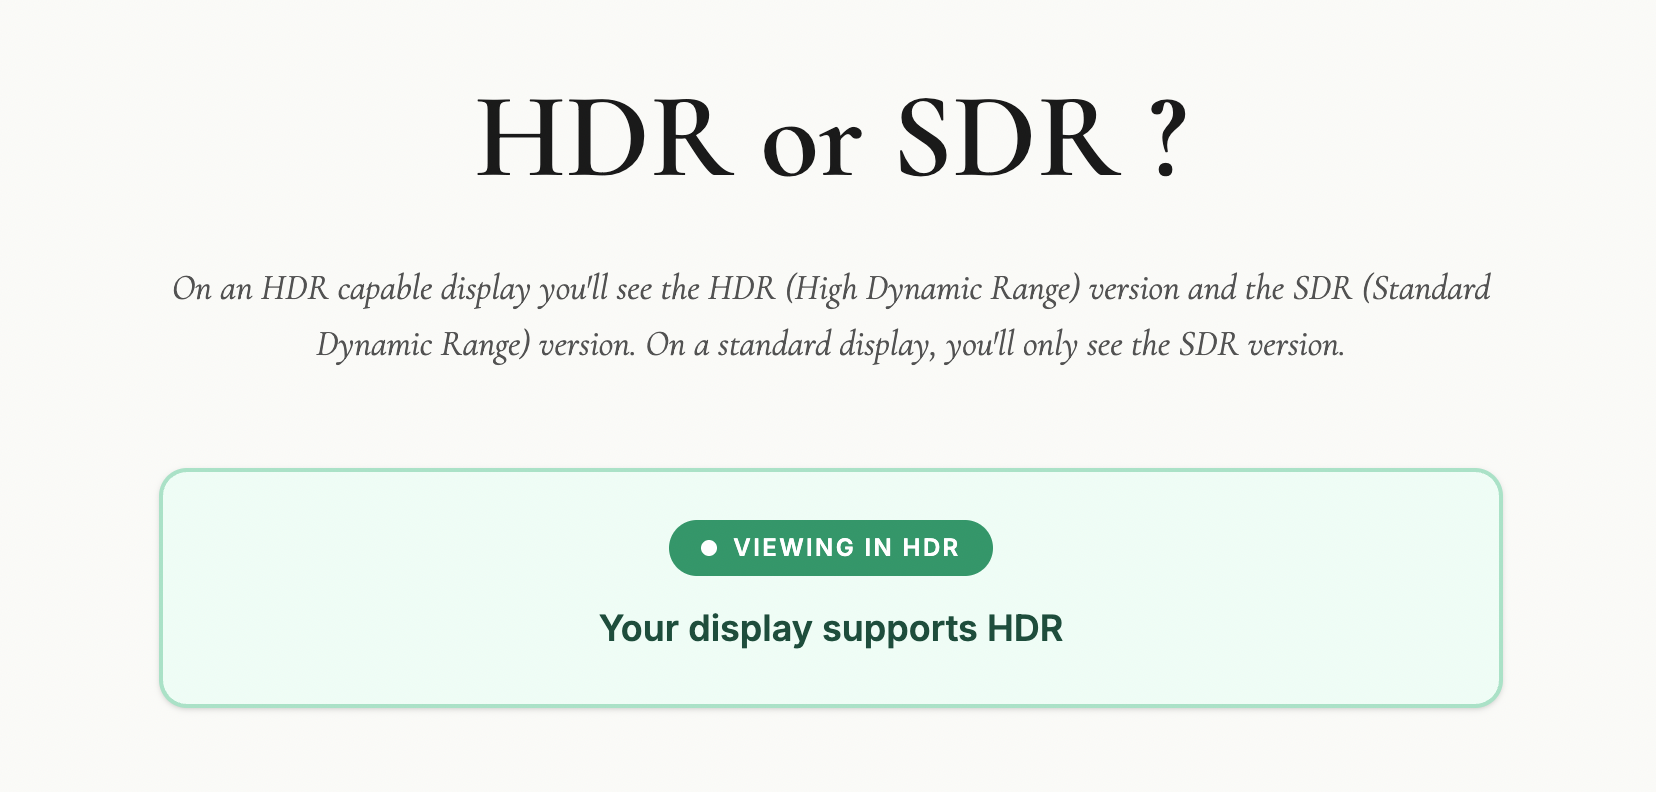
  • If you view an HDR compatibility test page and see two distinct versions of the comparison images, your screen is ready for HDR editing.

Step 2: Edit Your Base Image (SDR)

Start by editing your photo exactly how you normally would. Tweak the exposure, contrast, and colours until you are completely happy with the standard dynamic range (SDR) version. Photos with naturally high contrast and bright highlight areas work best for this process.

Step 3: Enable the HDR Panel

  • Locate and toggle the HDR button in the Lightroom edit panel.

  • The image will instantly become brighter, and your histogram will expand to the right, showing extra sections. These sections represent the additional stops of light available exclusively for HDR displays.

Step 4: Control Your Highlights

To keep the image looking natural and intentional, you need to manage the extra brightness.

  • Stick to the limit: Adobe sets a default HDR limit of around 2.3 stops. Keeping it here ensures your image translates well across different devices.

  • Check for clipping: Hold your finger down on the screen while adjusting the exposure slider (or hold Alt/Option on desktop). The screen will turn yellow to show safe HDR highlights, and red if you push them too far.

  • Visualize HDR: Toggle this feature on to see a colour-coded map of your highlights, helping you stay within safe tonal boundaries.

Step 5: Export with the Right Settings

To ensure Instagram and web browsers can read your HDR data, use these specific export settings:

  • File Type: Select AVIF (or JXL).

  • Color Space: Choose Display P3 (or HDR P3 on desktop).

  • HDR Output: Ensure this toggle is turned ON.

Step 6: Post to Instagram Safely

When sharing your final image to social media, keep these two rules in mind to avoid rendering glitches:

  • No stickers or text: Adding music to your post is fine, but do not overlay native Instagram text or stickers onto the image, as it breaks the HDR rendering.

  • Use the Carousel Trick: Share both the standard SDR version and the new HDR version in a single carousel post. Allowing users to swipe between the two creates a massive, undeniable visual impact.

HDR in Photography: Dead, Dated, or Ready for a Comeback?

For years, HDR in photography has carried a bit of baggage.

Mention it to most photographers and they'll immediately picture those crunchy, overcooked images from the early 2010s. Glowing edges, strange colours, and a look that screamed "processing" louder than the actual subject. And honestly, fair enough. That version of HDR put a lot of people off, and for good reason.

The “HDR” Trend back in the early 2010s

But here's what's changed: HDR isn't what it used to be.

What we're talking about today is not that old exposure-blended, tone-mapped look that most of us learned to avoid. This is proper HDR editing, pulling more out of the image's dynamic range and displaying it on screens that can actually show it. It's less about creating a dramatic effect and more about giving the image room to breathe.

That distinction changes the conversation completely.

So what is HDR now?

At its simplest, HDR means high dynamic range; more tonal range than a standard dynamic range image can show. It’s not blending images together, it’s having the ability to really show what already exists in that file.

That sounds technical, but the practical version is straightforward. Think about a scene with a blazing sky, deep shadows, and subtle detail in between. In a standard SDR workflow, you end up squeezing all of that into a smaller box. You protect the highlights, lift the shadows, and find some kind of compromise.

With modern HDR editing, you're not forcing that compromise in the same way. You're working in a way that allows more brightness information to survive the edit, so when viewed on an HDR-capable screen, the image can look much closer to what the scene actually felt like.

That's the key difference.

This isn't about making everything loud. It's about giving the image more range.


Check out this web page I put together to check if your display / device is capable of HDR.

Take a look on your computer, mobile and tablet device (if you have one)

🔗 LINK: hdrviewer.lovable.app


Why the old HDR got a bad name

Let's be honest: old-school HDR deserved a fair amount of the criticism it got.

A lot of it was used as a shortcut to rescue badly exposed images, and the results were often heavy-handed. Software like Photomatix, which was the go-to tool for HDR processing back in those early days, made it incredibly easy to push things too far. Shadows were crushed, highlights flattened, and that distinctive grungy, over-cooked look became almost a signature of the era. At its worst, it was gimmicky. You knew exactly what you were looking at the moment you saw it.

Worth saying though: Photomatix is still around and still a perfectly viable option. Used with some restraint, it's capable of much more conservative, natural-looking results than its early reputation might suggest. But back then, subtlety wasn't really the point for a lot of people using it.

That's why many photographers developed a kind of instinctive resistance to anything labelled HDR.

But modern HDR is a different thing entirely.

It's not trying to shout at you. It's trying to reveal more subtlety. And when it's done well, most people won't even register that they're looking at an HDR image. They'll just think it looks rich, deep, and beautifully displayed.

Who is actually doing this?

More people than you might think.

The biggest shift is that the industry around HDR has finally started to catch up. More screens support it, editing software is building in proper HDR workflows, and image sharing is slowly becoming more compatible. That matters, because a workflow only becomes genuinely useful when you can see the result and actually share it.

Photographers are already experimenting with it in landscape work, cityscapes, interiors, sunsets, and any scene where the contrast is simply too much for a standard file to hold comfortably. It makes particular sense when the subject contains bright highlights that you want to keep bright, without the rest of the image falling apart around them.

So yes, people are doing it. Not everyone, and not for every image. But enough that it's moving from niche curiosity toward something more mainstream.

Why it matters now

This is where HDR becomes genuinely interesting from a photographer's point of view.

We've reached a point where many viewers already have HDR-capable phones, tablets, laptops, televisions, and monitors. The image you edit is no longer always limited to the old one-size-fits-all SDR world. Some people can actually see more of what you intended when you made it.

That opens up real creative possibilities.

A sunset can hold brighter light without clipping into mush. A window-lit interior can keep detail outside without destroying the atmosphere inside. A seascape can carry that glowing, luminous quality we often try to suggest with standard editing but don't always fully achieve.

In the right hands, HDR isn't flashy. It's expressive.

Where it fits in a workflow

The best way I think about HDR is this: it's another tool, not a replacement for everything else.

It won't suit every photograph. Some images are better left in a standard workflow, particularly if the scene is already well contained or if you want a classic, controlled look. HDR also won't make much difference if your audience is mostly viewing on SDR screens.

But for the right image, it can be brilliant.

The skill, then, isn't just learning how to switch HDR on. It's knowing when it adds value and when it doesn't. That's usually where good photography lives anyway. Not in using every feature available, but in using the right one at the right time.

Is HDR the future?

I think so, yes. Just not in the old dramatic sense.

We're not heading back to the days of overprocessed HDR everywhere. That era is done, and rightly so. But we are moving towards a more natural, more display-aware way of working, where HDR becomes a normal part of the photographic toolbox rather than a novelty.

How quickly that happens depends on a few things catching up together: displays, software, and sharing platforms. But the direction is clear.

More of the world is becoming HDR-capable, which means photographers will increasingly need to understand how to work with that reality, whether they choose to or not.

Final thoughts

HDR is not dead.

What's dead is the old caricature of it. The version that turned every photo into a neon soap opera. The modern version is far more interesting, far more useful, and far more in step with where technology is heading.

For photographers, the opportunity is simple: start paying attention now. Learn what modern HDR actually is, watch how it develops, and think about where it fits in your own work, because this feels less like a passing fad and more like a genuine shift in the way images are made and seen.

Discovering the HOW, WHAT and WHY for creating STUNNING HDR Images | Greg Benz

Watch the recording of this LIVE Broadcast as I chat with Photographer and HDR Guru, Greg Benz and discover the How, What and Why to create and display STUNNING High Dynamic Range Images.

links mentioned in the video: