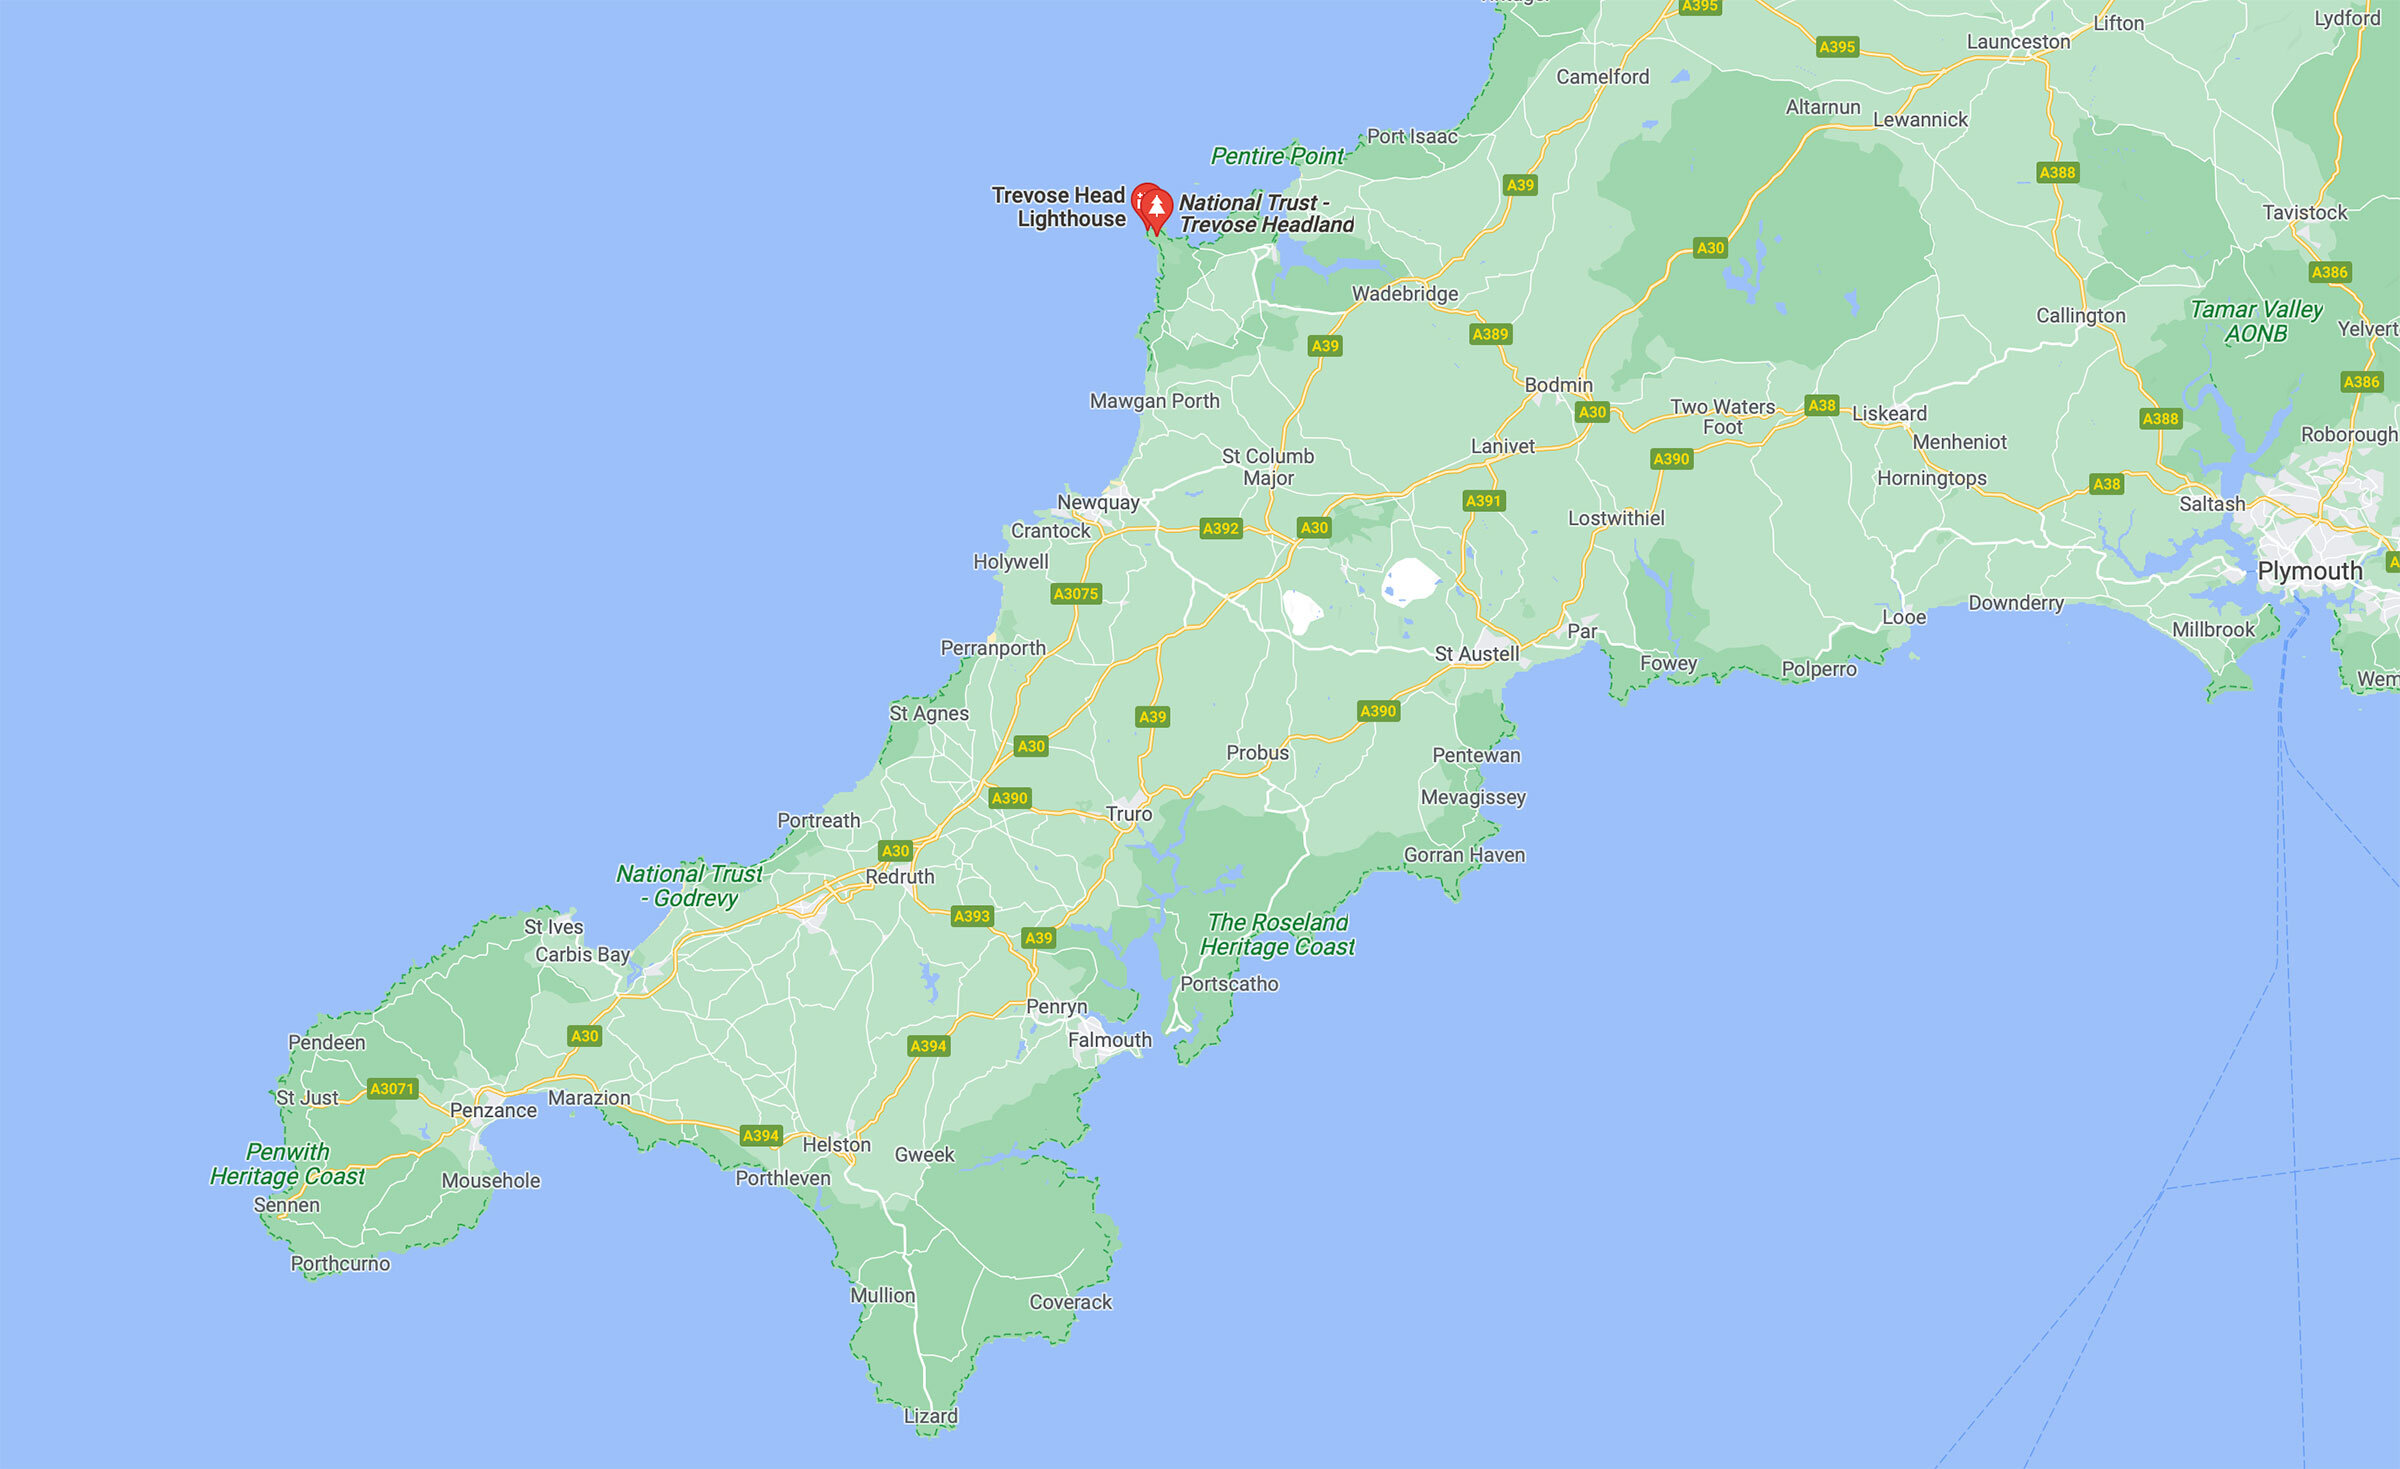
I was literally like an over-excited kid on Christmas Day when I arrived at Trevose Head in Cornwall to not only be greeted with just the most amazing scene before my eyes, but also because everything seemed to have come together.
I’d headed there not that hopeful of a photograph to be honest, because all the weather apps I’d checked pretty much said that conditions weren’t conducive to a great shot; I thought I’d use it as more of a trip to scout out compositions for a return trip, but how wrong were they!?!?
The weather was perfect! The blue sky was filled with clouds that looked like they’d been painted, the sun was casting a gorgeous warm glow, there was hardly a breeze in the air and yet the sea looked as though it was boiling. White water was crashing hard against the cliff face; the booming sound it made, you could actually feel in your chest!
So, I thought I’d share some Behind the Scenes here with you, going through kit and settings, but before that, check out the video below and you’ll see exactly what it was like when I was there…
Below is my favourite image from being there and that you would have seen me holding in print in the video…
///tasking.adding.rents
setting up
In the picture you can see Trevose Head Lighthouse and the cove in the foreground where you can see the sea swirling around and pounding the cliffs, is called Stincking Cove.
I arrived just after 5pm with an expected sunset of 6.55pm and high tide of around 6.40pm.
When high tide was in, it would have meant that all the rock in the foreground would have been submerged, so because I wanted it as foreground interest in my picture I quickly headed down, found a perch where I could set up on the cliff face and started taking pictures at around 5.20pm; this meant I had plenty of time to (hopefully) get what I wanted, but then also maybe capture some blue hour shots too.
I quickly found my composition including the rocks in the foreground, the swirling, boiling sea in the mid ground and Trevose Head Lighthouse in the background.
Kit
I planted my tripod in place and set up using my:
Sony A7RIV
Sony 16-35mm f/4.0 Zeiss
Until venturing out into landscape and seascape photography, as a portrait photographer I’d hardly touched my 16-35mm lens; now though it’s a workhorse. It’s a great lens being light, portable and sharp, but I am going to be upgrading to the 16-35mm f/2.8 G-Master. When I have it, I’ll do a video explaining why, but needless to say, it’s a VERY noticeable upgrade.
Knowing that I was going to be using a relatively slow shutter speed, I plugged in a cable release. I could have maybe used the built-in timer on the camera, but when photographing seascape I find it much easier to capture a wave as I see it happening as opposed to pressing the shutter moments before and waiting 2 seconds; I started to get a great collection of pictures when the wave had passed doing it that way :)
Filters
I think I’ve mentioned it before, but when I first attempted had a go at landscape photography, I got all the kit I thought I needed, including filters, but found them cumbersome, fiddly and awkward to use, so they ended up (and still do) gather dust in my office (I really must get them on eBay)
However, I am using filters these days, but not the ones I got originally, and they’re a dream to use and great build quality.
I decided to use the H&Y K Series 95mm HD MRC ND64 CPL; a 6 Stop Neutral Density Filter with Circular Polariser.
Note: Just incase you didn’t know, by putting this over the front of the camera lens, it effectively darkens the scene down by 6 stops, meaning that to bring the image back up to exposure, a slower shutter speed is needed to allow time for more light to land on the sensor.
shutter speed
It’s such fun playing with shutter speed to get the look you want in the sea; a faster speed freezing the waves, a slower speed capturing all the patterns and shapes, and even slower, creating an almost mist / fog appearance.
Here’s how the sea looks when using a a shutter speed of 1/200sec without the use of an ND filter…
It’s very much down to personal taste which shutter speed you go for depending on the look that YOU want.
The image below is from using the ND filter and a shutter speed of 5 seconds.
You can see how it smooths out the waves and creates that mist / fog effect…
I wanted to capture the swirling patterns and drama in the sea, so opted for a 2 second exposure; the result of that you can see in the image below.
The sea still look as though it’s boiling, but the camera has also captured the swirling motion and the long streaks as the water crawls over the rocks…
I’m finding myself wishing for an almighty storm for when I head down to Trevose again; it would be amazing to photograph it during and then after as it seems beautiful light always follows a storm.
Saying that, I’ll be heading there again regardless; it’s such a beautiful place to just sit, relax and grab a picnic whilst looking out across the sea.
Keep well,
Glyn


