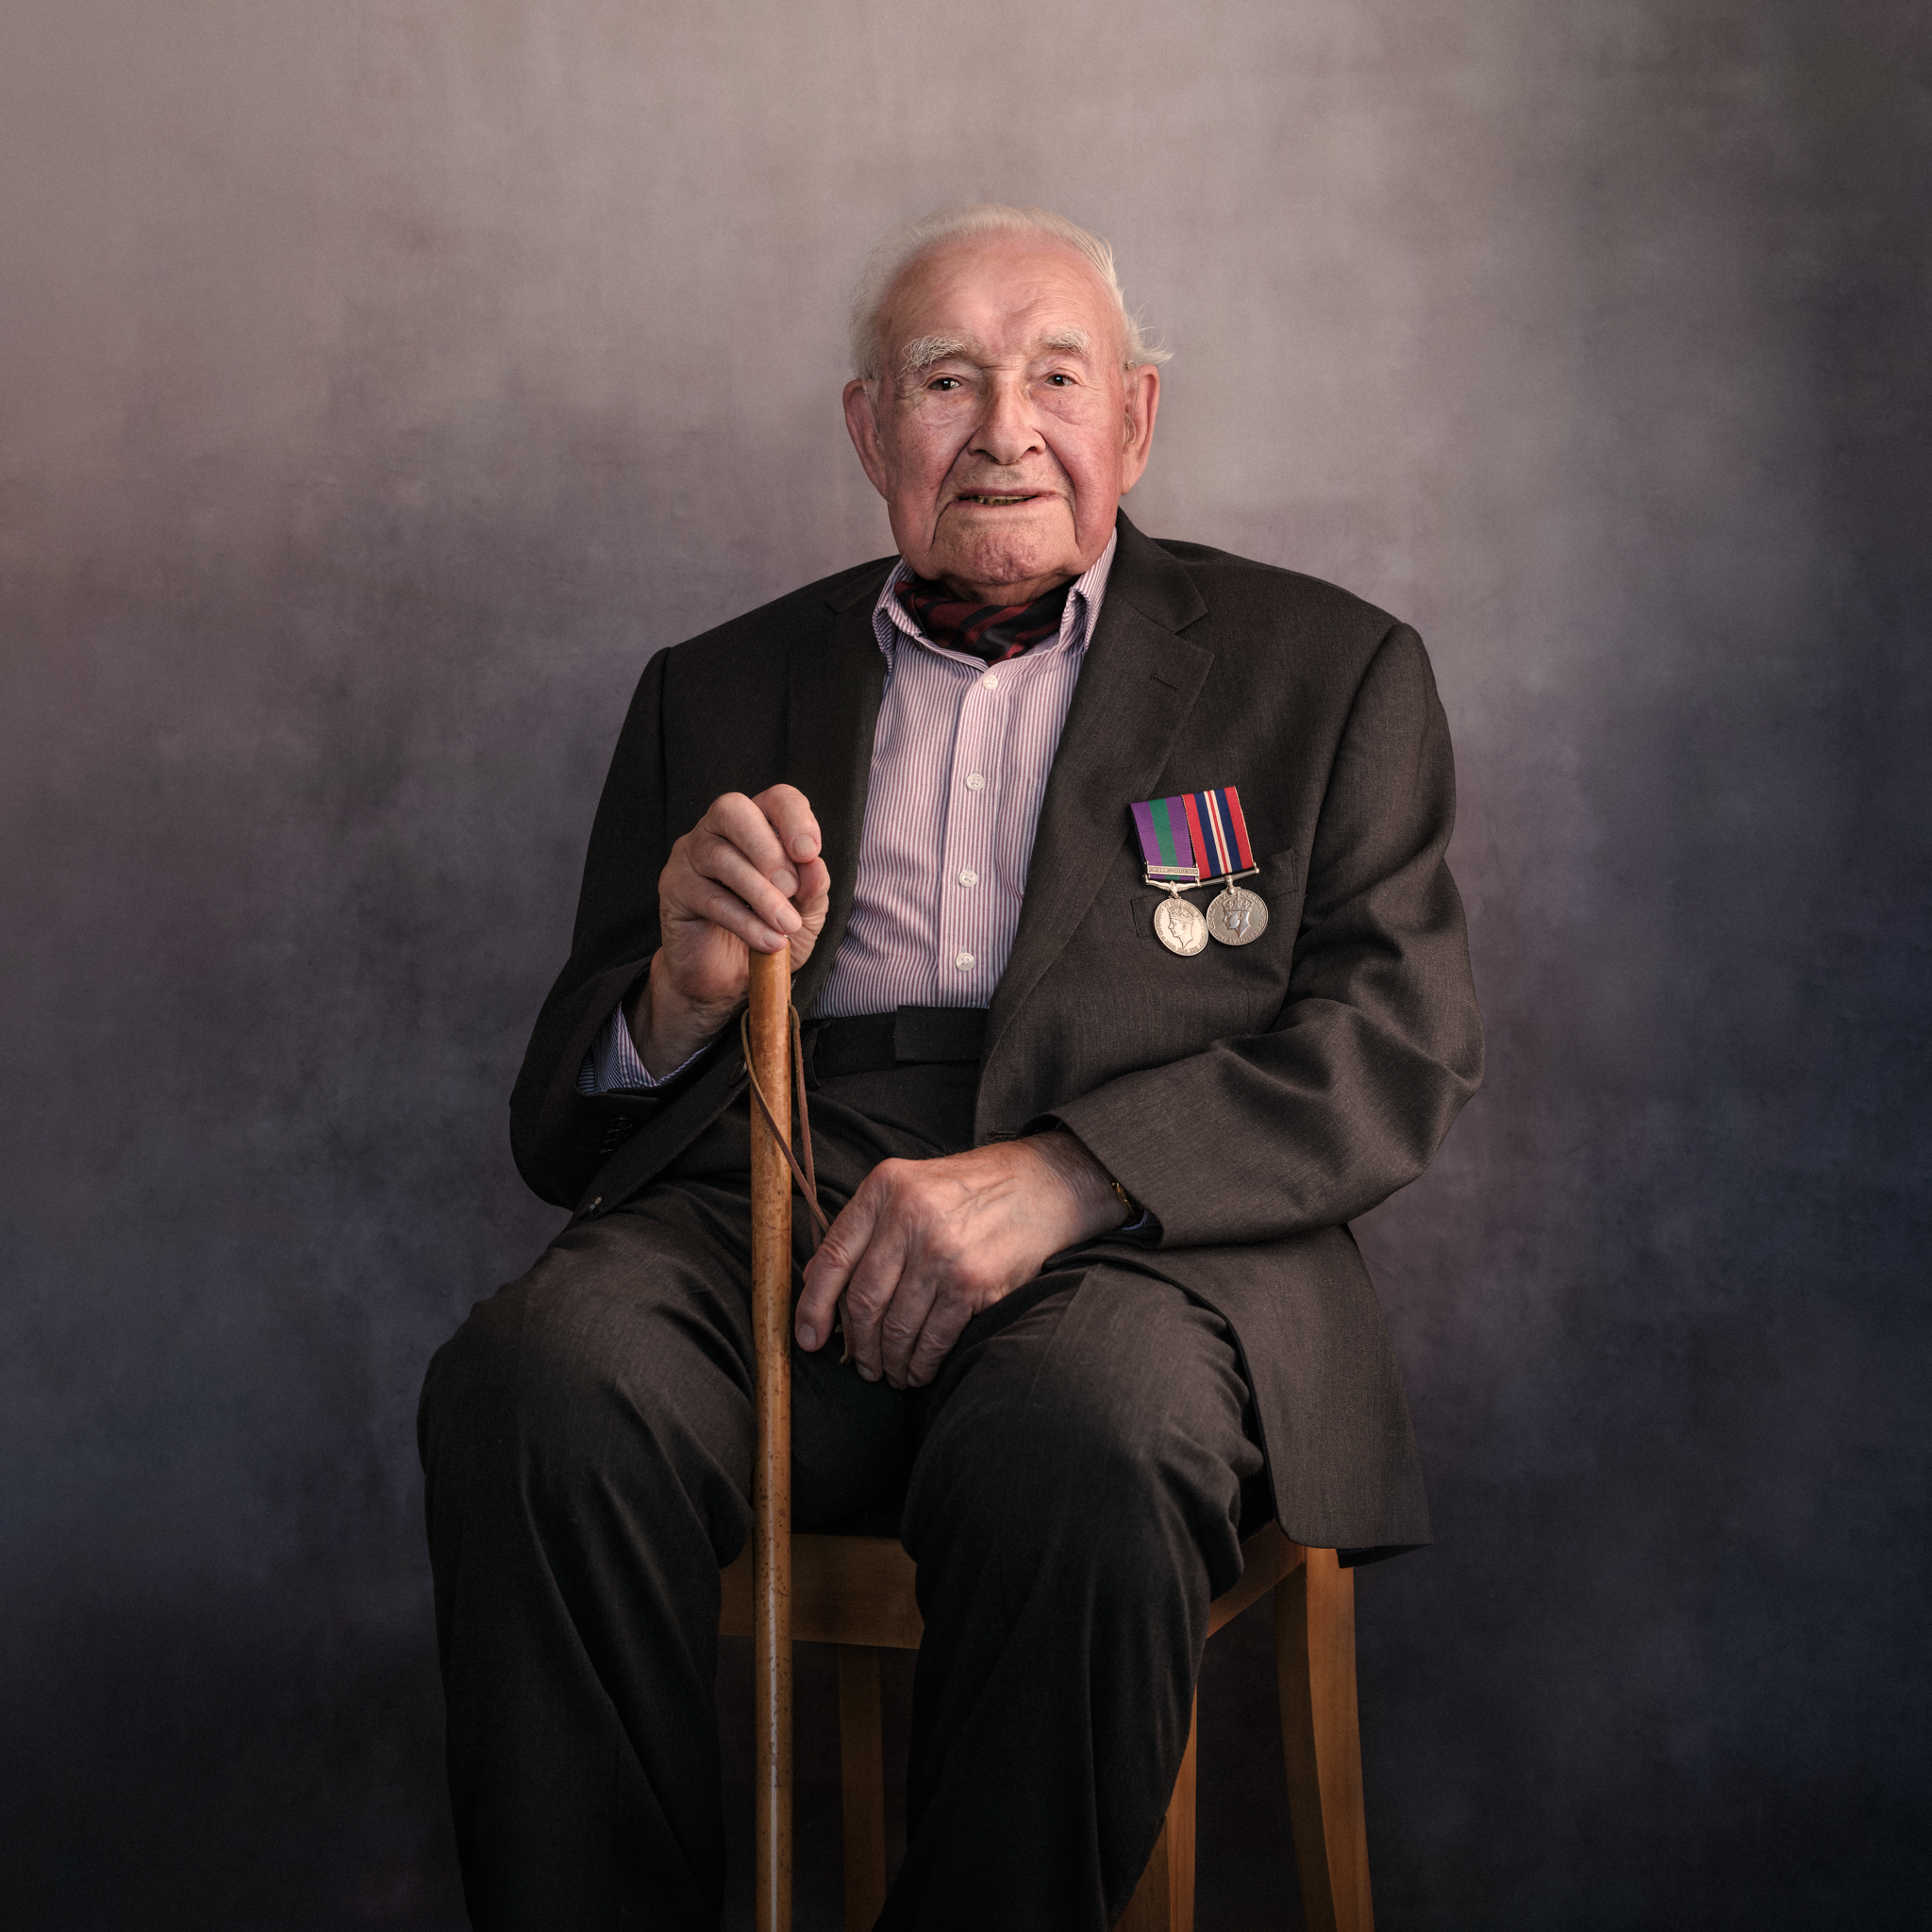
Last week I drove to Bath, Somerset to meet and photograph a hero: Philip Truelove, a Second World War veteran who served in 215 Platoon, No. 10 Bomb Disposal Company, Royal Engineers.
I'd been contacted by his son Jez, a keen photographer himself, after he received the Fotospeed newsletter announcing my new partnership as one of their Ambassadors. He clicked through to my website, saw mention of the 39-45 Portraits Project, and got in touch. We exchanged a few emails and agreed a date for me to visit Philip at his home and take his portrait.
I'd been looking forward to this for weeks. I'm no longer actively touring the UK photographing WW2 veterans, but if I'm contacted about doing so, I'll always make the effort to get it done. Meeting Philip today was such a treat.
A warm welcome
As planned, I arrived at midday and left my kit in the car for now. Jez met me at the door.
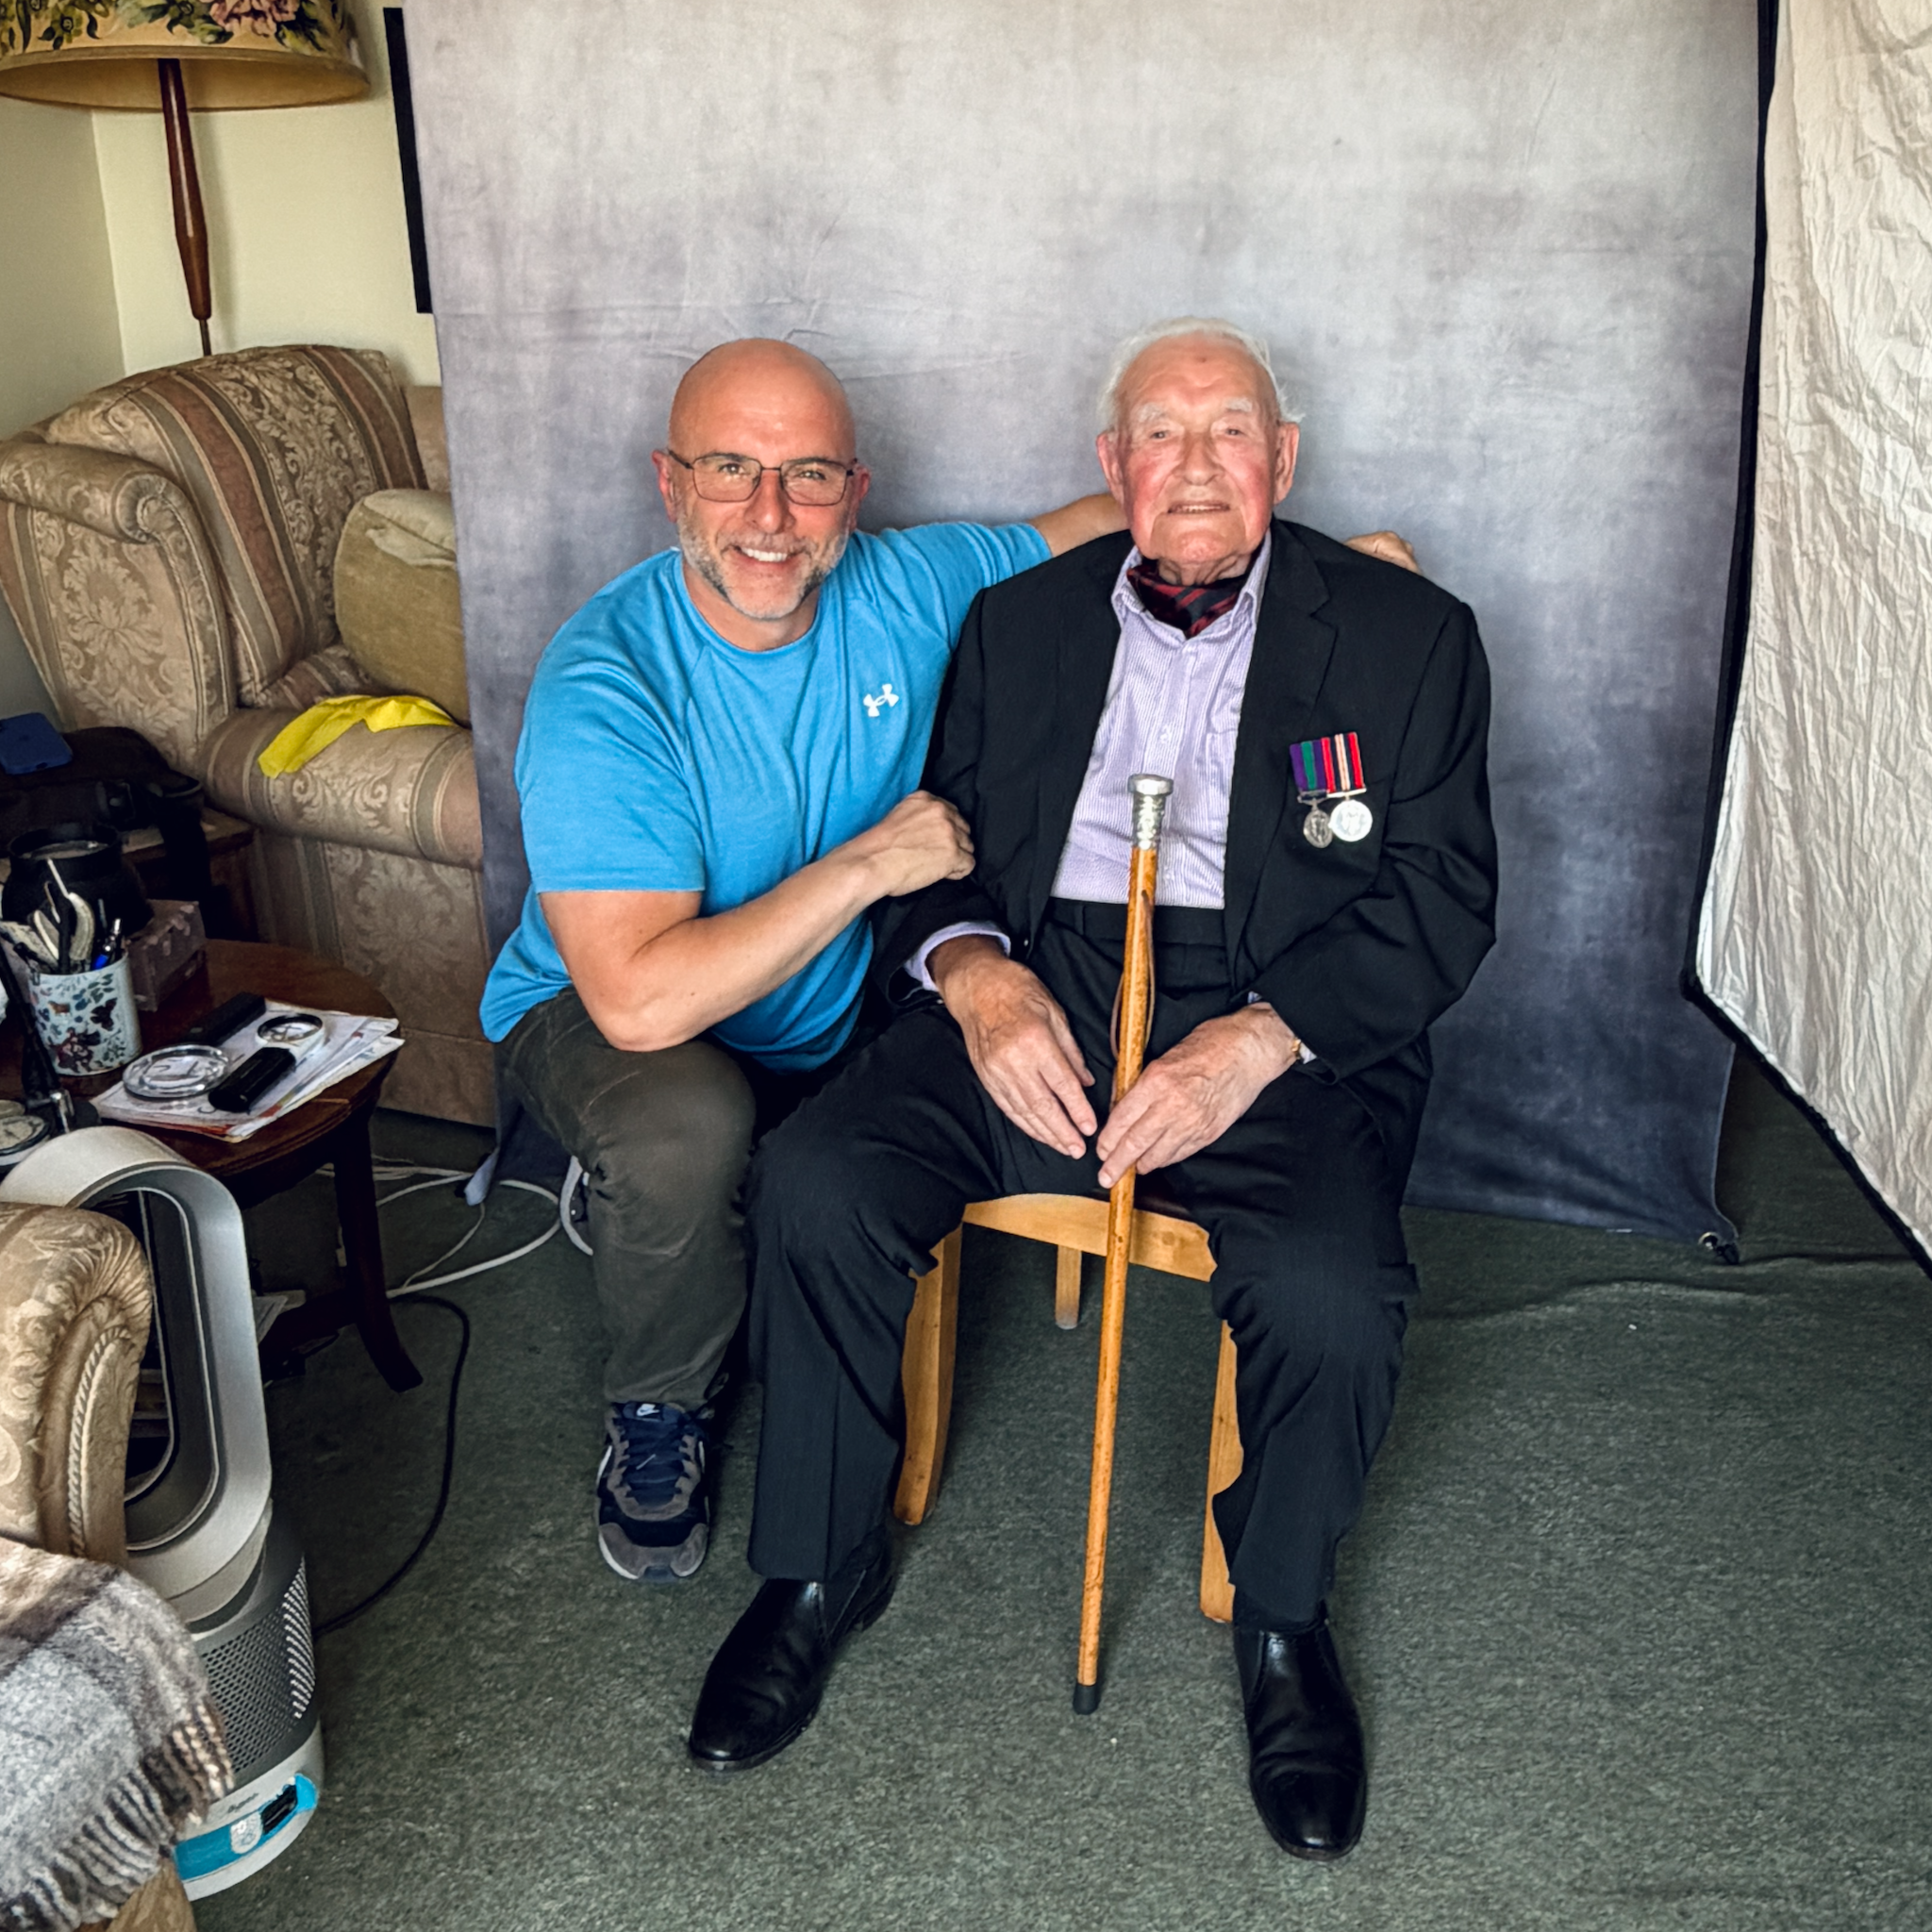
"My dad is very excited about this," he said, and then led me into the living room, where I was greeted with a beaming smile and Philip making the effort to get up from his chair to greet me.
"Well, hello Sir" was all that was needed, and away we went. The conversation flowed easily as Philip recounted stories of joining up and memories of friends, and at times he became a little teary.
I asked him what made him want to join Bomb Disposal.
"I didn't want to have to kill anyone," he told me.
At one point he spoke about a time he was guiding a group of German soldiers who had surrendered, moving them to a new location. Philip was clearing the way ahead, making sure it was safe, when one of the soldiers stepped over the white safety line he'd put in place to go to the toilet in a bush. Moments later there was an explosion. The soldier had stepped on a mine.
"That was my saddest day of the whole war," Philip said.
Taking the portrait
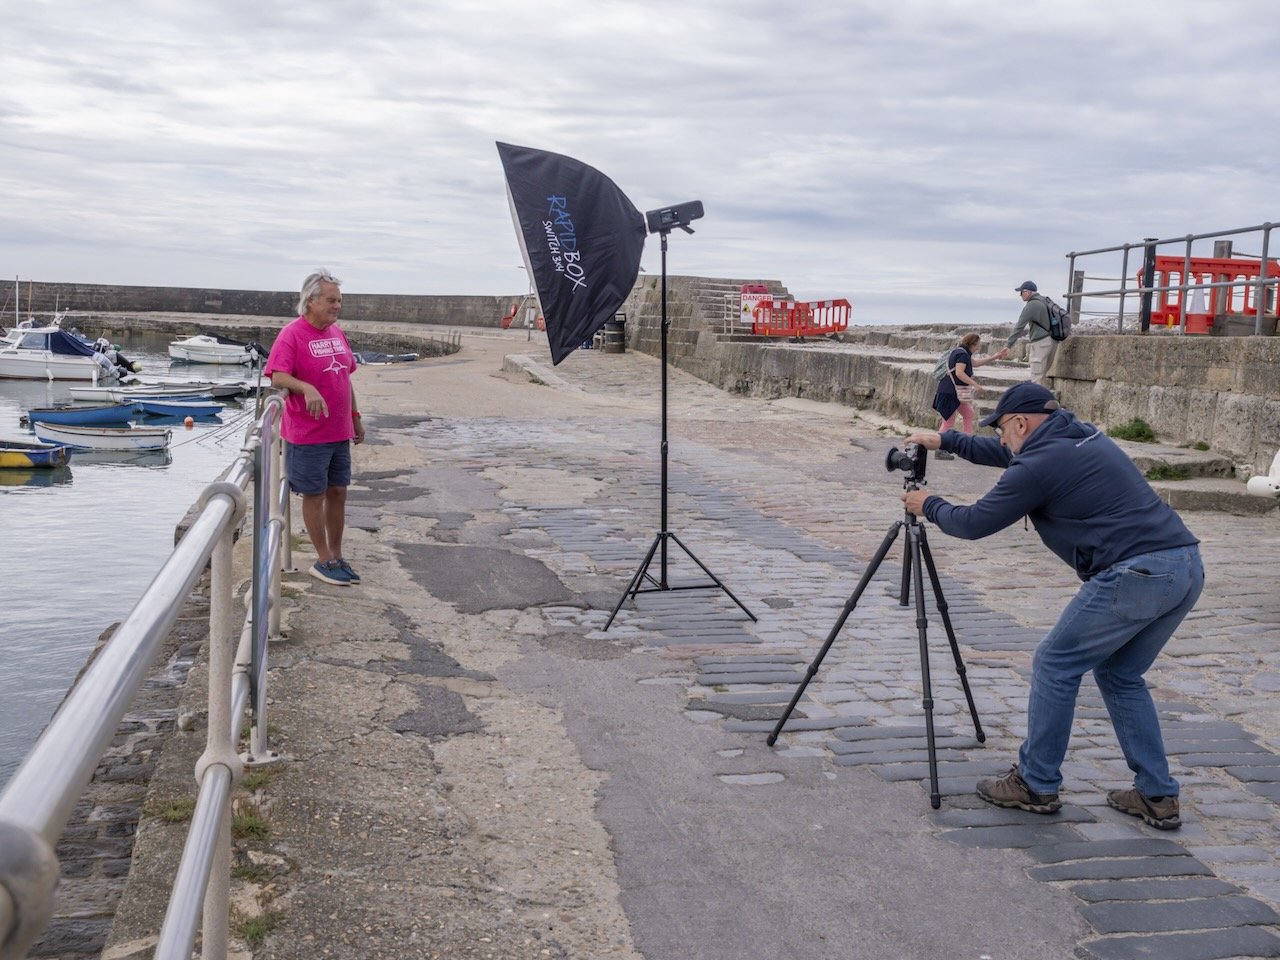
We chatted over a cup of tea, and then, with Jez's help, I brought my kit in from the car and set up. Philip was a natural in front of the camera and clearly enjoyed the experience.
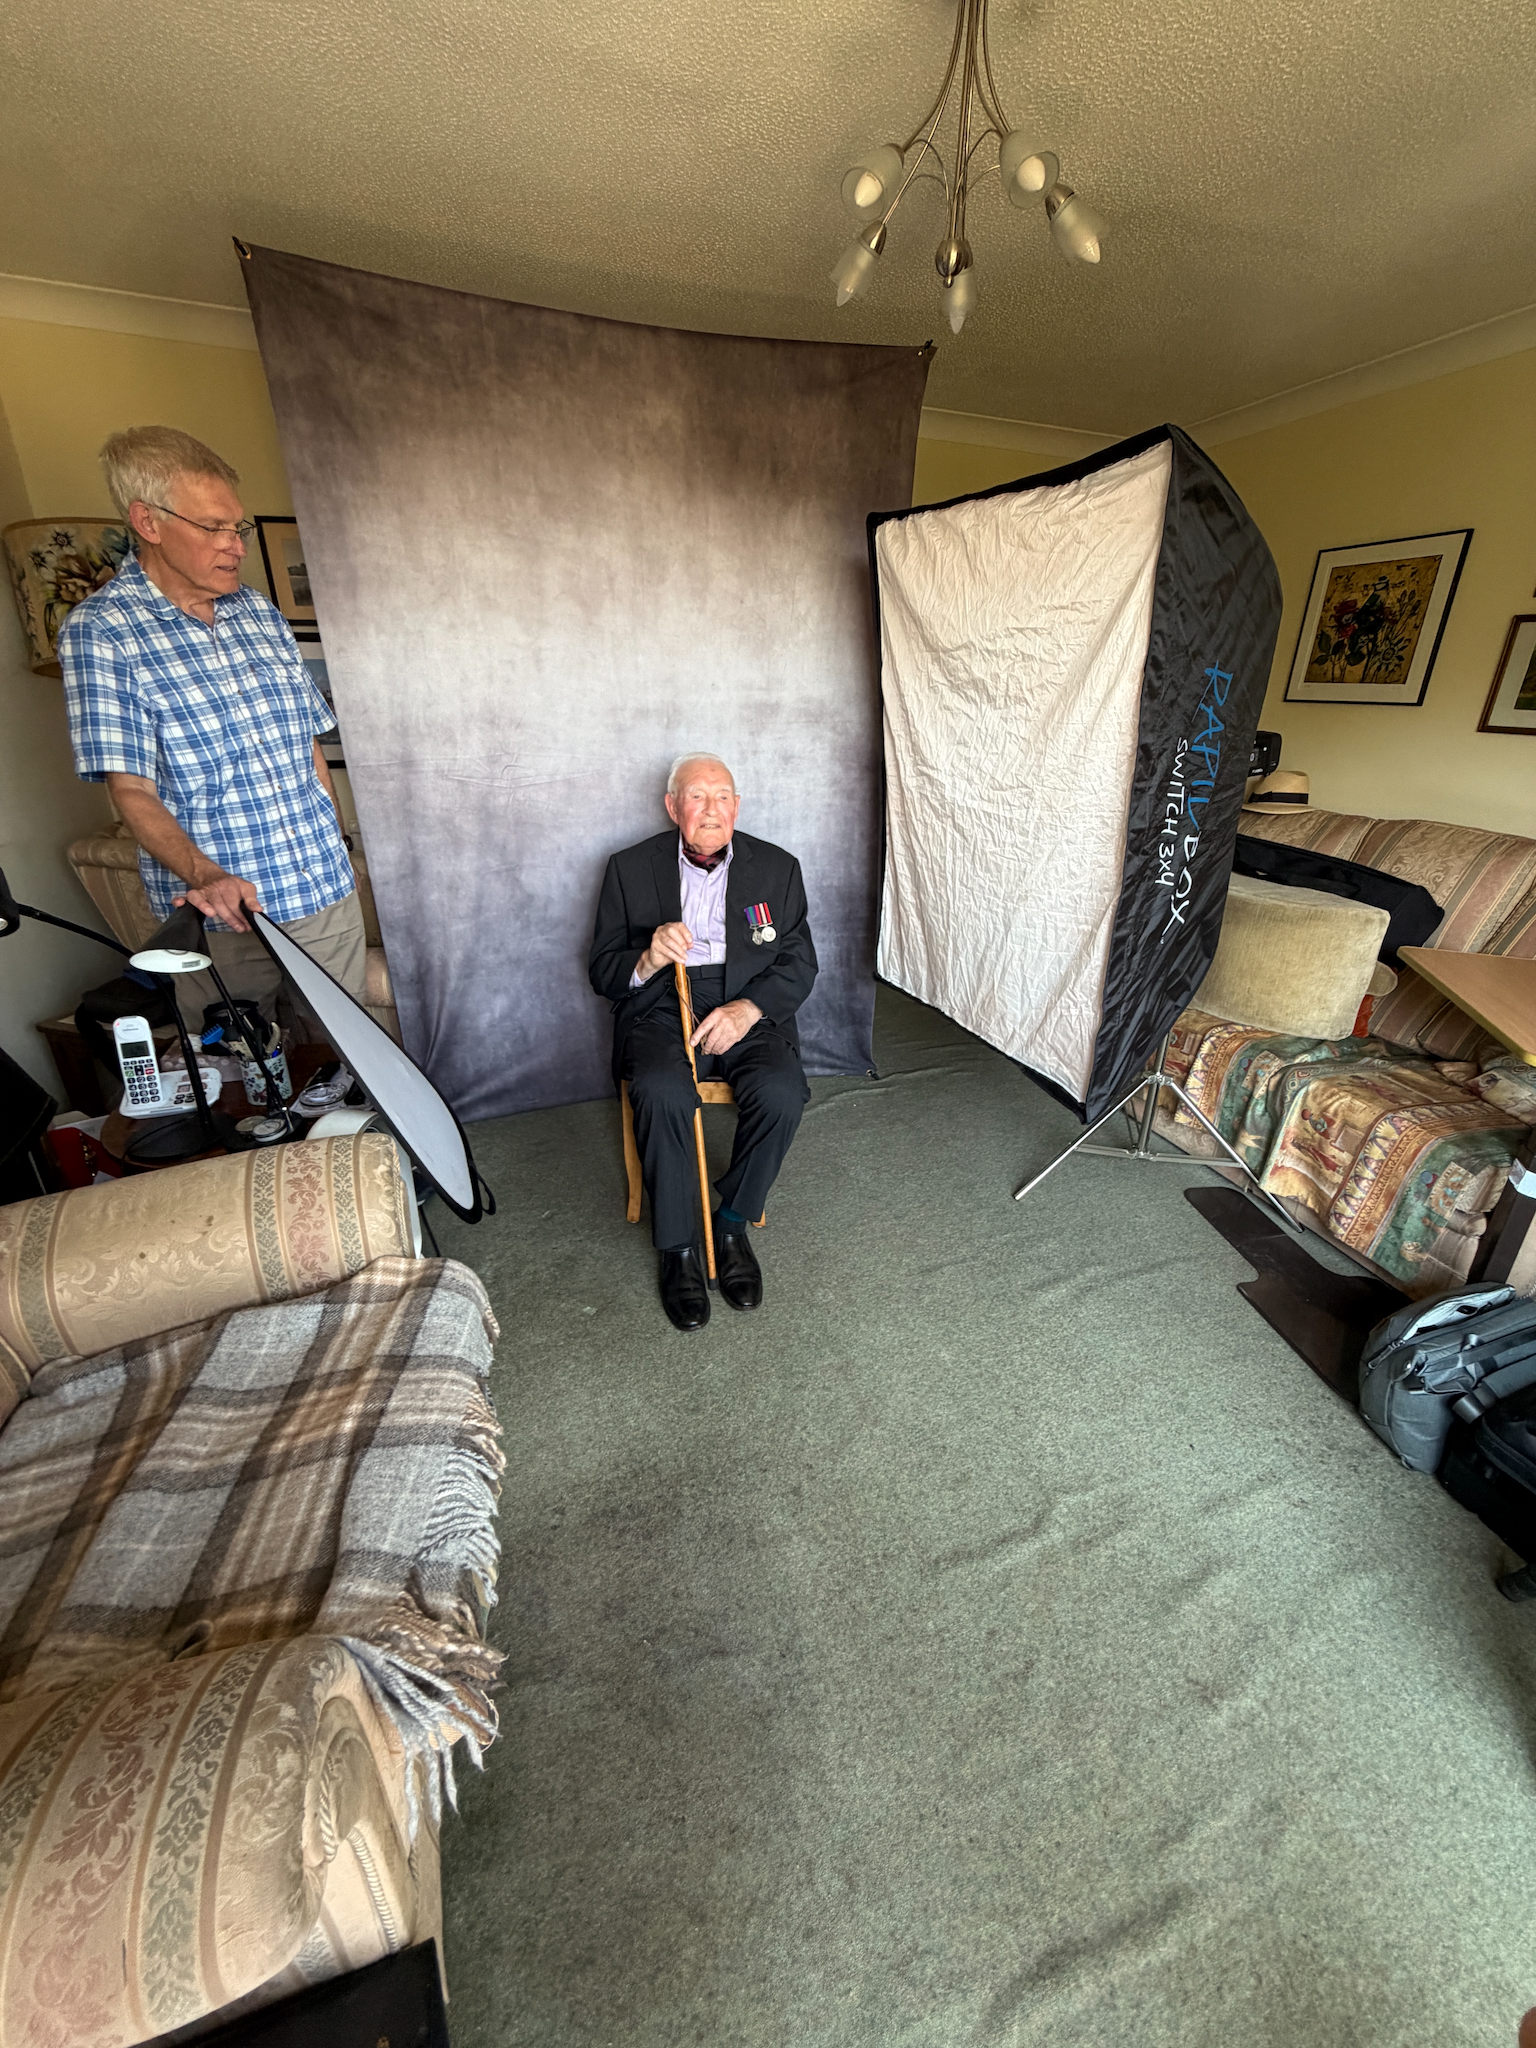
Space in the room was very tight, so tight that I couldn't use a tripod as I normally would. Instead I had to lean back against the patio doors and hold the camera about six inches from my chin, just to maintain eye contact with him through the lens.
By 1.02pm I was packed up and heading out the door. It wasn't a long visit, but it was more than enough quality time together. It was also a very hot day, and I was mindful that Philip was wearing his suit jacket and medals for the occasion. Despite my concerns, he was determined we should do this today, and I'm so glad we did.
KIT USED
Fuji X-T5
Fuji 33mm f/1.4 WR
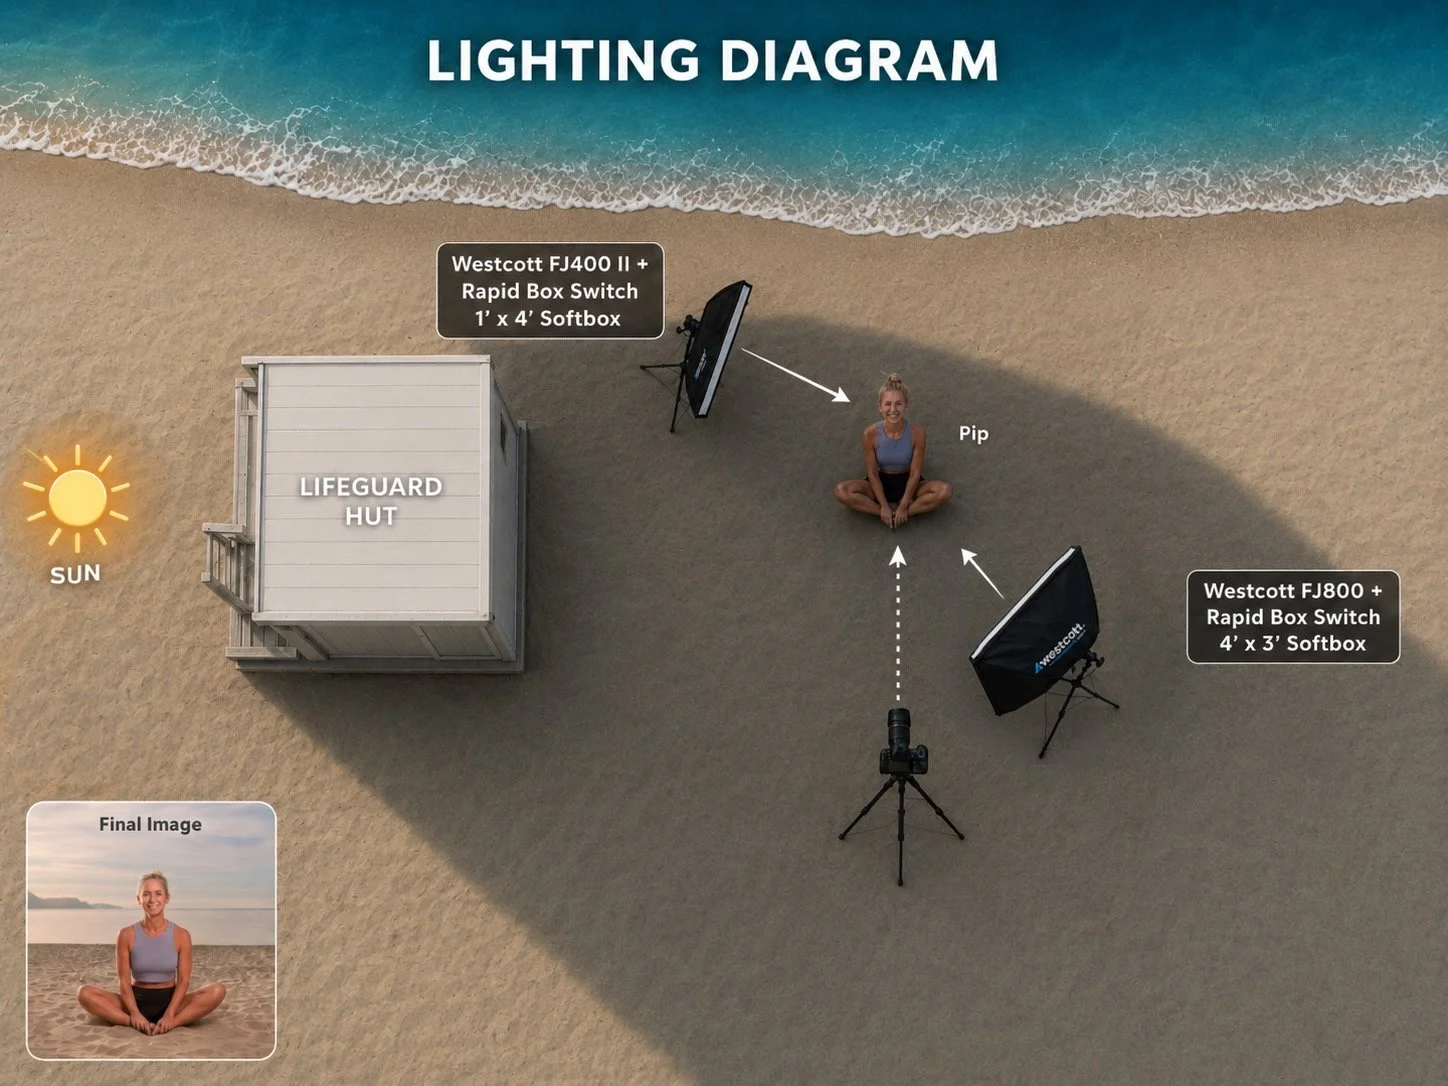
Westcott FJ400 Strobe
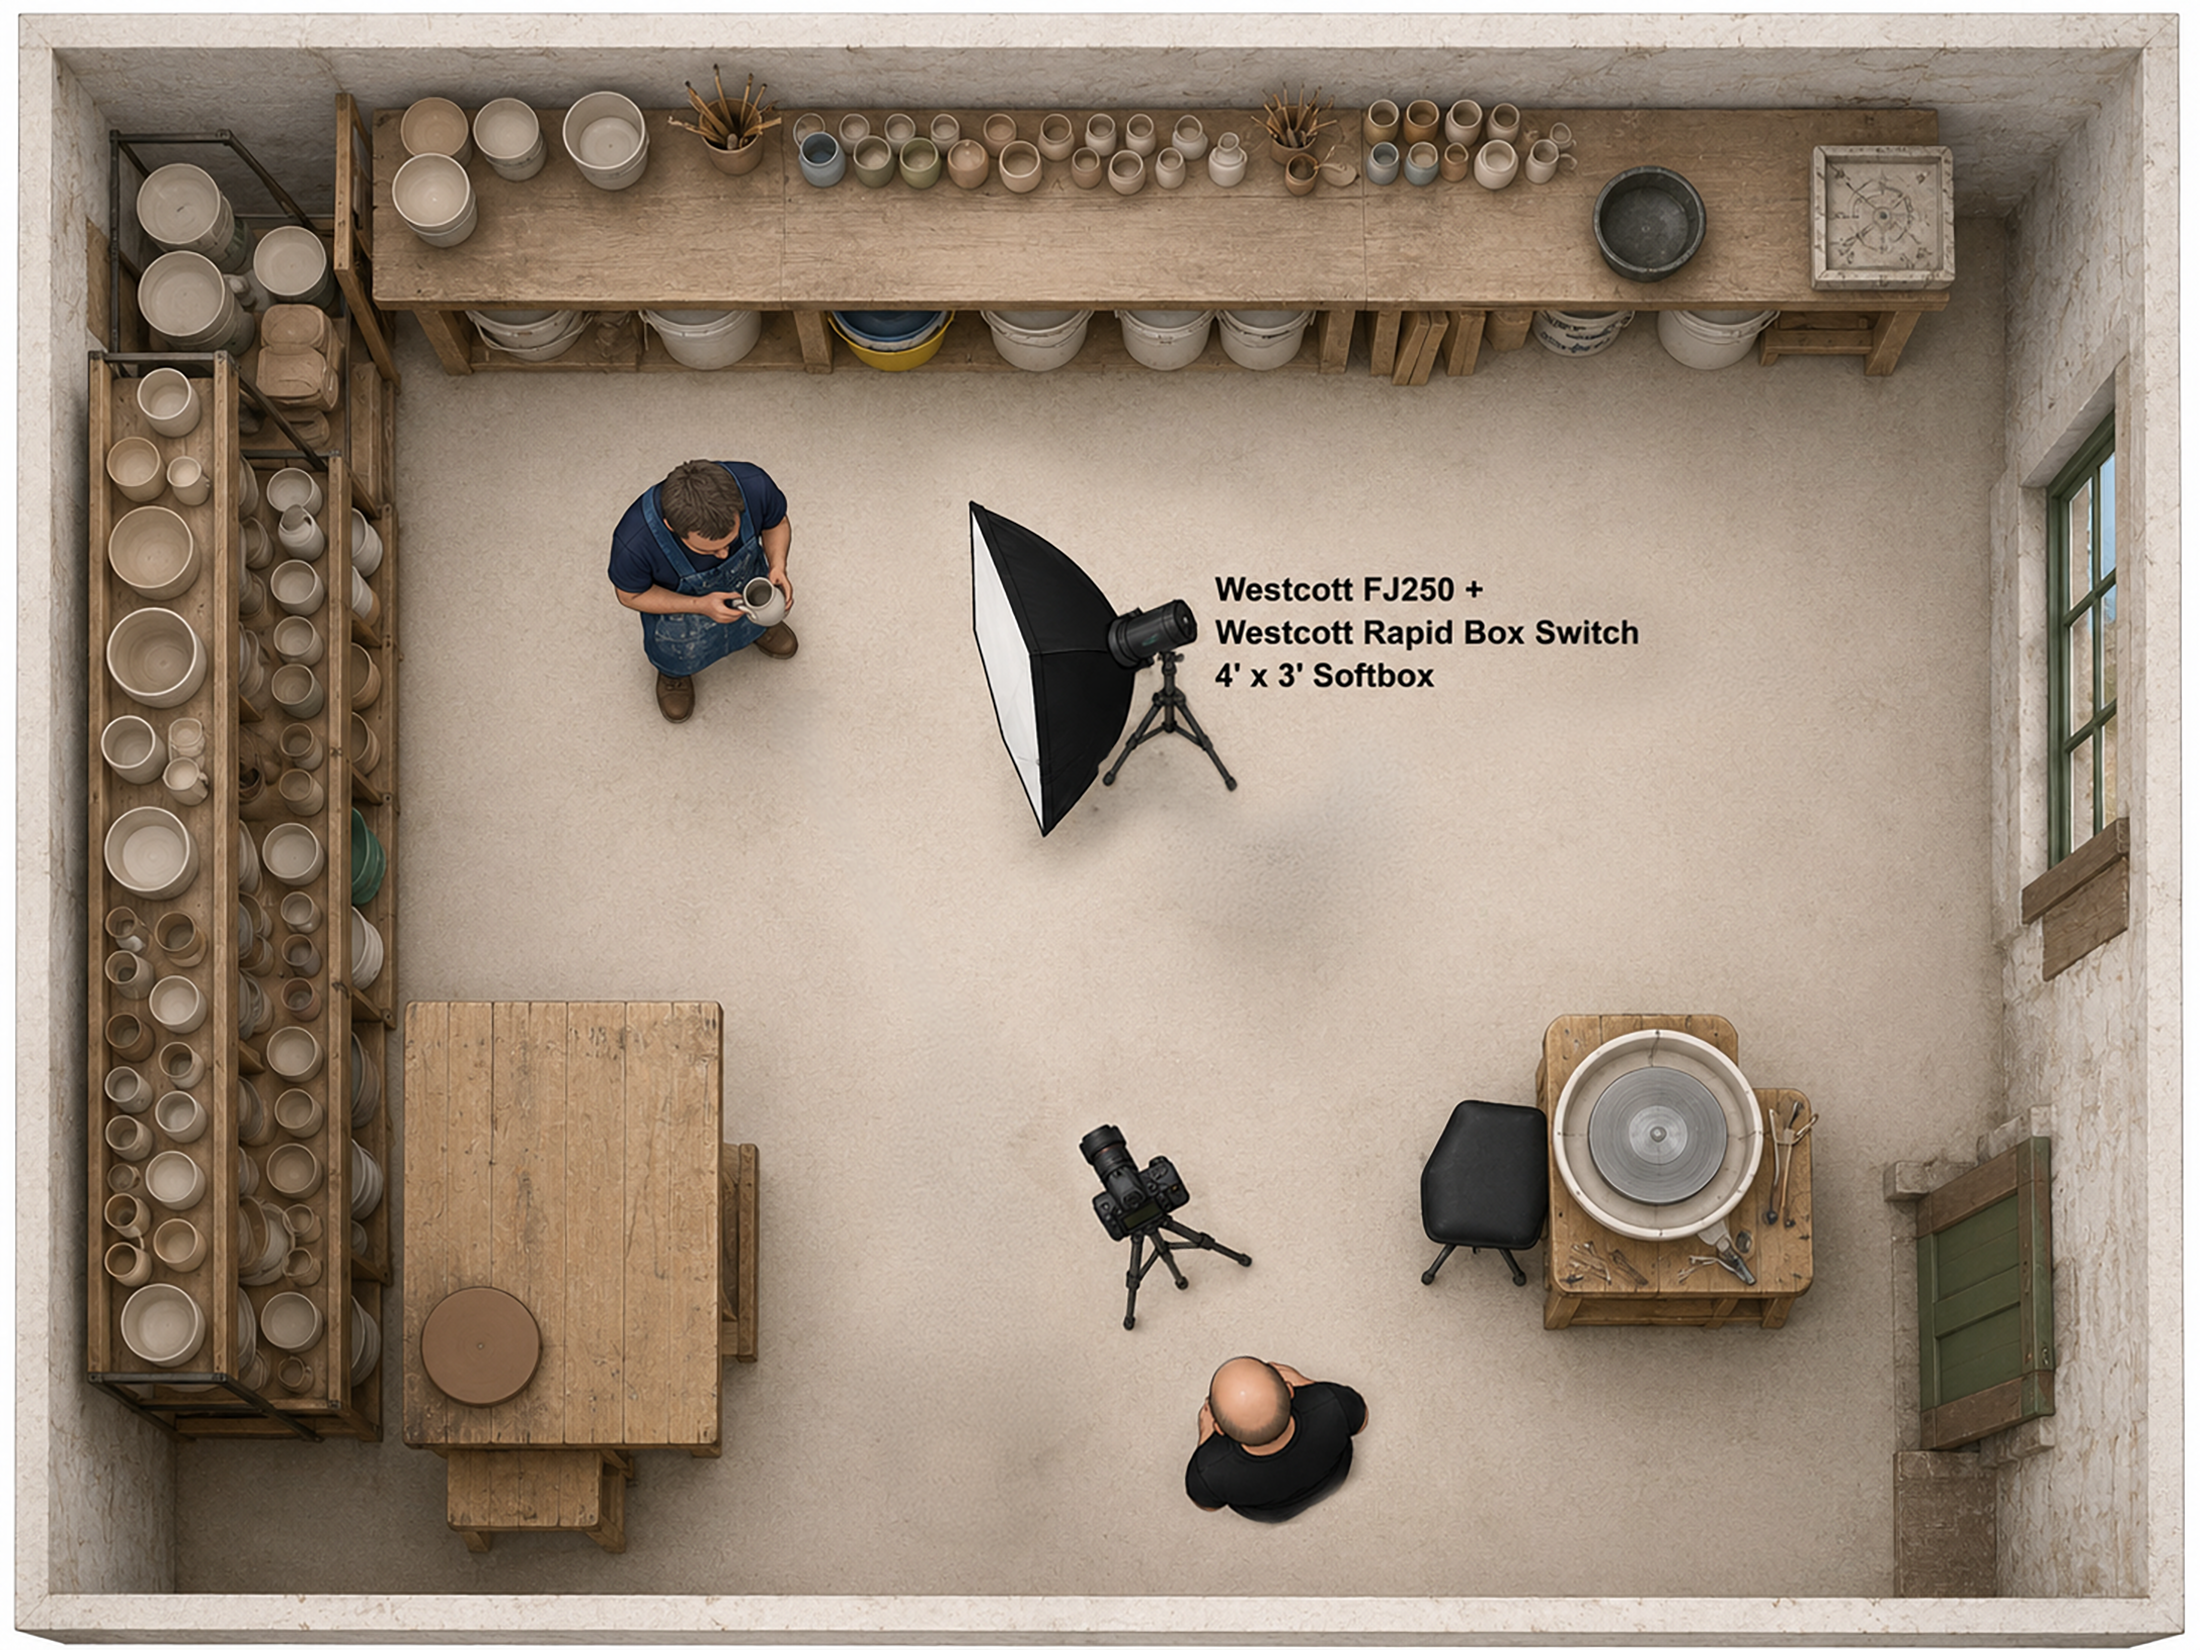
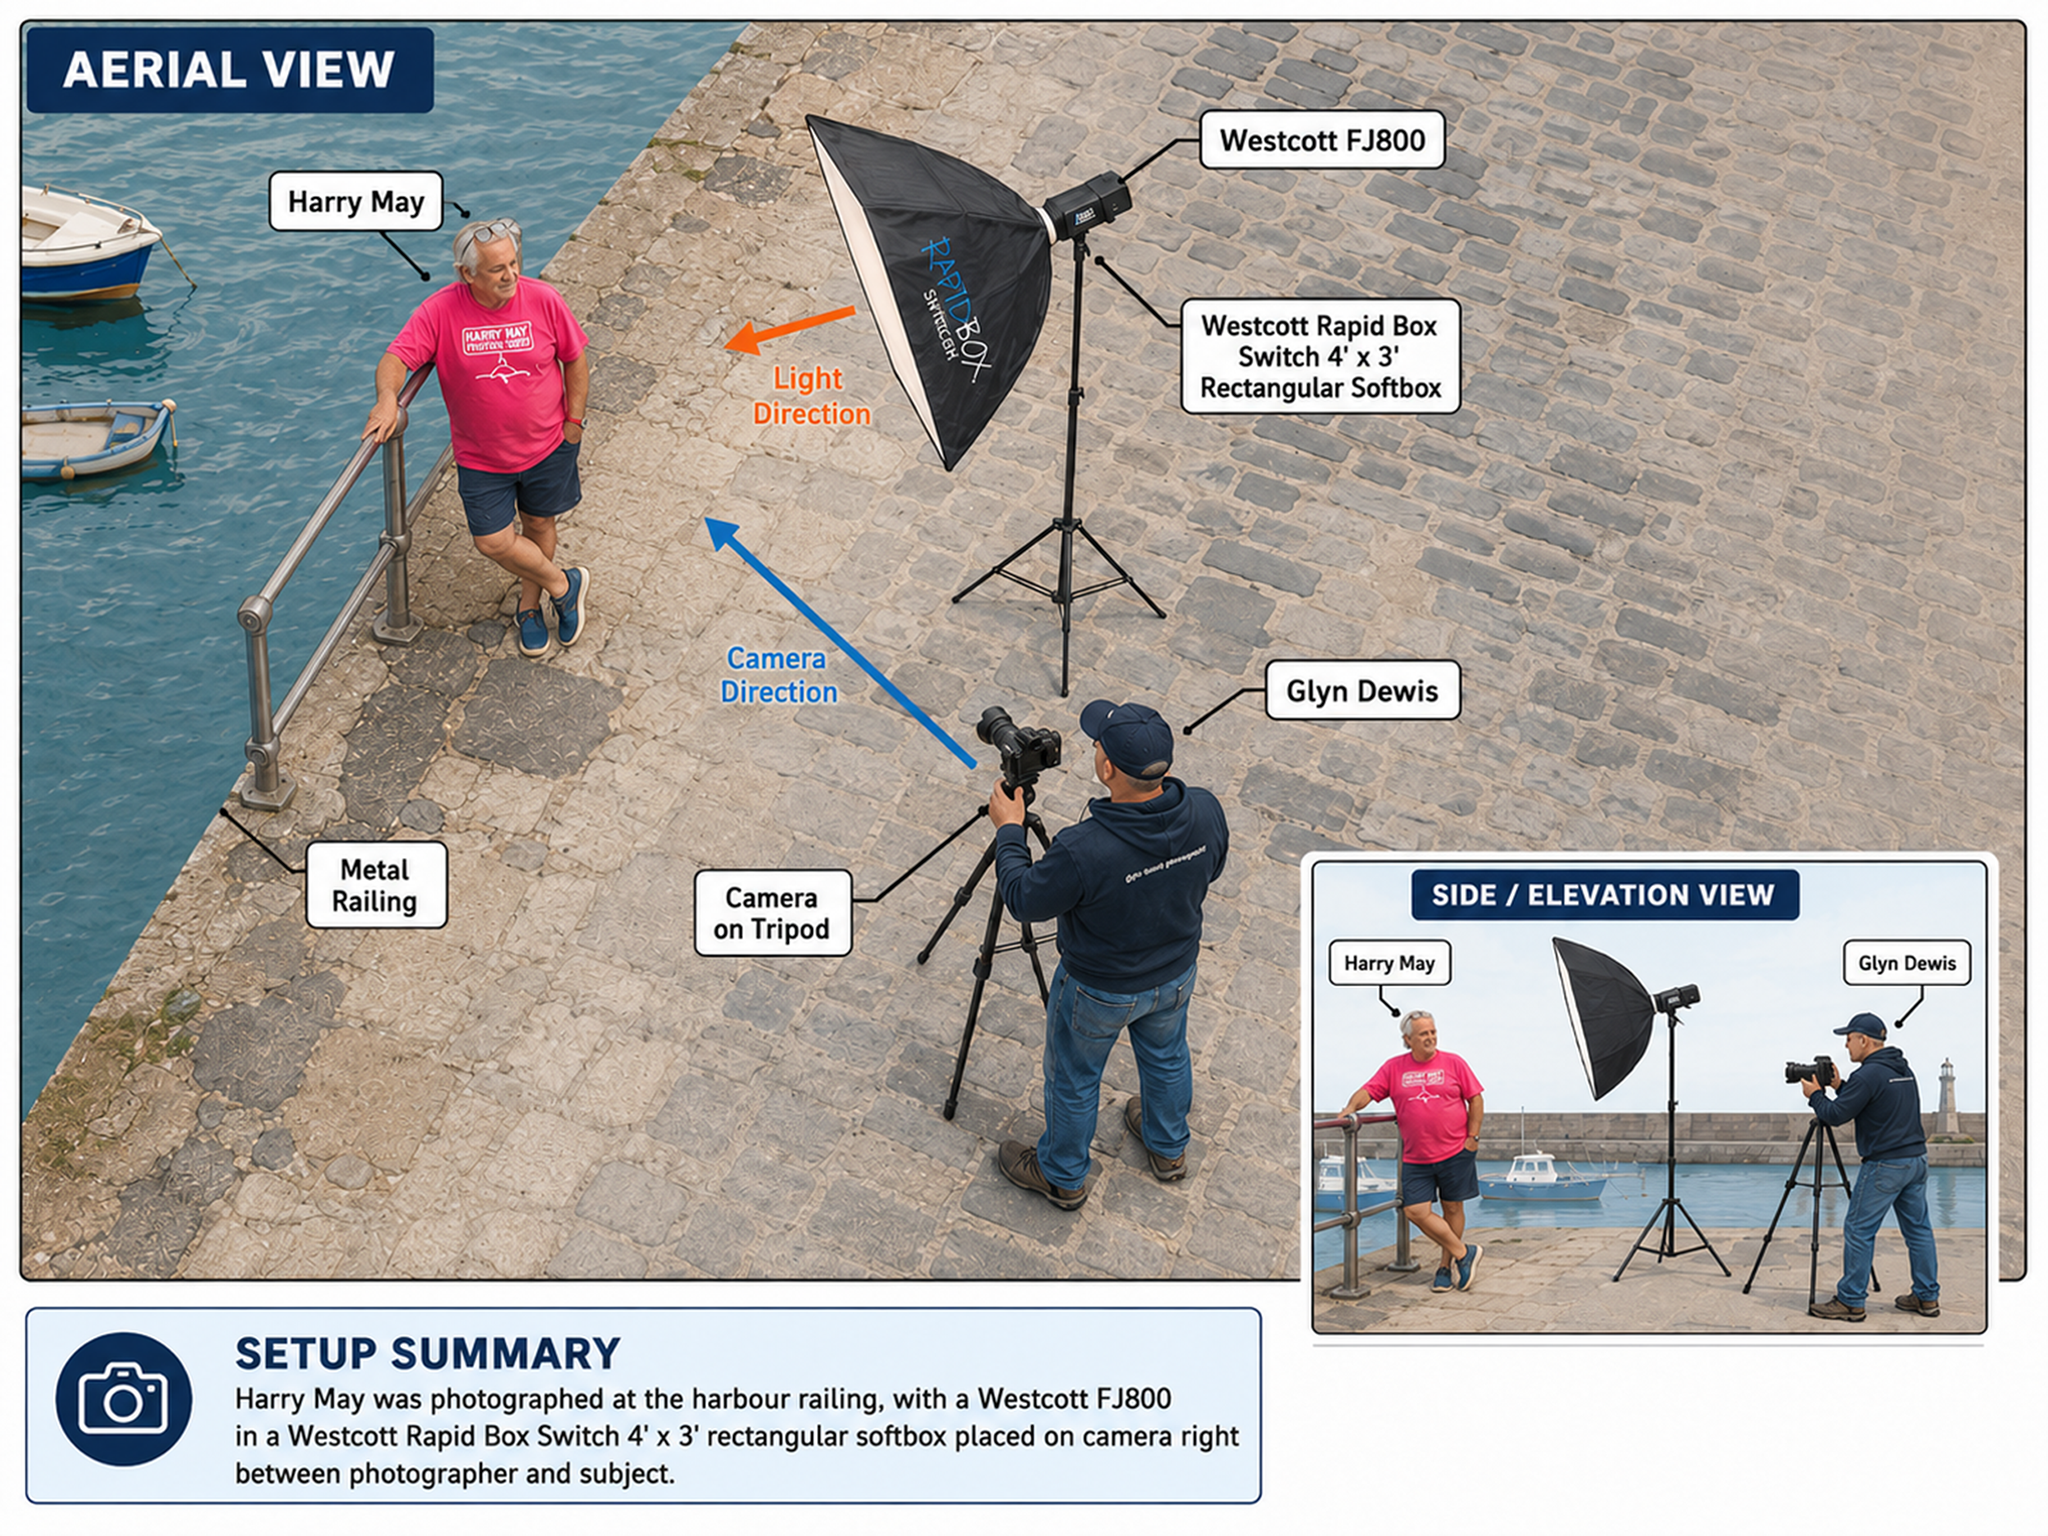
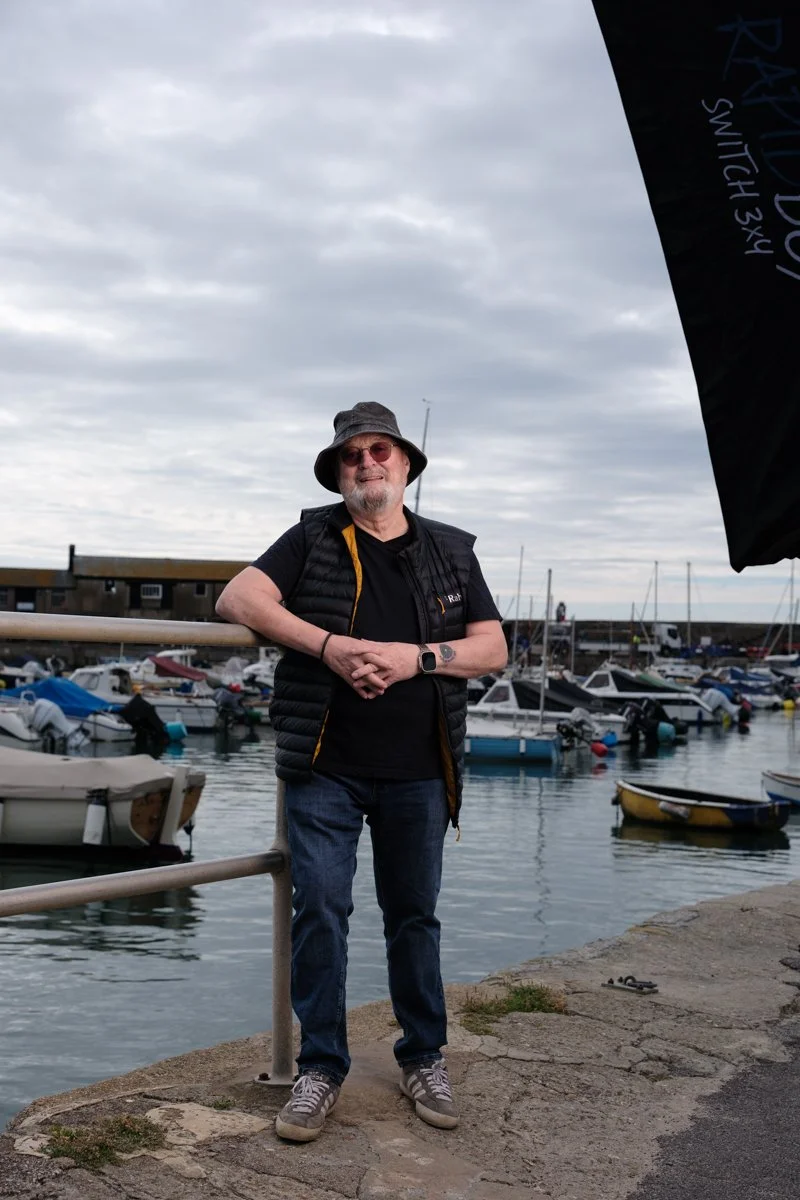
Westcott 4’ x 3’ Rapid Box Switch Softbox
Westcott X-Drop Pro Background Support
Westcott Vintage Grey by Glyn Dewis (Background Material)
Westcott Silver / White Collapsible Reflector
🚨 Check out my full Kit List ( CLICK HERE )
What comes next
I'll be heading back in just under two weeks to hand deliver Philip's portrait, mounted and presented thanks to my friend Trevor at West Street Picture Framing in Axminster. First, though, I'll be editing the portrait later today.
Philip turns 100 years old on the 21st December this year, and in a couple of weeks the street he lives on will be holding a party to celebrate his birthday early. That alone tells you the kind of man he is, when an entire street wants to celebrate his birthday.
I can't wait to head back and see him again. In the meantime, I'll be reading his self-published book, The Chronicles of a Sapper, which recounts his memories from when he joined up in January 1945.