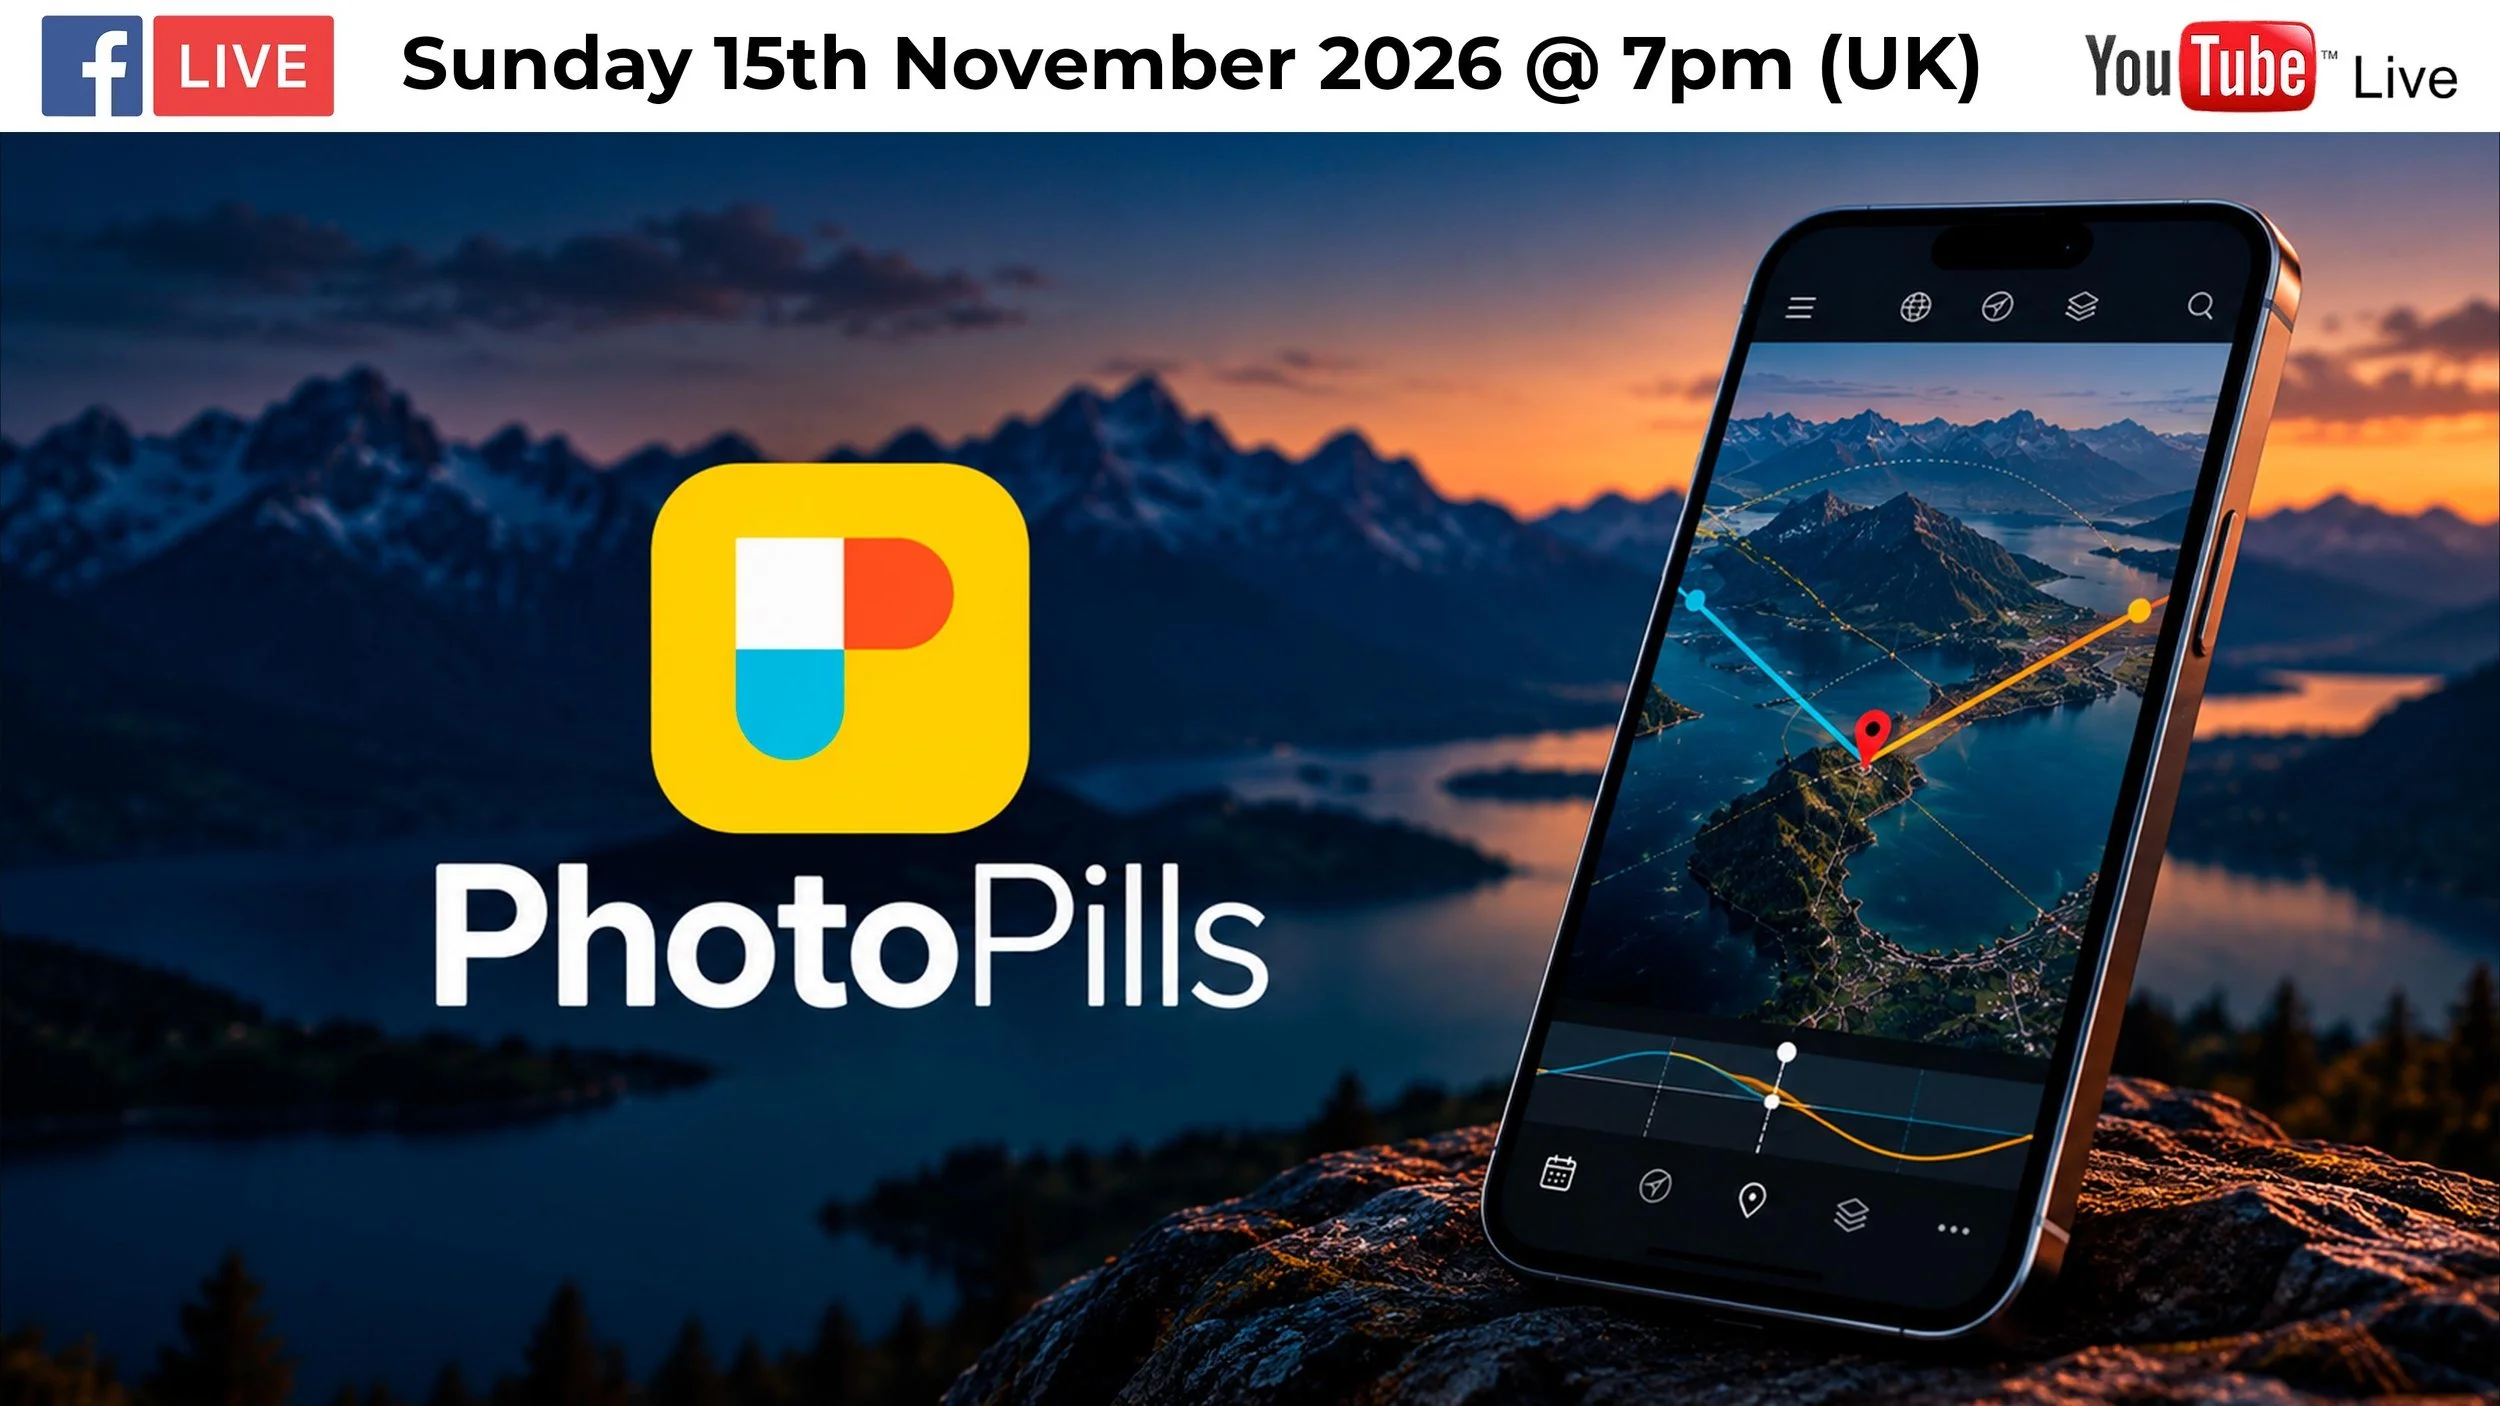
I’ve had PhotoPills on my phone for a good while now, and for most of that time I’ve known I wasn’t getting anywhere near the most out of it. So for Sunday night’s live I asked Rafael from PhotoPills to join me and show how he plans a shot, and the full recording is here in this post if you’d like to watch along.
Where the pills come from
Rafael is one of the co-founders, and the team are from Menorca. The idea from the start was to help photographers get from an idea to a real photo, one you could hang on a wall, so they worked through every question you need to answer along the way and built a tool for each. You have a problem, you take a pill; that’s the name.
The first iOS version came out in 2013, Android followed in 2016, and the app is now close to a million downloads.
You don’t always need the Planner
This was the first thing that made me sit up. If you’re already standing in front of your subject, you often don’t need the map at all.
The widgets give you sunrise, sunset, golden hour, blue hour, moon and Milky Way times for wherever you are, even offline, without opening the app. The Night AR pill shows you the Milky Way as an arc over whatever your phone is pointing at, and you tap to jump forward a day at a time until the moon has dropped below the horizon. The Sun and Moon pills do the same with their paths across the sky, which is just as useful in a city when you want to know when the sun is going to disappear behind a building.
Three things to learn in the Planner
Rafael’s view is that planning comes down to three things: knowing how to move the red pin, how to change the time, and how to read where the sun, moon or Milky Way will be from the lines on the map and the panels above it.
He used Durdle Door as the example. The red pin is where you’ll be standing, and you get it there with the Load button, which lets you search for an address. This is the one that had foxed me. I’d never tapped Load to find a location because I thought it was for loading things in, and Rafael was the first to say the name isn’t intuitive and it’s going to change. You can also load a geotagged photo from your phone and the red pin drops where you took it, which is brilliant for scouting.
Then there’s the black pin, which you switch on from the second panel above the map and drop on your subject, so you always know where the arch is when you zoom out.
The time bar under the map has more to it than I’d realised. Swipe to move through the day, tap once for a calendar, double tap to come back to today. With the date set to the 29th November, the map showed sunrise at 7:46 along one line and sunset at 4:09 along another, and the colours of the lines match the arrows in the panel.
That’s it. Pin, time, lines.
The magnifying glass finds moments
The other way to plan is when you already know where you want to stand and where you want the sun or moon to sit, but you don’t know when it happens, or whether it happens at all.
That’s what the Find tool is for. Most people assume the magnifying glass searches for places, but it searches for dates. You tell it where in the sky you want the sun or moon, give it a date range (Rafael uses one year for the sun and five for the moon), and it comes back with a list of dates and times. If the shot is impossible from that spot, it shows you that too, and you move the red pin until it isn’t.
Will the moon be sharp?
I’d have been happy just being in the right place at the right time, but the map tools go further. Turn on the depth of field tool, choose your camera, focal length and aperture, and you see your frame drawn on the map along with what will be in focus.
At 400mm and f/8, focused on the arch, the moon would’ve been soft, and f/16 didn’t fix it. Dropping to 200mm at f/11 brought the hyperfocal distance in to 118 metres, which is closer than the arch, so everything from 67 metres to infinity comes out acceptably sharp, moon included.
The Milky Way, which I’ve never photographed
You switch layers from the button at the bottom right of the map. Rafael turns the Milky Way layer on and leaves the moon layer on with it, because he always wants to know where the moon is.
His method is to go from new moon to new moon through the year and look at where the Milky Way sits each time. The little Milky Way picture in the top panel is a hidden button, and tapping it jumps you to the next new moon. In the northern hemisphere the core is visible from February to November, and at Durdle Door in March it sits right next to the arch at about five in the morning. I mentioned how busy that beach gets, and Rafael’s reply was that it’s probably not that crowded at 5am in March.
Once you’re happy, Save keeps it as a plan you can load again later, or you can share it with whoever’s coming with you.
Premium and the 3D view
We finished with the Premium beta, which runs on the computer as well as the phone. PhotoPills Classic stays a one-time purchase, and Premium is an optional layer on top at $100 a year while it’s in beta. Rafael said the new version of the app planned for early 2027 will be a free update for everyone.
The part that got me was the 3D view. Rafael walked down onto the beach at Durdle Door on screen, changed the time, and the Milky Way moved across the sky above the arch, which means you can find where to stand before you’ve left the house.
Links:
PhotoPills: www.photopills.com
PhotoPills Premium: https://premium.photopills.com
PhotoPills on YouTube: www.youtube.com/@PhotoPills