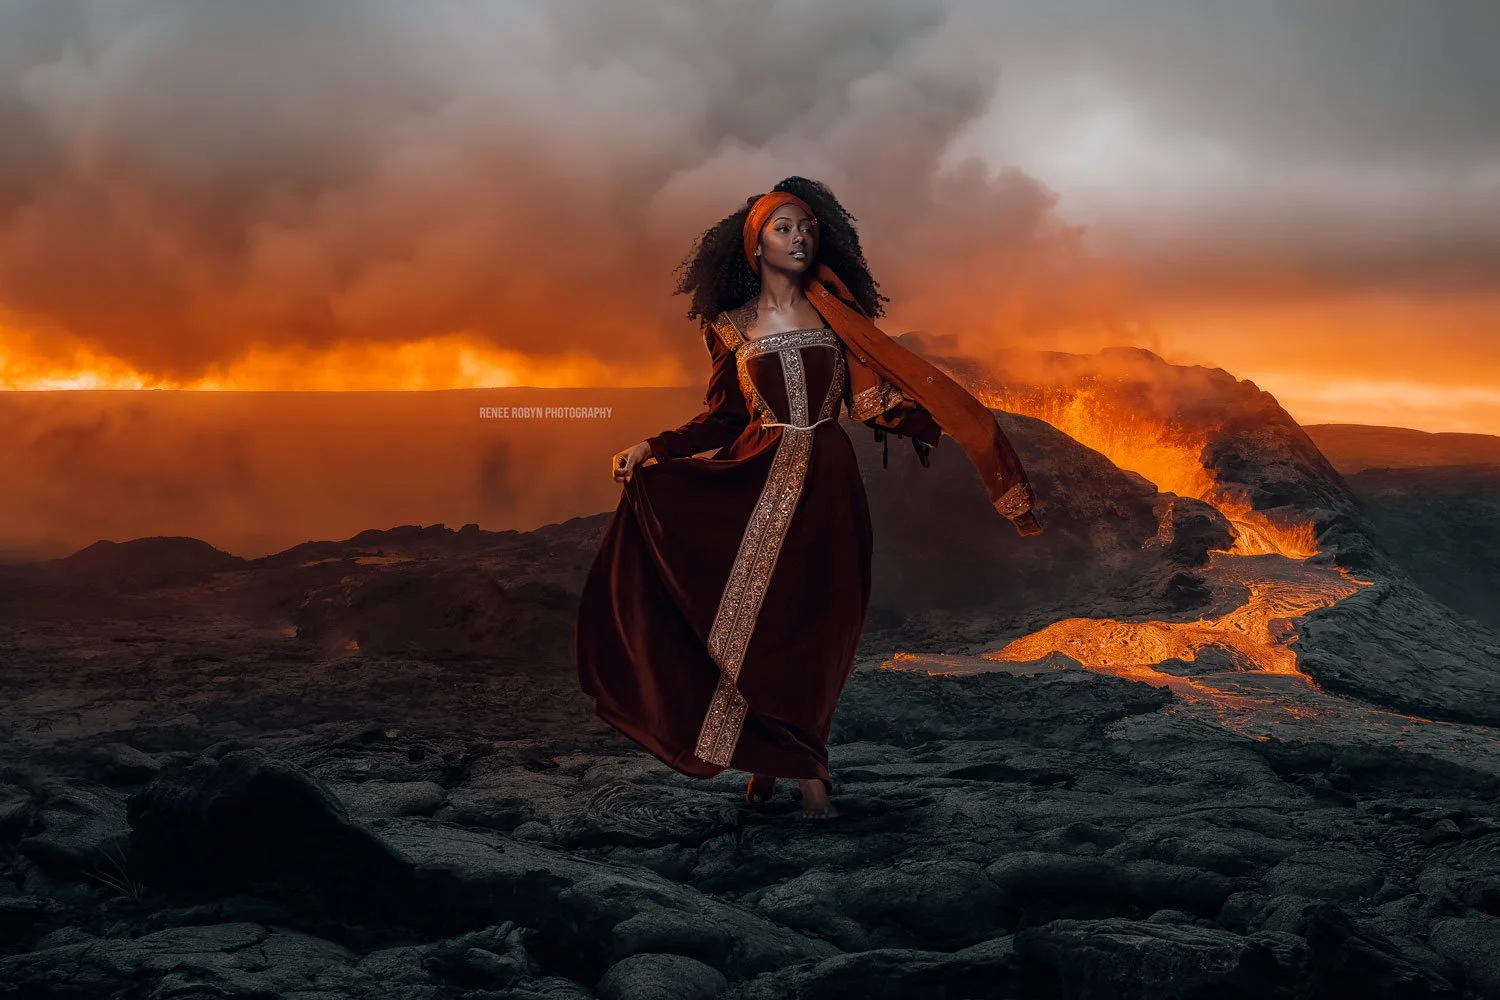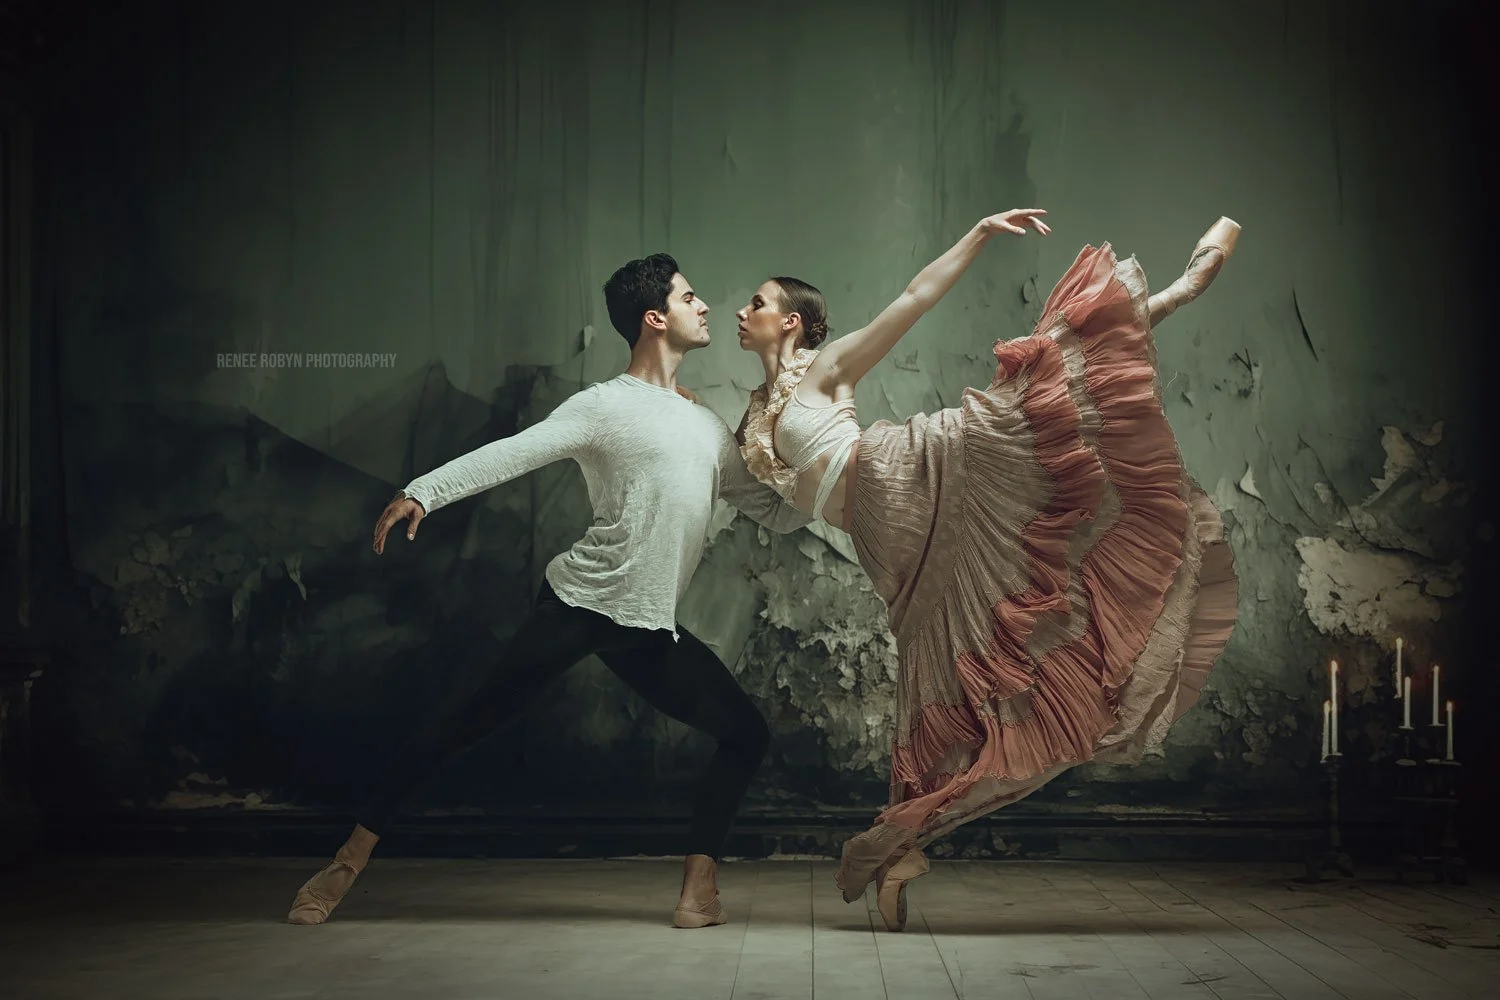

If you use Photoshop for compositing, you’ve probably tried out the Harmonize feature currently in Photoshop beta. It’s a great addition when blending objects into a scene, adjusting color and adding shadows to make everything look more natural. The problem is, Harmonize isn’t really designed for people - it tends to break down on human subjects.
But I’ve found a handy workaround that makes Harmonize incredibly useful when compositing people, particularly when it comes to the hardest part: creating realistic contact and cast shadows.
Why Shadows Are the Hardest Part
When you’re compositing, matching colors is one thing, but making sure the subject looks truly grounded in the scene is another. Shadows - both contact shadows right under the feet, and cast shadows stretching into the scene - are what really sell the effect. Without them, the subject looks like they’re floating.
Testing Harmonize on People
Harmonize works brilliantly on objects, but when applied to a person it usually ruins detail and texture. For example, in a composite with a Viking figure photographed in the studio, Harmonize messed up the fine detail in the image but still attempted to generate shadows. Not perfect, but promising.
The Workaround: Adding a Fake Light Source
Here’s where the trick comes in. By adding a fake light source into the background before running Harmonize, the results improve dramatically.
Duplicate your background layer.
With a soft white brush, paint a bright “light spot” in the sky area.
Run Harmonize again with your subject layer active.
This extra light influences how Harmonize interprets the scene and produces stronger, more believable contact and cast shadows.
Keeping Only the Shadows
Of course, we don’t want the strange coloring Harmonize often applies to people. To fix this:
Rasterize the Harmonize layer to make it editable.
Apply the layer mask so only the visible result remains.
Add a black layer mask to hide everything.
With a white brush, paint back just the shadows from the Harmonize layer.
Now you have realistic shadows under your subject, without losing the original detail and color of the person.
Bonus Tip: Dealing with Flyaway Hair
Compositing hair can be a nightmare. Instead of spending hours trying to cut out every strand, I’ve had success using Generative Fill.
Make a quick selection of the hair area.
In Generative Fill (Firefly Image 3 model), type something like “long brown wavy hair blowing in the wind”.
Photoshop generates natural-looking variations that save a ton of time.
Final Thoughts
Harmonize might not be built for people yet, but with this compositing hack it becomes a powerful tool for one of the trickiest parts of the job — shadows. Add in the Generative Fill trick for hair, and you’ve got a much faster way to create composites that look believable.
Give it a try and see how it works in your own projects.