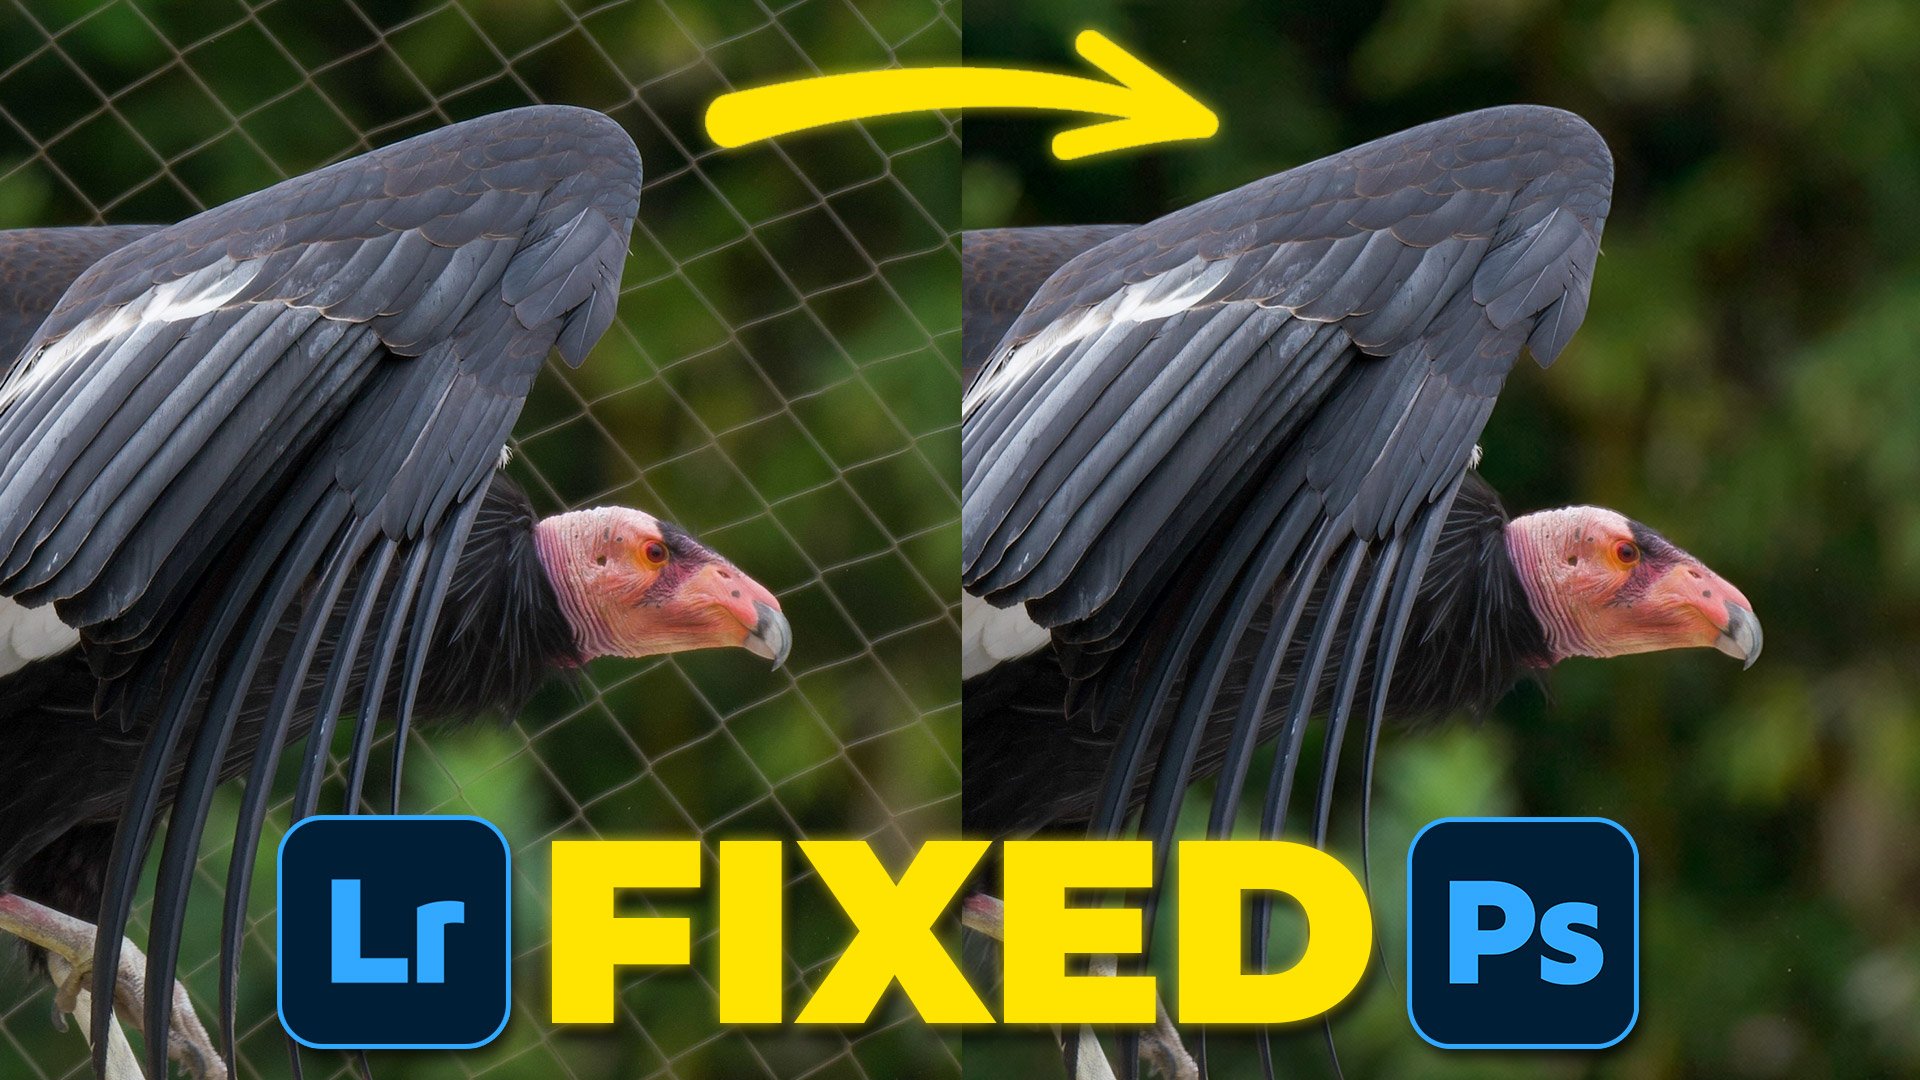
Recently, Steven Gotz, a member of the Photography Community on SKOOL ( LINK ), sent over a brilliant RAW file of a condor. Stunning subject, great light, one problem: a massive fence running right through the background.
Rather than leave it on the shelf, I figured it was the perfect excuse to put the latest updates in Lightroom and Photoshop Beta through their paces. What would have taken ages with the Clone Stamp tool a couple of years ago can now be sorted in seconds. Here's exactly how I did it, using two different workflows.
Workflow 1: Photoshop Beta with Firefly Image 5
This is the quickest route right now, and the results are genuinely impressive.
The key is using the new Firefly Image 5 (Preview) model inside Photoshop Beta. It's been built specifically for editing while preserving detail, which matters a lot when you're dealing with complex textures like feathers and rocky backgrounds.
From Lightroom to Photoshop Beta. Right-click the image in Lightroom and choose Edit In > Adobe Photoshop Beta.
Select All. Once you're in Photoshop, go to Select > All. This gives the AI the full context of the frame before you do anything.
Switch to Firefly Image 5. Click Generative Fill in the contextual taskbar. Here's the bit that matters: don't use the standard model. Switch it to Firefly Image 5 (Preview) from the dropdown.
The prompt. This model needs a prompt to work, unlike some of the others. I kept it simple: "remove the fence from this picture."
Refine the detail. The AI did a great job on the background, but because Firefly Image 5 currently outputs at 2K, the fine detail around the bird's eye and feathers was slightly softer than the original RAW. The fix is straightforward: use the Object Selection Tool to select the bird and the rock, then fill that area on the layer mask with black. That reveals the sharp original bird while keeping the AI-cleared background intact.
Workflow 2: Lightroom to Firefly Web
Not on the Photoshop Beta? No problem. You can get to the same place via Lightroom's sharing feature.
Share to Firefly. In Lightroom, hit the Share button (top right) and select Firefly: Edit an image. This opens your browser and drops the photo straight into the Adobe Firefly web interface.
Settings and generate. Select Firefly Image 5, bump the resolution to 2K, use the same prompt ("remove the fence from this picture"), and hit generate.
Back to Photoshop. Download the cleaned image, go back to Lightroom, and open the original file in the regular version of Photoshop.
Stack and align. Use File > Place Embedded to bring the Firefly-cleaned version in on top of your original. Rasterise the top layer, select both layers, then go to Edit > Auto-Align Layers to make sure everything lines up perfectly.
The masking trick. Same principle as Workflow 1: use the Object Selection Tool to select the bird and the rock, then hold Option (Mac) or Alt (Windows) and click the mask icon. This hides the AI version of the bird and brings back the sharp, high-detail original underneath.
Why the masking step matters
This is the part I think is really important. It's not about letting AI take over the whole image. It's about using it to fix a specific problem, in this case the background, while keeping the actual subject exactly as it was captured in the RAW file. The integrity of the original is what you're protecting.
Have a look through your archives. Chances are there are shots you wrote off because of something in the background. It might be worth giving them another look.