Printing

Why your Prints are Too Dark (and How to Fix It)

Of everything I get asked about with printing, why do my prints come out dark is the one that comes up more than anything else, and if it's happening to you then you haven't done anything daft. You've more than likely just taken the same advice that I did before I figured this out.

Why it happens

Your screen is backlit. It's basically a light source, the same as a lamp is, and a print isn't. All a print can do is bounce back whatever light is already in the room, so you've got one thing making light and one thing borrowing it, and those two are never going to look exactly the same.

However, here's the bit that catches everybody out. If your screen is throwing out more light than a sheet of paper could ever hand back to you, something happens while you're editing that you won't notice at the time. The picture looks bright because everything on the screen looks bright, so you bring it down a little, and what you've actually done is make that adjustment based on the screen rather than the picture. Then you send it to the printer and the paper has got no way of lifting it back up again, so you get the version you darkened on a surface that can't do anything about it.

The number

What you'll normally hear is to set the brightness in your calibration software to somewhere between 80 and 120 candela, and more often than not you'll hear 120. Sure, 120 looks great. It's bright and everything on it has a bit of life to it, but that is exactly what's wrong with it. It looks great because it's throwing out far more light than a sheet of paper is ever going to give back to you, and all the time it's sat there looking great you're quietly pulling down pictures that were never too bright to begin with.

I'm not saying everybody else has got it wrong. I'm saying I took that recommendation and my prints were always too dark.

The histogram is the only thing telling the truth

When your screen is calibrated too bright it's kind of lying to you, and the histogram is the only thing you can really trust. Change your screen brightness and to your eye the picture completely changes, but the histogram doesn't move, not one bit, because nothing has changed in the actual file. It's the one thing in this whole process that doesn't care how bright your monitor is.

The settings I use

After a lot of trial and error, and I do mean a lot, along with a fair bit of wasted paper, ink and money, I settled at 60 candela for my screen in my workspace, and I've not had a print come out too dark since. The software you calibrate with may well look different to mine, but the numbers transfer straight across:

  • luminance 60 cd/m2

  • white point D65

  • gamut Adobe RGB

  • gamma 2.2

  • black point 0.5 cd/m2

Most calibration software will offer you presets, and the photography one will typically drop the luminance in at 120, which is the whole problem, so I ignore the presets and put the numbers into the custom target instead. The black point is worth a word too. By default it'll be sat at absolute zero, and I lift mine just a touch to 0.5, because even in the darkest parts of a picture I still want a bit of detail; at absolute zero it's just completely black.

I'm not saying 60 is the right number for everybody either, because the room you're working in comes into it.

The room your screen is sat in

Your eyes don't judge a screen on its own, they judge it against everything else around it, so a bright screen in a dark room appears brighter than it actually is, you darken more, and it's the same problem again only now the room is making it worse.

Two things matter. Enough light in the room, and light that's fairly neutral rather than a warm domestic bulb, because a warm bulb will have you making decisions about colour and that's a whole different problem. In my office the main light stays off and I use a Screen Bar Halo 2 from BenQ instead, which throws light down onto the desk without any of it hitting the screen and puts a glow on the wall behind the monitor. That glow on the wall is the bit that does the work, because it cuts out the extreme contrast of sitting in a dark room with just a screen on.

If you haven't got a calibrator

You can still get most of the way there for nothing. Take a print you've already made, hold it up next to your screen, and bring the screen's brightness down until the two of them look pretty much the same. That's it. It won't fix your colour and it isn't calibration, but it's a down and dirty way to stop your prints coming out too dark.

Whichever way you go at it, going from 100 down to 60 or thereabouts will look far too dark at first, and it is quite a jump, but just let your eyes adjust and they will after a few minutes, and very quickly it'll seem normal.

I've Joined the Fotospeed Ambassador Team

Now, I'm one of those people who's very selective.

You won't find me jumping on every bandwagon going, putting my name to whatever company offers to line my pockets with silver.

I think long term, and I want to work with companies that think the same way.

That’s why for a number of years now I’ve only wanted to work with Westcott and BenQ.

With Westcott, I've built a fantastic relationship over the years. Not only do they produce world-leading products, but they're great people too, with world-leading customer service to match.

The same goes for BenQ ; fantastic displays, wonderful people behind the scenes and a brand I trust completely.

Fotospeed are the same calibre. Great products, but also a great bunch of people. They're forward-thinking and dynamic in what they do, they put a lot into education, and they genuinely care .

They're proactive, always pushing into new markets around the world. It's exactly the kind of company I want my name next to, and this is why I’m incredibly happy and proud to announce that I'm now a brand ambassador for Fotospeed.

Why print matters to me

Photography has never just been about the moment you press the shutter. A photograph comes to life when it becomes something tangible, something you can hold, frame and experience properly.

A great print transforms an image. It gives it presence, texture and permanence in a way a screen can't replicate.

That belief sits at the heart of my creative process, and it's exactly what Fotospeed stand for.

What's next

As part of my role with Fotospeed, I'll be sharing my creative process, my approach to printing, and the products I trust to get the best from my images. I'm also looking forward to presenting for them at FotoFest on the 6th September 2026 in Bath, UK ( LINK )

So, watch this space, there's plenty more to come 😃

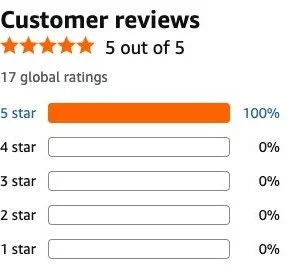
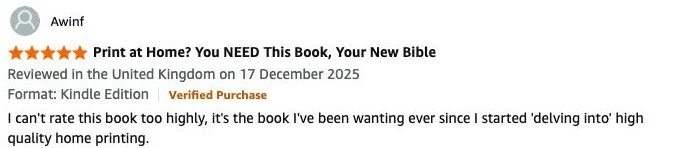
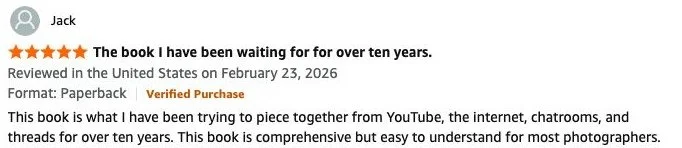
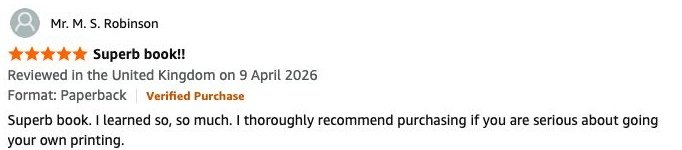
My Latest (and 5th) Book "How to Print" is now available to Pre-Order on Amazon

It's getting real now ...

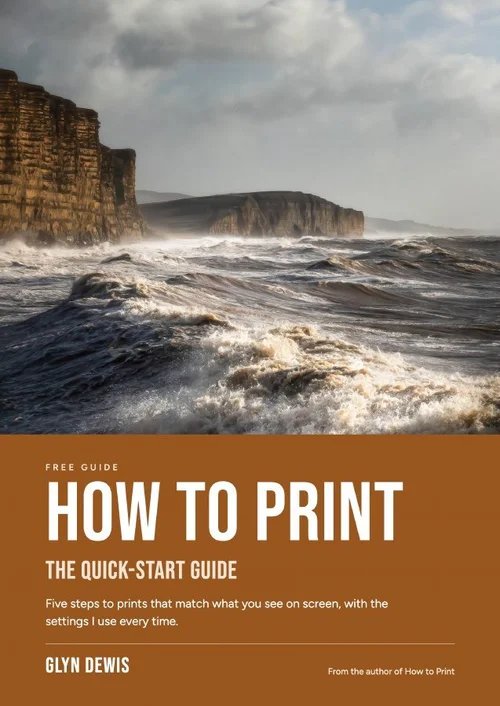
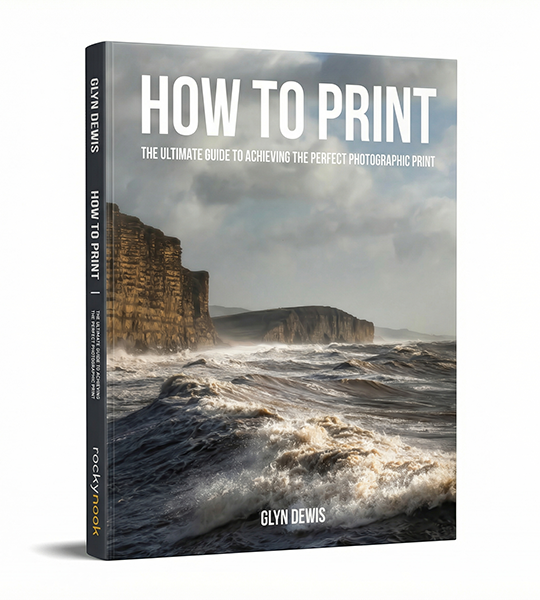
My latest (and 5th) book How to Print - The Ultimate Guide to Achieving the Perfect Photographic Print published by Rocky Nook is now available for Pre-Order on Amazon

The art of printing photographs has become a forgotten final step for many photographers. Yet nothing compares to holding a beautifully printed photograph in your hands--the culmination of your creative vision from capture to final output. In How to Print, photographer and educator Glyn Dewis demystifies the often intimidating world of photographic printing with a comprehensive guide that offers clear, accessible instruction.

Dewis guides you through every aspect of the printing workflow, from monitor calibration to paper selection, and from color management to final presentation. Whether you're printing at home on an inkjet printer or preparing files for a professional lab, How to Print eliminates the frustration and disappointment of mismatched colors and poor output quality.

Written in Dewis's approachable style and featuring practical, real-world solutions to common printing challenges, this essential resource belongs on every serious photographer's bookshelf. You'll learn:

  • How to select the right printer, monitor, and calibration tools for your needs and budget
    Essential color management techniques, including understanding color spaces and ICC profiles

  • The critical differences between OEM and third-party inks and when to use each
    How to properly evaluate printer health and output quality with test prints
    Techniques for preparing both black and white and color images for optimal printing

  • The secrets of effective sharpening for print output

  • How to choose the perfect paper for your specific image and artistic vision

  • Step-by-step workflows for both DIY printing and professional lab preparation
    Professional mounting and display techniques to showcase your work

Perfect for both beginners struggling with their first prints and experienced photographers looking to refine their output, How to Print is the most up-to-date and complete resource available today. With it by your side, you'll be creating beautiful prints in no time.

How to Print Course Zoom / LIVE Broadcasts

I’ve recently set up a Facebook Group for folks that have enroled in my HOW TO PRINT course and am really happy to see how quickly it is growing.

It’s so good to see folks sharing images, members jumping in and answering questions and also reading some incredible feedback from folks finally getting great results with their printing.

For this group I have now started running Zoom / LIVE Broadcasts and will be doing so each month, and adding extras in if there is some important new / updates to pass on.

However I do appreciate that not everyone chooses to use Facebook, and so to ensure thst no-one misses out and is able to watch the sessions, I have now created a section within the HOW TO PRINT course titled HTP Facebook Group Zoom / LIVE Broadcast Recordings. This is where I will upload the recordiongs each time into the course so that folks can stream / weatch them. I also include a document that outlines what topics were covered during that particular Zoom / LIVE Broadcast.

LIVE Broadcast: PRINTING PROBLEMS | Epson + Canon VERSUS Lightroom + Photoshop

In this recording of a LIVE Broadcast hosted on both YouTube and Facebook on Sunday 10th December 2023, I show how to correctly Calibrate your Display for YOUR workspace and go through printing images on both Canon and Epson printers showing how your choice of printing software can make a BIG difference to your results with side by side comparisons.

If you’ve ever struggled with printing this will both surprise you and help you …

Links and products mentioned in this video …

My YouTube Channel: https://www.youtube.com/glyndewis

  • BenQ SW272U Display ( Link )

  • Canon Pro 300 A3+ Printer ( Link )

  • Epson SC P900 A2 Printer ( Link )

  • Calibrite Display Pro HL ( Link )

    *𝐂𝐥𝐚𝐢𝐦 𝐚 𝐅𝐑𝐄𝐄 𝟏𝐓𝐁 𝐇𝐚𝐫𝐝𝐫𝐢𝐯𝐞 𝐟𝐫𝐨𝐦 𝐂𝐚𝐥𝐢𝐛𝐫𝐢𝐭𝐞 𝐰𝐡𝐞𝐧 𝐨𝐫𝐝𝐞𝐫𝐢𝐧𝐠 𝐚𝐧𝐲 𝐇𝐋 𝐂𝐚𝐥𝐢𝐛𝐫𝐚𝐭𝐢𝐨𝐧 𝐃𝐞𝐯𝐢𝐜𝐞 (𝐯𝐚𝐥𝐢𝐝 𝐮𝐧𝐭𝐢𝐥 𝐞𝐧𝐝 𝐨𝐟 𝟐𝟎𝟐𝟑): https://calibrite.com/hd-promo/

  • BenQ Palette Master Ultimate Software ( Link )

  • BenQ Palette Master Ultimate Software ( Link )

  • Qimage One ( Mac ) ( Link )

  • Qimage Ultimate ( Windows ) ( Link )

I'm hosting a Printing Workshop with Carmarthen Cameras, BenQ and Permajet

On Friday 24th February 2023 I’m excited to be hosting a Printing Workshop in partnership with Carmarthen Cameras, BenQ and Permajet.

A 2 hour evening at the Carmarthen Cameras, Zion Chapel Store running from 7pm - 9pm, I’ll be taking folks through such topics as …

  • Display Calibration

  • Colour Space

  • Printing Software Options

  • Paper Profiles

  • Paper / Media Options

… and of course producing some final prints.

An often over-complicated process, I’ll make it not so, and show how an understanding of each part of the process can produce not just great prints, but prints that match what you see on your display again and again.

No more wasted paper, no more wasted ink … just complete confidence that when you press print, you know you will get exactly what you would want / expect.

Tickets are priced at just £20 but spaces are limited due to space.

For more information and to grab a ticket, check out the link below.

Hope to see you there,
Glyn