Getting a clean mask around hair is one of the trickiest parts of changing a background, and in this video I show how to do it properly in Lightroom. The secret is to work in reverse. Rather than reaching for the Background mask option first, I build the mask the other way round, which gives a far better result around the hair and lets you isolate the background cleanly, ready to be changed.
Why I'm using this MASKING TOOL in Lightroom MORE THAN EVER!
There's one masking tool in Lightroom I'm finding myself using more than ever, and this video shows why. I work through three things in the edit, starting with fixing the distortion caused by shooting on a wide angle lens. From there I convert the image to black and white using the Adaptive Profiles, which are incredibly powerful, before moving on to masking and showing how to get better, more accurate results from Lightroom's masks.
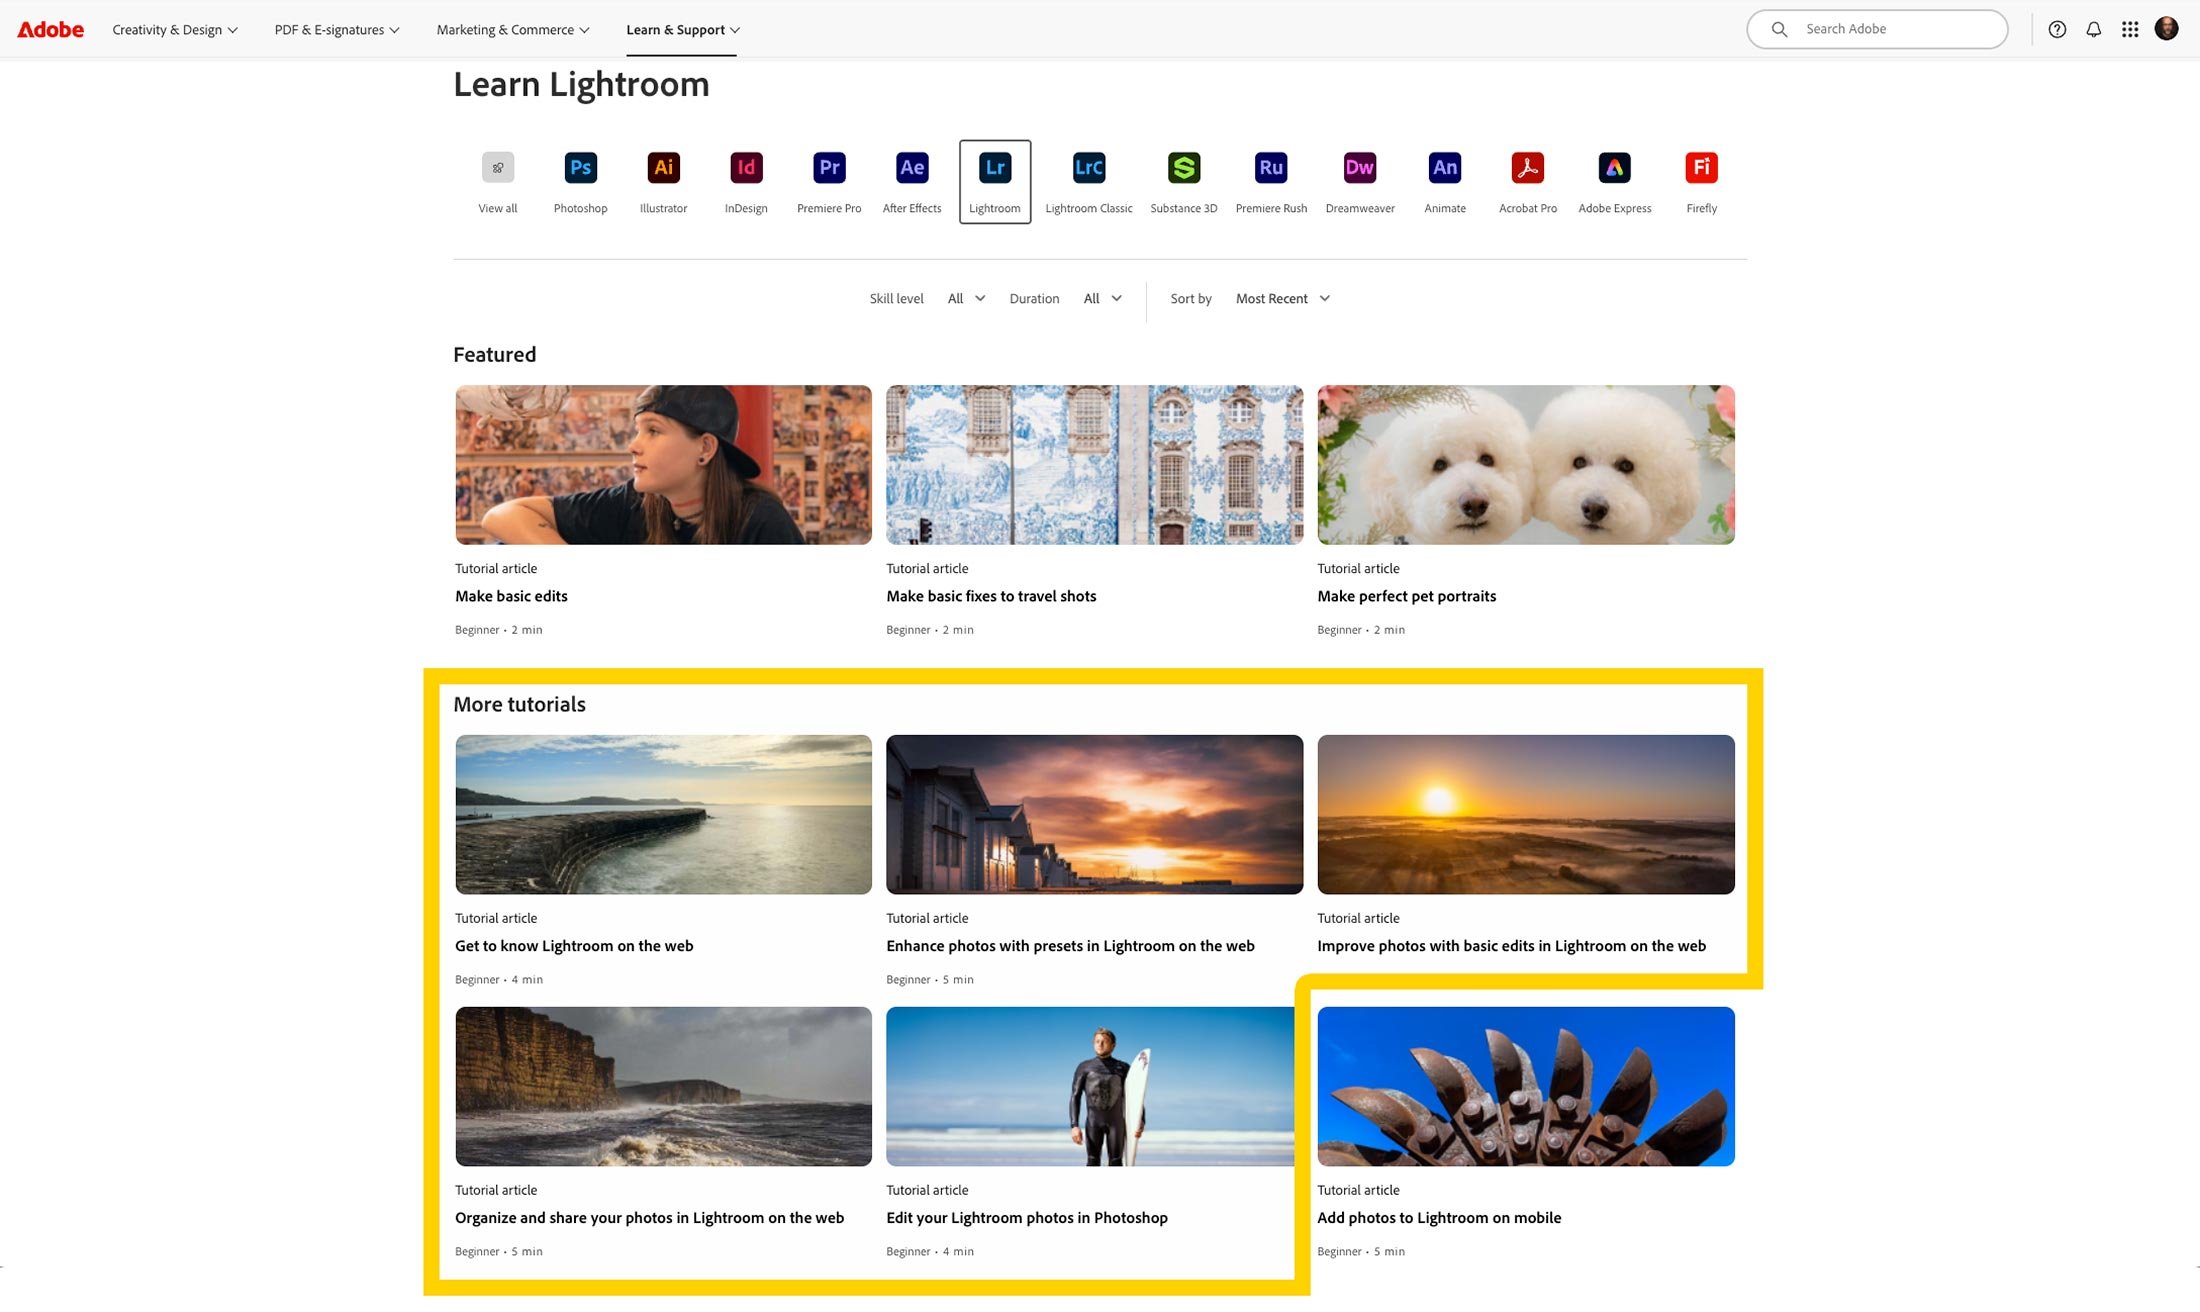
🎥 I Recorded 5 Lightroom Tutorials for Adobe
I'm excited to finally share some news I've been keeping under wraps: I recently had the opportunity to create five tutorial videos for Adobe, now featured on the Adobe Learn site … learn.adobe.com
These videos are designed with beginner and intermediate users in mind, walking through some of the most useful and practical workflows in Lightroom and Lightroom on the Web.
Whether you're just starting out or want to brush up on your skills, these tutorials are built to help you feel more confident with your editing and photo management.
Here's a quick look at the topics I covered:
✨ 1. Edit your Lightroom Photos in Photoshop
Start your edits in Lightroom and then send an image to Photoshop for additional creative possibilities.
🌐 2. Get to Know Lightroom on the Web
Access all your Lightroom photos in a web browser and any edits you make will sync across the Lightroom ecosystem.
🛠 3. Improve Photos with Basic Edits in Lightroom on the Web
Start with an auto adjustment and fine tune your edits with changes to the brightness, contrast, and color in a photo.
🎨 4. Enhance Photos with Presets in Lightroom on the Web
Take advantage of presets to jumpstart your image editing or explore new creative styles.
📁 5. Organize and Share Your Photos Using Lightroom on the Web
Use albums and folders to organize your photos and create a link to share an album as an online web gallery.

UNLIMITED Presets for Lightroom CLASSIC Users – EASY HACK! 💥
Lightroom Classic users can have unlimited presets too, and it only takes a simple workaround. In this video I show you the hack, which makes use of Lightroom on the Web to give you unlimited presets across every Lightroom platform, Classic included. It's an easy one to set up, and once you know it's there, it opens up far more presets than you'd otherwise have to choose from in Classic.
How to LEARN LIGHTROOM by Copying ... WITH Permission❗️
One of the best ways to learn Lightroom is to see exactly how other people edit, and the Lightroom Community lets you do just that, with permission. It's a free space, available to all Lightroom users whether you're on Lightroom, Classic, Mobile or Web, where people share their edits from start to finish, showing every slider and setting they used to create the final look. You can also download presets for free, which makes it a great resource for learning Lightroom, and in this video I show you how to use it.
TRANSFORMING a CAR PHOTOGRAPH in LIGHTROOM Mobile STEP by STEP 💥
This car photograph was taken on location, and in this video I show how I retouched it step by step using Lightroom on an iPad. The whole edit relies on masking, which is incredibly powerful and useful for isolating certain areas of the image so you can work on them on their own. By building up adjustments area by area, you can transform the photograph and really make the car pop.
Photographing Cars with my iPhone 15 Pro Max
Now primariy I’m a Portrait Photographer however this past few weeks, for the fun of it, I’ve been experimenting with my iPhone to see how it would fare when taking pictures of my car … both still and moving.
So a few weekends back I met up with friends in South Wales and headed to Crickhowell; an area I’ve photographed in before when working on this Harley image …
kit used
For these car photographs I was using my iPhone 15 Pro Max along with …
Polar Pro iPhone Case
67mm Filter Adaptor + 67mm Circular Polarising Filter
ReeFlex Pro Camera App
The circular polariser is the car photographers secret weapon because of how effective it is in reducing / removing reflections in the car windows and on the bodywork …
I used the ReeFlex Pro Camera App purely so that I could use shutter speed and ISO to lock in the exposure that I wanted.
Here’s the ‘out of camera’ result …
Here’s the final retouched image which was done using Lightroom Desktop.
I also added a long exposure effect to the clouds using a technique in Photoshop which works really well however now I want to do the shoot again and capture it all ‘in camera’ using a long exposure app like ReeXpose or EvenLonger 😃
I also tried some panning shots and did get some results, however the ratio of keepers to rejects was very low.
I was trying to do this using the ReeFlex App and a Neutral Density Filter on the front of the iPhone so that I could lock in an exposed photographed at 1/30 second. However, the ReeFlex app at the time I did this did NOT have burst mode. This meant I was having to try to capture a single frame as I panned with the car passing at no more than 30 mph.
Here’s an edited result of what I managed to capture …
Later having shared this image online I spoke with a friend of mine who is a Professional Car Photographer. It was great to hear that he was impressed with the results expecially considering they were from an iPhone but he also gave me some settings that he and other pro car photographers use to capture a moving car.
My friend told me that moving car shots often see the car travelling at no more than 20 mph and that they also use a shutter speed of around 1/15 sec or 1/20 sec … but ALWAYS shoot in burst mode.
So armed with these settings I set about finding a pro camera app that would allow me to manually dial in the shutter speed but that also had Burst Mode; and the app I turned to was MOMENT.
I’ve yet to use the app in a planned car shoot however when in Germany a couple of weeks back I was waiting for a friend to pick me up and whilst waiting near a fuel station forecourt I attached the Variable Neutral Density Filter to my iPhone using the Polar Pro Case and Adaptor, and set the shutter speed using the MOMENT app.
I then simply took a burst of panning shots of passing cars as they negotiated a roundabout and drove away, which from my position would have meant them travelling around 20 mph.
Here’s some of the results …
So, yeah I’ve been very impressed with how the iPhone has dealt with this and the results I’ve managed to get.
Lots more experimenting and fun to be had!
Make PORTRAITS POP 💥 Dodging and Burning in LIGHTROOM
Dodging and burning in Lightroom is easier than you might think, and it's one of the best ways to make a portrait pop. In this video I walk through using masks and brushes to make subtle adjustments: brightening highlights and deepening shadows for a natural look, using masks for precise control over specific areas and working with Lightroom's brush tools to fine-tune the edit. I start with why you'd dodge and burn at all and the old way of doing it, then set up the dodge brush, lighten the highlights on the face, explain depth and dimension, set up the burn brush and finish with a before and after.
The ONE Slider You Need for PERFECT Colour & Contrast in LIGHTROOM
Contrast adjustments have a habit of changing the colours in your photos too, and this video looks at how to balance colour and contrast in Lightroom without that happening. I touch on the luminosity blend mode and desaturating before getting to the Refine Saturation slider, which is a very useful way to adjust the tonal values of an image while keeping colour integrity. It might be something new to you or something you'd forgotten about, but it's a great way to keep colours vibrant and natural while you work on contrast.
Create Atmospheric SPECIAL EFFECTS in LIGHTROOM ( Fog + Lighting )
Special effects don't have to be complicated, and in this video I show a few simple techniques for adding atmosphere to a photo. First I create natural-looking fog in Lightroom, then add realistic lights with reflection and fall-off for a more polished look. Finally I move over to Photoshop to include some birds in the scene without needing to cut them out. Each one is quick to do, and together they add a lot of atmosphere to the final image.