The smartphone photography world is having a bit of an identity crisis right now, and it's forcing us all to ask an uncomfortable question: when does making a photo look better cross the line into just making stuff up?
Samsung's Moon Photo Fiasco
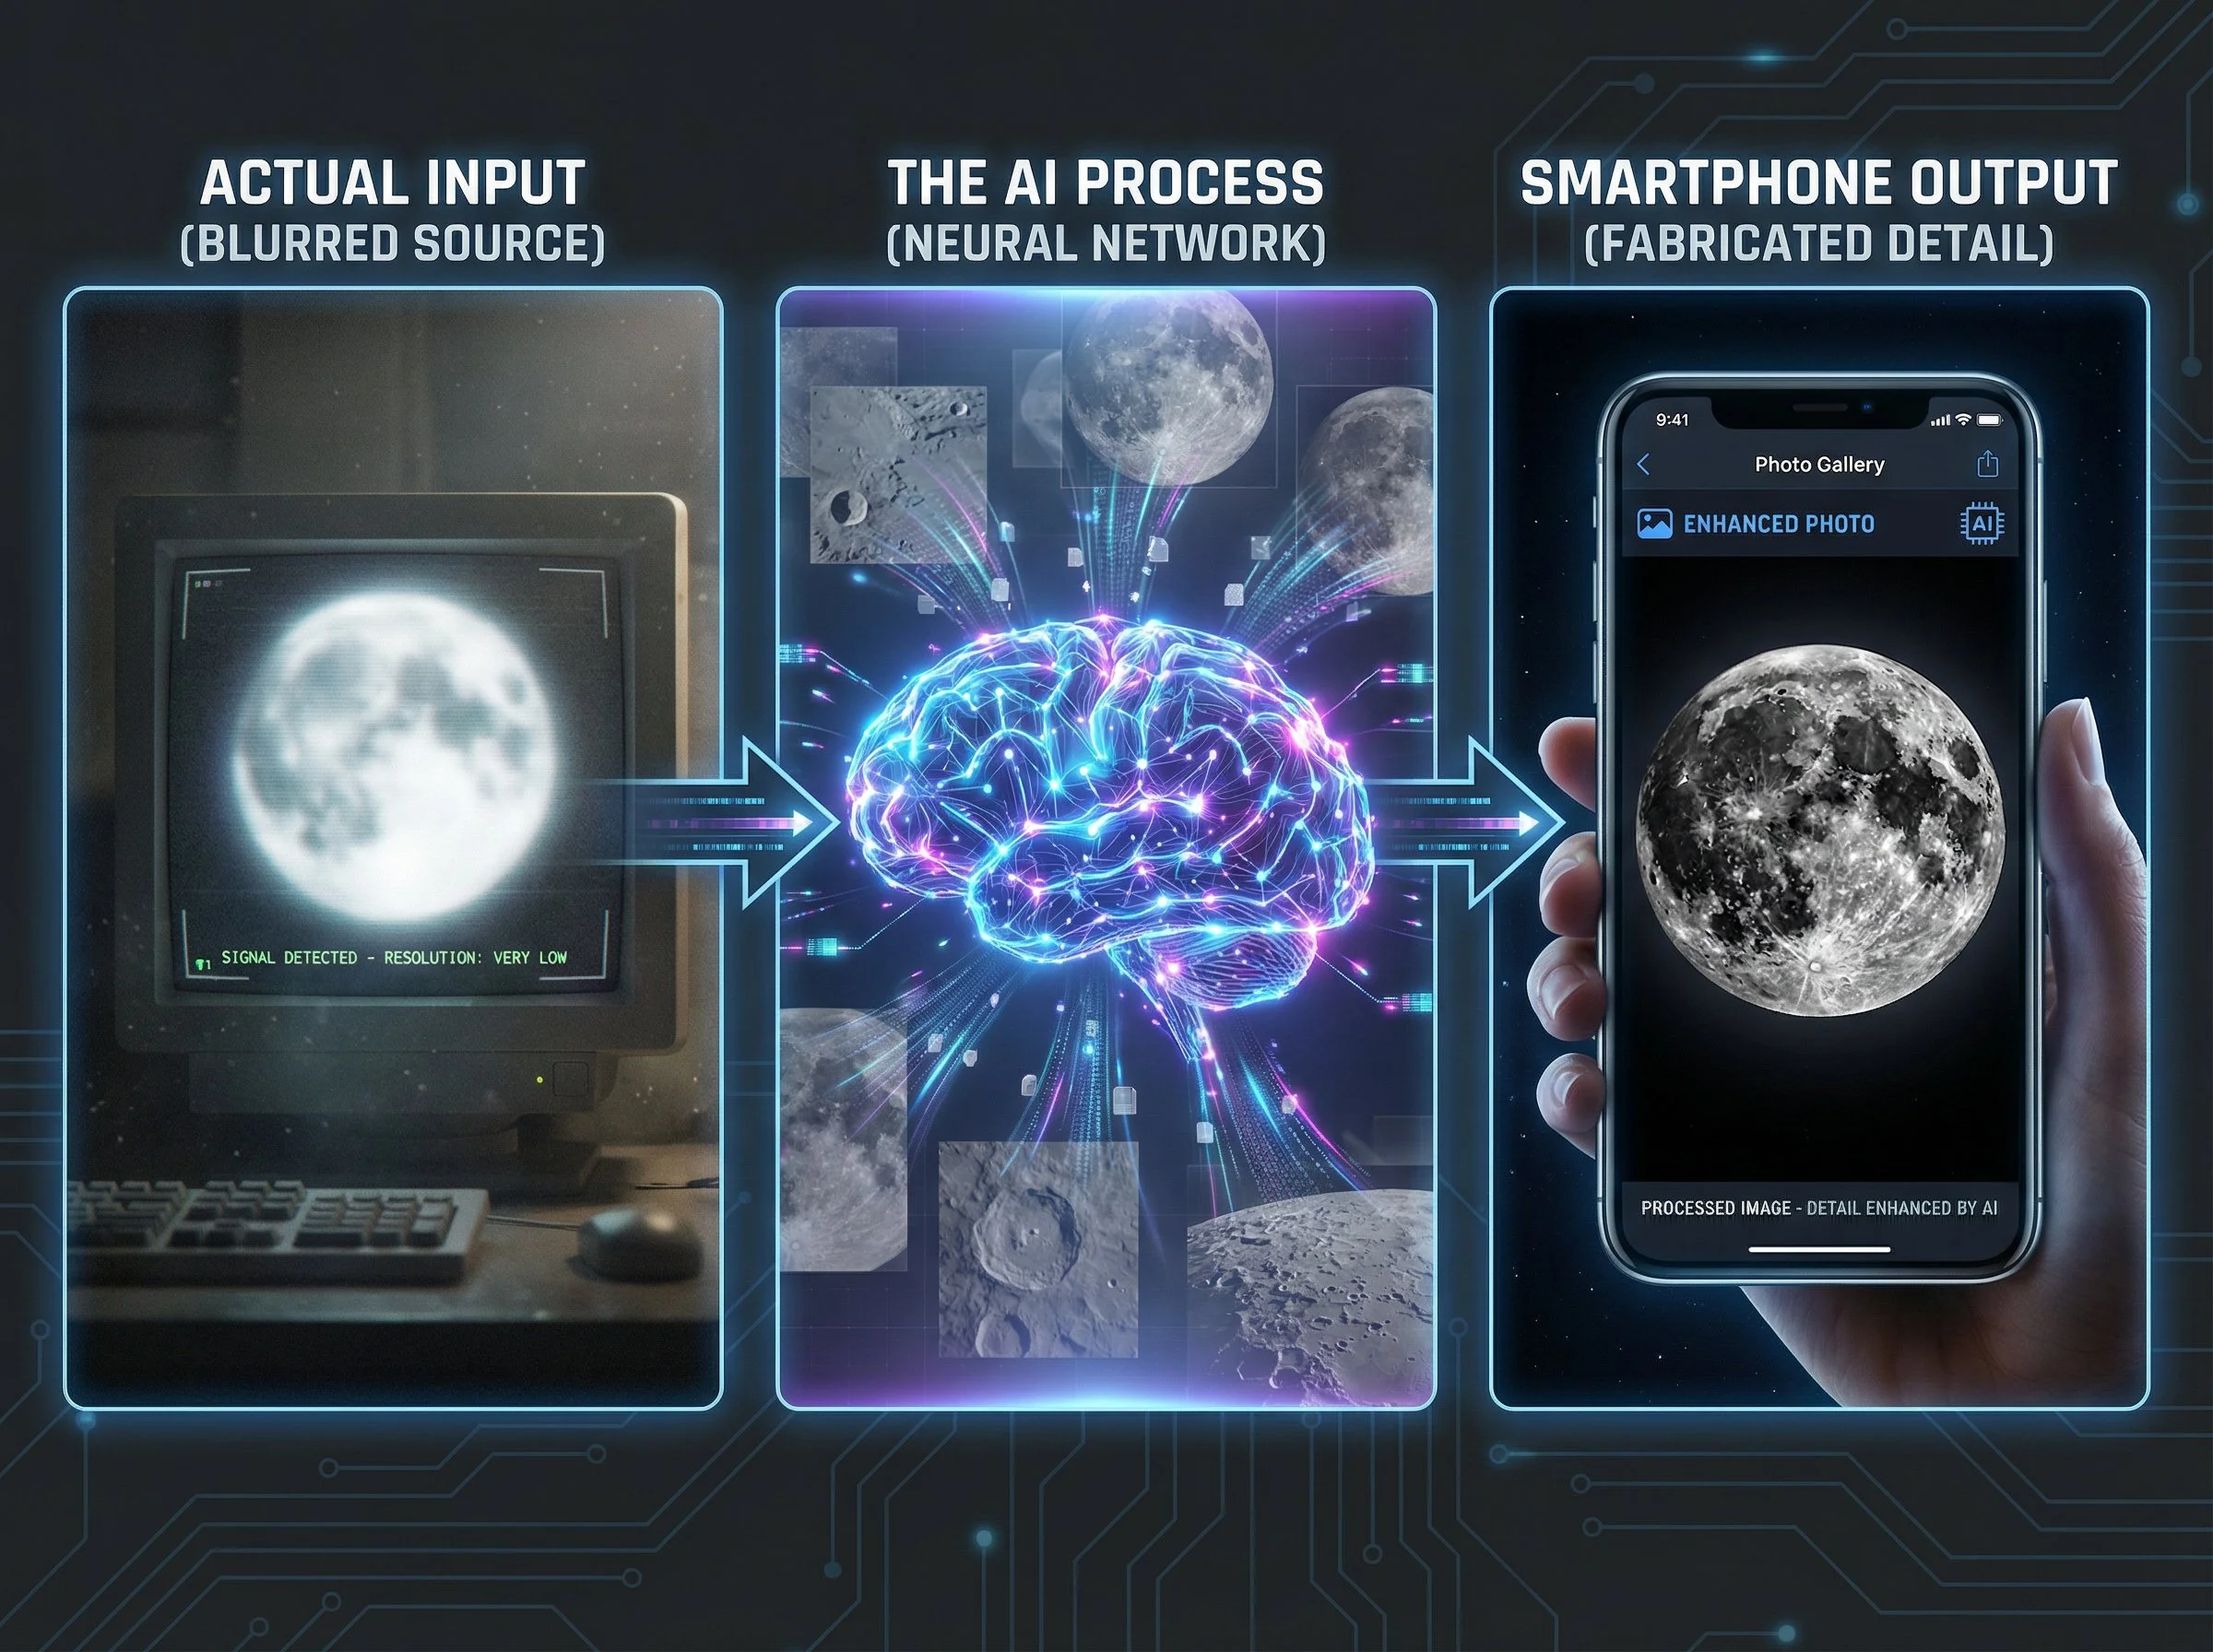
The whole thing kicked off properly in March 2023 when a Reddit user called ibreakphotos ran a brilliant experiment. They took a high-resolution moon photo, blurred it until you couldn't see any detail at all, stuck it on a monitor, and photographed it from across the room using a Samsung Galaxy phone's Space Zoom. What happened next was pretty shocking: Samsung's camera added crisp crater details that simply weren't there in the blurry image.
This wasn't your typical computational photography where the phone combines multiple frames to pull out hidden detail. Samsung was using a neural network trained on hundreds of moon images to recognise the moon and basically paste texture where none existed. The company more or less admitted this in their technical explanation, saying they apply "a deep learning-based AI detail enhancement engine" to "maximise the details of the moon" because their 100x zoom images "have a lot of noise" and aren't good enough on their own.
The controversy came back round in August 2025 when Samsung's One UI 8 beta revealed they were working to reduce confusion "between the act of taking a picture of the real moon and an image of the moon". In other words, they admitted their AI creates moon photos rather than capturing them.
Other Companies Are At It Too
Samsung isn't the only one playing this game. Huawei faced similar accusations with its P30 Pro back in 2019, using AI to enhance moon photography beyond what the camera actually saw. The pattern is pretty clear: smartphone manufacturers are using AI to make up for physical limitations that no amount of clever software can genuinely overcome.
Google's Approach to Reality
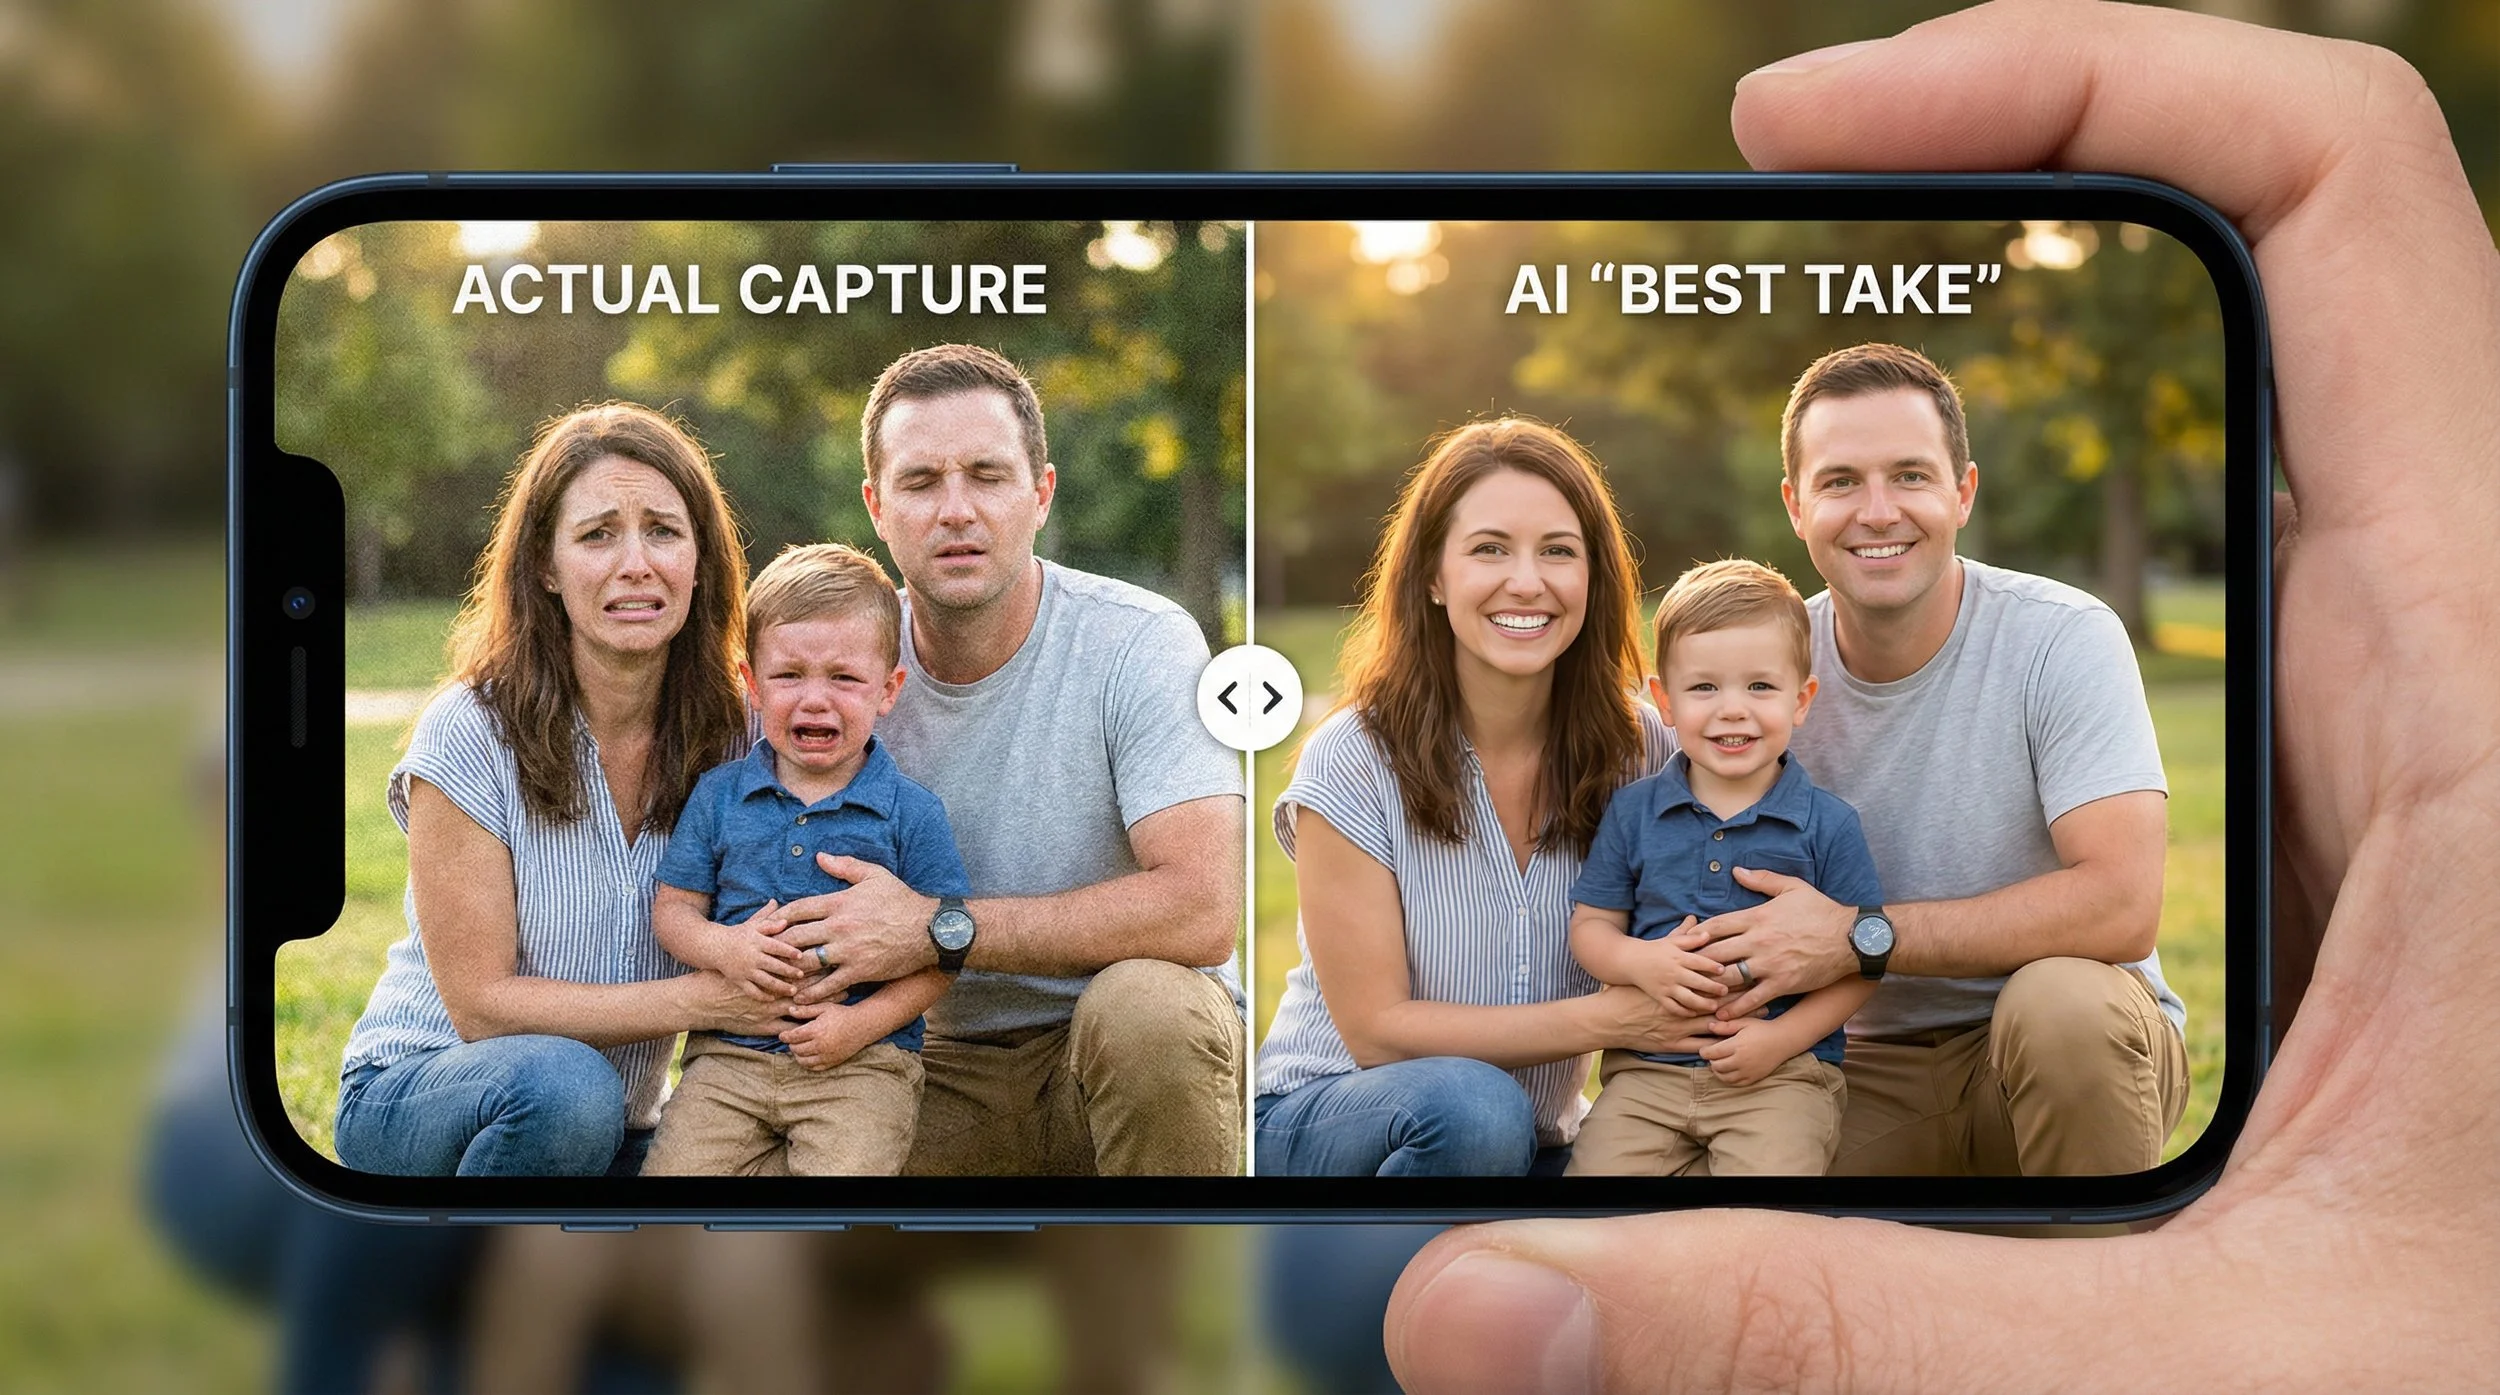
Google went in a slightly different direction with the Pixel 8 and 8 Pro, introducing "Best Take", a feature that swaps facial expressions between different photos in a sequence. If someone blinks or frowns in a group shot, the phone finds a better expression from other photos and drops it into your chosen image.
They also launched "Magic Editor", which lets you erase, move, and resize elements in photos (people, buildings, whatever) with AI filling in the gaps using algorithms trained on millions of images. These tools work on any photo in your Google Photos library, not just ones you've just taken.
Tech commentators called these features "icky", "creepy", and potentially threatening to "people's (already fragile) trust of online content". Google's Isaac Reynolds defended the approach by saying that "people don't want to capture reality, they want to capture beautiful images" and calling the results "representations of a moment" rather than documentary records.
Photographers Are Fighting Back
The controversy has created what some observers call a "perfection paradox". As AI became capable of churning out flawless imagery at industrial scale in 2025, perfection itself lost its appeal. Social feeds filled up with technically immaculate visuals, but the images actually getting attention were the ones showing signs of real human touch.
Professional photographers responded by deliberately embracing film grain, motion blur, quirky colours, accidental flare, and cameras with intentional limitations. The message is clear: authenticity and imperfection have become the things that set you apart in an AI-saturated landscape.
One photographer noted that when clients were offered choices between AI-crafted footage and work shot by humans with clear creative perspectives, they "still gravitated to the latter". Despite AI's technical achievements, there's still a "gap between technological capability and cultural readiness".
The Trust Problem
The fundamental issue is that smartphone manufacturers market these AI enhancements as camera capabilities without clearly telling users when AI is manufacturing details rather than capturing them. Samsung's moon photos showcase this perfectly. Users think they've captured incredible detail through superior hardware and processing, when actually the phone has just overlaid trained data.
Professor Rafal Mantiuk from the University of Cambridge explained that smartphone AI isn't designed to make photographs look like real life: "People don't want to capture reality. They want to capture beautiful images". However, the physical limitations of smartphones mean they rely on machine learning to "fill in" information that doesn't exist in the photo, whether that's for zoom, low-light situations, or adding elements that were never there.
What's Happening Next
There's growing pressure on the industry for what's being called "the year of AI transparency" in 2026. People are demanding that manufacturers like Samsung, Apple, and Google disclose when and how AI is manipulating photos.
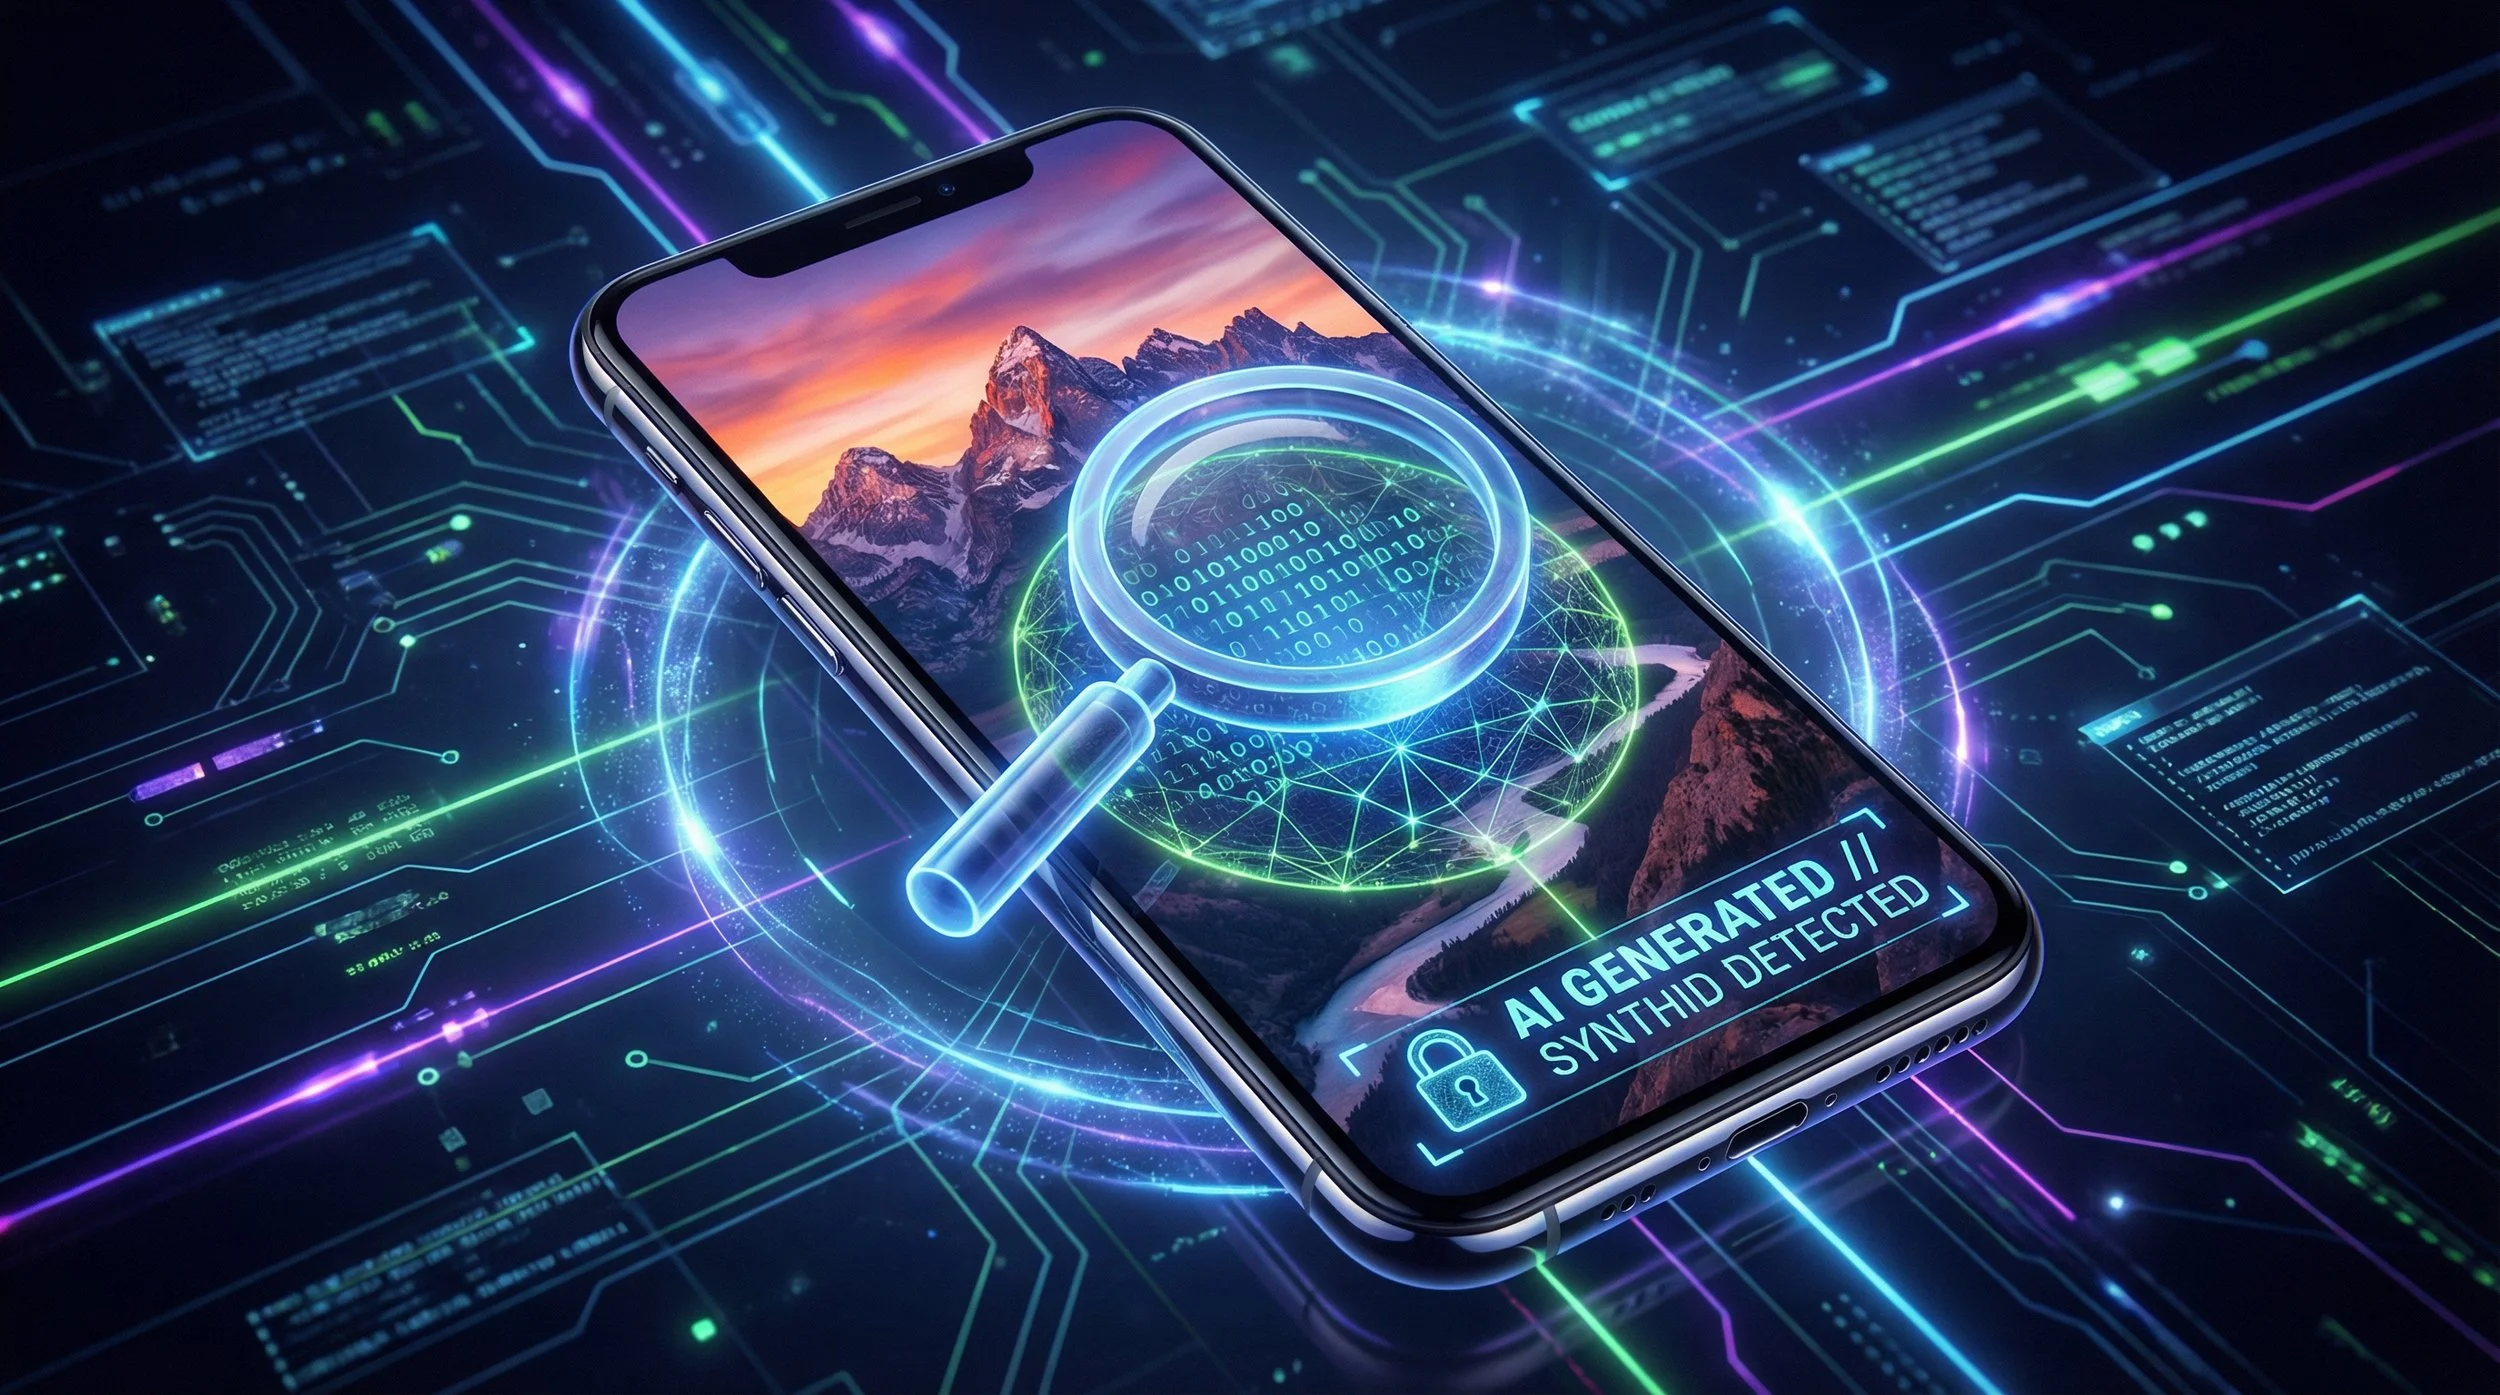
Google has started responding with detection tools, rolling out AI detection capabilities through Gemini that can spot artificially generated photos using hidden SynthID watermarks and C2PA metadata. These watermarks stay detectable by machines whilst remaining invisible to human eyes, surviving compression, cropping, and colour adjustments. The system analyses images on-device without sending data to external servers.
Samsung, meanwhile, continues embracing AI integration. They recently published an infographic declaring that future cameras "will only get smarter with AI" and describing their camera as "part of the intuitive interface that turns what users see into understanding and action". This language notably sidesteps the authenticity questions that plagued their moon photography feature.
The Cultural Pushback
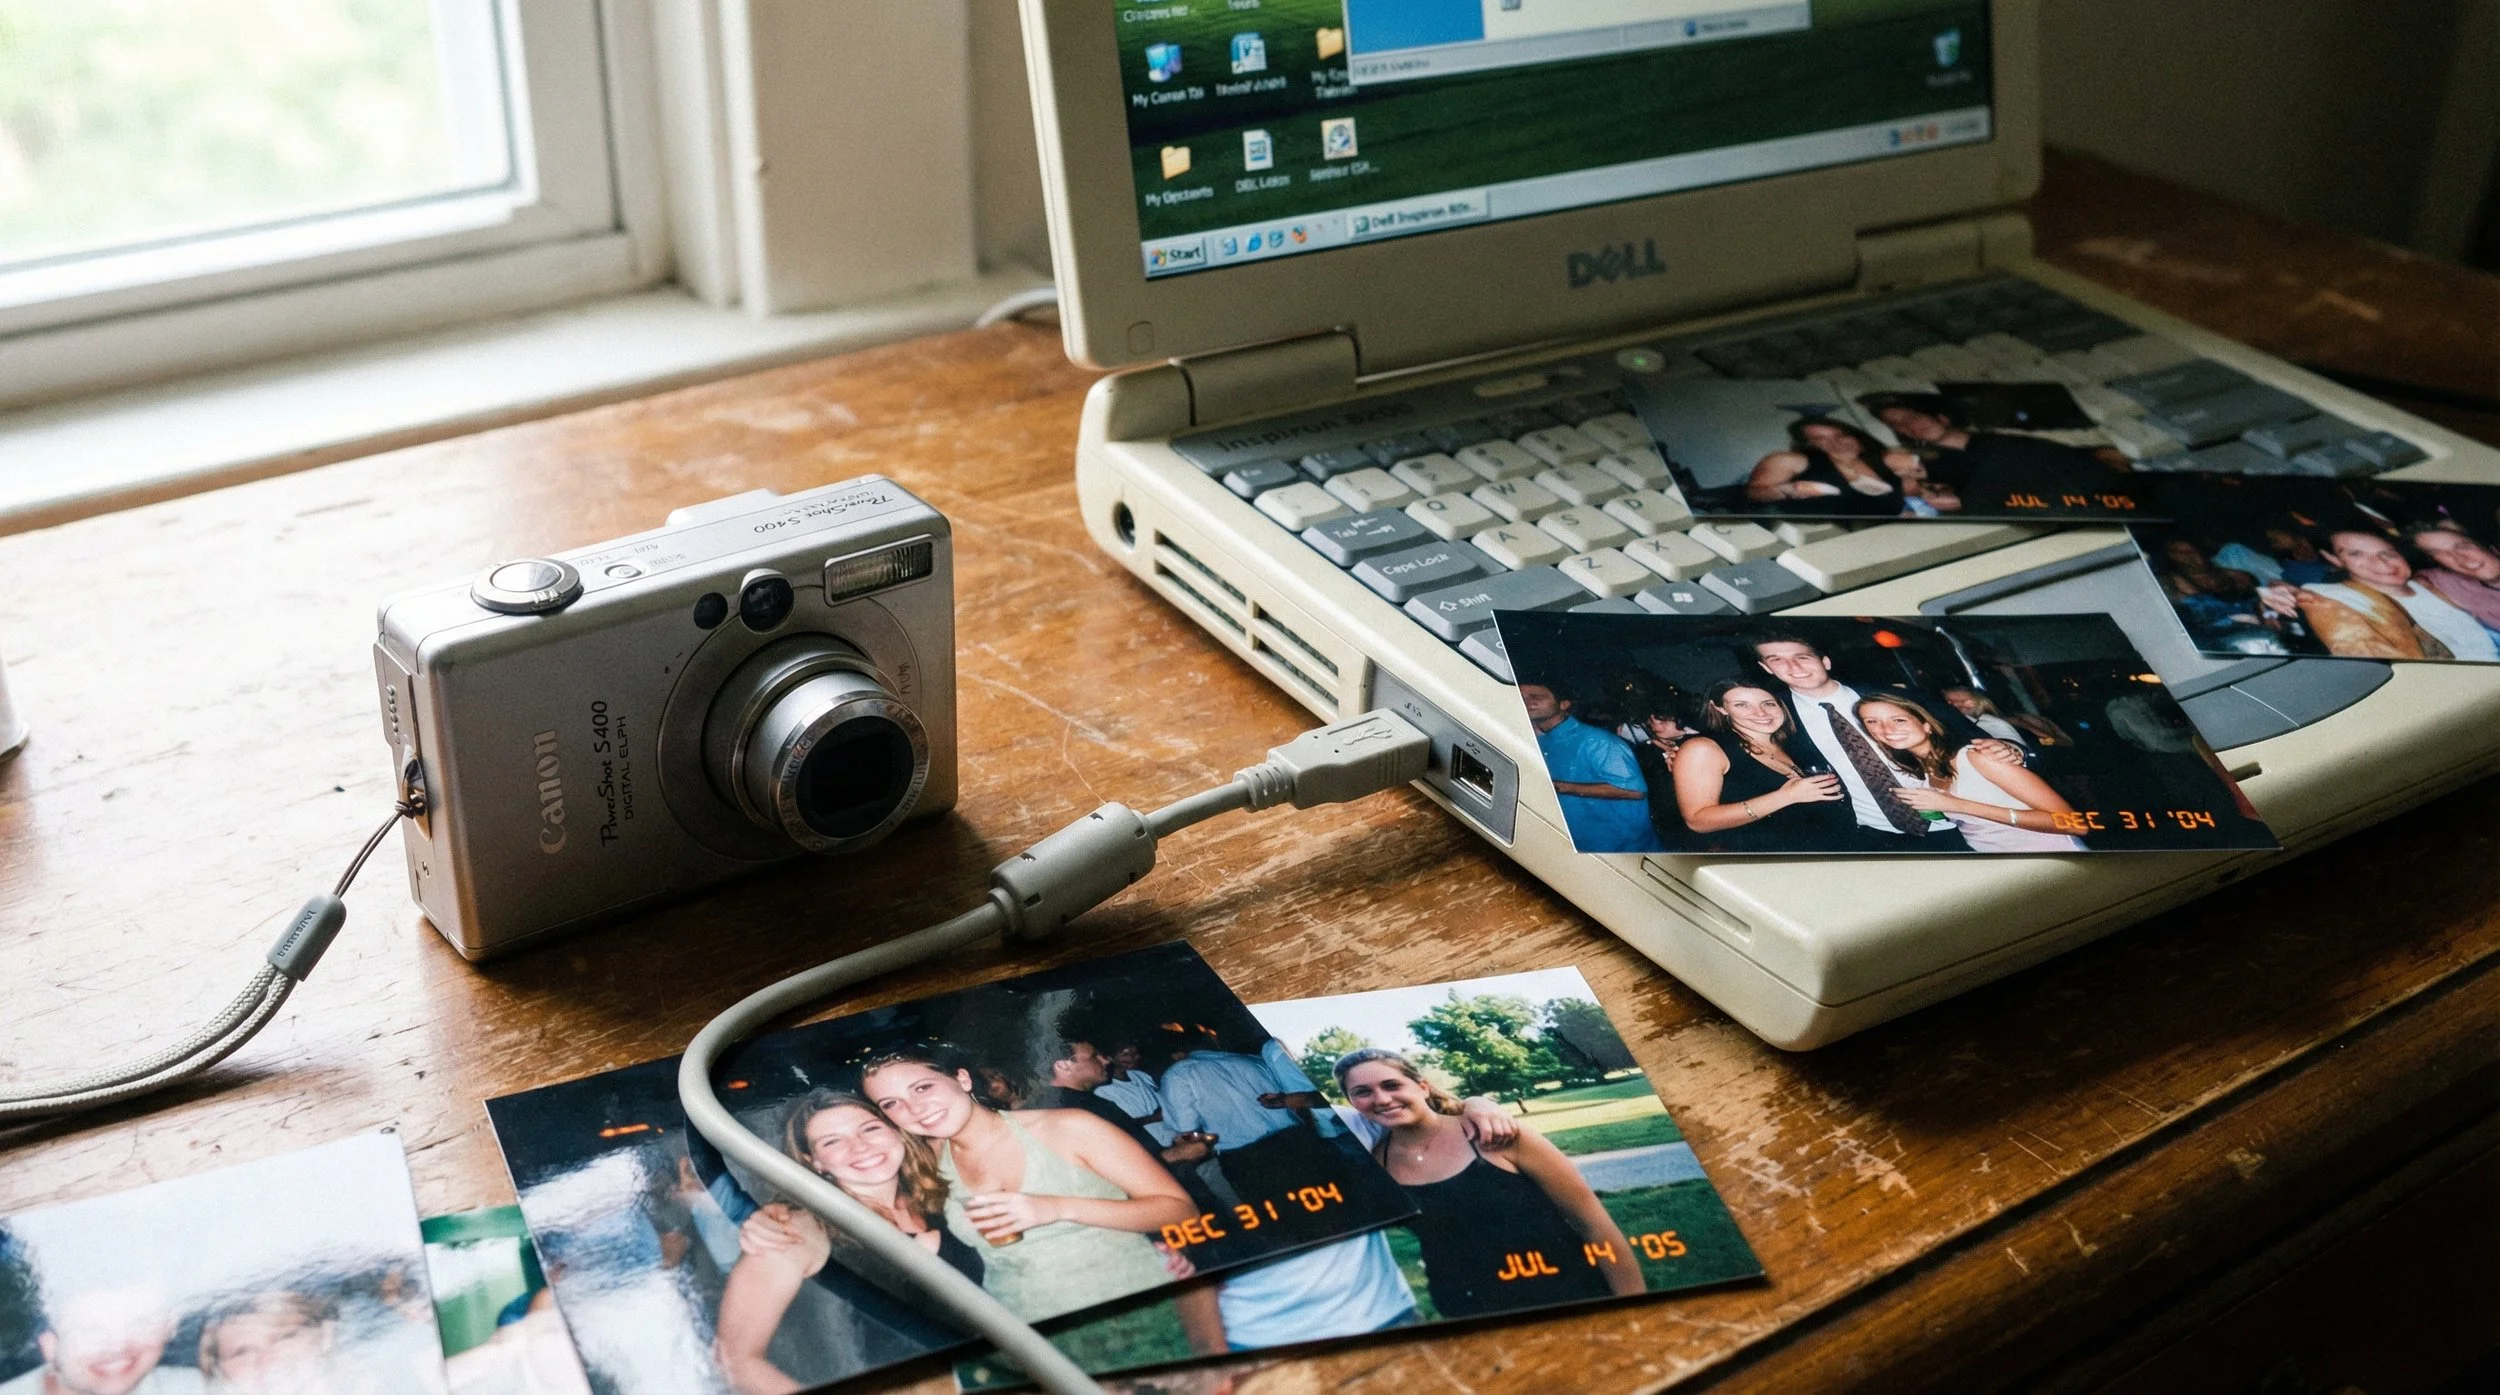
Perhaps most tellingly, younger users are increasingly seeking cameras that produce "real" and "raw" photos rather than AI-enhanced imagery, driving a resurgence of early-2000s compact digital cameras. This represents a rebellion against smartphone AI manipulation and a genuine desire for photographic authenticity.
The controversy forces a broader reckoning about what photography means in the AI era. As one analysis noted, 2025's deeper story wasn't simply that AI improved, it was "the confrontation it forced: what counts as real, what counts as ours, and what creativity looks like when machines can mimic almost anything".
The Bottom Line
The core issue is straightforward: smartphone manufacturers are using AI to create photographic details that cameras never actually captured, then marketing these capabilities as camera performance rather than AI fabrication.
Companies haven't clearly disclosed when AI is manufacturing versus enhancing, which is eroding trust in smartphone photography. Real photographers are differentiating themselves by embracing authenticity and imperfection as AI floods the market with technically perfect but soulless imagery.
And 2026 is shaping up as a pivotal year for AI transparency demands and authenticity verification tools.
This controversy represents more than just technical debates. It's fundamentally about trust, authenticity, and what we expect from our photographic tools in an increasingly AI-mediated world.


