Mobile

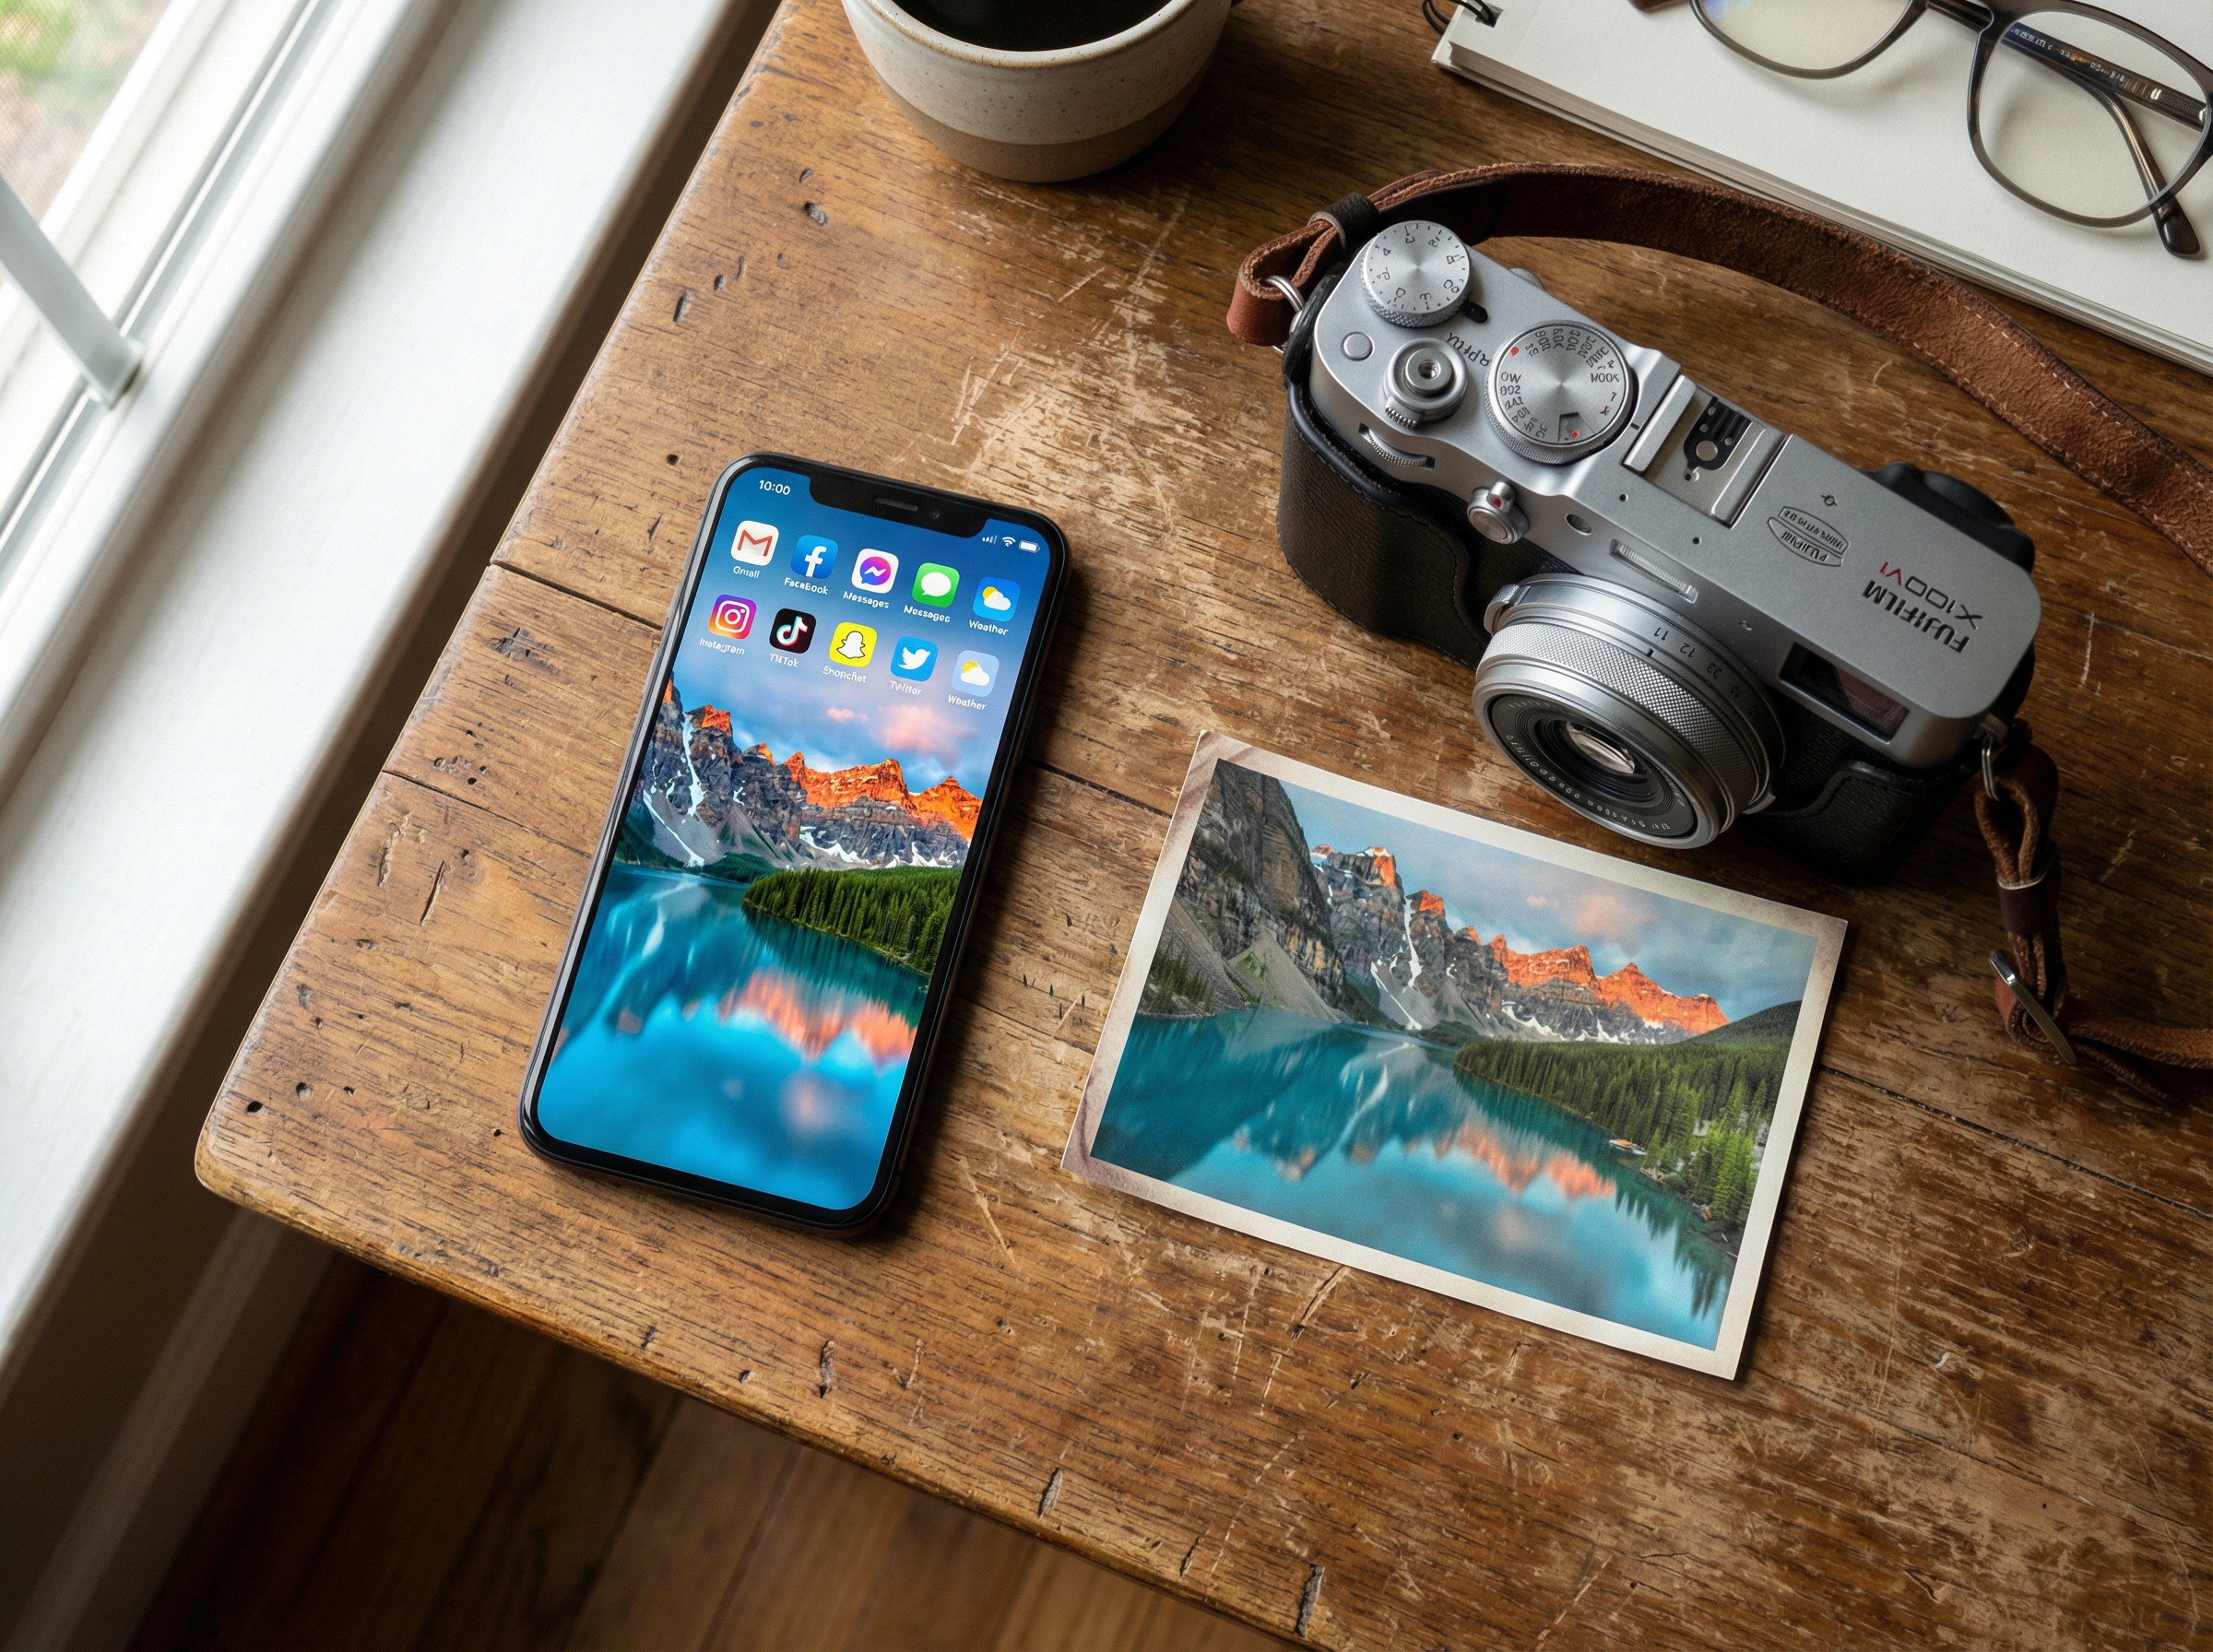
Mobile versus Mirrorless: Decisions to be made in 2025

Watch the recording of this LIVE Broadcast as I chat with my friend and Photographer Brian Matiash (Adobe Lightroom Team) and discuss using Mobile devices for Photography.

Should I continue doing so in 2025? Lenses and Filters for Mobile, What I’ll be using my Sony Mirrorless for, What do I make of the OM1 MK2 and a whole lot more ...

links mentioned in the video:

  • Brian Matiash Website: ( LINK )

  • Brian Matiash YouTube Channel ( LINK )

  • Glyn’s Lyme Sunset Picture + Edits in the Lightroom Community: ( LINK )

NOTE
If you’d like any of your images to be considered for one of my ‘LIVE RetouchingBradcasts’ simply create a Collection (Lightroom Classic) or an Album (Lightroom Desktop) and Share it with me at gadewis@mac.com making sure that you set permissions to Edit and not just View.

Improved SKY MASKS in LIGHTROOM Mobile using INVERT not INTERSECT

Making accurate Sky Masks in Lightroom Classic and Desktop is made so much easier using the 'Intersect' Command.

However this isn't currently available in Lightroom Mobile and neither is the 'Invert from Sky Selection' command.

So what can we do?

To download the Raw File and my Sunny Day at Lyme Preset, use the button link below to receive my Twice-Monthly Newsletter and have Access to the PRIVATE PAGE containing SUBSCRIBER-ONLY Content …

COMPLETE Retouching Workflow in LIGHTROOM on an iPad

Retouching a Seascape Photography from Start to Finish using ONLY Lightroom on the iPad.

To download the Raw File and my Sunny Day at Lyme Preset, use the button link below to receive my Twice-Monthly Newsletter and have Access to the PRIVATE PAGE containing SUBSCRIBER-ONLY Content …

IT DOESN'T GET EASIER THAN THIS 🥹 Mobile Photography and COMPLETE Editing Workflow

Here's the recording of last nights YouTube LIVE where I went through the capture and edit of a recent seascape long exposure using my iPhone 14 Pro Max, ReeXpose, Lightroom and Photoshop.

Also covered some of my 'wishes' for the iPhone 15 Pro Max ... or whatever it will be called 😃 and how the change (I hope) to USB-C will make a HUGE difference to the mobile workflow, especially when travelling and away from good internet speeds.

My camera is ALWAYS with me ... thankfully

Now when I say camera, I mean the camera that, because of apps, I can do other things on like email, check the weather, browse websites and all that kind of stuff … you know the one I mean right?

Anyway, thankfully it’s always with me, and thankfully I always keep a tripod in the car, which meant when I popped down to Lyme Regis for a couple of hours yesterday afternoon I didn’t miss the opportunity to take some photographs of a superb incoming tide of crashing waves …

For this image I took. a series of 0.5 second and 1 second exposures using both the Lightroom Camera and ReeXpose, and then blended parts together in Lightroom and Photoshop to end up with a scene that for me best represents what it was like being there, as wave after wave crashed into the rocks.

How to make the DARK and MOODY PRESET in Lightroom (and Camera Raw)

The Dark and Moody look is extremely popular at the moment especially on social media; it's a great look that can add drama and impact to your pictures.

Here's how I create it and how to make it as a preset so that you can quickly and easily use it again and again in Lightroom Classic, Lightroom CC, Lightroom Mobile and Camera Raw.

iPhone Photography: A Misty Morning at Lyme Regis in Dorset

The misty conditions last Wednesday were nothing short of perfect for some minimalist photography, so I popped out early morning and took the short drive to meet up with my friend Steve Healy down at my favourite of all places, Lyme Regis.

True to the weather apps, the conditions were as predicted; a wonderful misty morning, an incoming tide with the surface of the sea as flat as a sheet of glass, hardly a breeze in the air and looking out across the sea, at times it was almost impossible to see the distant horizon line.

Absolutely Perfect!

I should have sent a memo about dress code 🤣

Taking along minimal kit as I did when photographing the Prince of Wales Bridge a couple of weeks back, I stuck with using my iPhone 14 Pro Max, but this time made use of my new JOBY MagSafe Mount ( LINK )

This worked an absolute treat holding my iPhone rock steady and was so incredibly quick and easy to adjust and rotate from portrait orientation to landscape orientation …

Long Exposure Photography was definitely order of the day to enhance the calm, relaxing feeling of the light and the mist, and of course smooth out the water surface even more.

I’ve a few long exposure apps installed on my iPhone at the moment that I’m testing out to see which I prefer, but on this morning I opted again to use EvenLonger …

For the image above, I used a 60 second long exposure.

We then moved along to The Cobb, which looked incredible amongst the mist and surrounded by a glass flat high tide …

The tide was particularly high this morning, meaning the groin at the far end of The Cobb was much less visible.

In this image and the one above, you can really see how the mist made the horizon barely visible, which when combined with a long exposure worked, I feel, so incredibly well …

In each of these images you will have spotted that there were Gulls flying. To include these, once I had taken the long exposure, I then jumped back to the regular camera on my iPhone and waited for the moment when Gulls flew through the frame.

When they did I pressed the shutter a number of times using a Bluetooth Shutter Release which works a treat and only cost £3.99 off Amazon ( LINK )

99% of these images I edited in Lightroom Mobile and Photoshop on my iPad, but to add the Gulls I used Photoshop CC on my desktop as I needed to use a filter and (at the moment) that filter isn’t available in the mobile version of Photoshop.

That said though, the process was so incredibly easy editing on my iPad, and then because everything I do syncs automatically with every device I have Lightroom installed, I could then finish off on my desktop without having to export anything or import from memory cards.

Everything I do on any device be it my iPhone, iPad or Desktop, syncs across each other making it instantly available everywhere.

Oh and the text and graphics were added using Adobe Express …

So another incredibly relaxing morning out taking photographs with my iPhone.

Minimal kit. No swapping out lenses. No attaching filters. No cables.

All of this for me makes for such a wonderful experience, enabling me to relax and just enjoy being where I am and absorb the sights and sounds.

The experience of taking photographs just doesn’t get better!

Photographing the Iconic Prince of Wales Bridge with my iPhone

A few days ago I met up with my great friend Anthony Crothers at a Café in Bristol to spend some quality time together and also to try photographing the Prince of Wales Bridge that spans 3.2 miles from the South West of England, across the River Severn, to the South East of Wales …

Having seen some photographs of it in a photography book I own, I thought it would be both interesting and a challenge to see what I could capture using just my iPhone 14 Pro Max.

Conditions following a recent storm were perfect with great light and a sky full of clouds, although it was a little on the chilly side and once under the bridge, the wind blowing around caused some initial challenges keeping the phone perfectly still on the tripod.

I’d taken along my new Joby MagSafe Phone Holder which is so incredibly well made, however ended up not being suitable because of the wind causing a little bit of movement …

Instead I resorted to my trusty SmallRig Mobile Phone Cage that locked everything down and held it rock steady …

Lately I’ve been using the Lightroom Mobile App for creating Long Exposures, however that is restricted to a maximum of 5 second long exposures, so instead opted for another App I have on my phone called Even Longer.

This is an incredibly easy app to use with a clean interface and a menu system that is simple and very intuitive.

The set up couldn’t have been easier: dial in the exposure I wanted, choose the length of the long exposure and press the shutter button which then kicked into action after a 3 second delay to ensure no movement.

There’s so many composition opportunities at this location, but my favourite was when I was directly under the bridge to capture all the structure underneath and then the view as the bridge disappears across the River Severn …

To edit the image I intentionally limited myself to using my iPad and the Lightroom Mobile and Photoshop Apps which worked an absolute treat. In fact they made the editing process a joy!

I’m loving the mobile workflow where I can take photographs with my mobile phone and without having to involve memory cards, the images I take are automatically synced to my iPad so that in the comfort of the nearby café I can look through and start editing.

Final Image edited in Lightroom Mobile on my iPad

Once back home, the photographs I’ve taken, along with any images I’ve started editing (and all of the edits) automatically appear on my desktop computer so that I can then check them over on a Colour Calibrated Screen, and then confidently print them out knowing that what I see, is what I get. Such an incredibly portable and convenient workflow … that also gives peace of mind knowing that photographs you take are instantly backed up.

My video this week on my YouTube Channel, will be going Behind the Scenes from this photo shoot, as I show all of the steps involved from taking the photographs, editing in Lightroom Mobile on my iPad, and the final print …