Three weeks into bird photography with the Canon EOS R5 Mark II and a 400mm f/2.8, and I've realised I'm treating birds exactly the same way I treat portraits.

Three weeks into bird photography with the Canon EOS R5 Mark II and a 400mm f/2.8, and I've realised I'm treating birds exactly the same way I treat portraits.
A quick update on how I'm getting on with the wildlife photography. Short version: I'm really loving it.
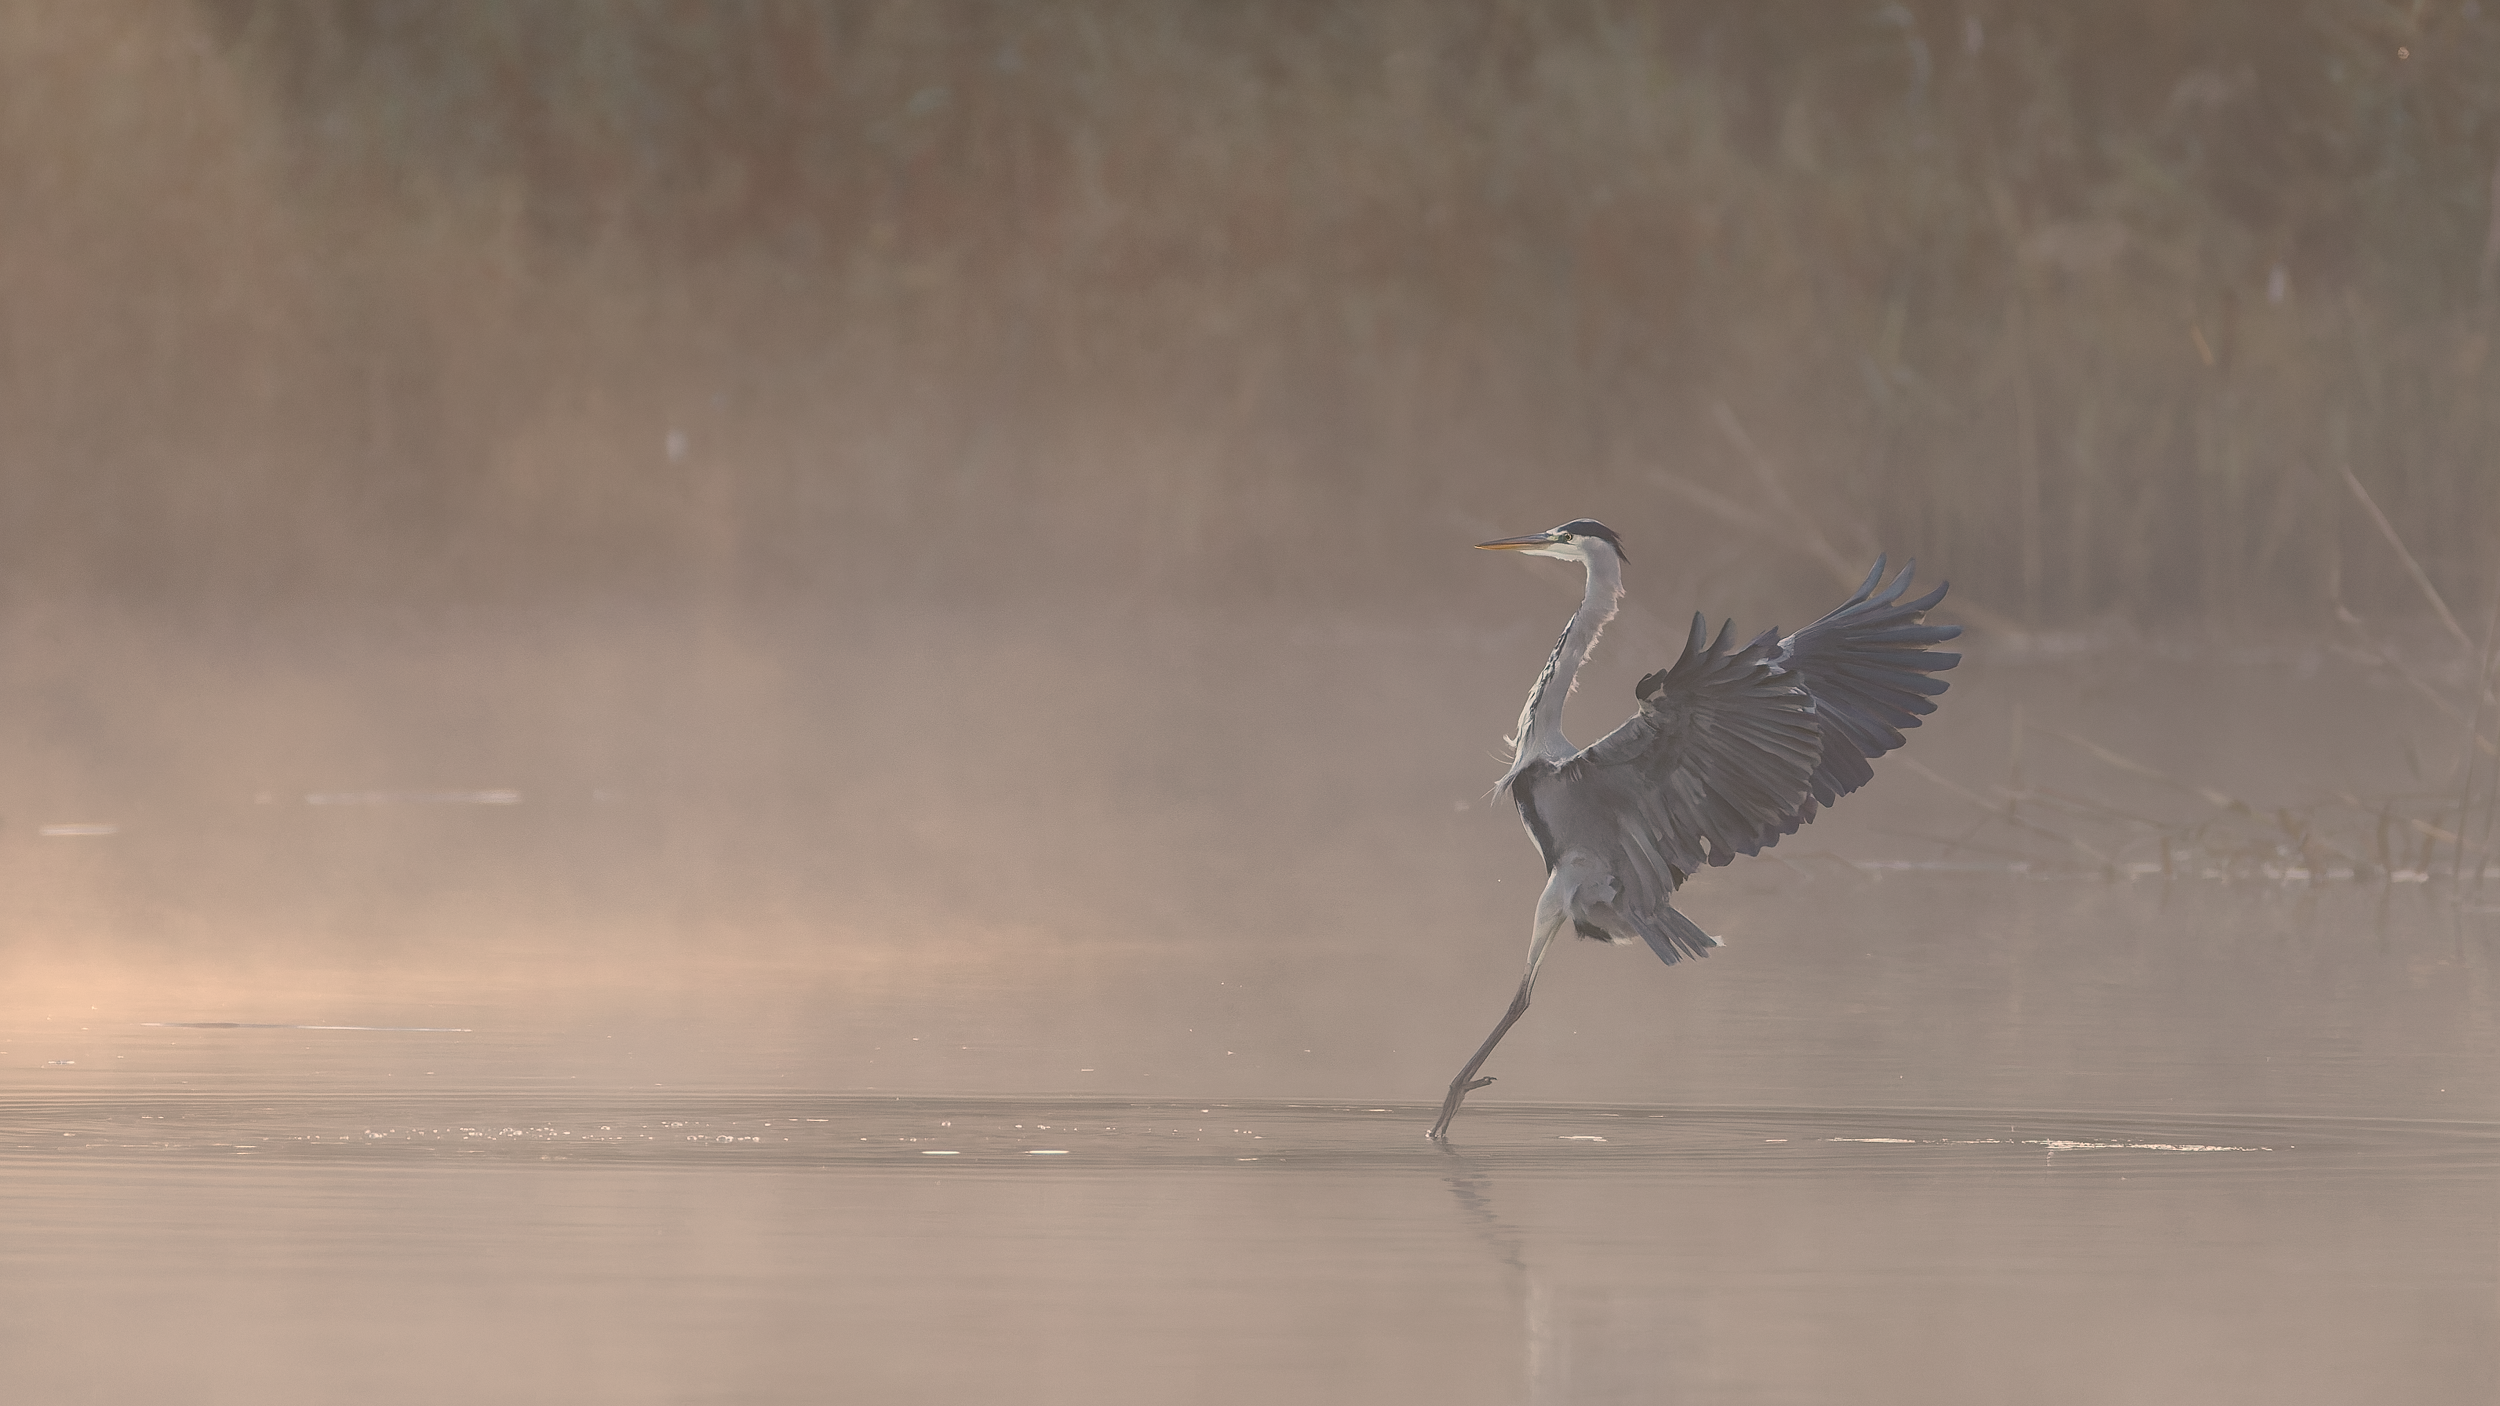
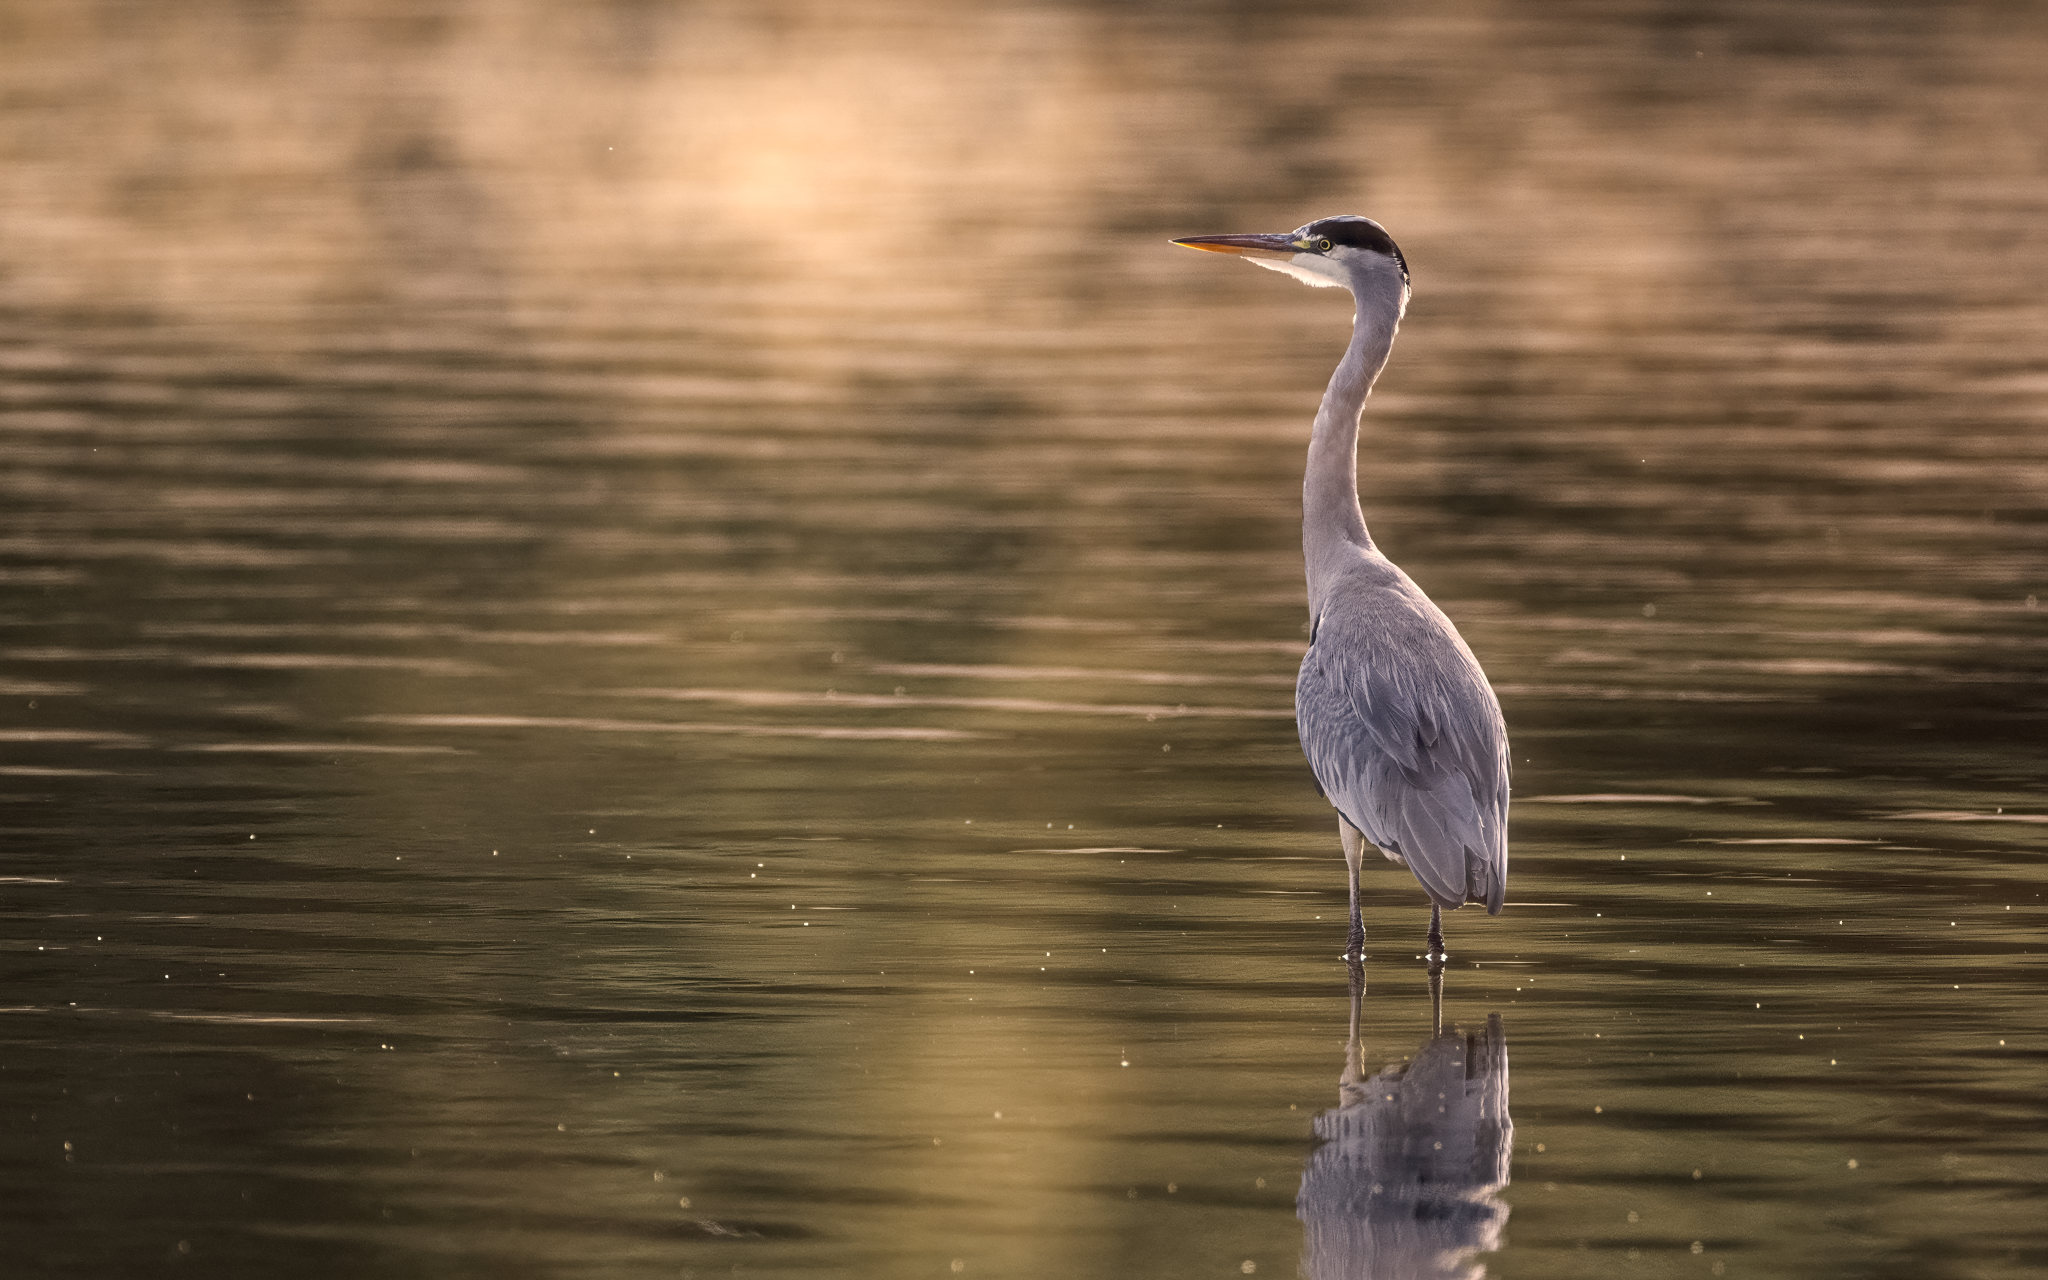
A week or so back I was out early with my mate Ben Kapur at the local reservoir, hoping for another go at the resident Kingfisher. Conditions were about as good as it gets. A cool start at 3 degrees, mist sitting right across the water, and beautiful light as the sun crept up over the horizon. Photography aside, it was just a treat to be stood there.
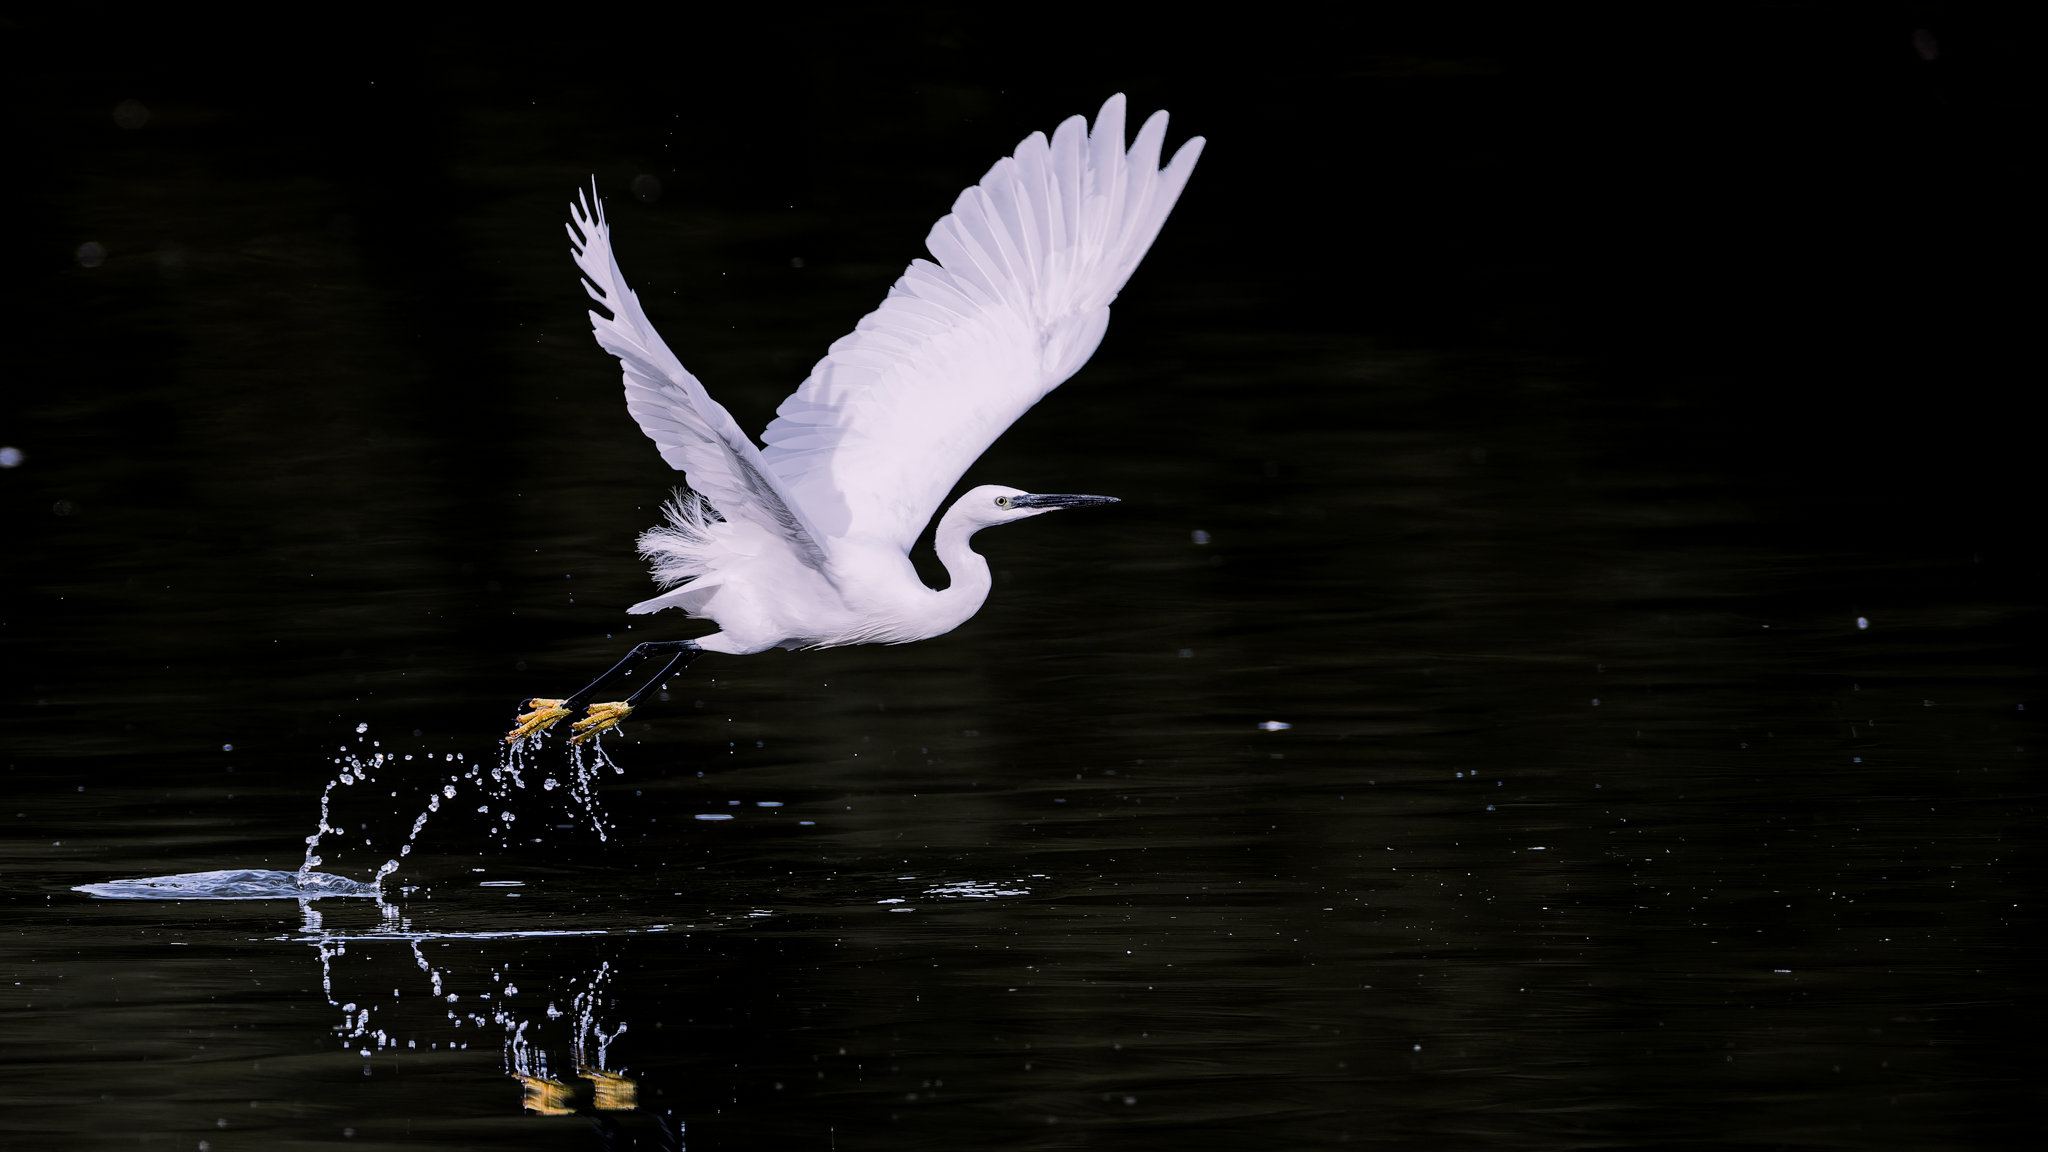
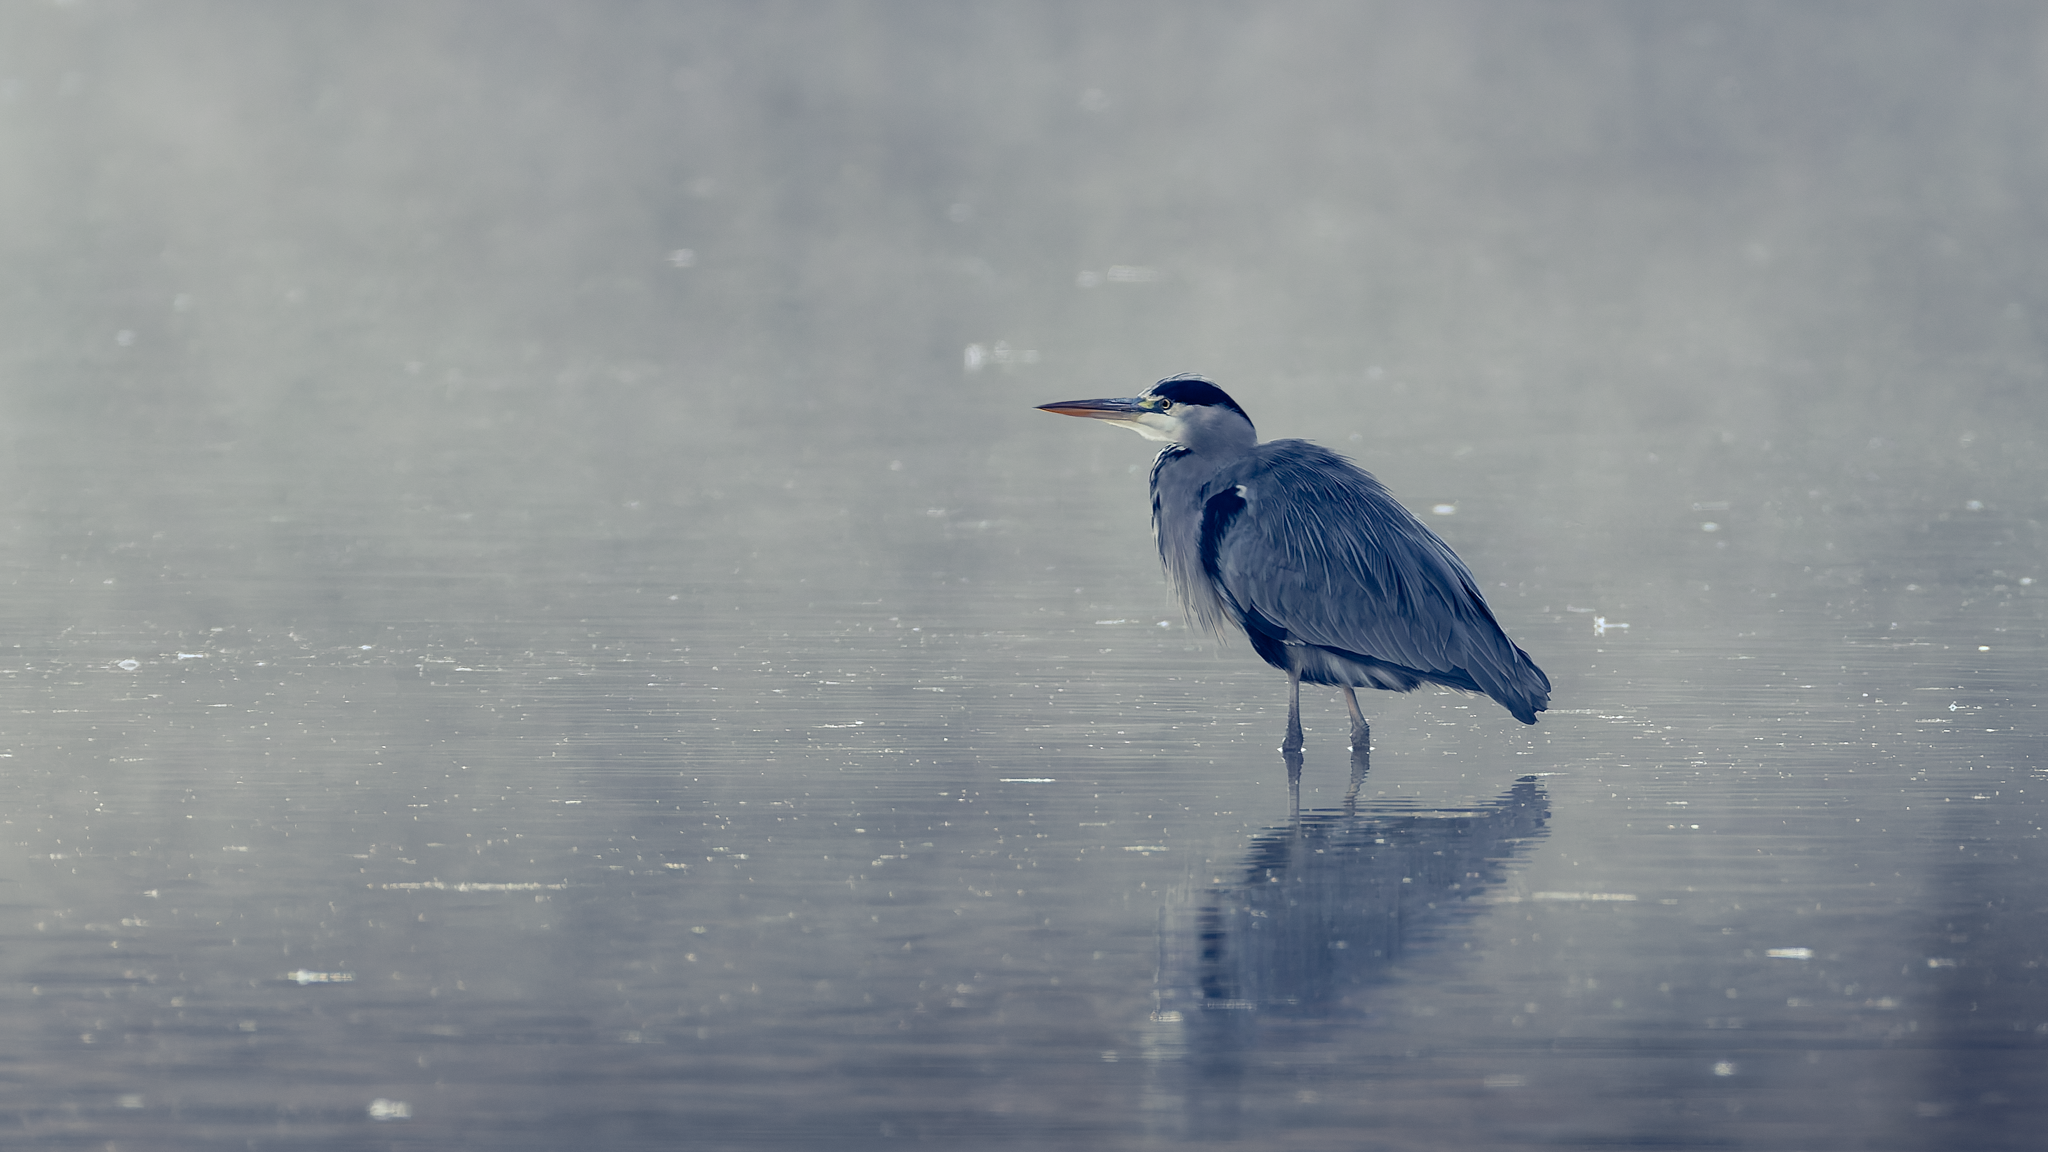
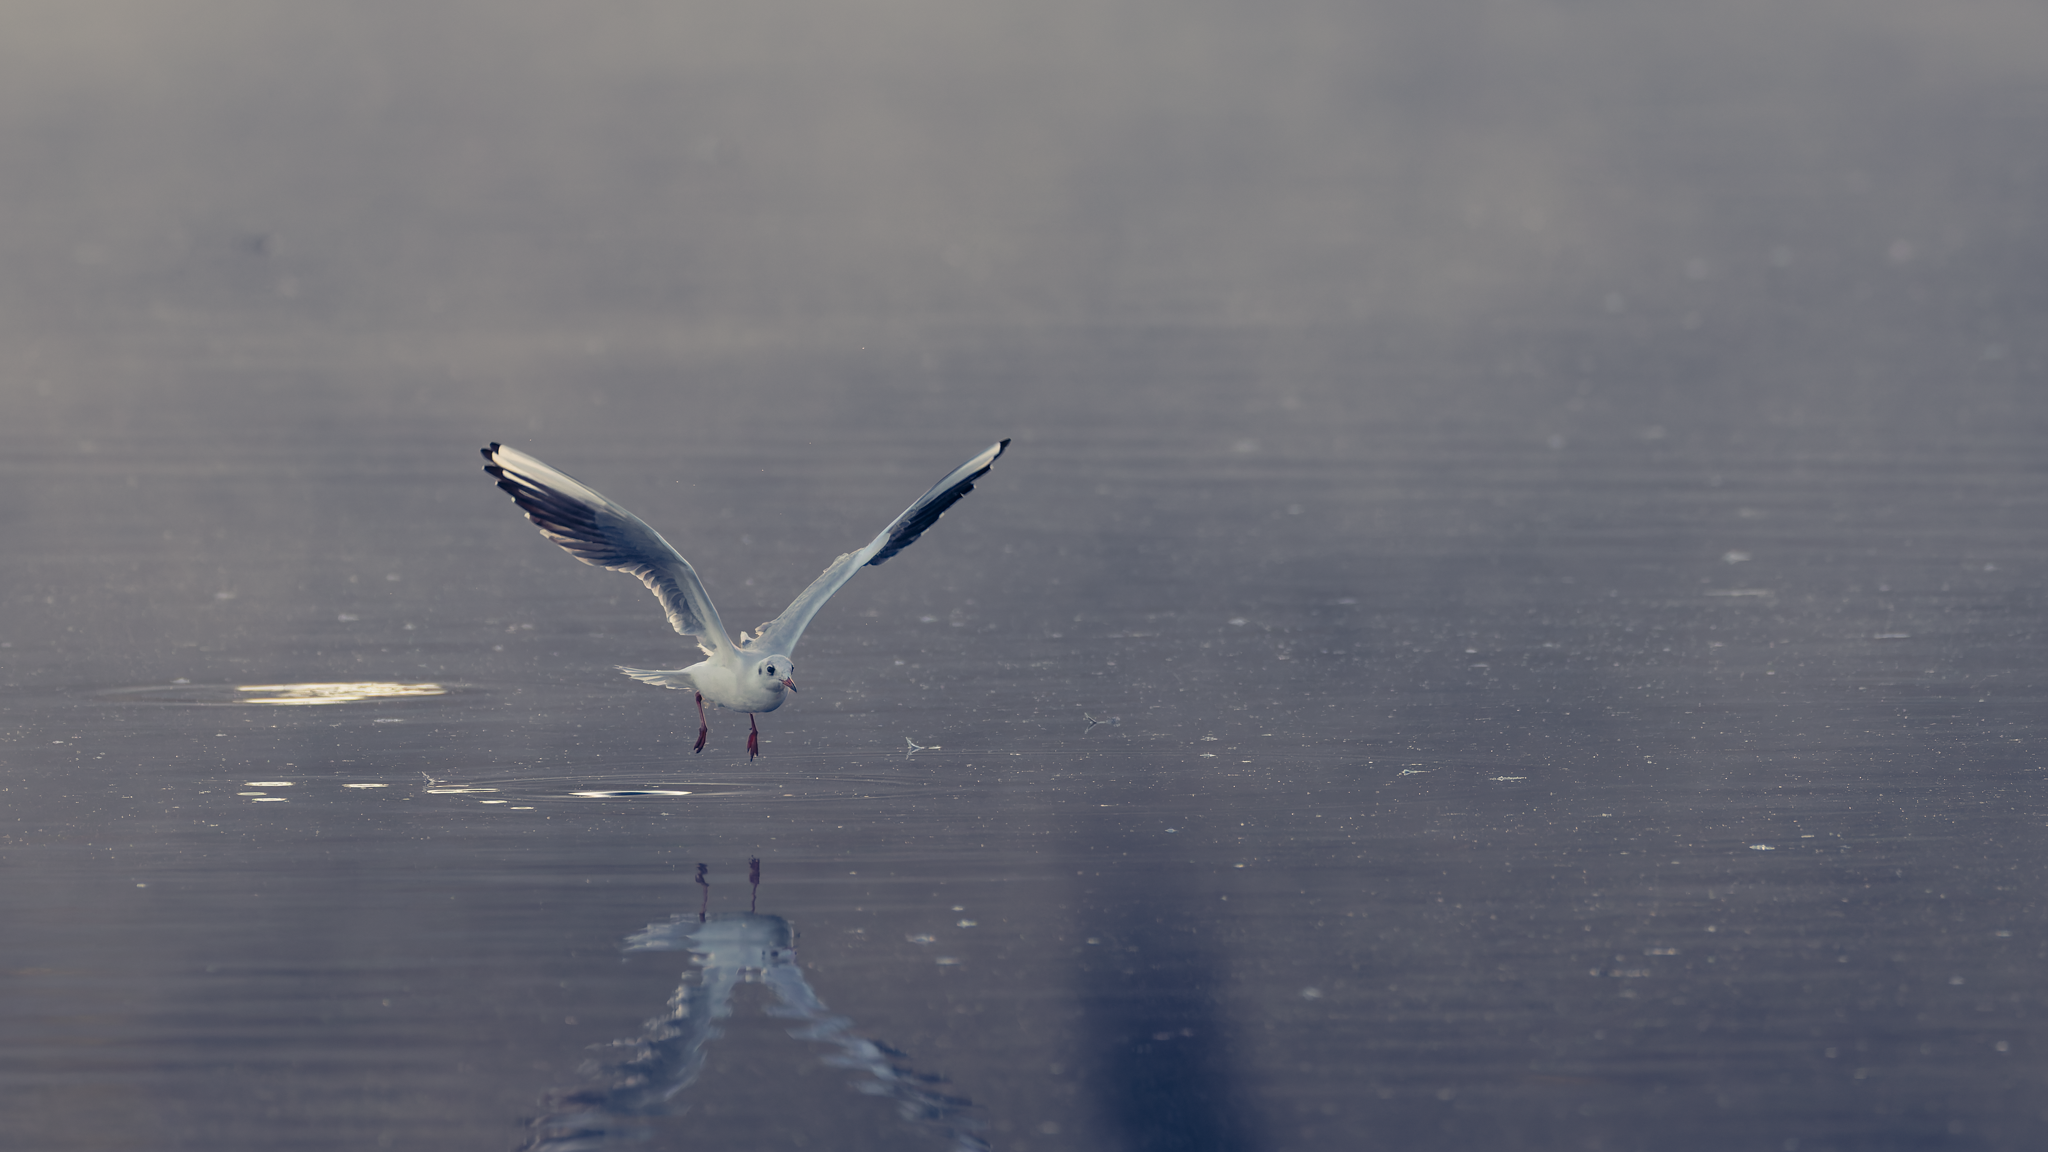
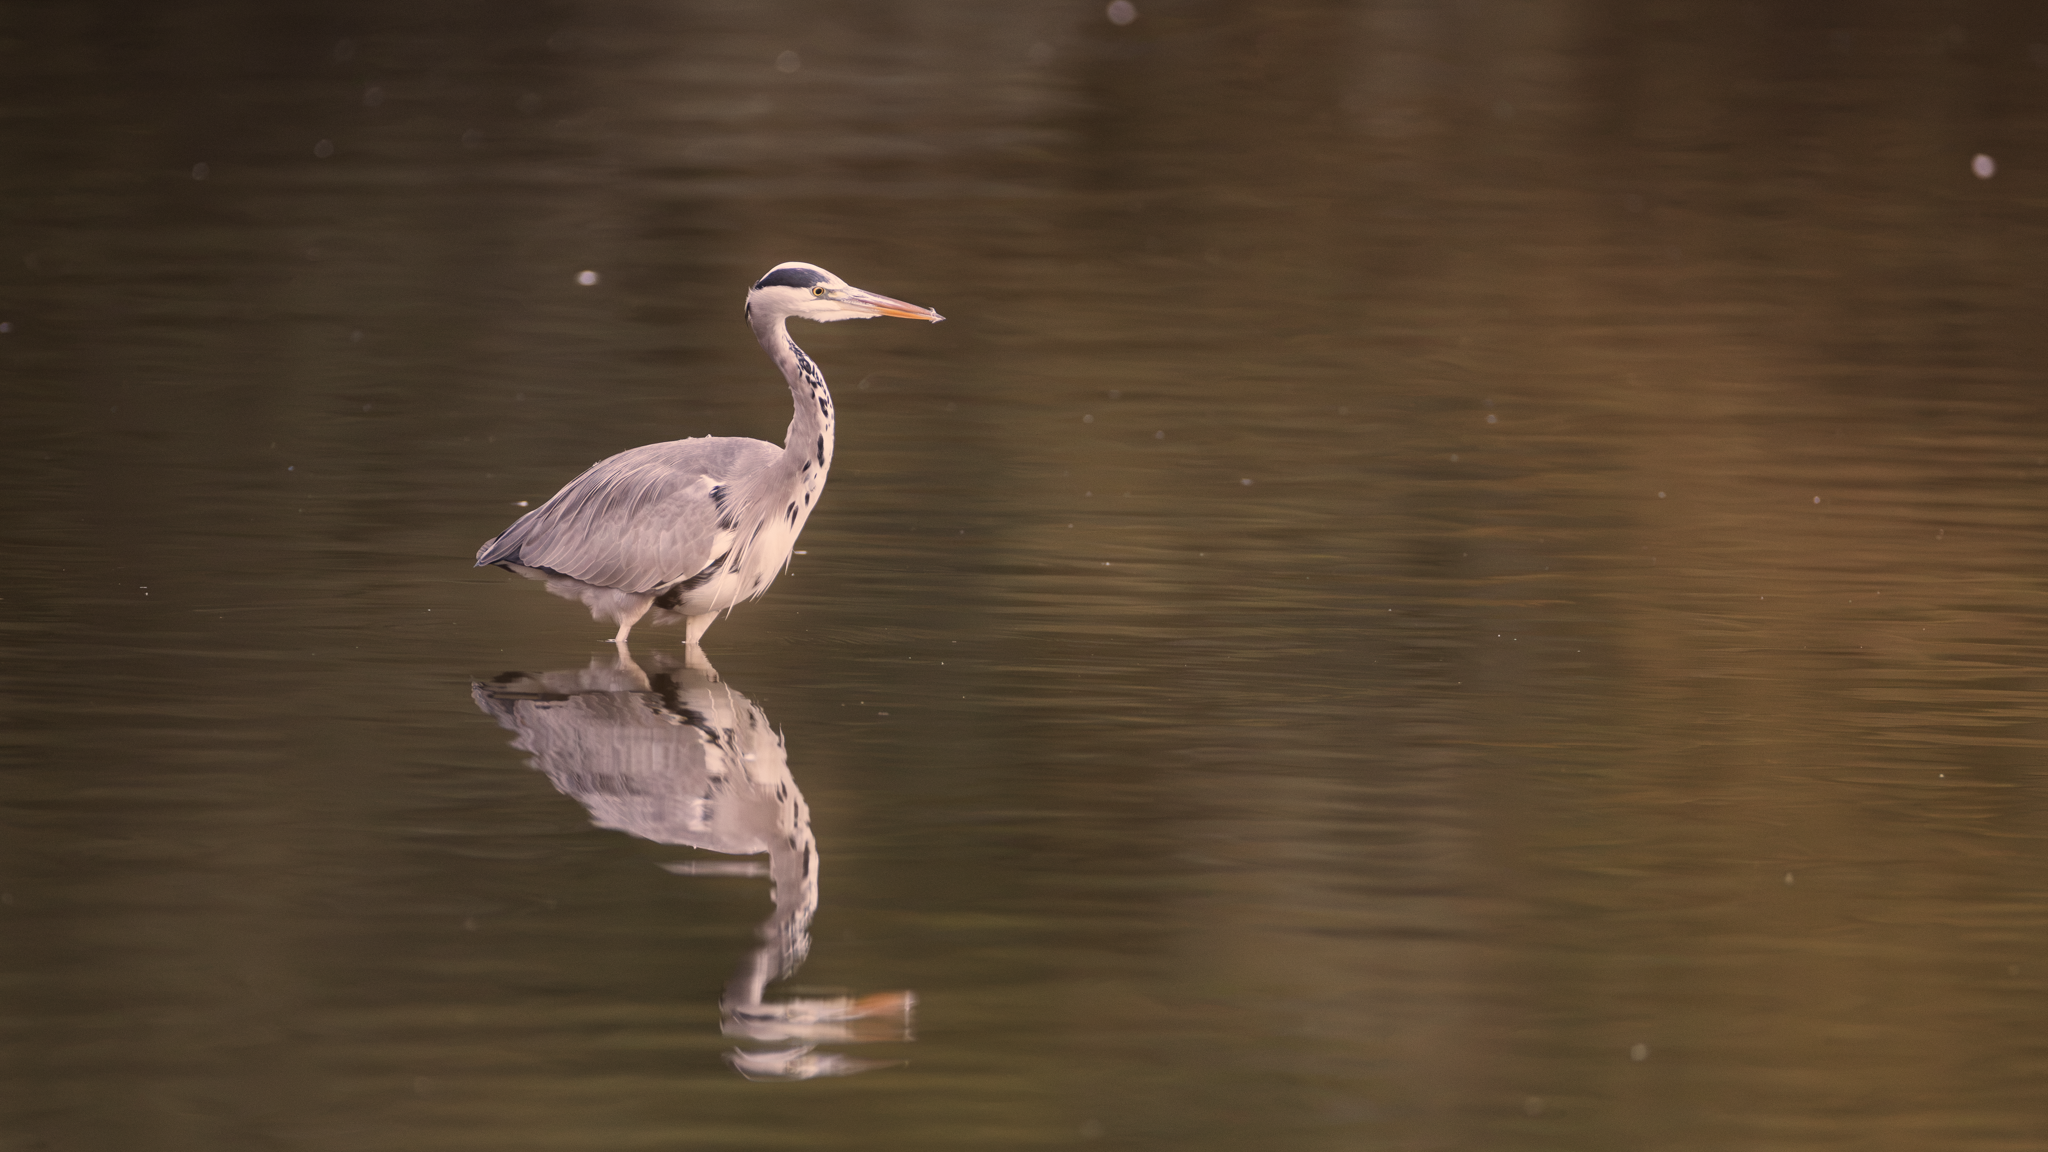
The Kingfisher though? No-show. Almost two hours and nothing. But it was only my second time out, so any time with the camera in hand is a win, and I came away really happy with a Heron, a Great Crested Grebe and a Black-Headed Gull. I had the big lens (400mm f/2.8) on a little table top tripod fitted with one of my spare 3 Legged Thing video heads, and it works an absolute treat.
The one thing is the height I've been using it at is a little bit high, so if a bird goes up I'm going to struggle to get it in shot. My dear friend Steve Healy gifted me a Platypod Extreme, so I'm going to be trying that next time.
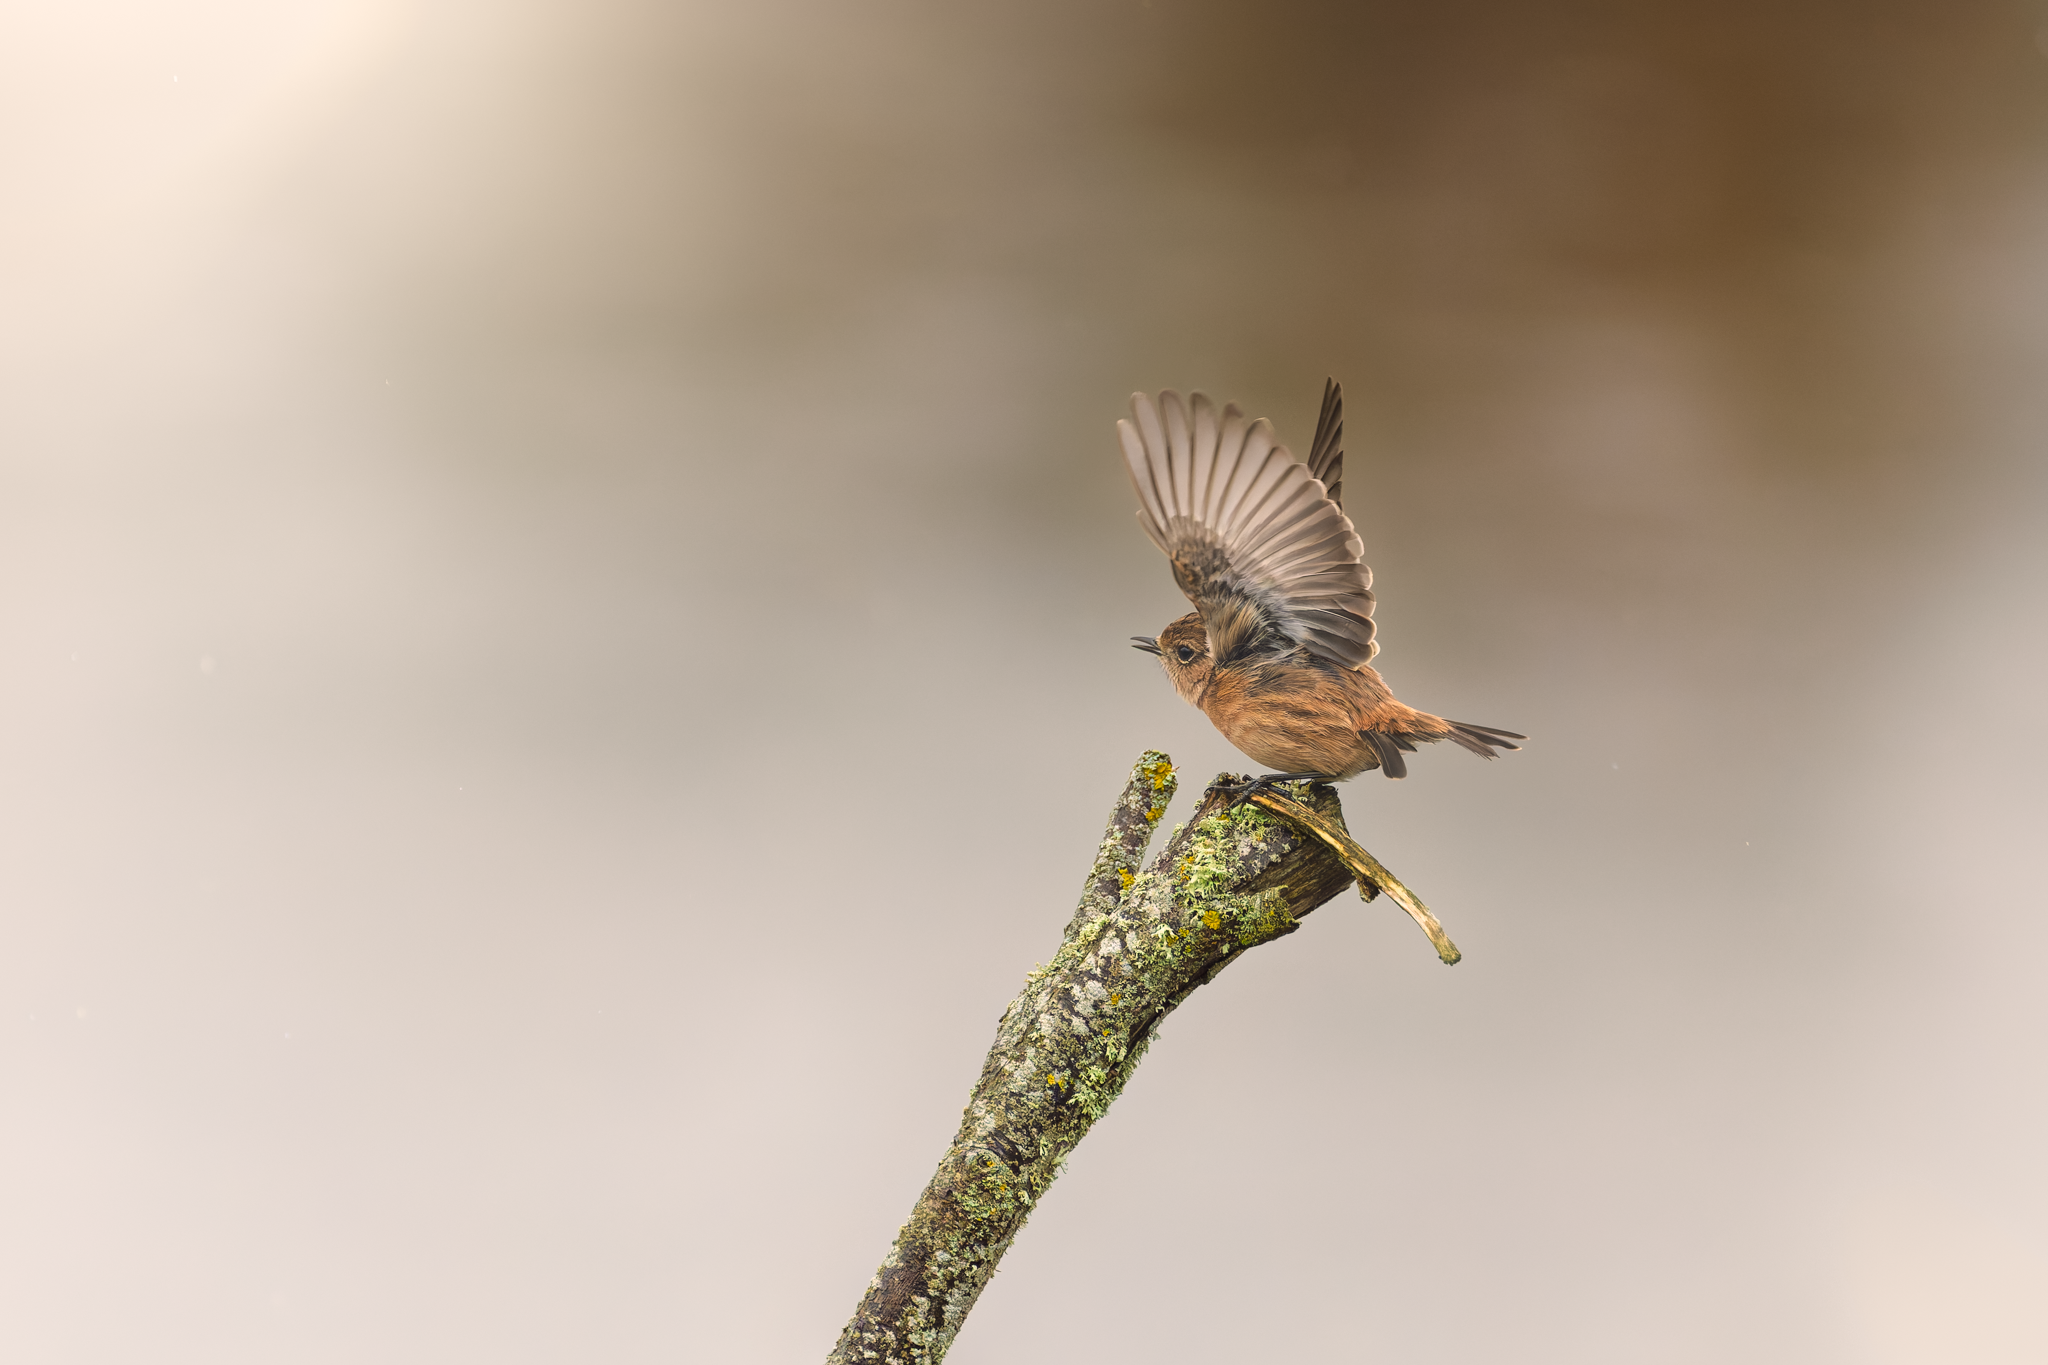
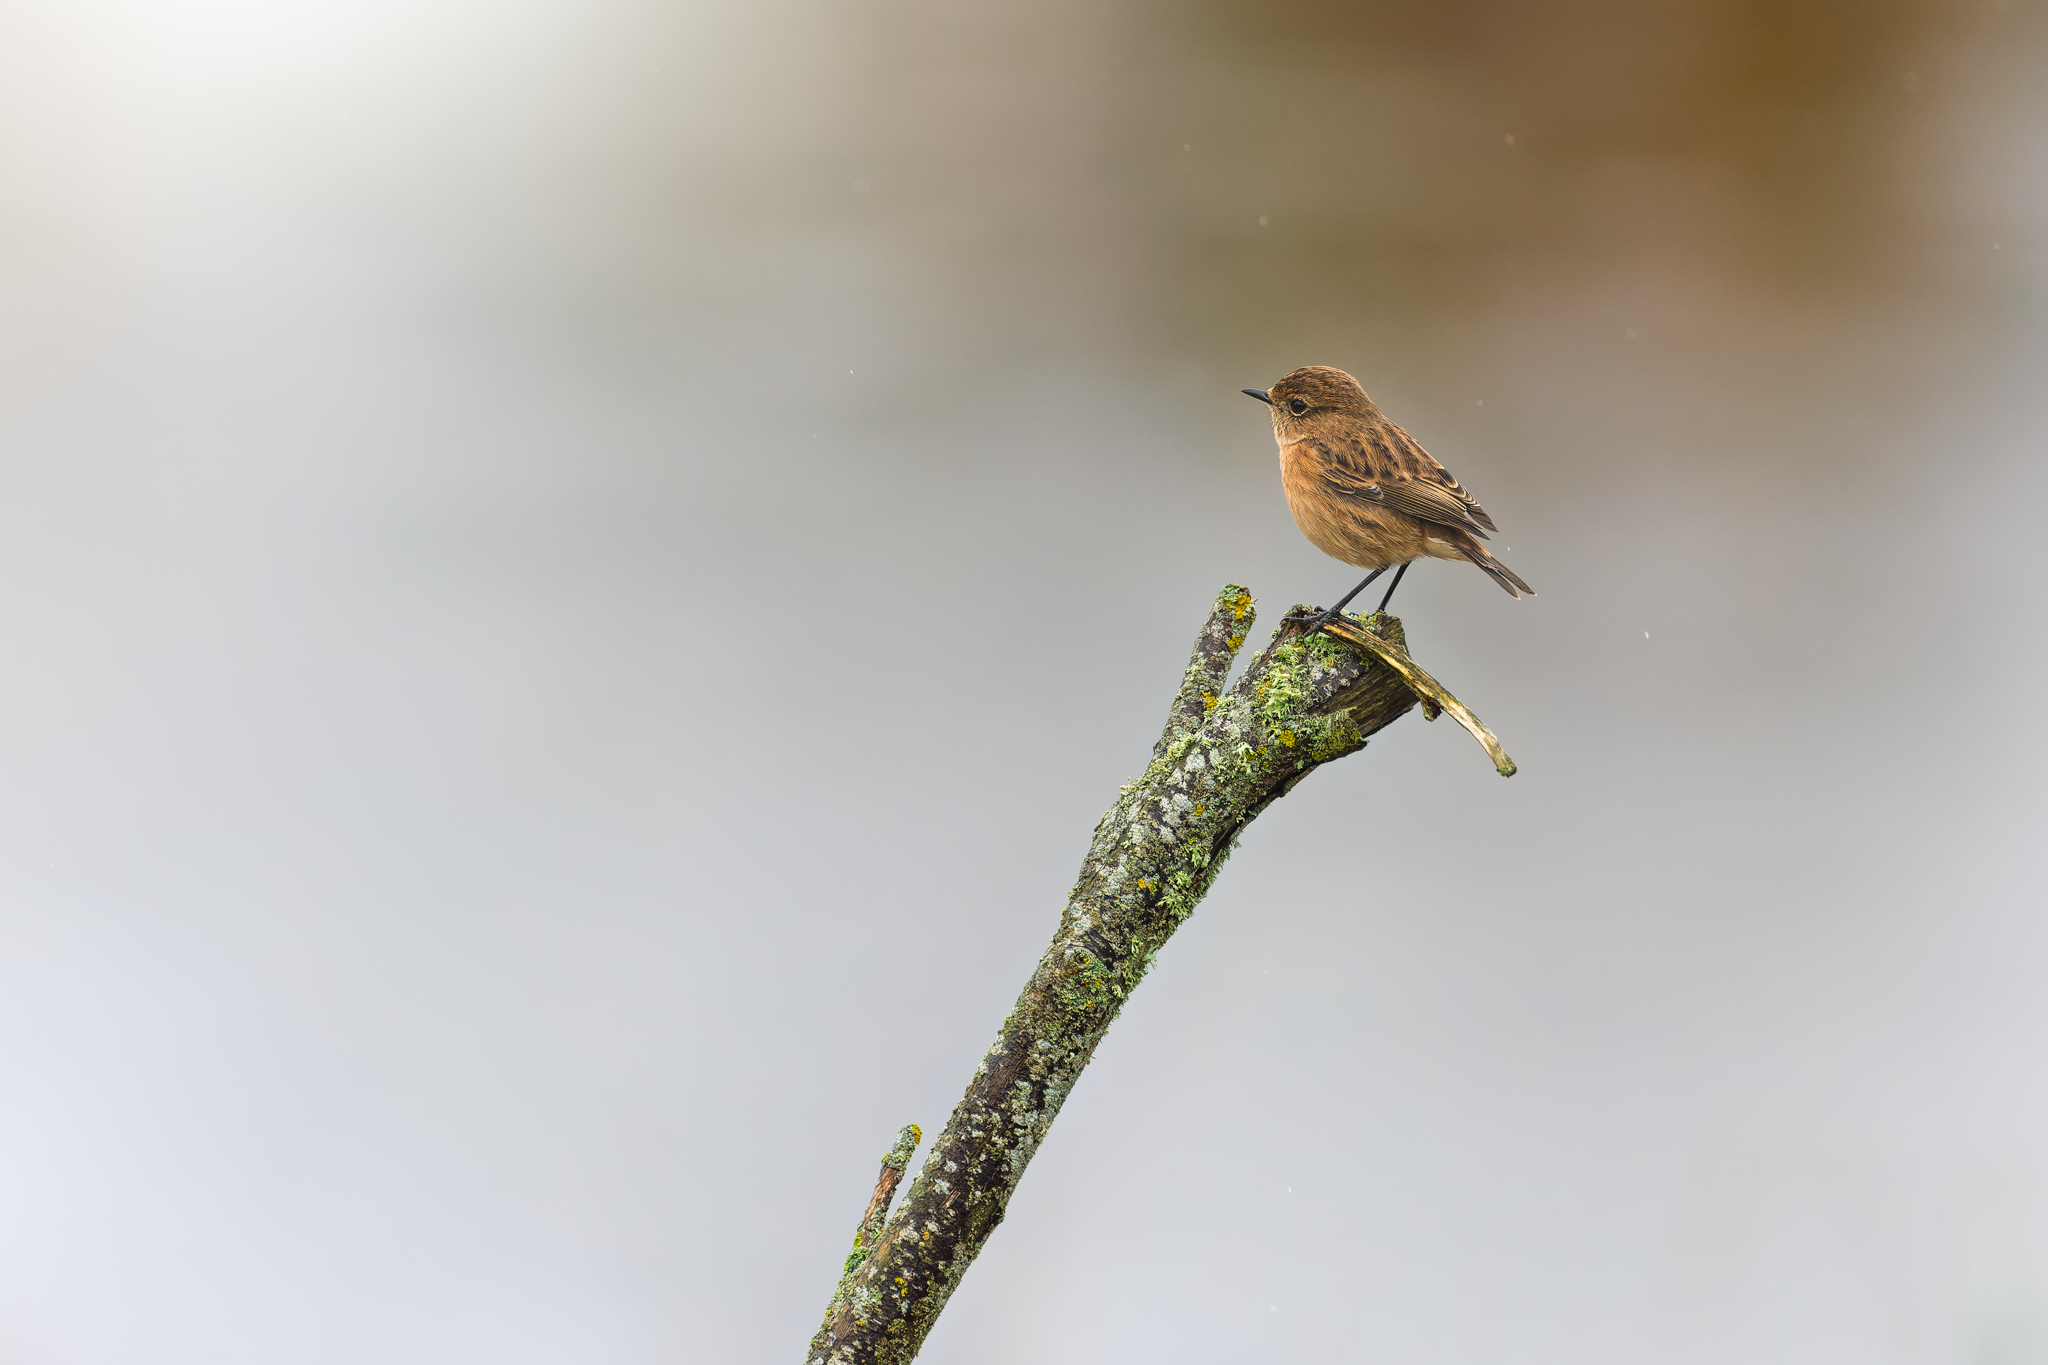
Then I spent a day at Seaton Wetlands with my friend Andy. Weather was all over the place, light rain most of the morning, nothing like we'd been promised the day before. The Merlin app was going mad there was that much about, and I'm already picking out birds I couldn't have named a week ago. The Kingfisher was there when we got in the hide, then made his escape, never to be seen again. Typical. Still, I got a lovely female Stonechat, and plenty of practice using the camera like a Game-Boy, dialling in settings as it all unfolds in front of you.
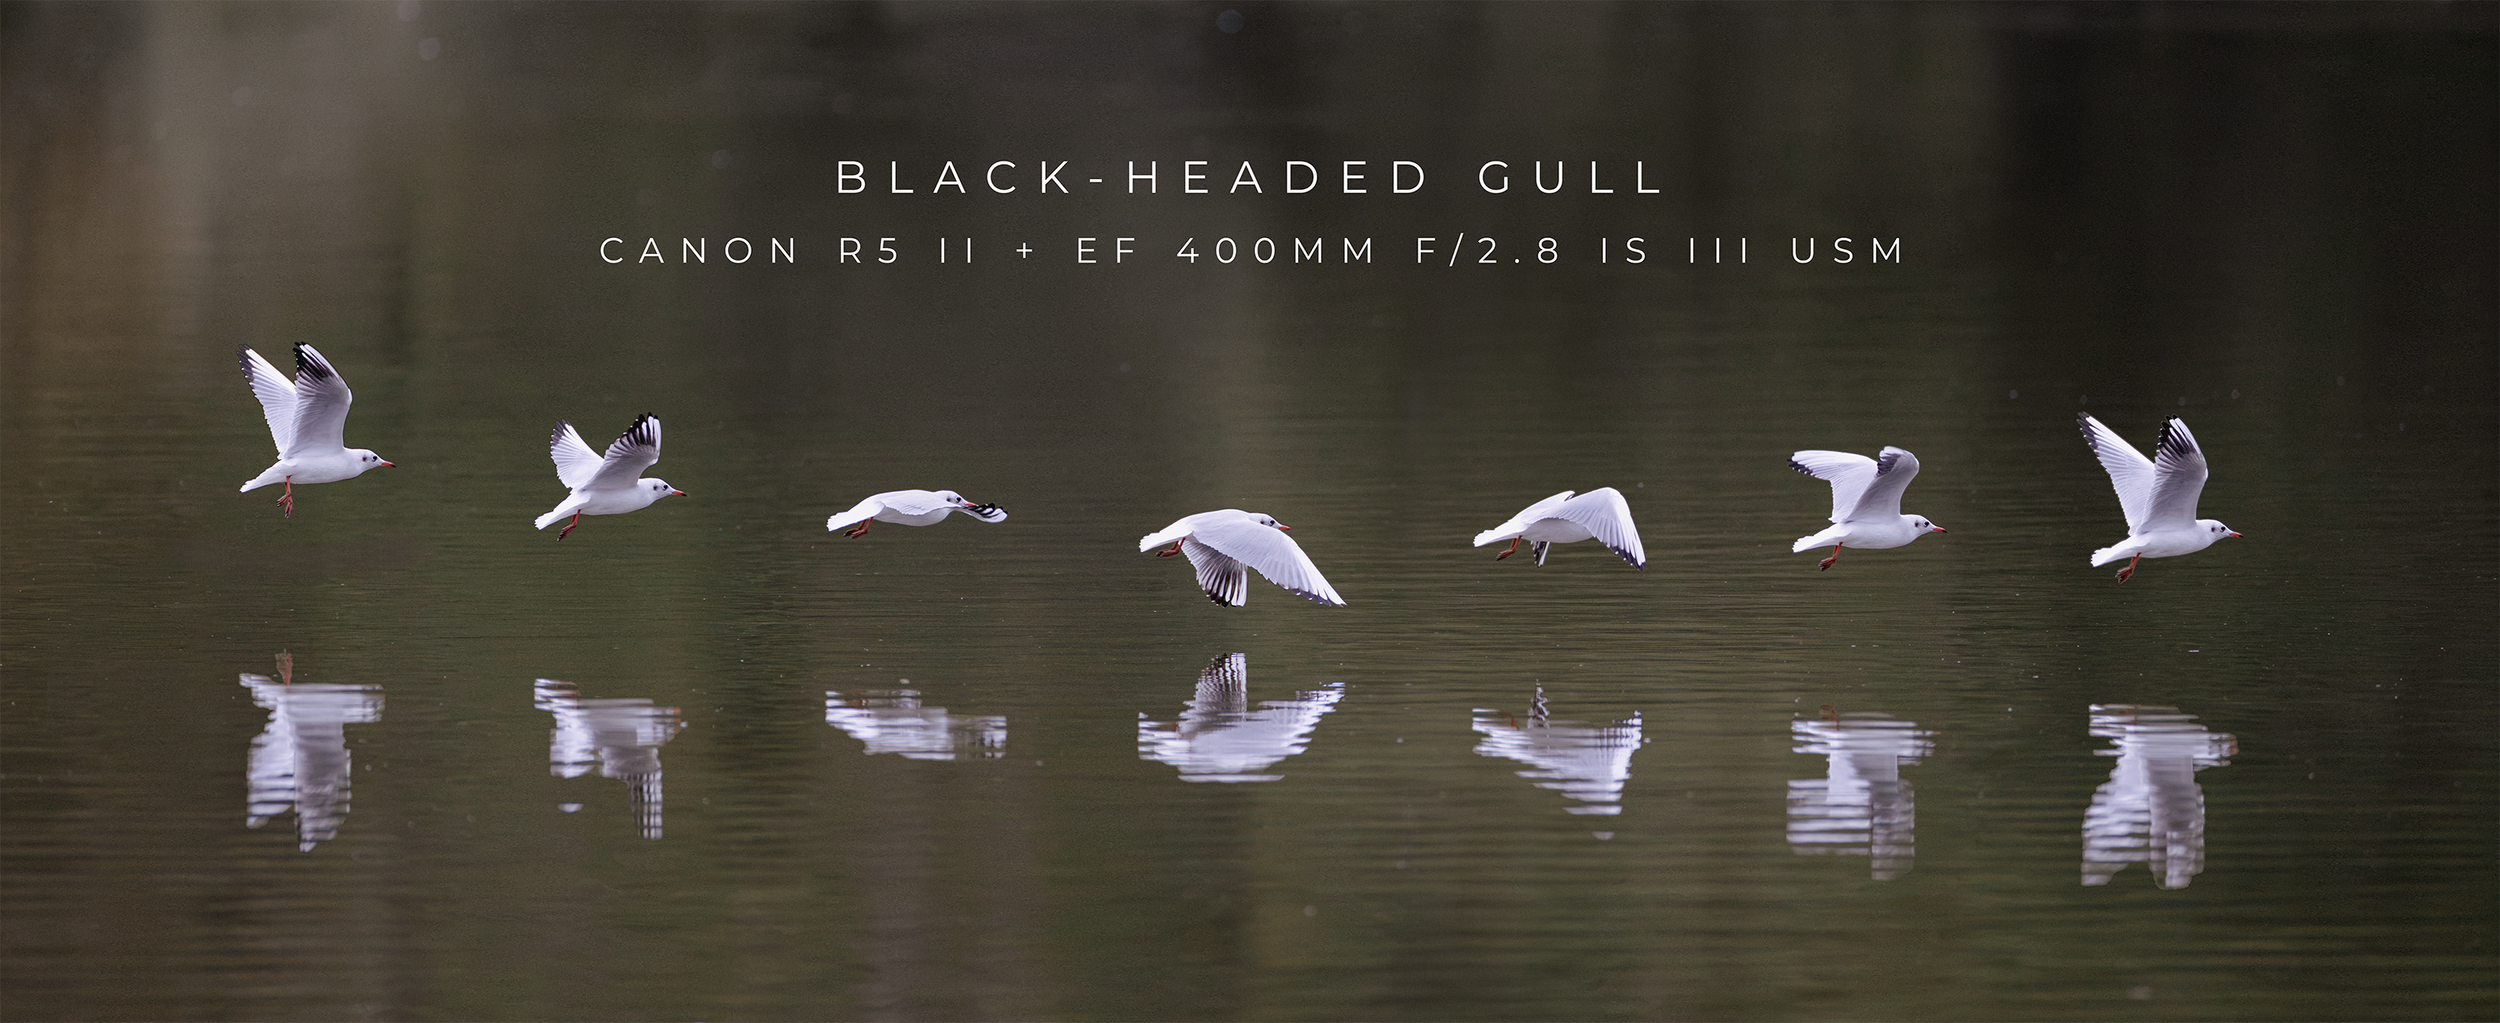
A Black-Headed Gull sequence even became a YouTube video, putting a bird in flight together in Photoshop, no AI.
What I'm loving is the quiet, the early light, and the slow pace and anticipation. The Kingfisher's still the one I'm after though.
Gear and settings:
Canon R5 Mark II
Canon EF 400mm f/2.8 III with 1.4x Converter
Heron: 1/400 sec, f/4.0, ISO 2000
Great Crested Grebe: 1/2000 sec, f/4.0, ISO 2500
Black-Headed Gull: 1/2500 sec, f/4.0, ISO 1000
Female Stonechat: 1/2000 to 1/2500 sec, ISO 4000
One for you thought …
How do you set up low down with a big lens, and does anyone use a Platypod for wildlife?
I'm all ears.
I’ve very recently started getting into wildlife photography, as something different to do when I’m not taking portraits, and over the past week or so I’ve been out as much as I can photographing birds at a local reservoir and wetlands.
From one of the first shoots I put together a composite of a black-headed gull flying across the water; it’s the same bird at seven stages of its flight, brought together into one image in Photoshop. Since sharing it I’ve been asked a few times how I made it, so this is how.
The gull was photographed on my Canon EOS R5 Mark II with the Canon EF 400mm f/2.8L IS III, which is so good; razor sharp and super fast. Zoom into any of the frames and the detail on the bird is unbelievable.
None of this could have been done in one shot. As the gull flew across the water I panned the camera to my right to follow it, keeping the bird in the middle of the frame the whole time, and you can see that in the water if you flick through the frames, because the ripples all run the way I was panning. Every frame has the gull sat bang in the centre, so the job in Photoshop is cutting each one out and spreading them across the picture.
I picked out the seven frames I wanted and, before anything else, renamed them Gull 1 through to Gull 7. I highlighted all seven, right-clicked and chose Rename 7 Photos, then picked Custom Name and Sequence from the dropdown, gave it a name, set the starting number to 1 and clicked Apply.
It’s a small thing, but when you’re dipping in and out of Lightroom it means you can see straight away which frame you need next.
I didn’t do any editing in Lightroom at all; Gull 1 went straight over to Photoshop with File > Edit In > Edit in Photoshop.
Gull 1 ends up on the far left of the composite, with the others running across to the right, so the bird needs moving out of the middle of the frame.
It works like this. Grab the Object Selection tool, click on the bird and Photoshop makes a selection of it. The reflection in the water needs to come along too, so hold Shift and drag a box over it to add it to the selection, and it picked that up really well.
Now expand the selection a touch with Select > Modify > Expand; 5 pixels is plenty. You’ll see the selection jump outwards when you click OK, and that’s what you want, because it means there won’t be a faint outline or a few stray bits left behind once the bird’s been moved and the original removed.
Command+J (Ctrl+J on Windows) then puts the bird and its reflection on a layer of their own.
The original bird on the background layer still needs to go. There are lots of ways to do it, but I wanted to do this one without AI, so I used good old Content-Aware Fill.
Hold Command and click the cutout layer’s thumbnail to load the selection back in, make sure the background layer is the active one, then go to Edit > Content-Aware Fill. The green overlay is the area Photoshop is sampling from, and if you want it to consider more of the water you can add to it with the plus brush; I gave it a bit more above the bird. Set the output to Current Layer, click OK and deselect.
The bird’s gone, and it’s done a really good job of it without any AI at all.
With the cutout layer selected, hold Shift and drag it over to the left. Shift keeps it on the same horizontal line, so the bird stays at exactly the same height above the water and looks as though it was always in that part of the picture.
These are quicker, because from each of them I only need the bird and not the background.
Gull 2 goes over to Photoshop, Object Selection tool on the bird, Shift and drag to add the reflection, expand by 5 pixels and Command+J. Drag that layer across into the composite with Shift held down and it drops in at the same height it was in the original frame, so all that’s left is sliding it into position. Close the frame without saving and on to the next one.
You can send all seven frames over to Photoshop in one go and have them open as tabs, but that feels a bit messy to me, so I did them one at a time.
With all seven gulls in, it was looking pretty cramped, so the picture needed to be wider.
Generative Expand would do that these days, but you get a lower resolution result, and it’s easy to forget there’s technology in Photoshop we’ve had for years that’ll do it at the original resolution. In this case that’s Content-Aware Scale.
Unlock the background layer first, then use the Crop tool to drag the canvas out wider and give the birds a bit more breathing space, with the fill option in the options bar set to transparent. The birds are all on their own layers and don’t get touched; it’s only the background layer, the water, that gets stretched.
With the background layer active, go to Edit > Content-Aware Scale, hold Option (Alt on Windows) and drag the middle handle on the left side outwards. Holding Option stretches the right side by the same amount, so both sides fill in equally.
Photoshop is stretching what’s already there as you drag, but not to the point where you’d really notice. Zoom into the ripples afterwards and they look perfect, and because there’s no generative fill involved, it’s still the original resolution of the image.
The last job is spacing the birds evenly across the width. You could do it by eye, but guides make it much easier.
Go to View > Guides > New Guide Layout, ignore the rows, set Columns to 8 and the gutter to 0. That gives you seven guides across the image plus the ones on the outer edges, so there’s one for each gull. Drag each bird onto its guide, then clear them with View > Guides > Clear Canvas Guides.
That’s it, and the seven gulls are now spread evenly across the water.
You could carry on from there and darken the water down so the birds stand out a bit more, but the composite itself is done, and none of it needed the latest AI features; Content-Aware Fill and Content-Aware Scale have been in Photoshop for years, and they’re more than capable.
I was out early this morning meeting up with my mate Ben Kapur for some more Wildlife Photography down at the local reservoir, and hopefully another chance at photographing the resident Kingfisher.
Conditions were incredible!
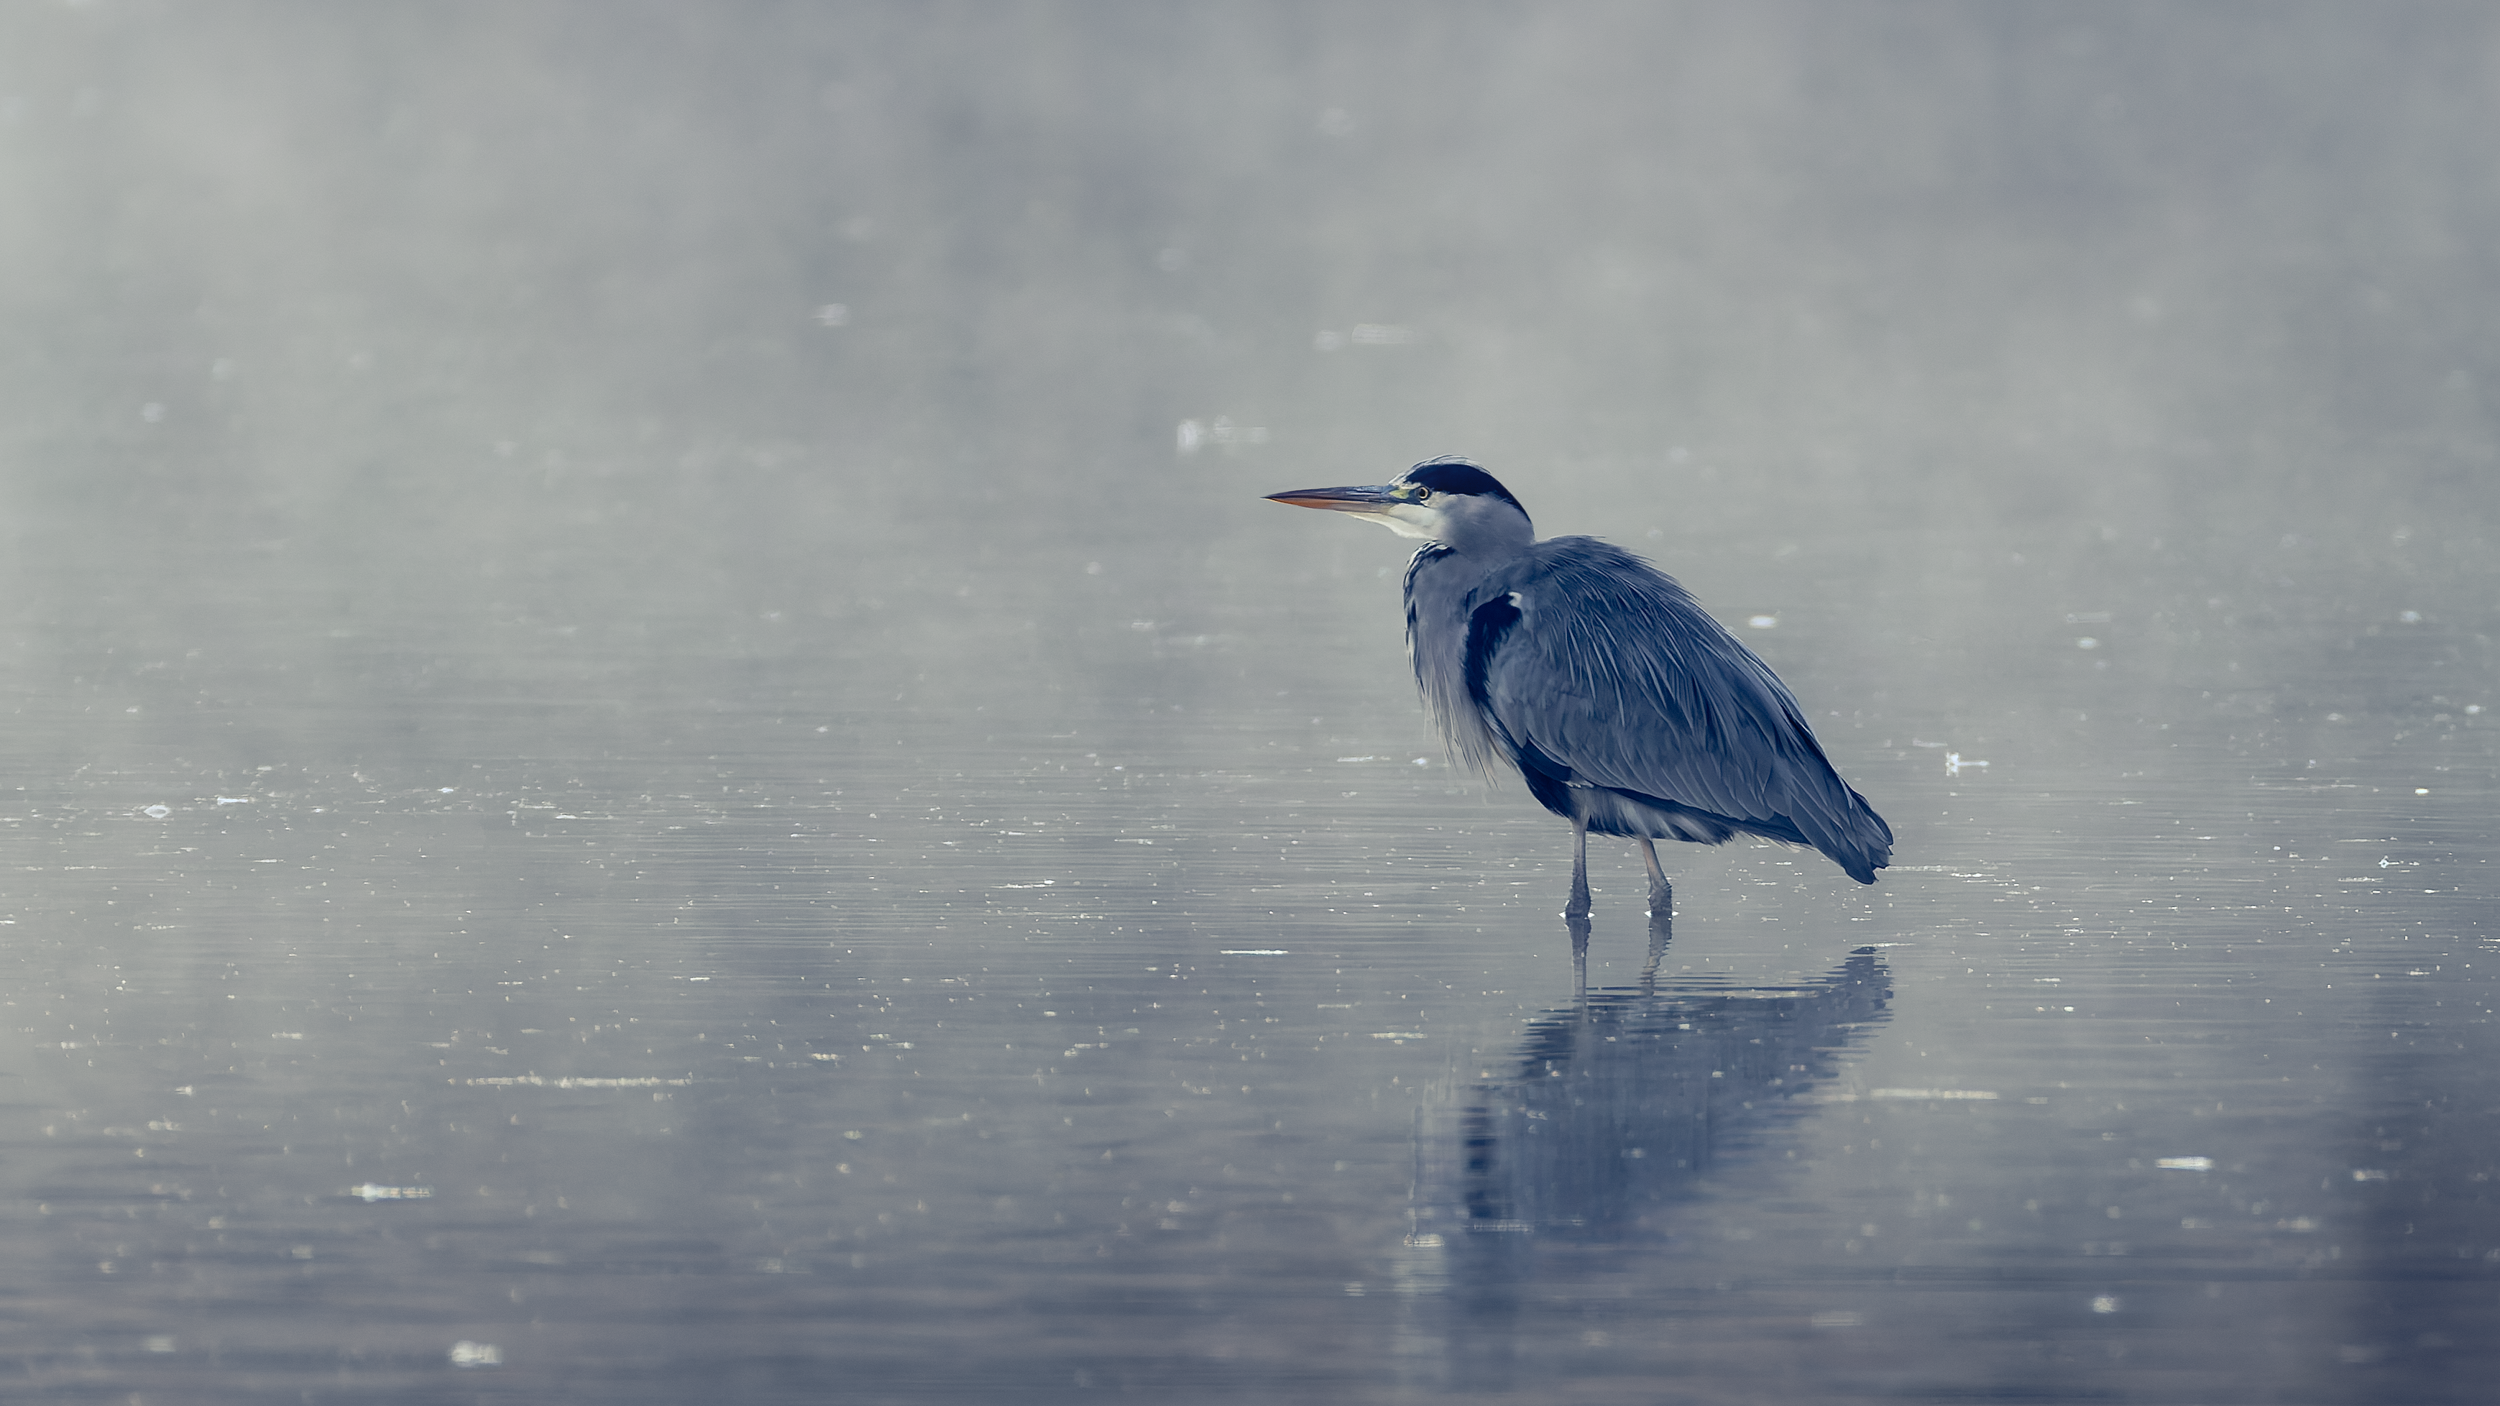
1/400 sec
f/4.0
ISO 2000
A cool start to the day (3 Degrees Celsius) brought with it the most amazing mist across the water surface, and the most amazing light as the sun crept above the horizon. Photography or not ... it was just a treat to be there.
Despite the perfect conditions, activity on the water was exceptionally quiet, and almost 2 hours in, it was no-show from the Kingfisher.
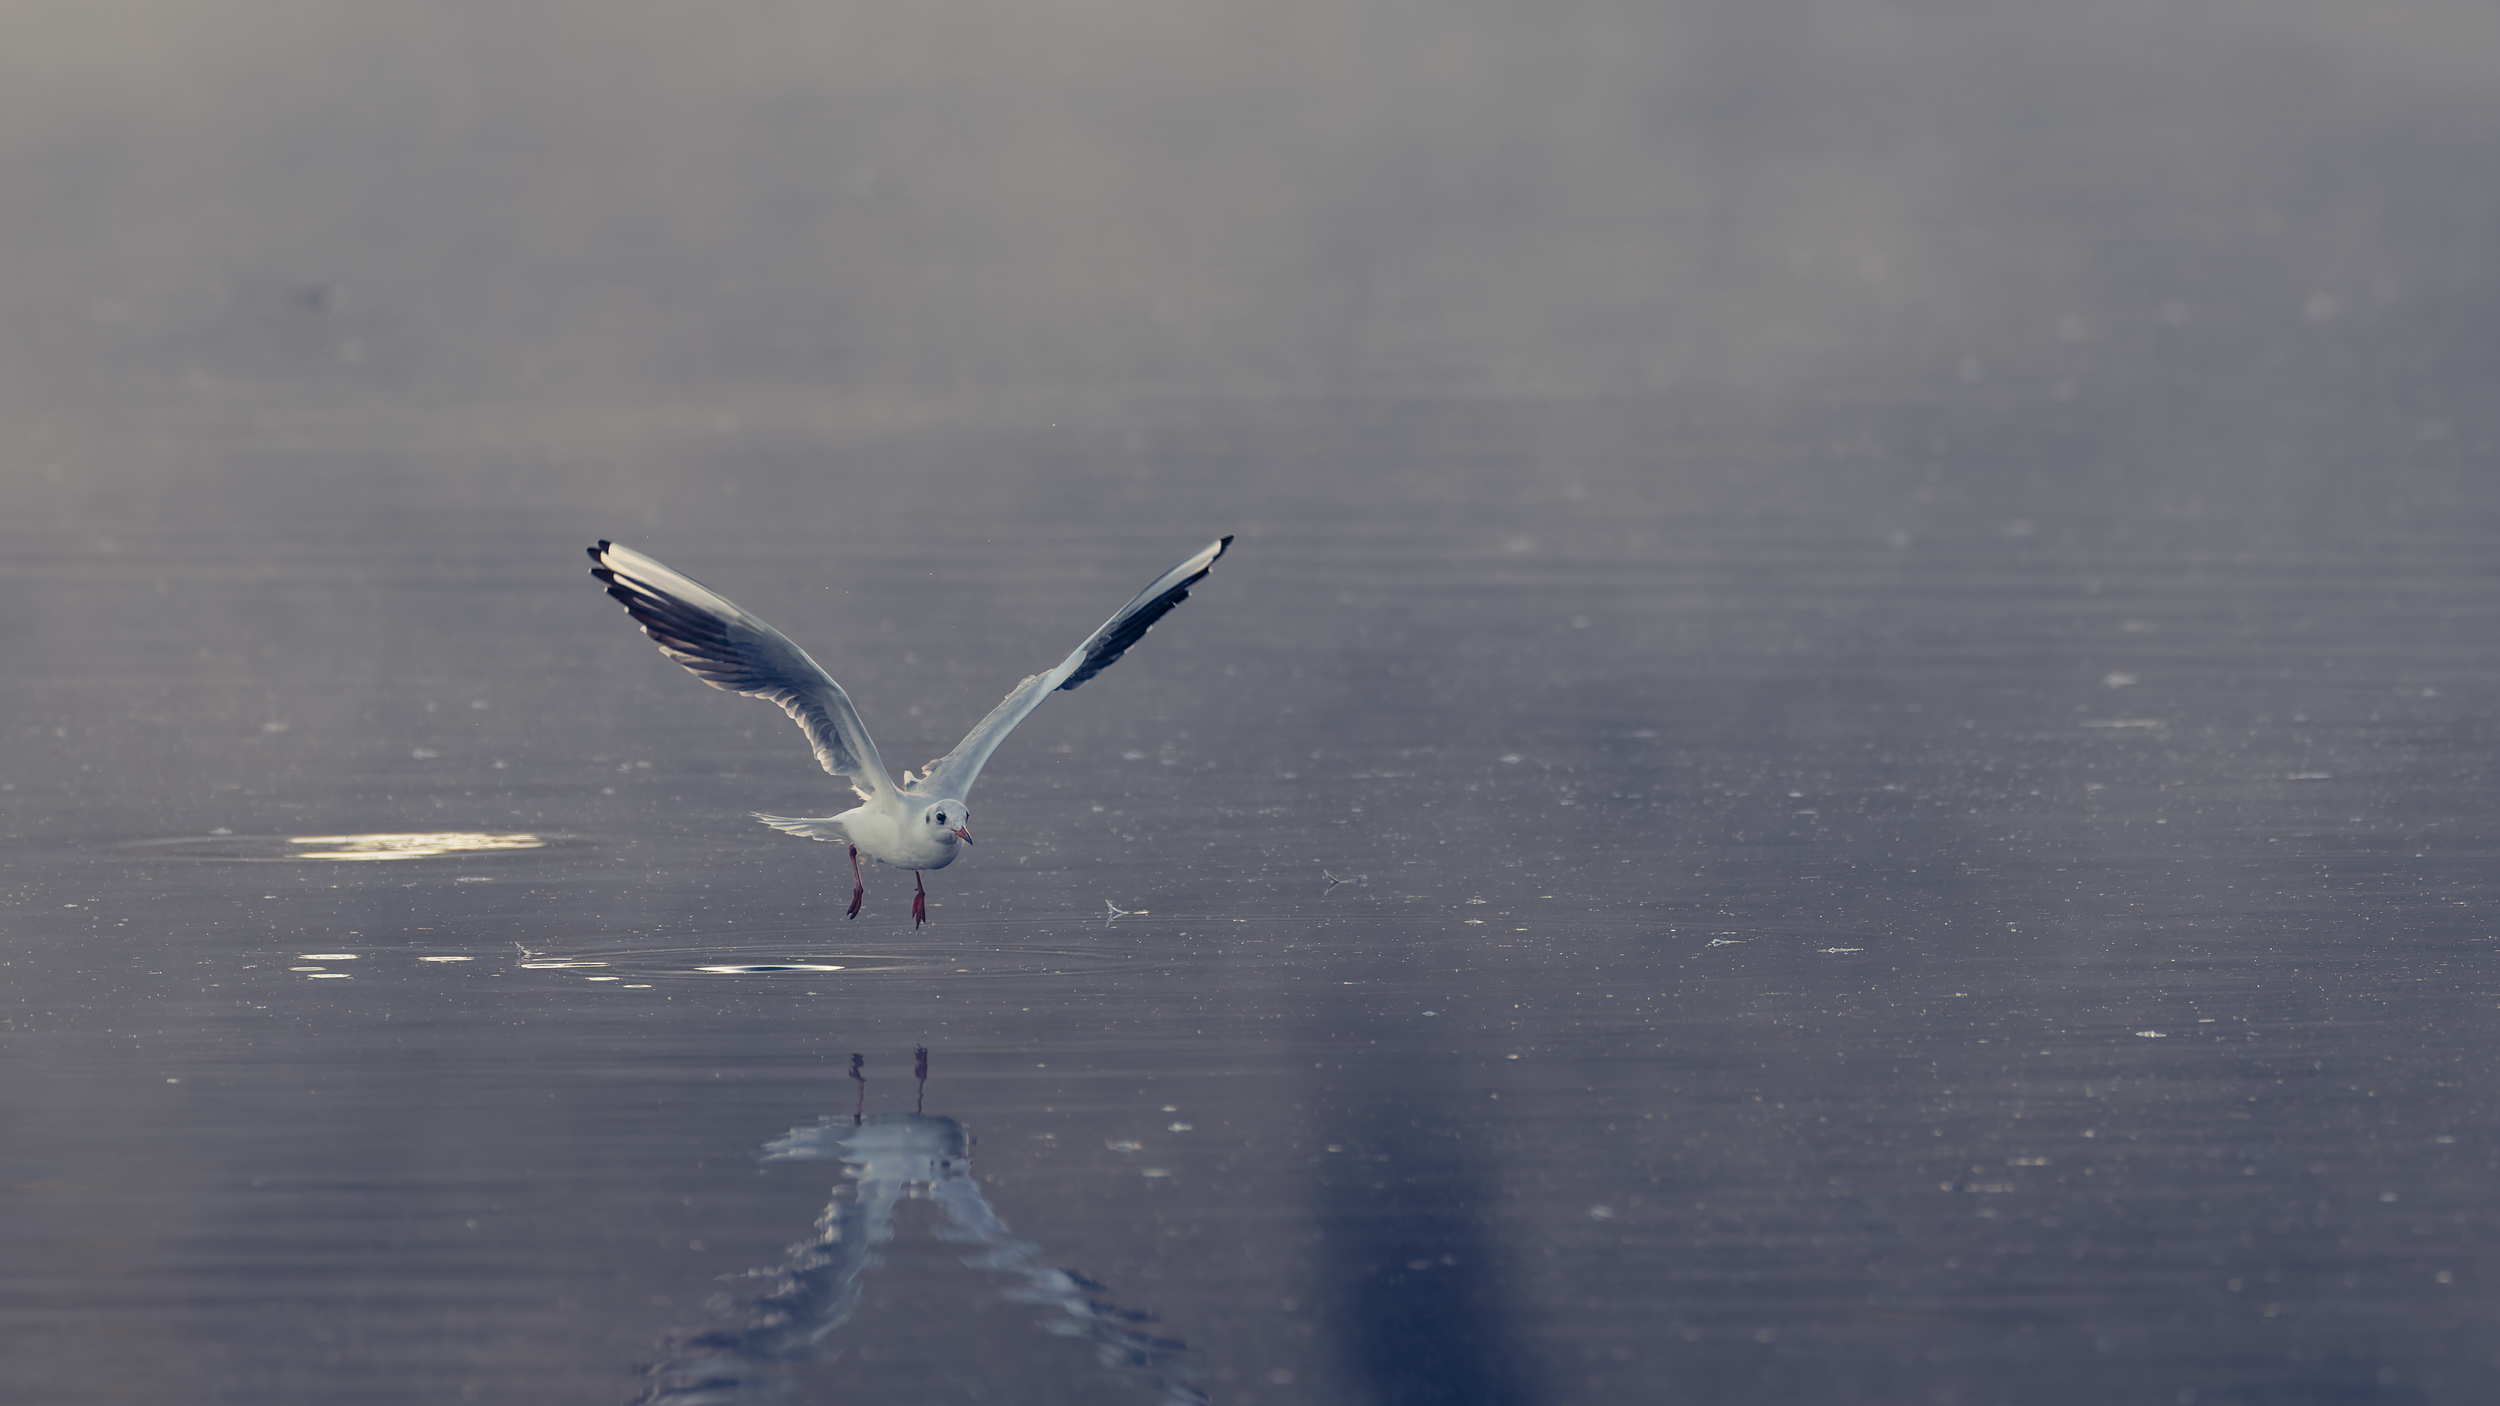
1/2500 sec
f/4.0
ISO 1000
Still, with it being only my 2nd time out photographing wildlife, any time with the camera in hand is a good thing, and I did manage to capture some images I'm actually really with of a Heron, Great Crested Grebe and a Black-Headed Gull.
This time I was using a table top tripod fitted with one of my spare video heads (3 Legged Thing) which made a huge difference, working with the big lens (400mm f/2.8).
All taken with my Canon R5 Mark 2 and the Canon EF 400mm f/2.8 III and 1.4x Converter
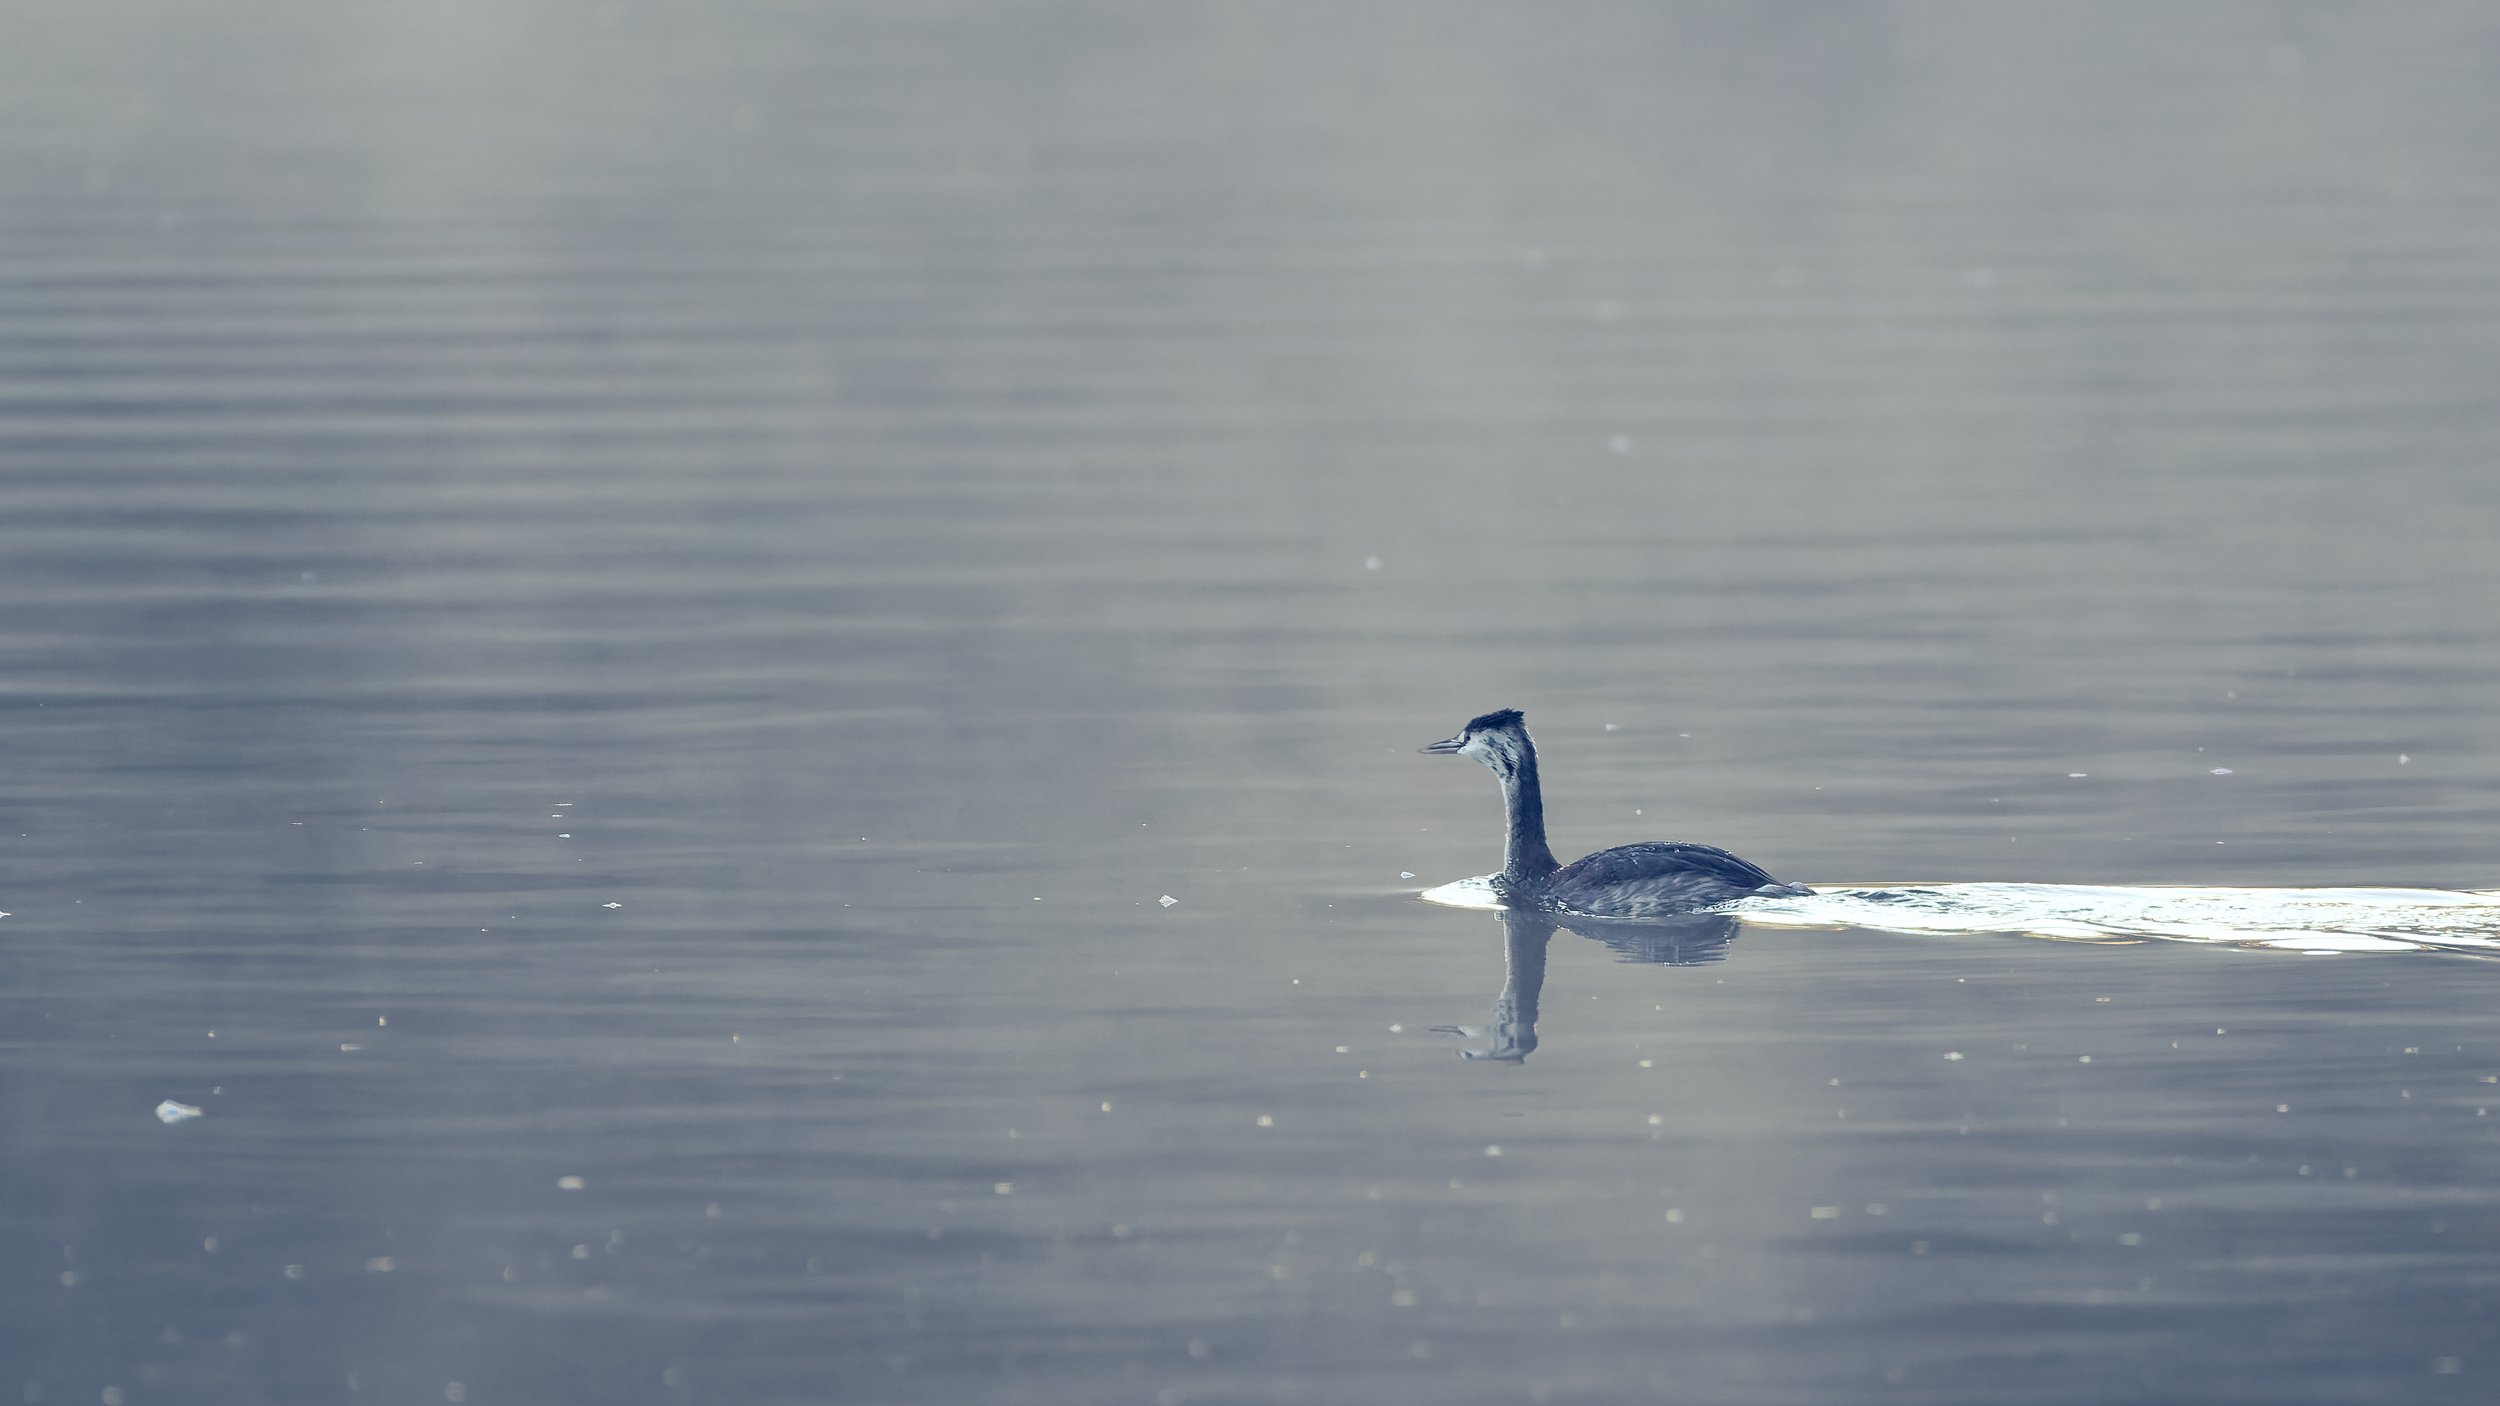
1/2000 sec
f/4.0
ISO 2500
Here’s the table-top tripod set up I’m now using, which is
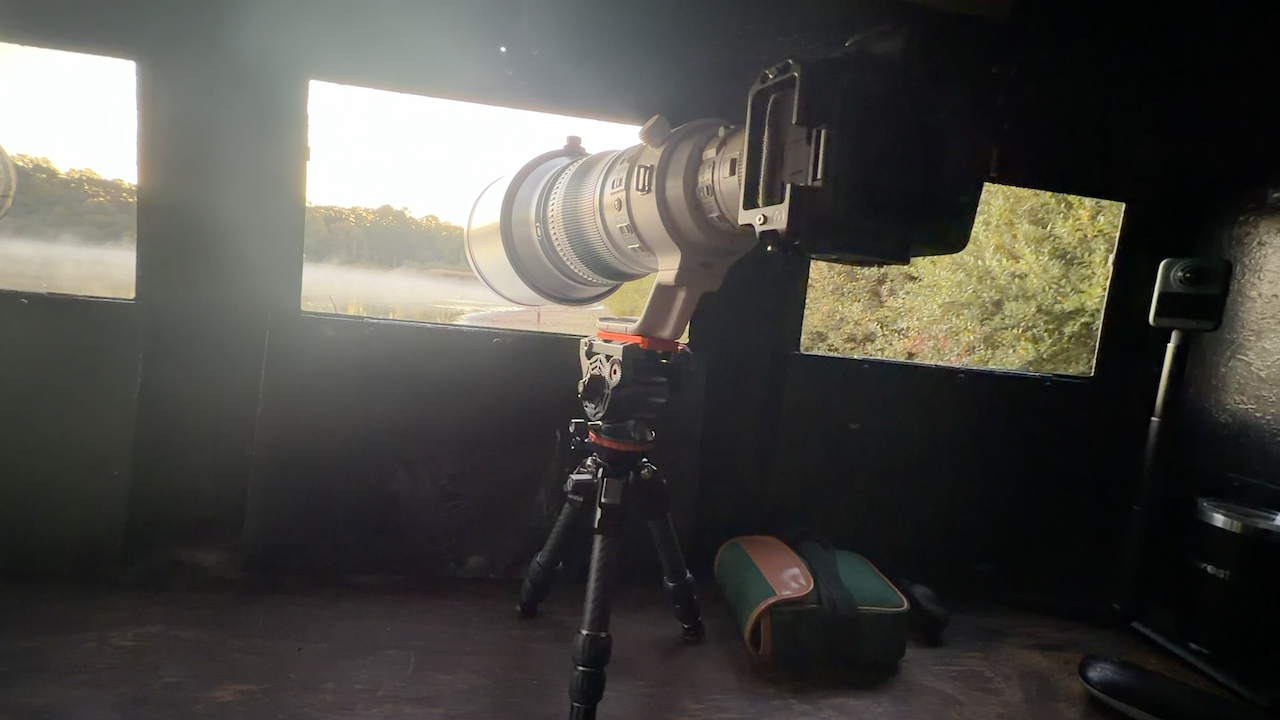
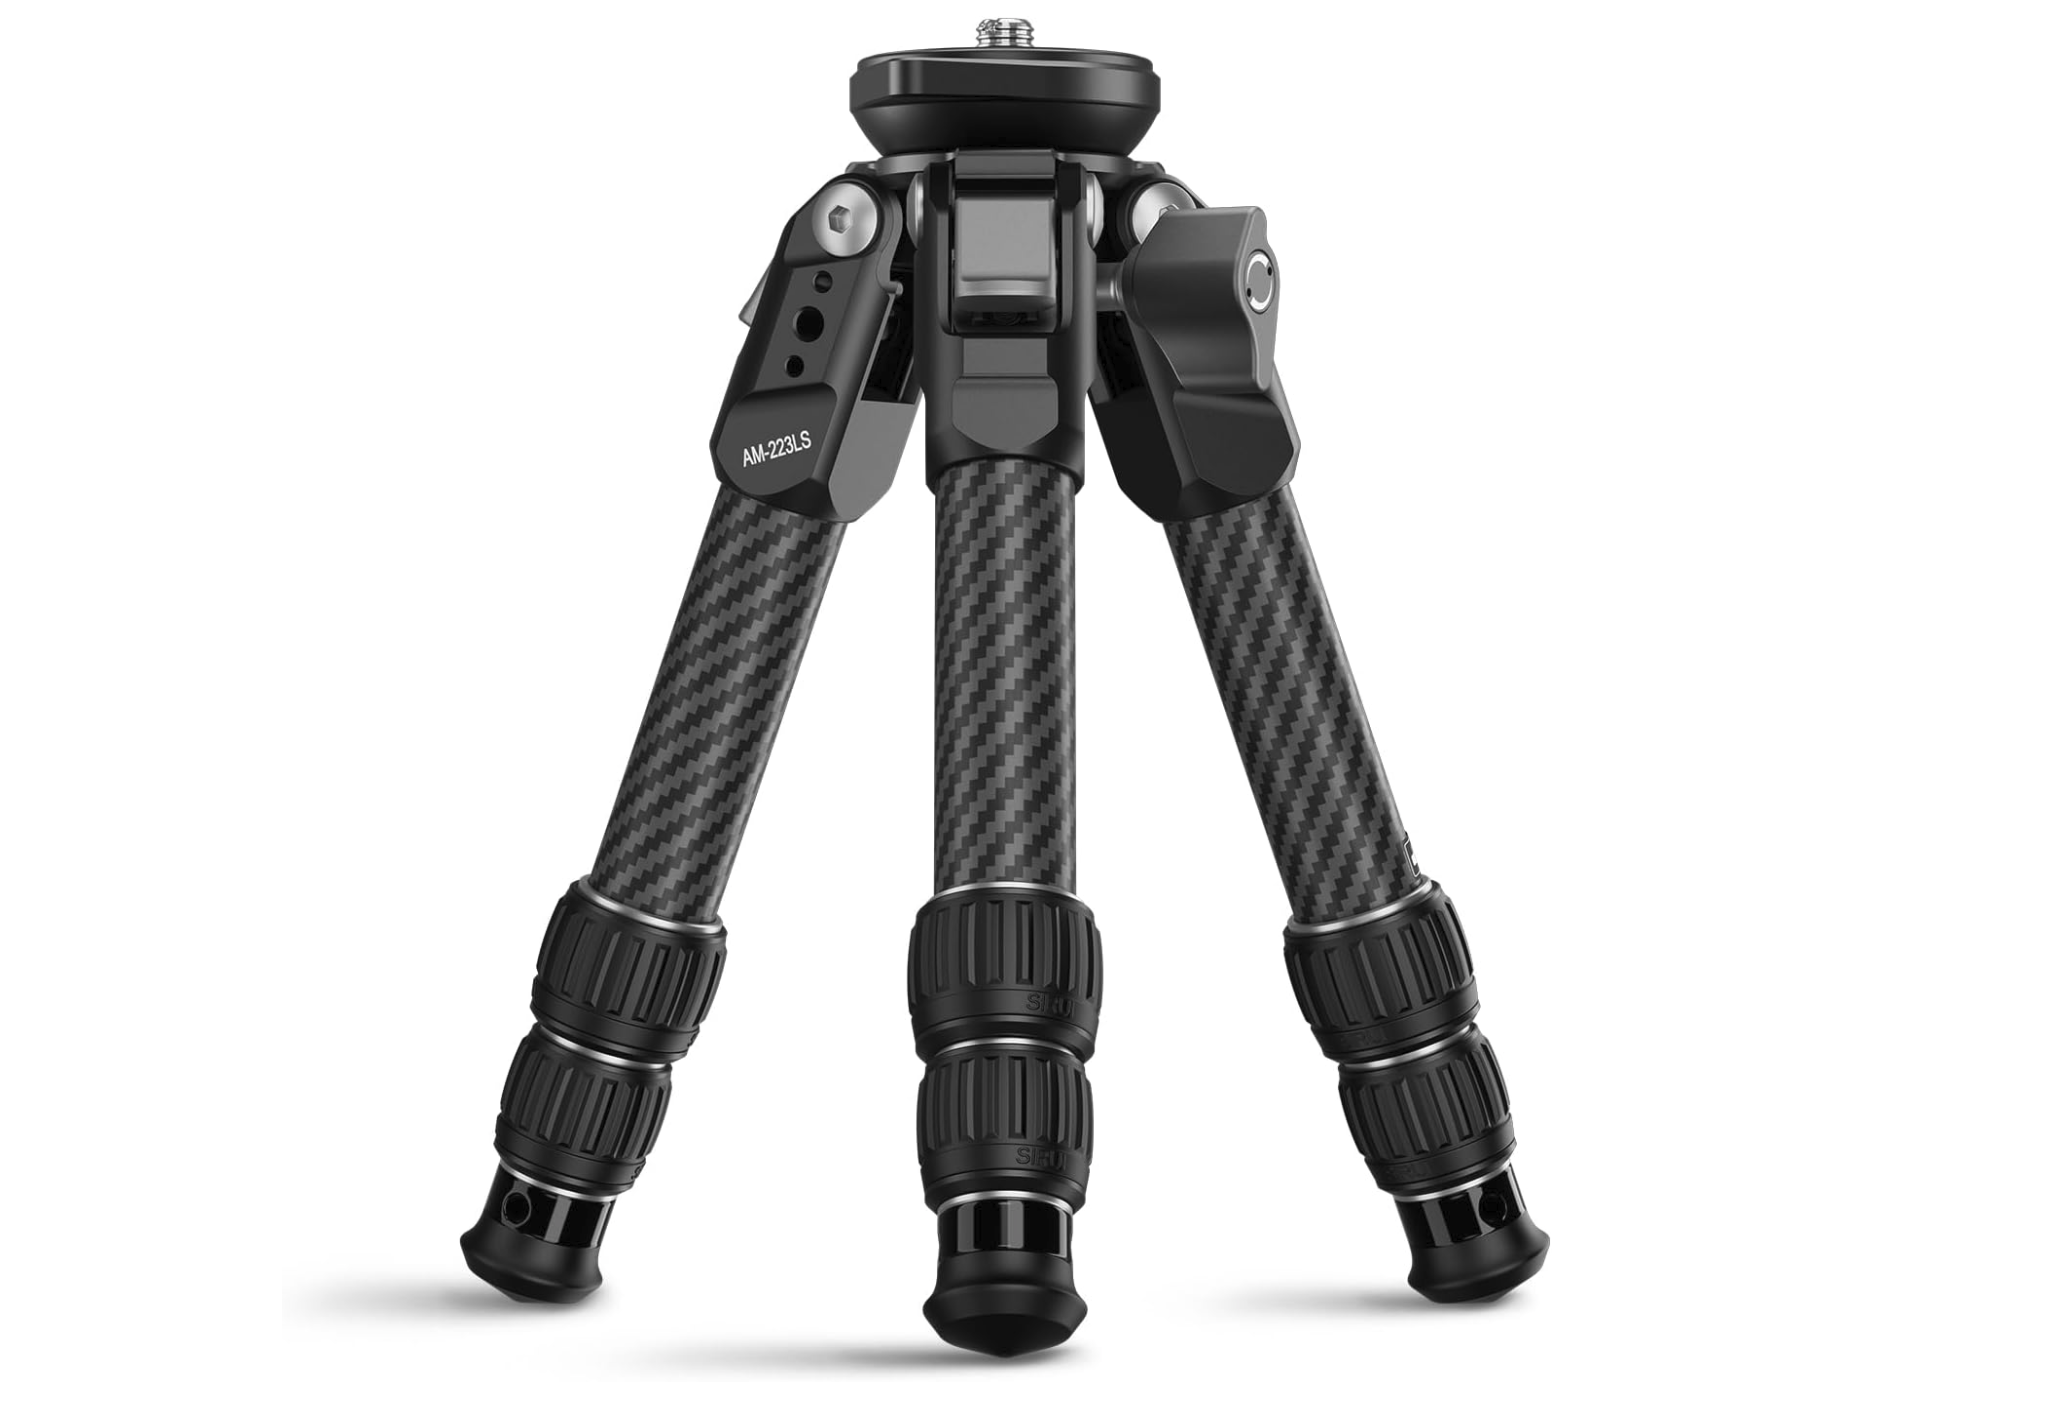
SIRUI AM-223LS Mini Tripod with Bowl Base for Camera,Carbon Fiber Traveler
Now that my new kit has arrived, I’ve been out the past couple of days getting familiar with it, and I’m genuinely loving it. On Saturday I photographed the spring tide, and then on Sunday morning I headed out early with my mate Ben Kapur to photograph wildlife down at a local reservoir.
Once we got to the hide, Ben checked over my camera (Canon R5 II) and helped set it up for bird photography, dialling in a bunch of settings and assigning the Fn buttons and dials to specific tasks so I could change things quickly without looking away from the action. He saved all of this to a custom mode, and then it was a case of me getting to know where everything had been assigned.
In no time at all the Kingfisher arrived. WOW! Only the second time in my life I’ve ever seen one, and this one was up close. At one point it flew right past the window we were sat at and landed on the roof of the hide above us.
It then flew down onto a branch at the water’s edge, where I started taking photographs while Ben read its body language and told me when it was about to dive ... and sure enough, it did. I managed to get shots off, including some with the pre-capture function, but my ISO was too high for those and an egret decided to photobomb 😃 so I won’t be working on any of them. The light first thing was quite dull and uninteresting too.
As the morning went on, though, I became more and more familiar with what to do and when, practising on herons and egrets as they calmly paced around, and on gulls as they flew around.
Having NEVER done this before, I was like an excited kid at Christmas, seeing how incredible the technology is at recognising the subject, locking on and tracking it. Pre-capture too ... amazing.
I can’t wait to get out again and again and put in the practice, at the reservoir, in the back garden and down at Seaton Wetlands. This is so much fun, and I LOVE that there’s always something new to learn.
KIT
Canon R5 II
Canon EF 400mm f/2.8 IS III USM
EF to RF Converter
1.4x Extender
This is the recording of a live broadcast where I chat with photographer Tim Oliver and discover his tips and techniques for capturing stunning wildlife photographs, particularly of birds, but also of the natural world more widely. Tim shares the gear and kit he uses, and we uncover how he approaches retouching, printing and selling his work. It's a great reminder that you don't have to travel far to find incredible subjects; there's plenty right there in your own back yard.
Tim Oliver’s Website: oliverimages.com
Tim Oliver on Instagram: @oliverimagesaz
Discount Code: Use code GLYN50 on Tim’s Website for 50% OFF Prints and Gift Shop Items


© Glyn Dewis 2026