A couple of weeks after very nearly smashing my camera, lens and a filter at Whiteford Lighthouse in South Wales, I headed back with a completely different game plan: leave the main camera at home and take only my DJI Air 2 drone. Ordinarily, to photograph the lighthouse at the right angle you have to be near it, and because it stands such a long way offshore, that means waiting for the tide to go out. I didn't want it stood on a flat, dry, rocky sea bed with no water around it, so the drone was the answer. The question was whether the quality would be good enough, and I'm very happy to say it was; I was blown away with the results. The video takes you on the photo shoot and then through the retouching steps in Lightroom and Photoshop for the final image.
Photoshop Layers and Selections Webinar with Rocky Nook Publishers
Thursday of last week I presented in a webinar hosted by my publishers, Rocky Nook all about my latest book, The Photoshop Layers and Selections Workshop.
It was so good to see so many people tune in LIVE and also to see the numbers of folks that had signed up to be sent the recording.
If you missy it and fancy checking it out, Rocky Nook have also now posted the webinar on their YouTube Channel that I’ve now added below…
At the end of the presnetation we went through a Q&A and one of the questions posted asked about the new selections and masking function in Camera Raw and Lightroom, and in particular about using the Color Range option…
Susan asked…
“Can you only subtract one colour point at a time or can you click multiple times on slight variations in the color in the same subtract operation?”
Originally I answered that I ‘thought’ you could only do one at a time however a friend of mine Trevor Ager messaged me to say that you can actually add more by holding down the Option (Mac) / Alt (Windows) keys and clicking.
Hope you enjoy the video.
Cheers,
Glyn
CROP your images BIGGER: 3 Right Ways and 1 Wrong Way
Composition is so important; it can make or break a photograph. Here I go through three ways to alter the composition and make an image bigger using the Crop Tool in Photoshop, so your pictures look their very best on screen, in print or on social media. The three are cropping combined with Content-Aware Fill, cropping combined with Content-Aware Scale, and Merge to Panorama, and at the end I show how I made the fake skirting board you'll see in one of the pictures.
Good to be Back! Portraits of World War 2 Veterans
After almost 2 years it felt great the other day to be able to photograph another of our World War 2 Veterans…
Because of the Covid-19 Pandemic it’s not been possible and not been safe to take portraits, especially of people in such advanced years, but thankfully now times have changed and I’m able to resume.
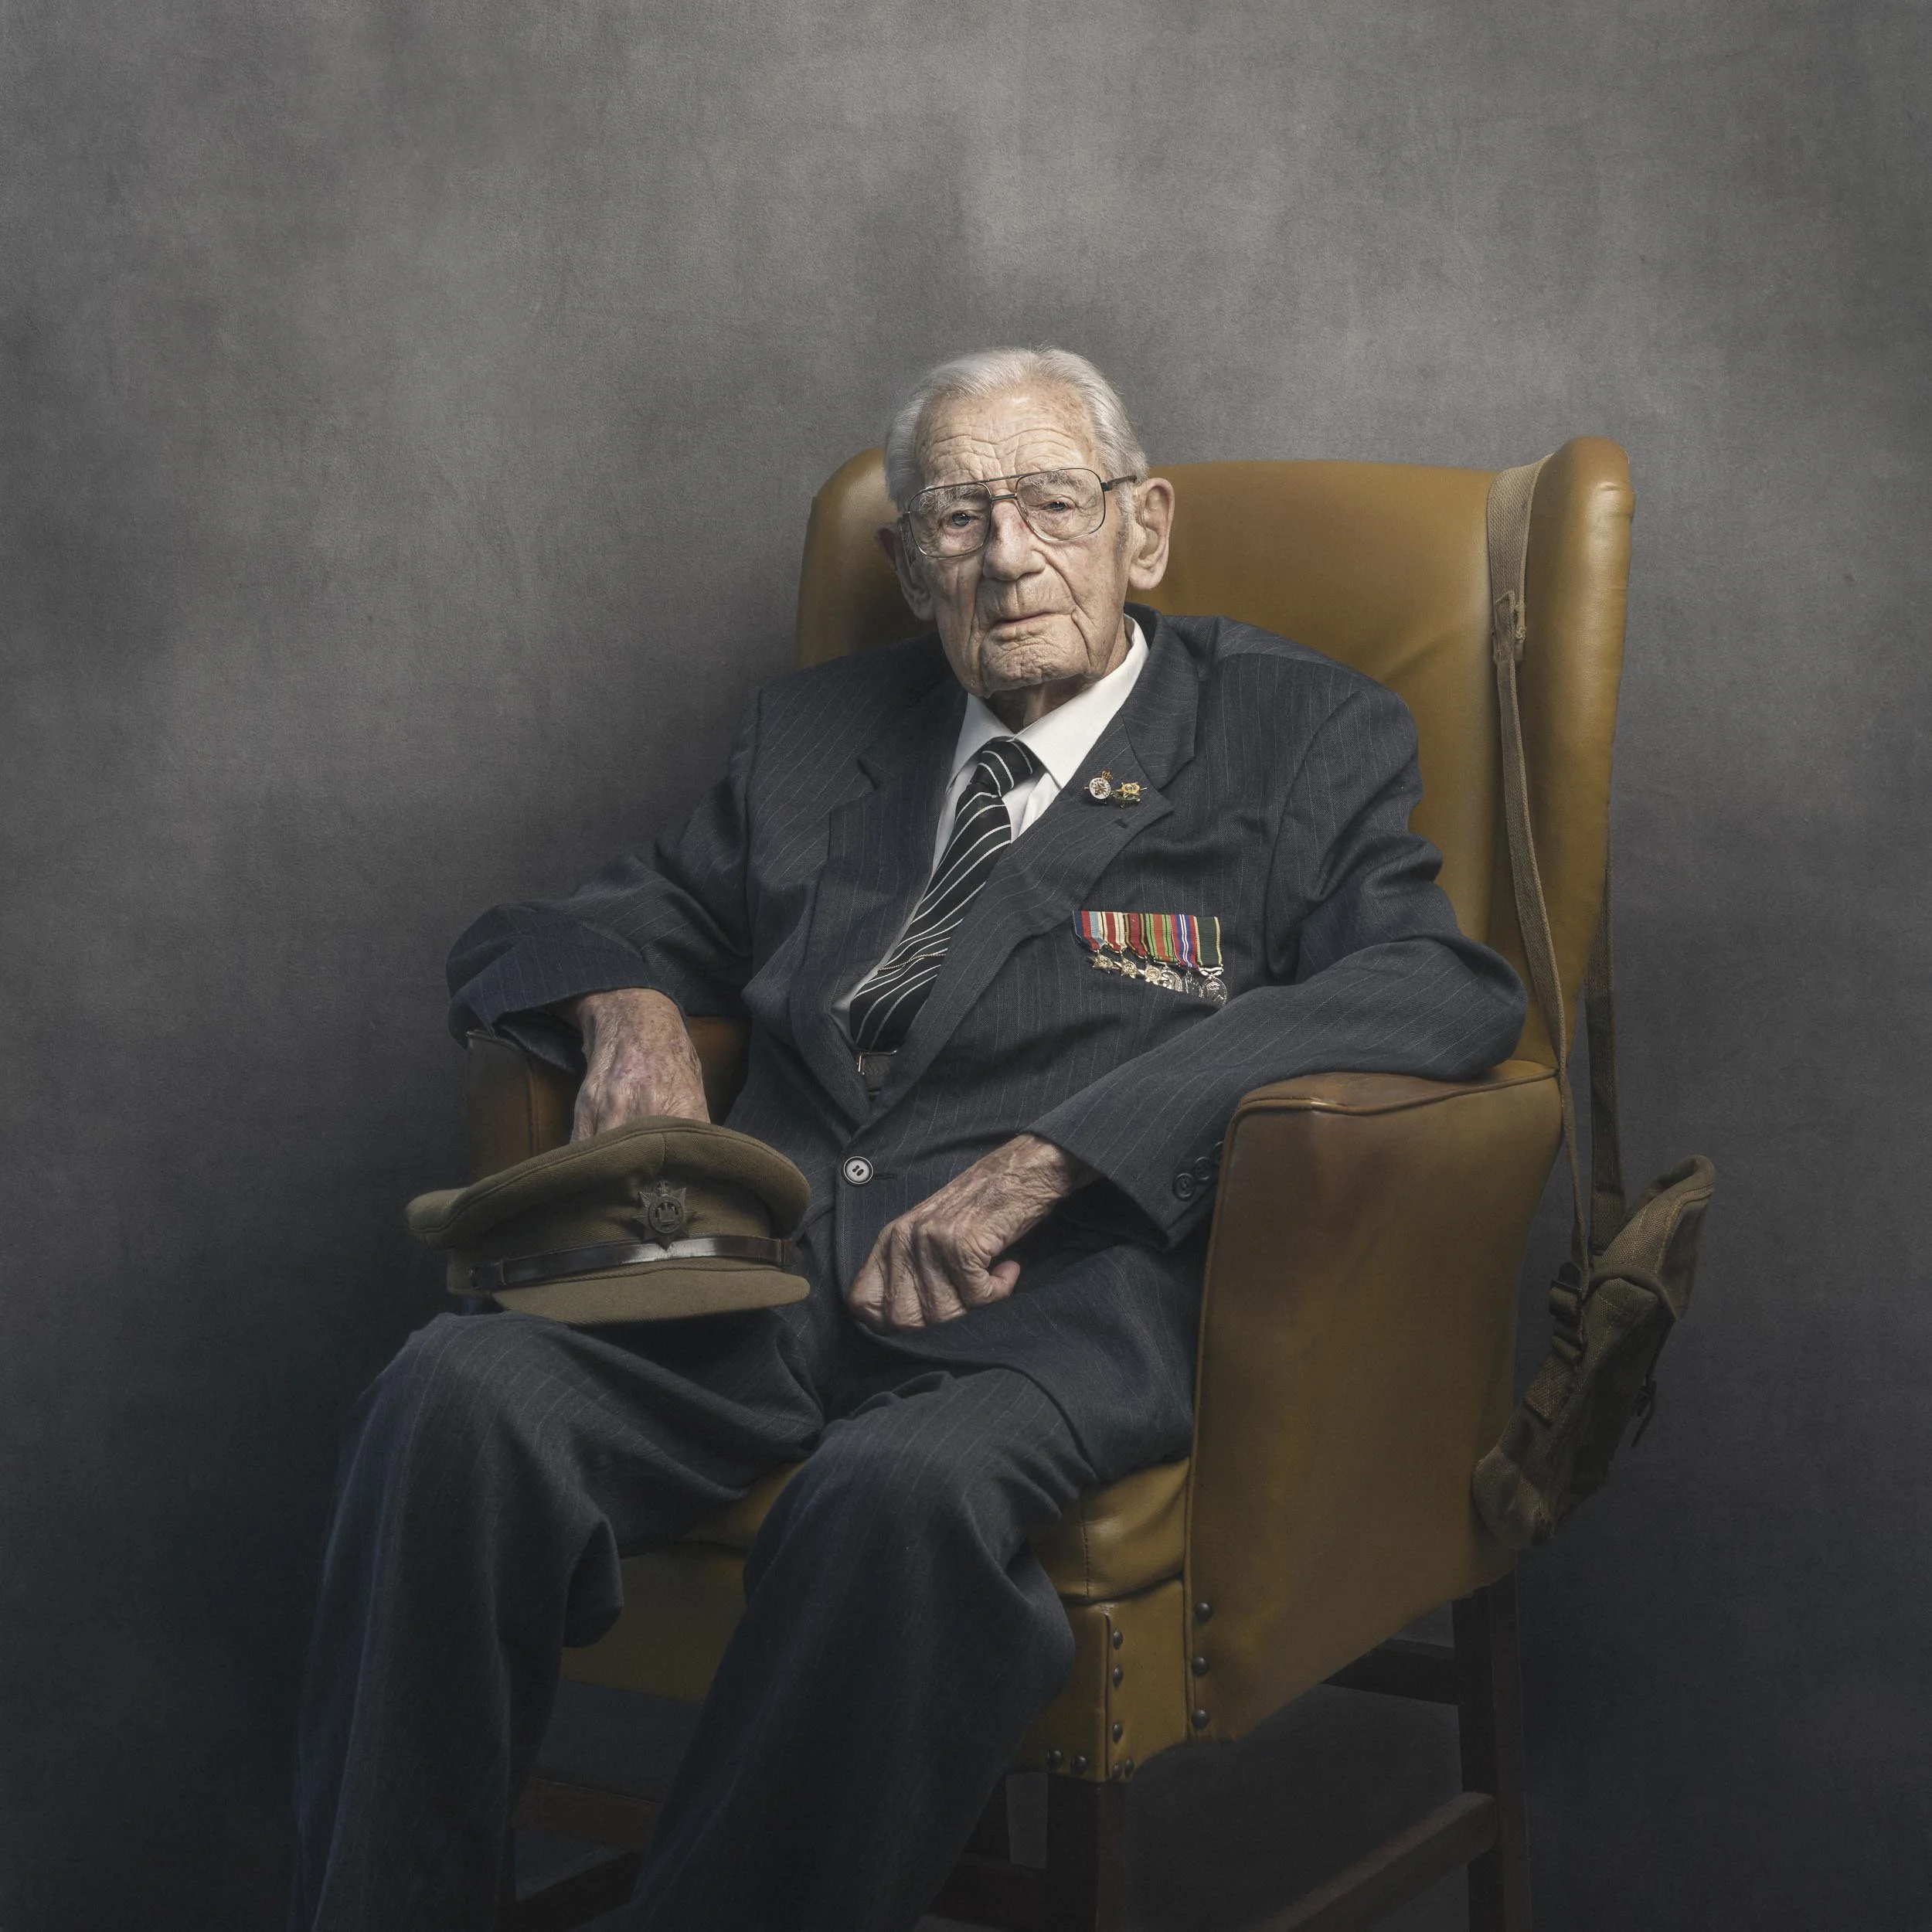
This latest portrait is of 101 year old, World War 2 Veteran, Gordon Short who served in the 9th Devons and was attached to the 4th Battalion the Royal West Kents an served in Burma.
I photographed Gordon at his home in Devon which just happens to be a 10 minute drive from my home in the next village having been contacted by one of his sons who’d heard of my 39-45 Portraits Project.
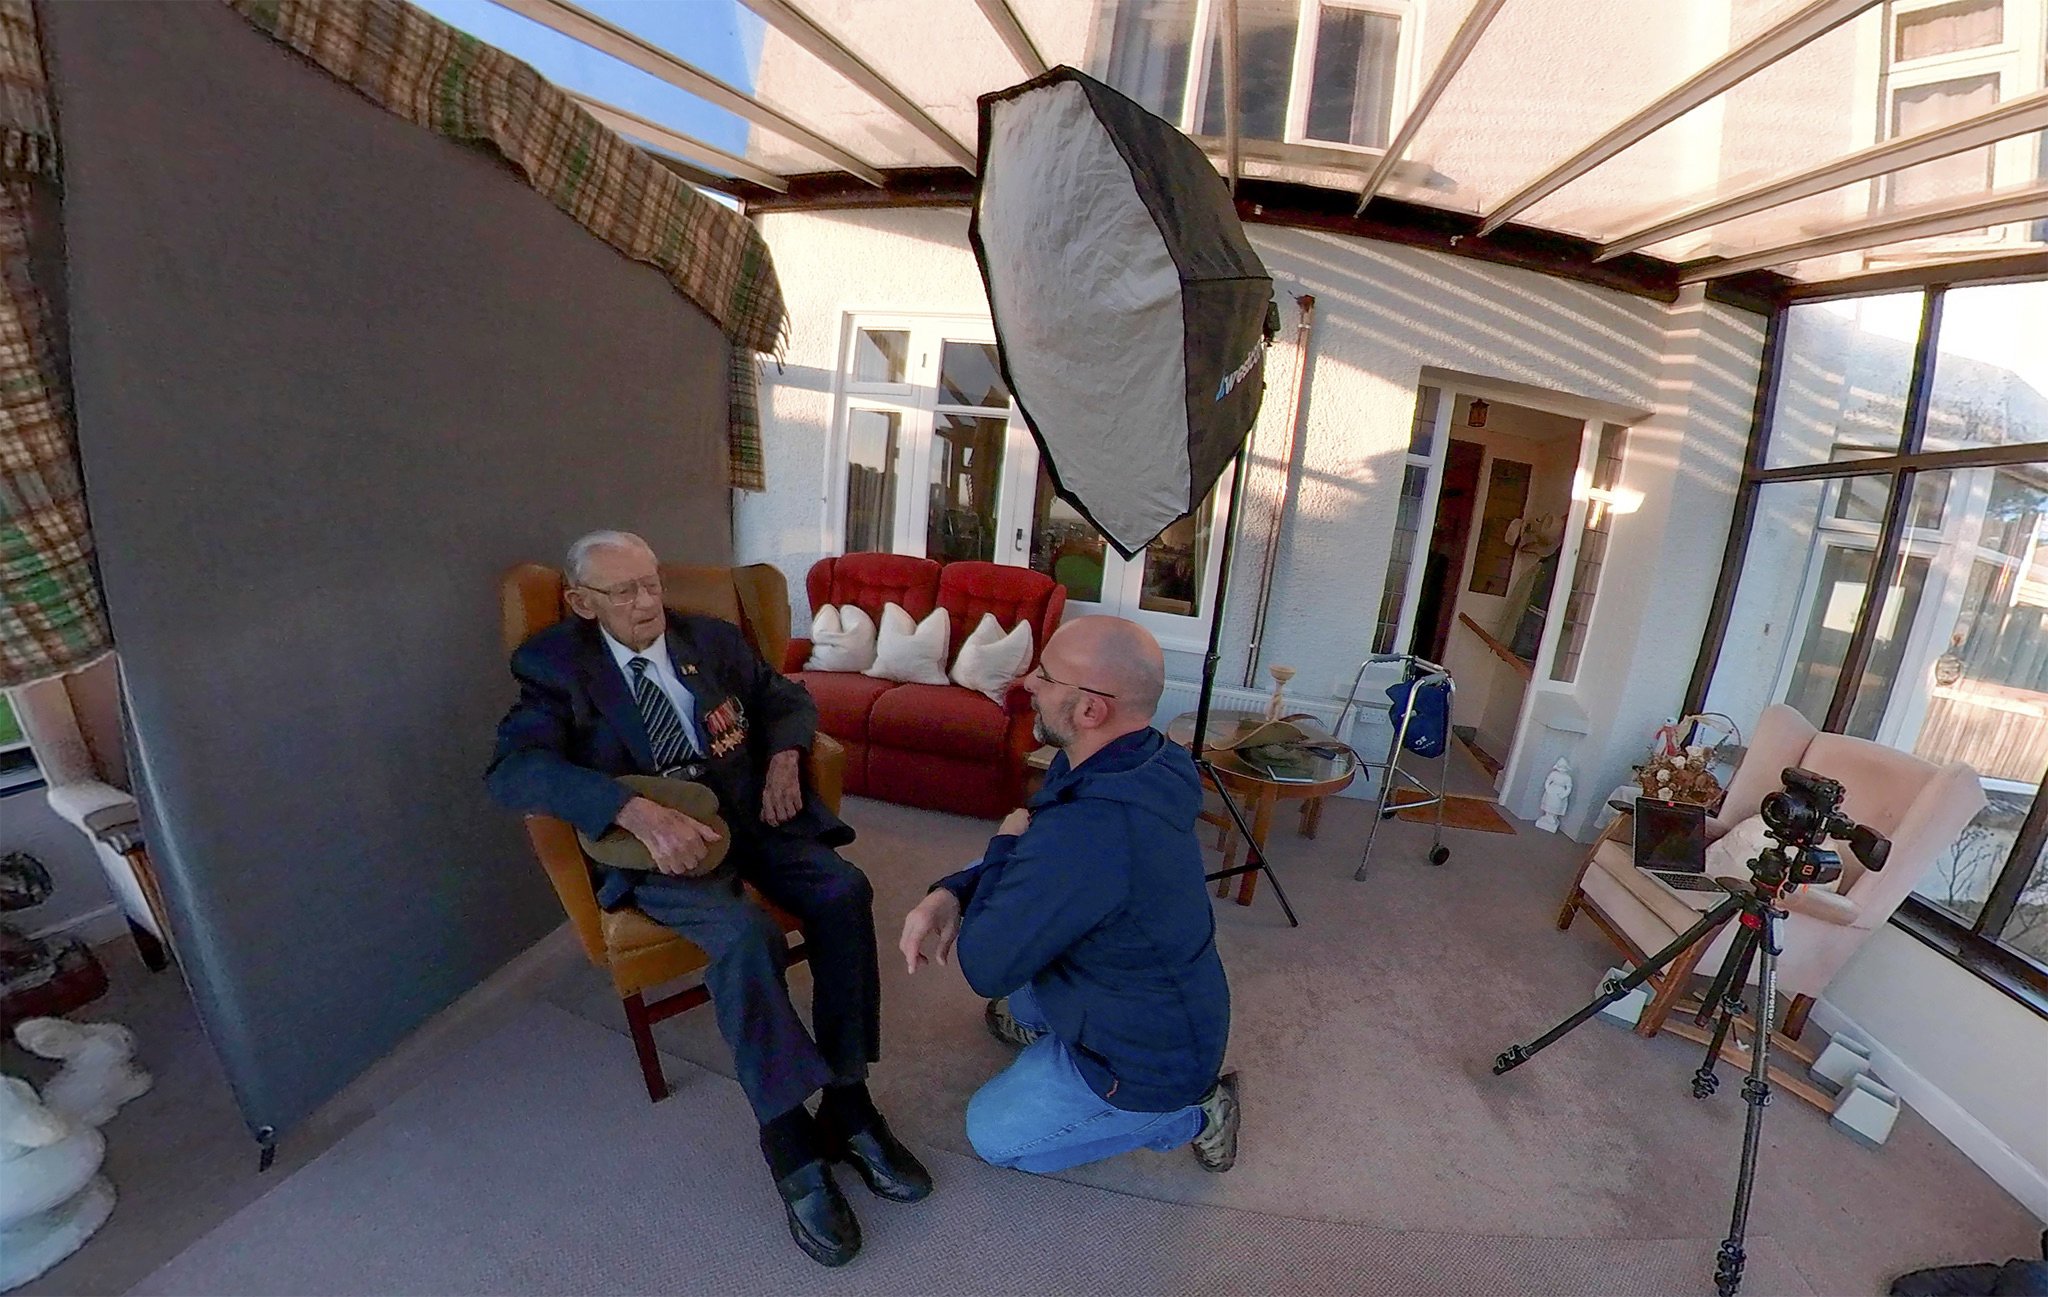
I kept the set up as had in all the previous portraits to ensure continuity…
Lighting: Westcott FJ80 Speedlite in a Westcott Rapid Box Switch Large Octa
Background: X-Drop Background using the Grey Material*
Camera: Sony A7RIV
Lens: Sony 55mm f/1.8 ZA
*Ordinarily I would have used my own branded canvas effect background but not knowing how much space I’d have to work in, I opted to use the grey material that comes included with the X-Drop because it folds up to be really compact and when fixing it to the frame you don’t need to roll it out. I then made it look like my canvas background by adding a texture to it in Photoshop.
In the next couple of days I’m heading back to see Gordon and to present him with his portrait, printed and in a mount … cannot wait!
Rocky Nook Webinar: Photoshop Layers and Selections Workshop
TRY THIS if you need BIGGER BACKGROUNDS in your Photo Shoots
If you ever place a background behind people when you're photographing them, whether that's an individual or a group, there'll be times when it just isn't big enough. Here I show how to use Photoshop to do all the hard work of blending images together to fake a bigger background. It's simple and fast, it can save the photo shoot, and it saves you money too.
Cameras Supported by Camera Raw / Lightroom (December 2021 Update)
As of December 2021 and the time of posting this, here’s the list from Adobe of the newly added cameras supported by Camera Raw / Lightroom…
Supported Camera Models
Want a list of ALL supported cameras? Click the link below…
EPIC FAIL: My First Photo Shoot of 2022
All smiles now but could have been a very different story…
Got up early today for the 3.5 hour drive to Whiteford (Gower Peninsula, South Wales) to photograph the Victorian Lighthouse.
Having arrived at the nearest car park it was then just over a 3 mile walk across boggy wetland / marsh and forest to get to the beach…
FINALLY! Look Up Tables (LUTs) in Lightroom (Install, Use, Manage)
Colour Look Up Tables (LUTs) are a brilliant way of colour grading your images in Photoshop, adding mood, atmosphere and your own style, but what if you do more in Lightroom, or Lightroom is all you use; can you still use them? The short answer is yes. They do need to be installed first, though, and although it's a simple process, it isn't just a case of clicking an install button. There are a few steps involved as well as a hidden keyboard shortcut, and this video goes through how to install, use and manage them. For Lightroom (Cloud), you need to navigate to the folder where Camera Raw has previously stored your LUTs. On a Mac that's ~/Library/Application Support/Adobe/CameraRaw/Settings, and on Windows it's C:\Users\[user name]\AppData\Roaming\Adobe\CameraRaw\Settings.
Autumn / Fall Effect: Transform your Landscape Photographs
It's my own fault that I didn't manage to grab a single autumn photograph in 2021; I spent every opportunity photographing down on the coast in Devon or over the border in Cornwall. Autumn is a magical season for photography, with the landscape covered in burnt oranges, reds, yellows and browns, so until the next one comes round, here are a couple of ways to fake it using Photoshop. The first uses a single adjustment layer and the second uses one of the Neural Filters. Once you've seen them both, you can decide which one you think works and looks best.