I love long exposure photography, but what do you do when you're out with your camera and don't have any neutral density filters with you? Here's a great technique for creating the long exposure effect by combining a number of images together in Photoshop. I explain it step by step, using a Smart Object and the Median stack mode, and it's quick, easy and very effective.
Photographing The Joker
While presenting for Sony at their roadshow showcasing the Sony A7IV, I photographed my friend Graham Currey, who was dressed as The Joker. For the set-up I used just one light, positioned above Graham, slightly forward of him and angled straight down to the floor so I could bounce some light back into his face with a silver reflector. The result is a version of what's often called horror lighting or up lighting, which suited the character and gave the pictures a much more dramatic look. The video is my hands-on with the 33 megapixel A7IV, which Sony invited me to use for a couple of days taking portraits and grabbing video, along with my honest, unpaid thoughts on who it's for and whether I'd buy it.
❓WHO is Glyn Dewis and WHAT is this CHANNEL❓
One thing my YouTube channel was missing was a trailer; something that in 60 seconds or less explains the who, what, where, why, when and how of me and what the channel is all about. So I put some time aside and made one. The channel is where I share photography techniques and tutorials, tutorials for software such as Photoshop and Lightroom, and the occasional honest gear review, and putting the videos together in a way that's 'me' has been a lot of fun.
New Business Cards from Awesome Merchandise
Recently my best mate Dave Clayton designed a new logo for me that in his own words “was more up to date with you and what you’re doing these days” … and I love it.
I wrote an article showing it HERE
I’d been meaning to get some new Contact Cards made up that also included an easy way for folks to navigate to my YouTube Channel as more and more I’m being asked about it when out and about with my main camera OR my drone, taking photographs or filming on the coast.
So, using Dave’s new design I came up with this for the front…
and this is what I have on the back…
Clean, simple and includes everything that’s needed but with the new addition of a QR code that can be very easily and quickly scanned by holding your camera phone to it and then pressing the button that automatically appears; doing so takes you straight through to my YouTube Channel.
No need to write details down, no need to take a card. Quick and Easy.
The cards I had printed by Awesome Merchandise who are the very same folks that printed ALL of the graphics, stationary, invites, badges, contact cards etc… for my first exhibition of my 39-45 Portraits Project held at the Soldiers of Oxfordshire Museum in Woodstock, Oxfordshire from November 2019 thru January 2020.
Highly recommended.
WeX 25th Anniversary Event
Really looking forward to being at WeX Store in Birmingham next week on Saturday 18th June 2022 as part of their 25th Anniversary Event and being asked to present on behalf of Sony.
The event days are completely FREE for everyone to come along to with lots going on including hands on and presentations.
I’ll be there all day at the Birmingham Store and presenting a new talk at 12midday thru 1pm …
Portrait to Landscape: How to Keep Creative
WeX Stores across the country are holding their own anniversary event days.
You can find out more by visiting the main event page on the WeX website by CLICKING HERE
Hopefully see you in Birmingham…if that’s the one you’ll be going to of course 😃
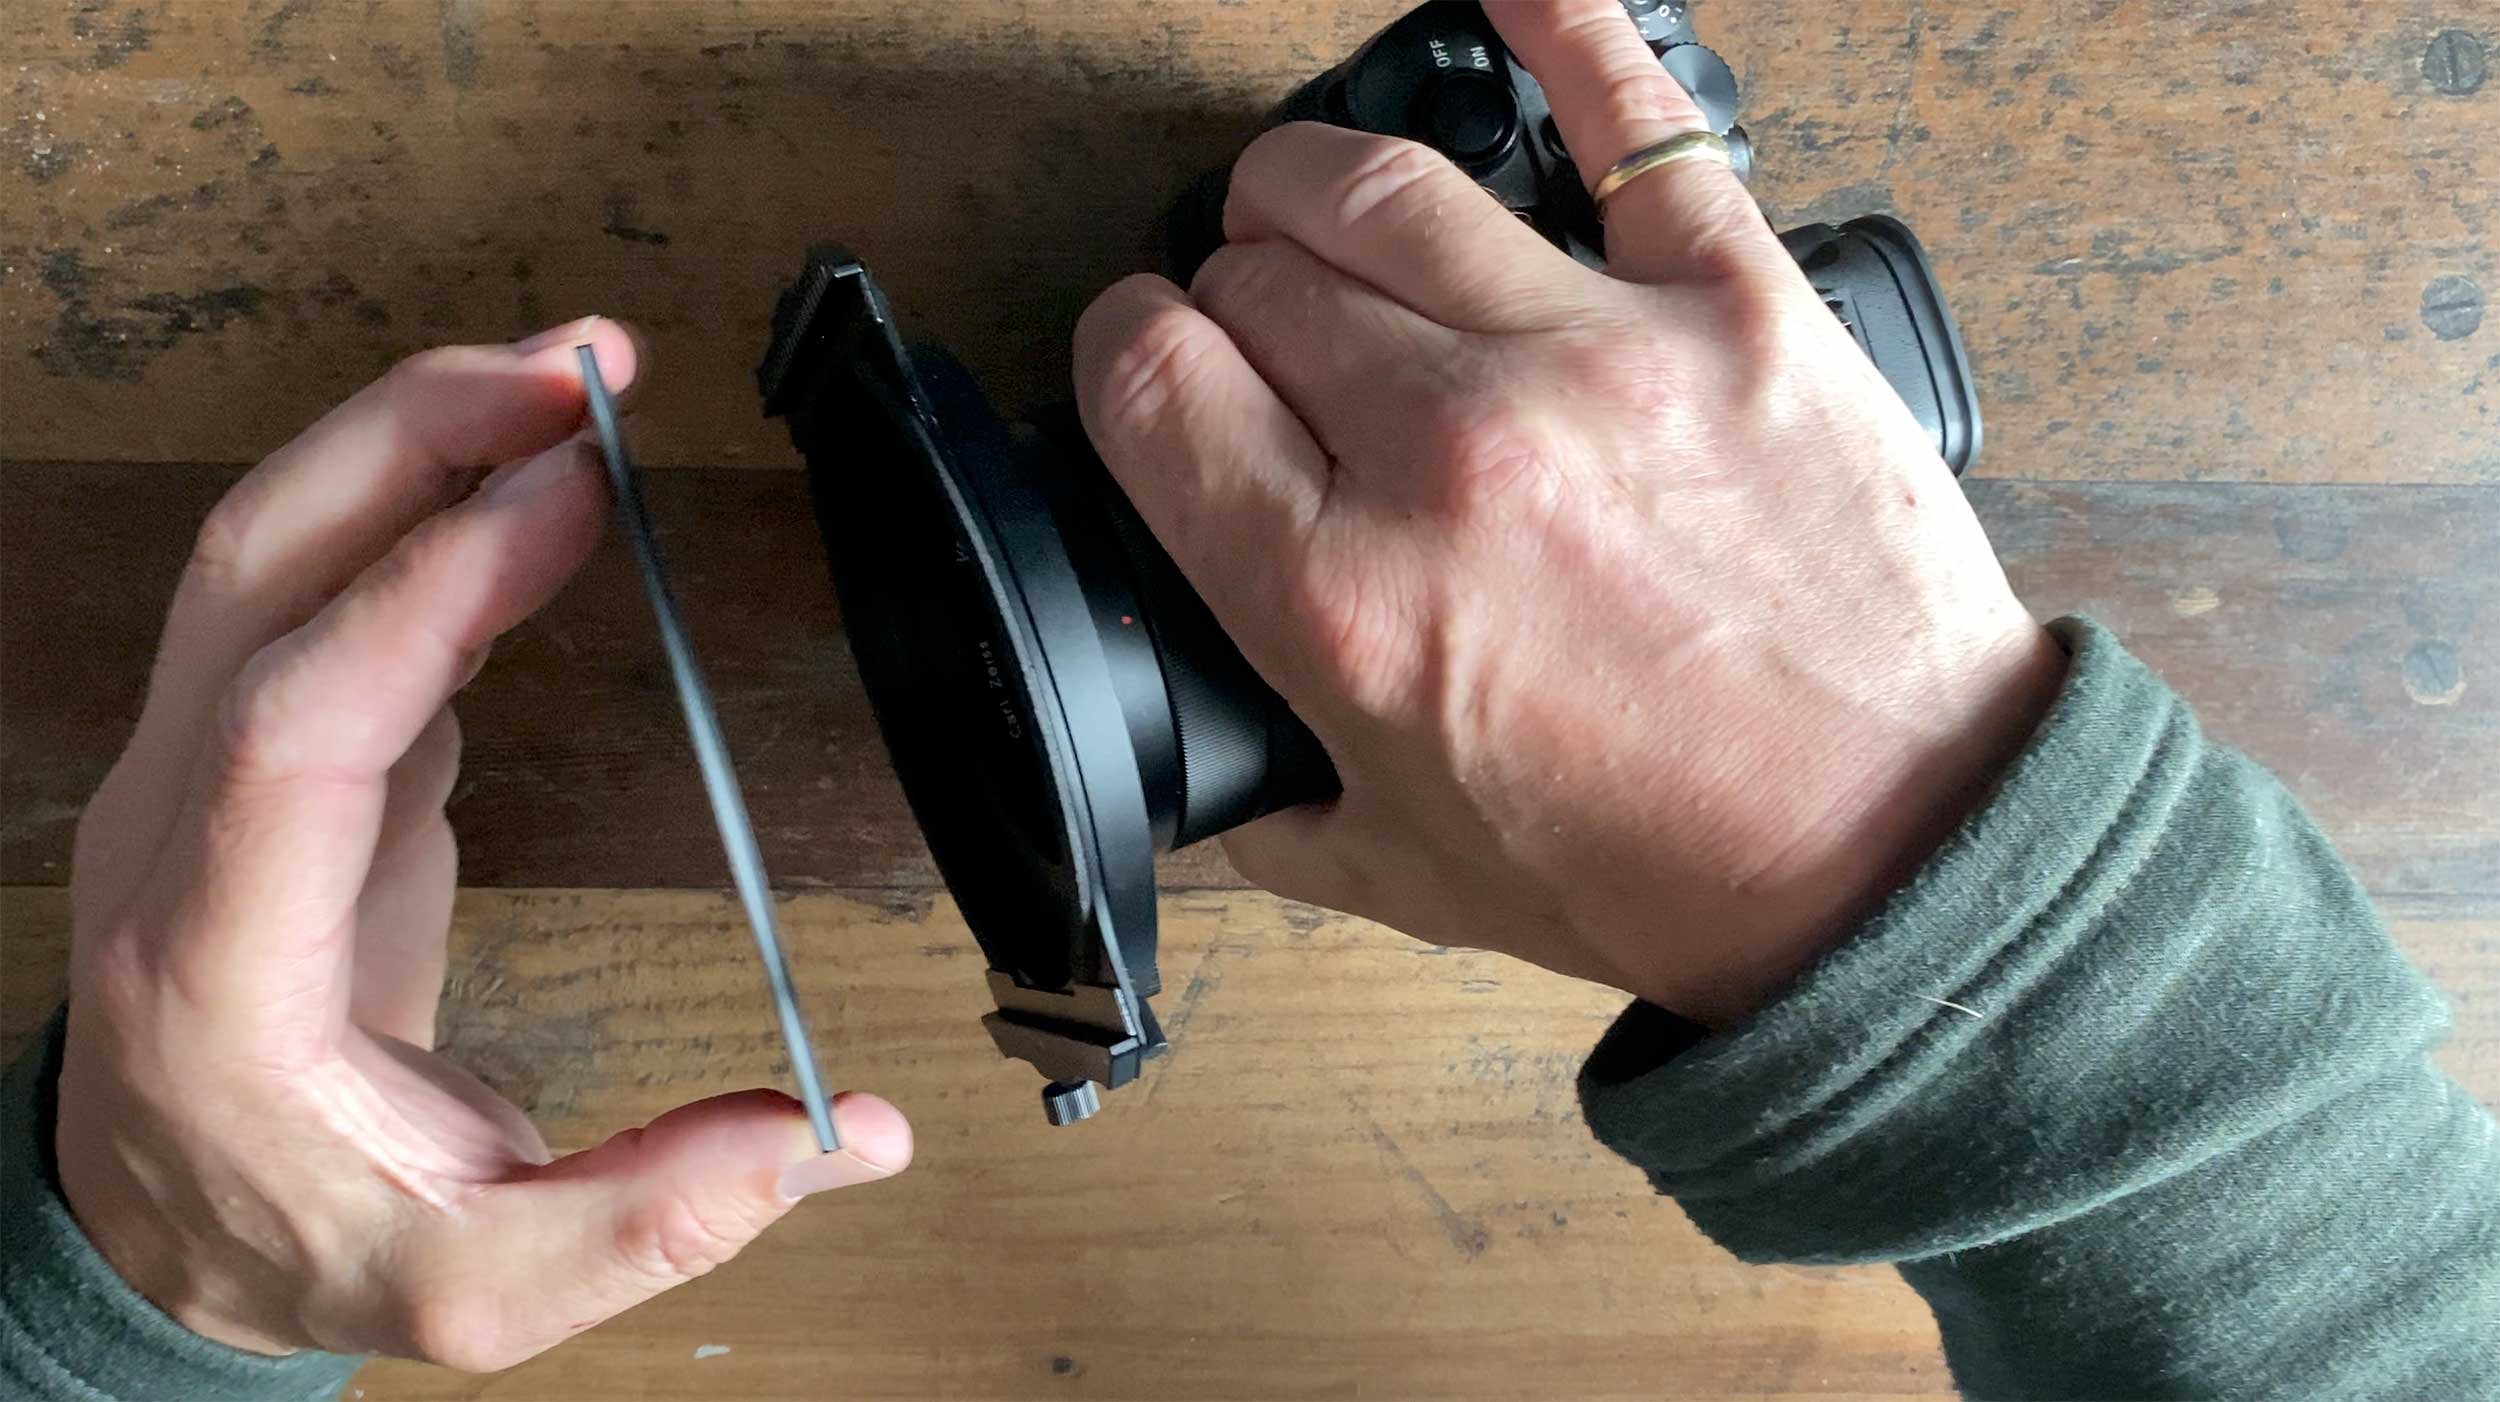
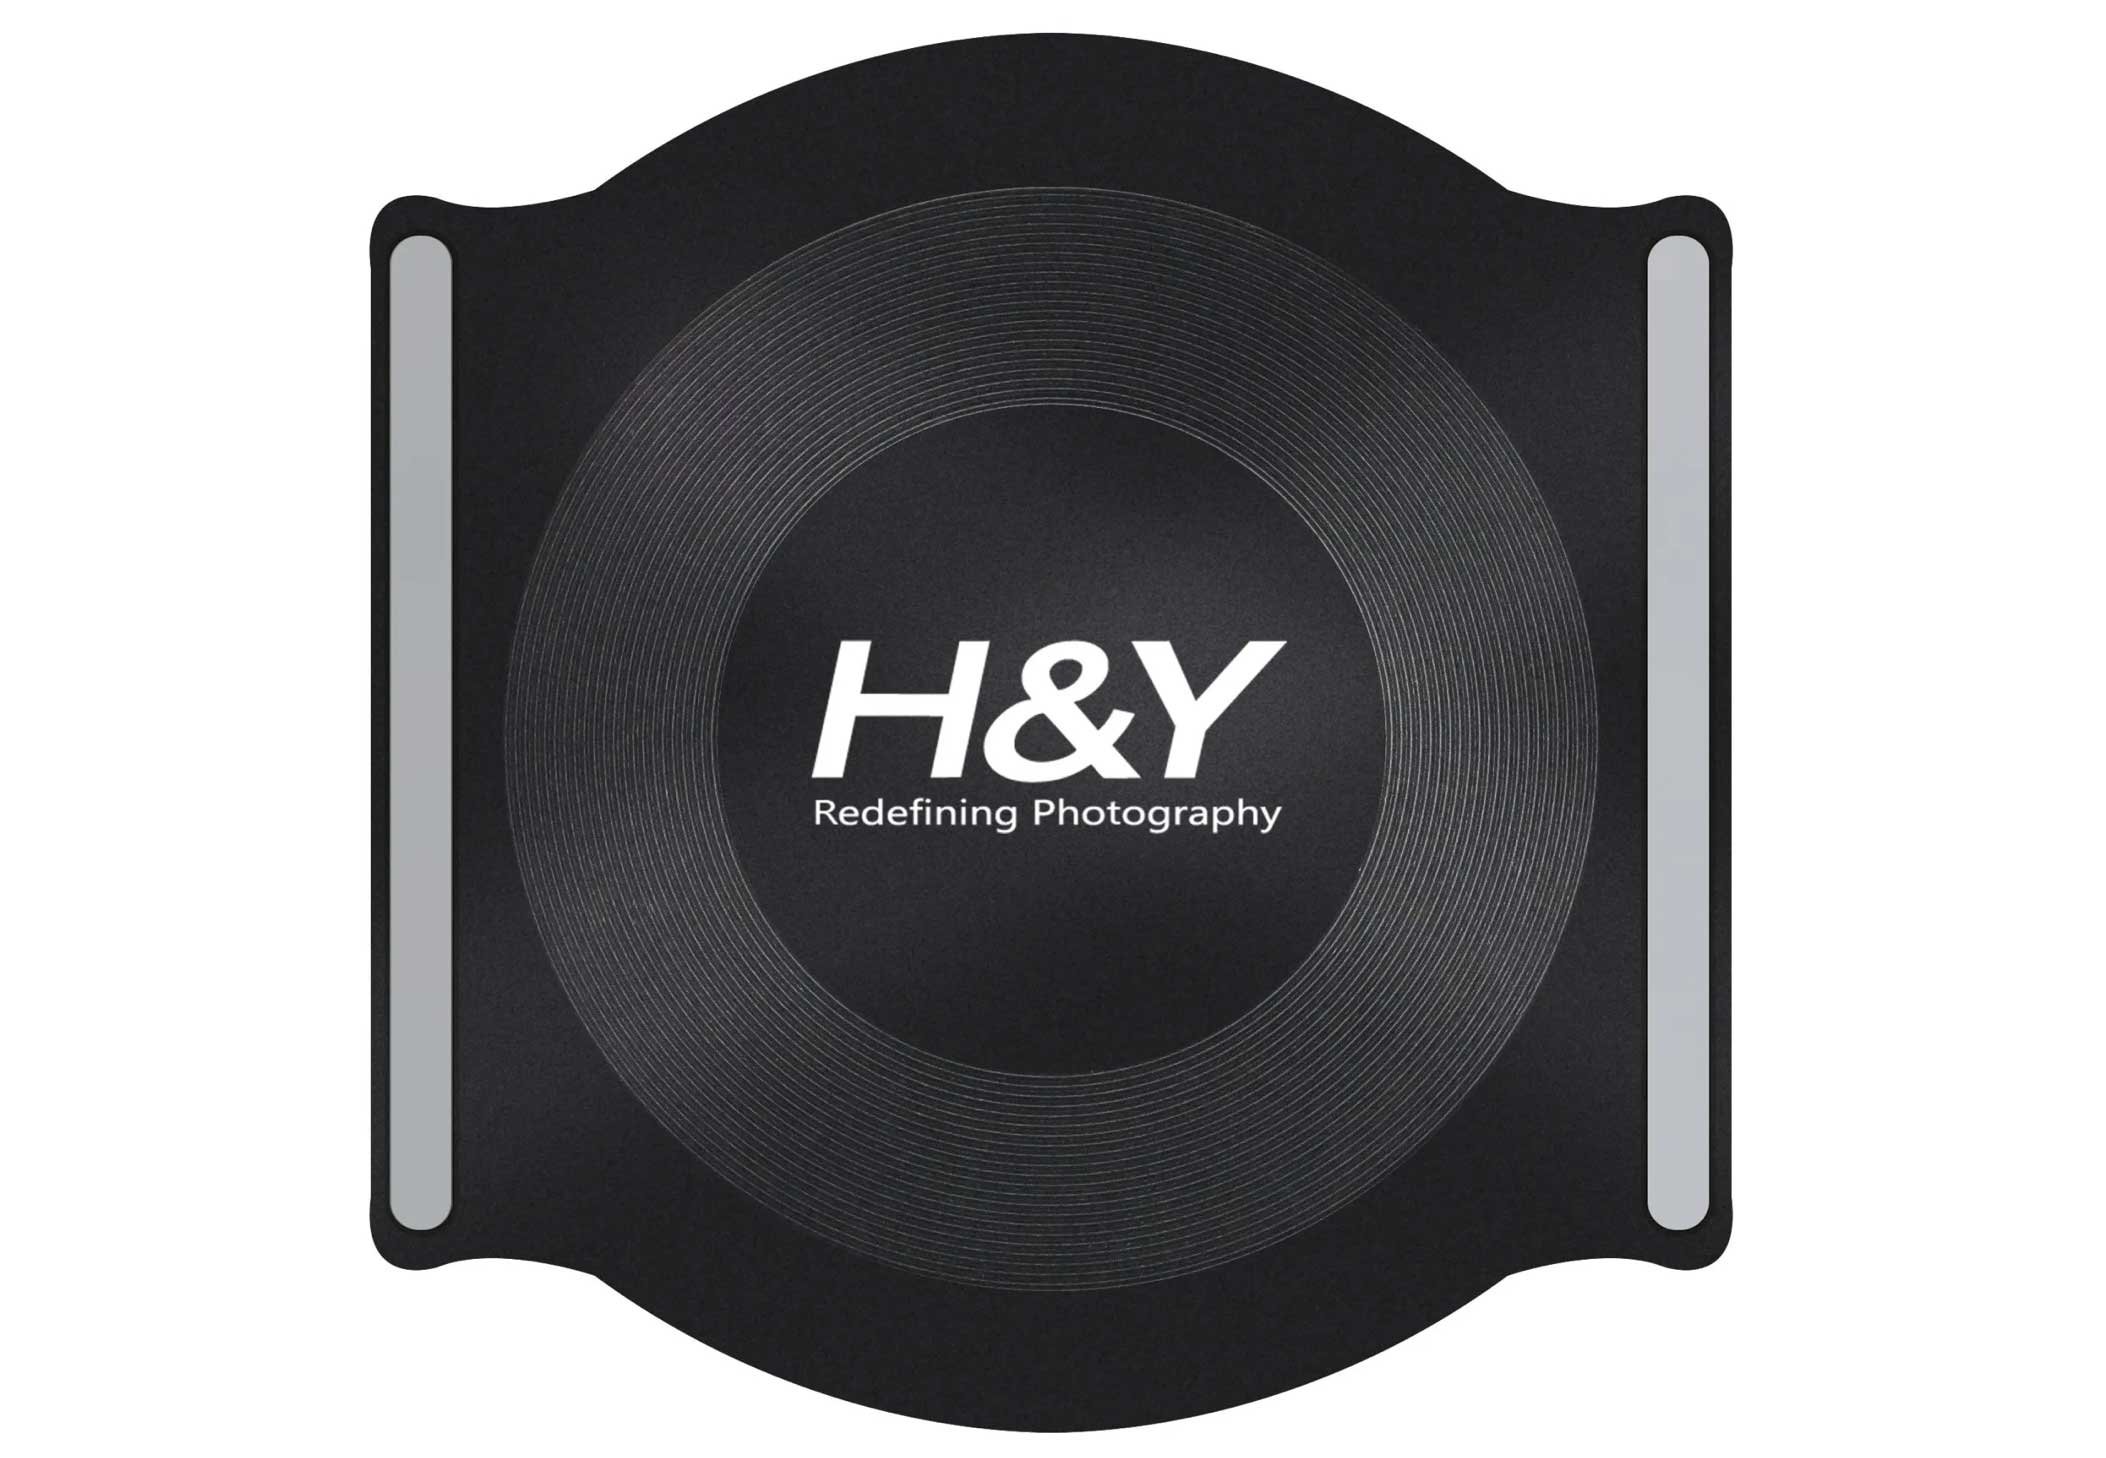
H&Y Release their NEW Magnetic Lens Cap for the K-Series Holder
It’s the small things that make a BIG difference and now having this new lens cap from H&Y, although it might not seem like much, will make such a difference when out an about…
One of, if not the, main reason I use H&Y Filters is because of them being magnetic and easy and quick to use when on location. I’ve tried other brands (ahem….Lee) and found them to be so cumbersome that I ended up not bothering with them and going without. The H&Y filters aren’t lighter but it’s how easy they are to attach, that makes such a difference.
The quality goes without saying because you’re only going to put good glass onto of good glass, but the magnets, which are super strong, mean you don’t worry about filters coming off and dropping to the floor. Mind you, that did happen to me when I pulled one out of my bag when I was at Hartland Quay and it dropped onto and down between some rocks. Thankfully not a scratch, so I can speak with clumsy confidence that they’re tough 😃
Anyway, now I have this new Lens Cap it means I can have the holder already on the camera, the lens glass is safe from knocks and it’s one less thing to have to do when out and about, which ultimately makes shooting life a lot easier and more enjoyable.
Not earth shattering, but still makes a big difference.
Note: Just looked on the H&Y site and they’re currently priced at £20.83 + VAT 👍🏻 *LINK
*The links included in this article are not affiliated with H&Y / PhotoTEQ
✅ SUPERB technique for REMOVING STUFF in your pictures and making it DISAPPEAR
This is a superb way to remove distractions from your photographs. I show you step by step how to get great results removing things like people and vehicles, or anything else that moves, quickly and easily using Smart Objects and Stack Modes in Photoshop. It gets results that would be impossible with the regular tools such as the Clone Stamp Tool and Content-Aware Fill, which is what makes it such a useful technique to know.
The Fujicast Podcast
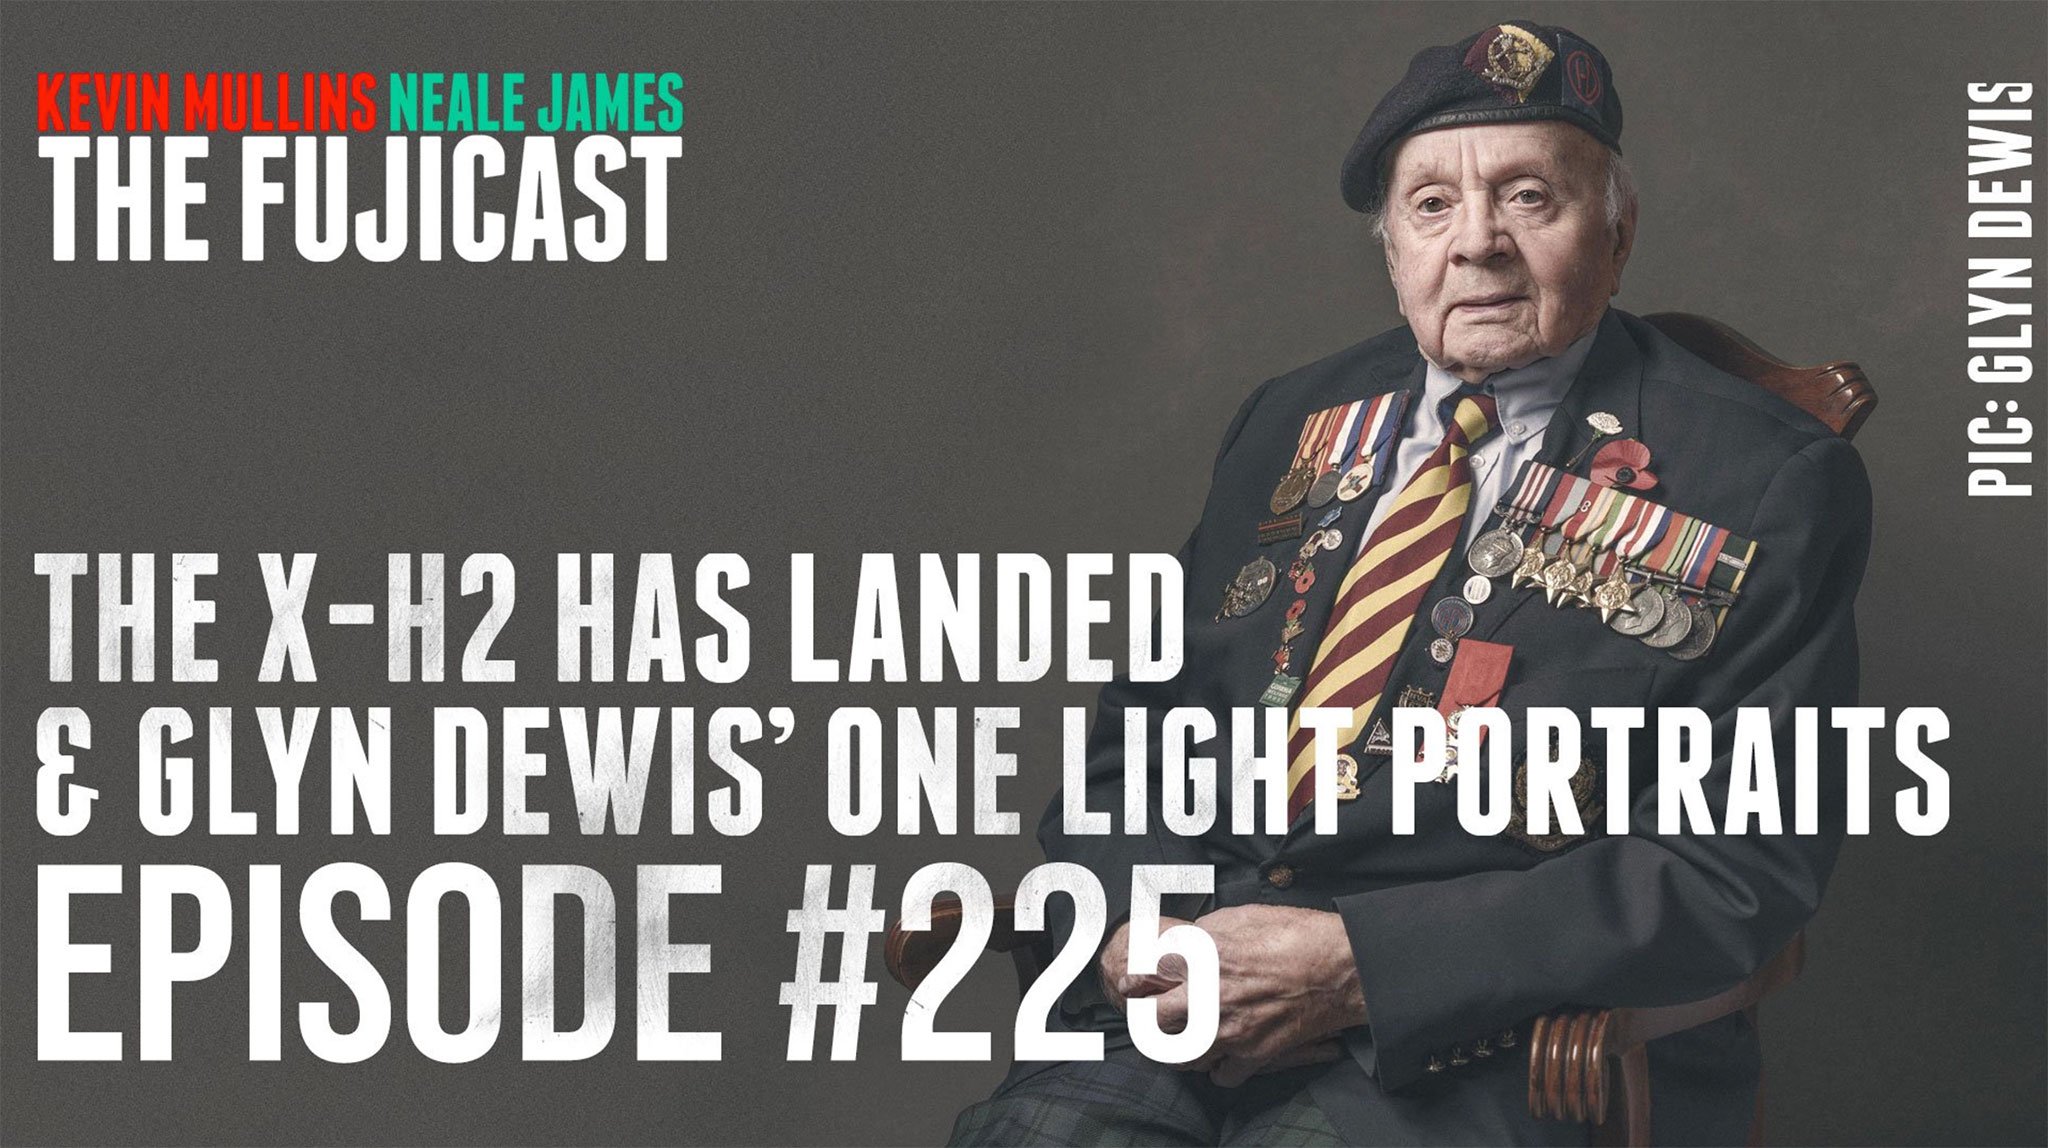
HUGE thanks to The Fujicast Podcast (not just for Fuji Shooters) for inviting me on as a guest for this weeks episode.
Chatted loads with host Kevin Mullins about all sorts … starting out, writing books, veterans project, artificial intelligence for retouching...
If you fancy a listen you can do so over on the podcast's official website OR where all great podcasts are hosted (Apple Podcasts, Spotify ...)
My Desktop Set Up: Kit I use EVERY Day
I’m often asked about kit…
What camera do I use for doing LIVE broadcasts?
What microphone do I use?
What's that ‘thing’ on your desk?
So, I thought I’d put together a post to list everything on my desk and that I use pretty much every single day. This will change over time as since my iMac died (LINK) I need a 2nd monitor and I’m undecided whether to go for the iPad Pro OR a new MacBook Air???
There are other things I use around my office such as my imagePROGRAF Pro 300 A3+ Printer but I’ll do another post later to show that and what typically take with me on a photoshoot or when out filming.
Anyway, here’s the current kit list on my desk as of today…
Westcott Flex Cine Bi-Color 1’ x 1’ - LINK
RØDE PSA-1+ Boom Arm - LINK
(So much better than the original PSA1)Lewitt LCT 440 Pure XLR Microphone - LINK
(Best microphone I’ve EVER owned)Zoom H6 Recorder - LINK
(I plug my Lewitt microphone into this)Elgato Camlink 4K - LINK
(Superb plug and play gadget to use your camera as a webcam)Sony A6400 - LINK
(The video quality from this when I’m recording or LIVE, always gets a comment)Xencelabs Pen for use with my Xencelabs Pen Tablet - LINK
(Loving the Xencelabs Pen Tablet! So much better than my Wacom ever was!)LaCie Rugged Mini 1TB 2.5” Hard Drive - LINK
(I use this as a Time Machine Backup for my Mac Studio)Elgato Streamdeck - LINK
(Fantastic gadget for making LIVE streaming so much easier. Does a lot more though)Apple Magic Keyboard with Numerical Keypad and Touch ID - LINK
Xencelabs Pen Case - LINK
Xencelabs Quick Keys - LINK
Apple Magic Touch Pad - LINK
Xencelabs Medium Pen Tablet - LINK
Sandisk Professional 1TB G-Drive SSD - LINK
(Plugged into my Mac Studio for additional FAST storage)Apple Mac Studio M1 MAX
(A BEAST of a machine. So happy with this!)BenQ SW321 4K Monitor - LINK
(I LOVE this monitor! Great size. Great Colours. Matt Screen so no reflections…)Sound Panel
(I have a few of these dotted around on the ceiling and walls to improve sound)
I’ll be doing a video shortly on my new Xencelabs Pen Tablet as quite a few people have been asking about it since they too have had issues with their current Wacom tablet, so I’ll make sure to share that here and on my YouTube Channel.
As always, any questions about any of this kit, just drop me a message in the comments section and I’ll be sure to get back to you.
Cheers,
Glyn
💥 DOING THIS will REDUCE NOISE in your pictures: CLEVER feature in Photoshop 👊
This is a great technique for reducing or removing noise in your photographs using Photoshop, no matter what camera you took them with. There are no filters, no plug-ins and no magic settings; it's simply a great use of technology that's already in Photoshop, once you know where to find it. The technique does rely on knowing your camera and at what ISO noise starts to appear. It can be used on scenes and on people, as long as they're not moving, and it's great for astro work, reducing the noise in skies that a high ISO would introduce. Some have asked why not just use a low ISO and drag the shutter. That's fair for some situations, but when you're photographing a person you wouldn't want that; it's better to take the shots you need in burst or continuous mode, which most cameras can do in less than a second.