The Remove Prompt in Photoshop

The NEW Remove Button in Photoshop that I mentioned about in an earlier post where I shared a video, has been added into Photoshop to prevent what are referred to as "Hallucinations", which is when instead of Removing something, Photoshop would add in a random object.

This works incredibly well BUT doesn't give 3 Variations to choose from, so (and this is new) to use the EXACT SAME technology, make a selection and then type "Remove" in the Contextual Task Bar.

This WILL remove whatever you have selected but now gives you 3 variations to choose from.

Note: Even though this is removing, as it's giving you 3 variations this does mean that credits are deducted.

How I Calibrate My BenQ SW272U Display for Photography and Everyday Use

One of the questions I get asked most often is how to correctly calibrate a display for photo editing and printing. Getting a reliable screen-to-print match can save you a huge amount of time, paper, and frustration.

In this article, I’ll walk you through the calibration process I use on my BenQ SW272U display. I’ll share the exact settings I rely on for editing and printing, as well as a second calibration I use for everyday tasks like browsing the internet, emails, and watching videos.

The good news is that while I use BenQ’s Palette Master Ultimate software, the same principles apply no matter what brand or software you use.

Why Two Calibrations?

Your requirements are very different when you are editing images compared to when you are simply watching videos or scrolling through emails.

  • Photo and Print Calibration – designed for accuracy and consistency. A lower brightness, neutral white point, and subtle black levels that preserve shadow detail.

  • Everyday Use Calibration – designed for a punchier, brighter look. Strong contrast and deep blacks make general computing and video viewing more enjoyable.

With a hardware calibrated display, it is easy to switch between these profiles at the push of a button.

Tools I Use

  • BenQ SW272U Display (hardware calibration capable)

  • Calibrite Display Pro HL (connected via USB-C or USB adapter)

  • Palette Master Ultimate Software (BenQ’s calibration tool)

Calibration for Photo Editing and Printing

Step 1 – Connect and Configure

I plug my calibration device into the USB port on the monitor. On BenQ displays, make sure the USB setting is at 60 Hz in the on-screen menu, otherwise the device may not be recognised.

Step 2 – Start Palette Master Ultimate

Open the software, select your display, and choose the calibration device. Then go into Color Calibration and click Start.

Step 3 – Create a Custom Target

The default presets are not suitable for serious photography. They tend to be too bright, too cool, and overly contrasty. Instead, I set up my own target:

  • Luminance: 60 cd/m² (much lower than the default 120 cd/m², but it gives me the most accurate screen-to-print match in my workspace).

  • White Point: 6000K (to match the 6000K LED lighting in my studio).

  • Gamut: Adobe RGB.

  • Gamma: 2.2 (with Enhanced Gamma Calibration enabled for better black and white printing).

  • Black Point: 0.5 cd/m² (slightly lifted from pure black so shadow detail is visible).

I save this as a custom preset called Photo & Print and assign it to Calibration 1 on the monitor.

Step 4 – Run the Calibration

Place the sensor on the screen, tilt the display back slightly, and let the software run. The process takes about 7 minutes.

Step 5 – Check Results

The software generates a report showing how closely the calibration matched the targets. For example, my most recent run achieved:

  • Luminance: 58 (target 60)

  • White Point: 6040K (target 6000K)

  • Black Point: 0.51 (target 0.5)

These are excellent results. The key metric is Delta E, which measures accuracy. A value below 4 is considered good, below 2 is excellent. My calibration achieved an average of 0.53 with a maximum of 1.28.

This means my display is performing very accurately, giving me confidence in my editing and printing.

Calibration for Everyday Use

When I am not editing or printing, I want a brighter, more contrasty display for daily computer use. Instead of creating a custom target, I simply use the built-in Photography preset in Palette Master Ultimate, but assign it to Calibration 2.

This gives me:

  • Bright luminance for comfortable viewing

  • White Point at D65 (6500K), which is the standard for TVs, tablets, and smartphones

  • Absolute black point for deep contrast

The calibration process is the same: place the sensor, let the software measure, and save the profile.

Final Thoughts

By creating two calibrations and assigning them to different preset buttons, I can switch between Photo & Print and Everyday Use in seconds.

For editing and printing, I get a display that shows me accurate colors, controlled brightness, and detail in the darkest areas. For browsing, video, and general use, I enjoy a bright, punchy image that looks fantastic.

If you own a hardware calibrated display like the BenQ SW272U, I highly recommend setting up both profiles. It makes your editing workflow more accurate and your day-to-day computing more enjoyable.

THIS is my Masterclass Community on SKOOL

When I was hosting weekly YouTube LIVE sessions with Guests I would always make a slideshow of their images to music and it was also so good to see an hear their reactions.

Seeing your own work to music changes it completely. It's like seeing it again for the first time. It's also a great way to show people who you are and what you do. Music choice, tempo ... all of this contributes to the overall 'feel'.

Here's a slideshow I have made this morning; it's a mixture of still images and video footage that I have now included in the About Page of my Masterclass Community on SKOOL.

Have you ever made a slideshow of your images ... or maybe done so for someone else?

If you have, what software did you use?

2 Day Cornwall Photo Road Trip with just my iPhone

Two Days on the Road: Cornwall & North Devon – Shot Entirely on iPhone

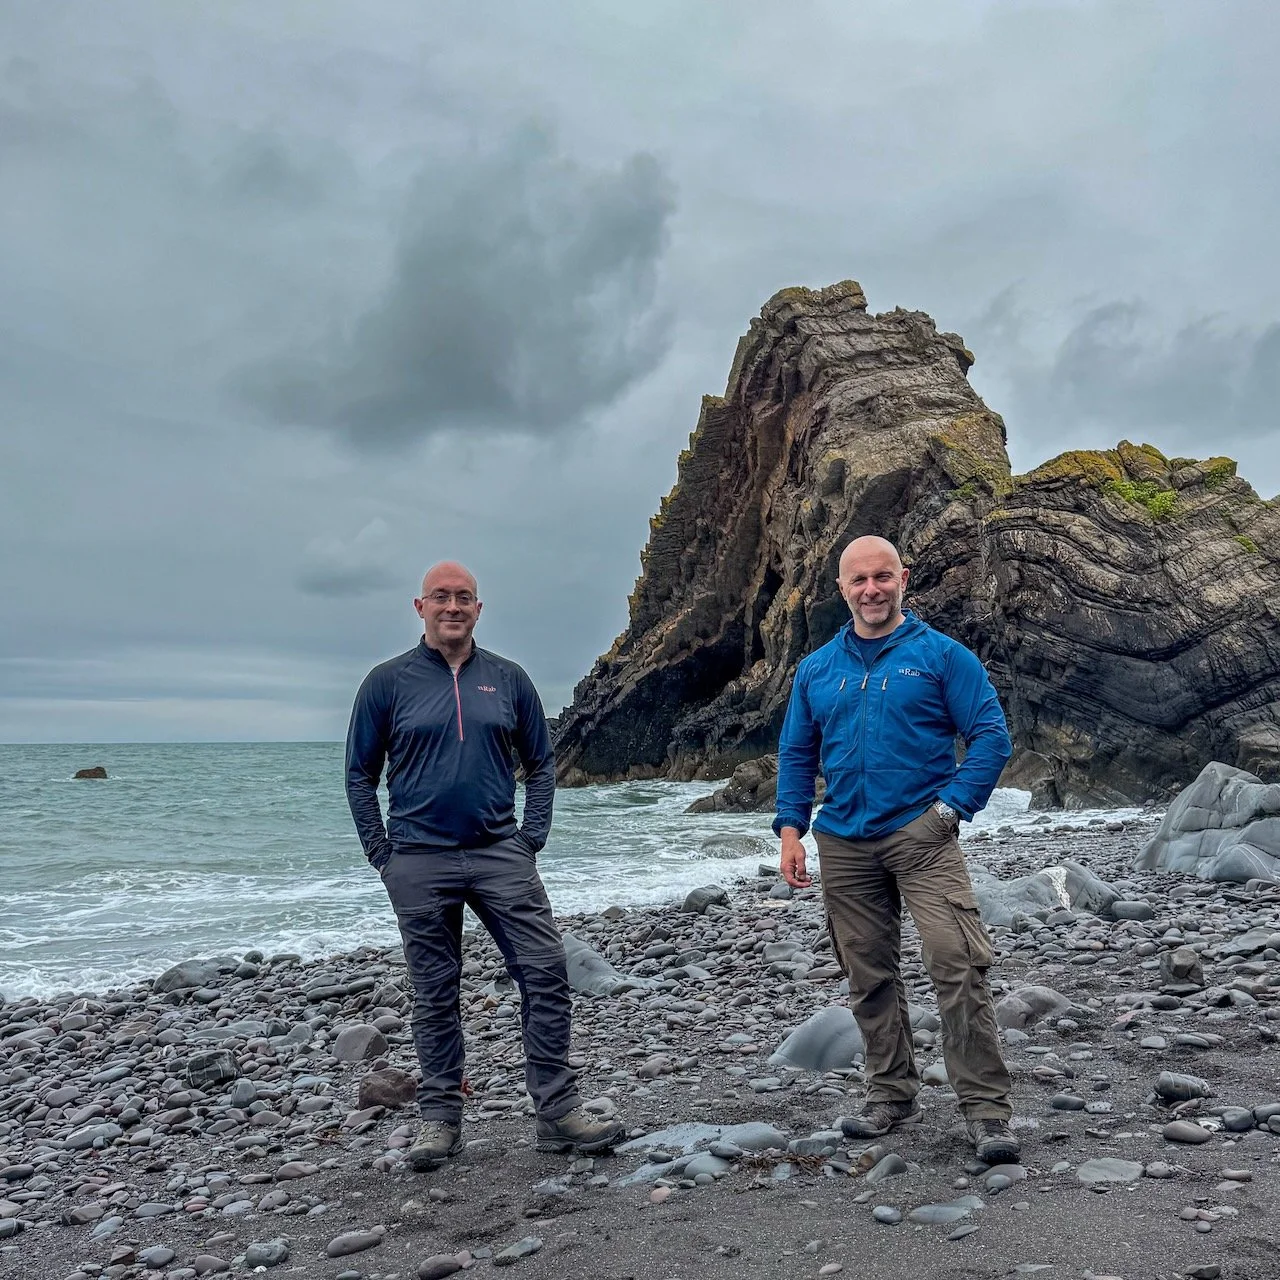
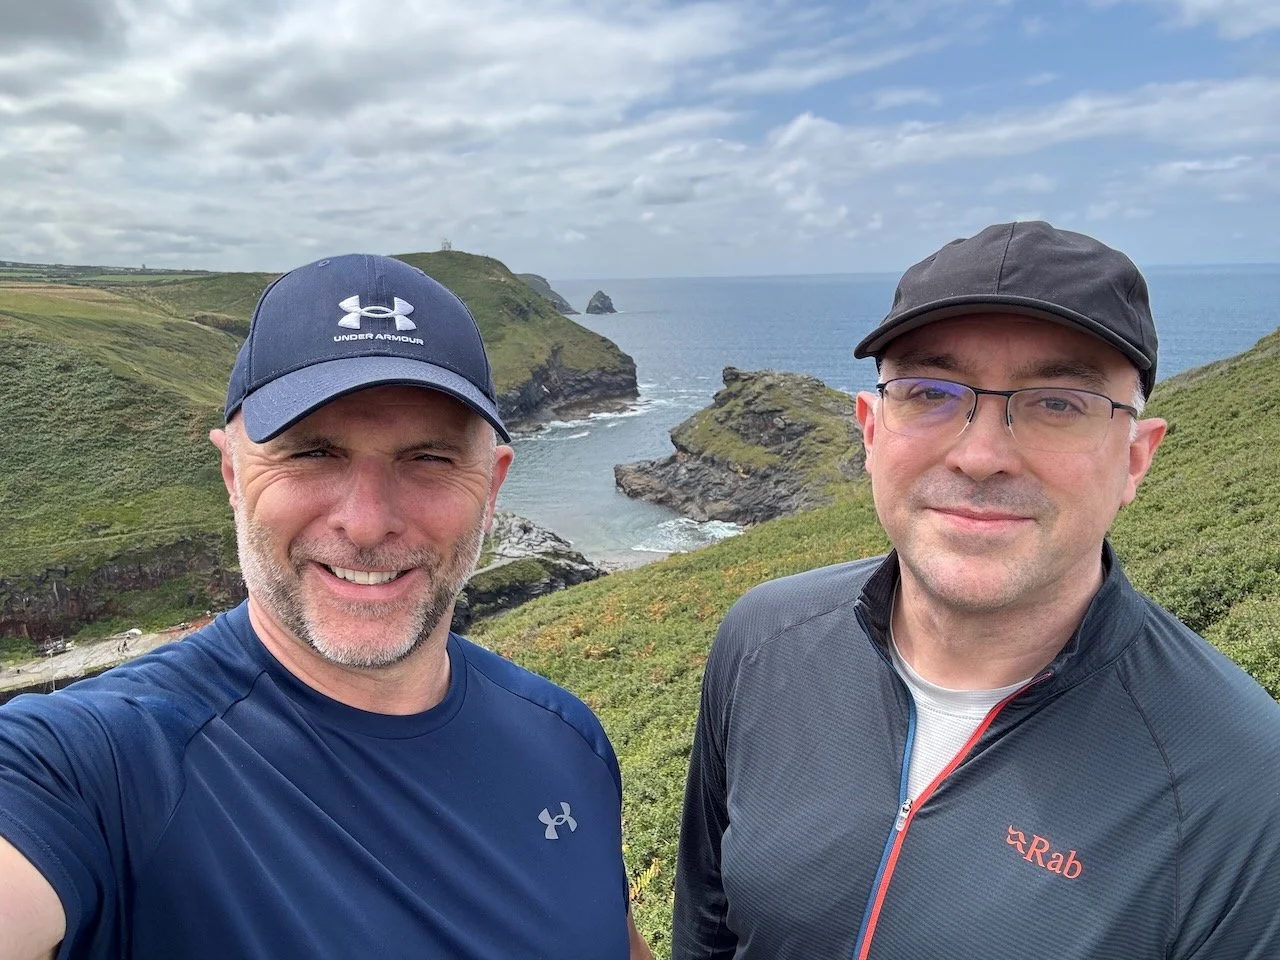
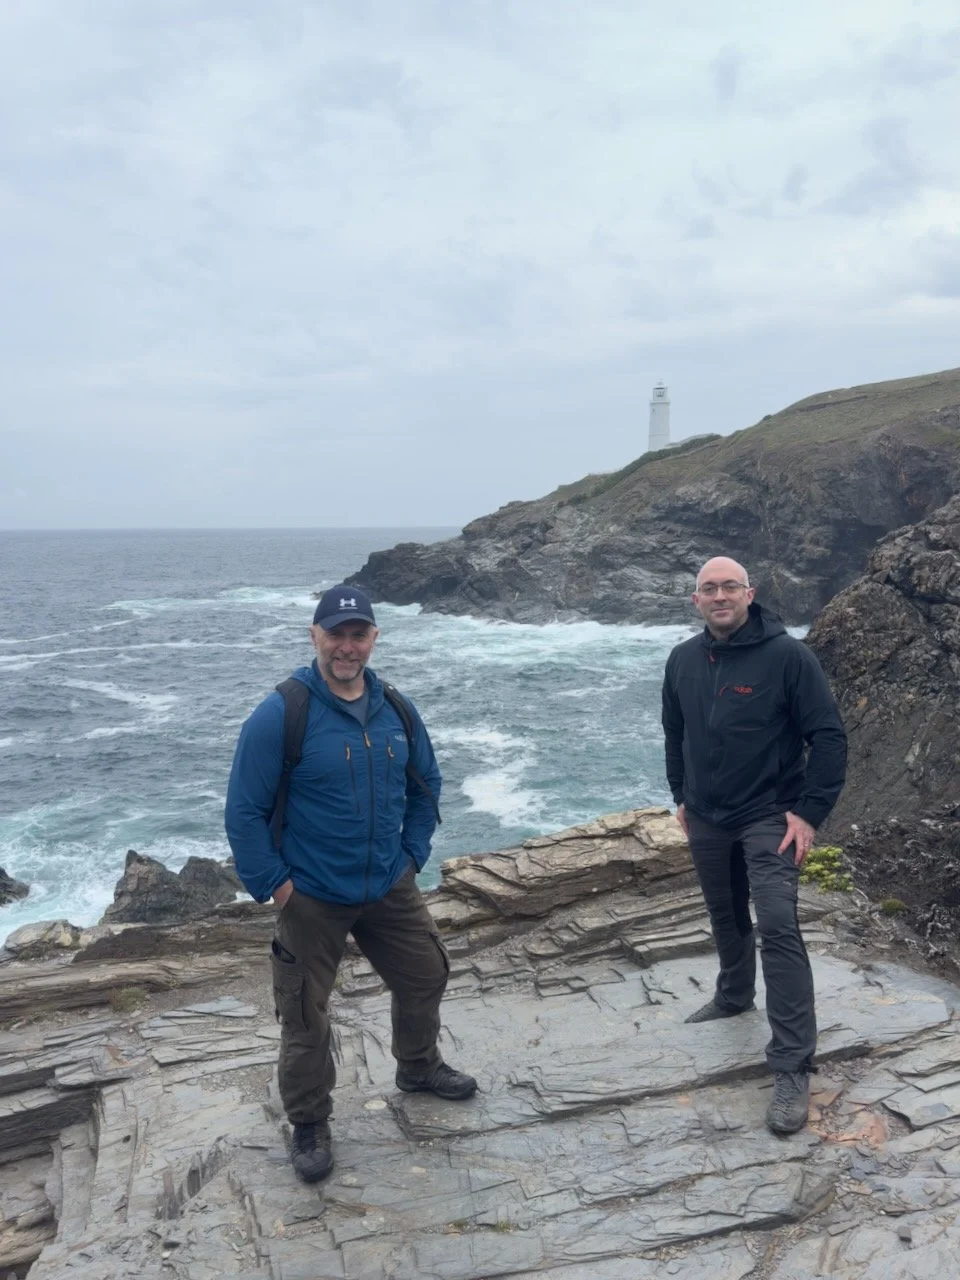
On the morning of July 26th, my friend Andy Hughes pulled up outside my place ready for two days of coastal exploring. Andy’s someone I first met through my Photography Community, and like so many photography friendships, it has quickly grown beyond just swapping images online. Now we were heading off on our first road trip together with cameras ready, or in my case, just one very capable phone.

This trip was going to be different. I left the heavy camera gear at home and relied entirely on my iPhone 15 Pro Max. For the long exposures, I used the Reeflex ReeXpose app, and for everything else, I shot in ProRAW with the native camera app. It was part challenge, part experiment … could I come home with portfolio-worthy shots using nothing but the phone in my pocket?

We hit the road towards North Devon, the playlist set, the weather promising clear skies and soft light.

Day One – Arches, Harbours & Evening Glow

Our first stop was Blackchurch Rock.

That iconic arch rises from the sea like something from another world. We timed our arrival with the tide and hung around, waiting for the light to hit just right. The ReeXpose app worked perfectly here, smoothing out the water and pulling movement from the clouds.

From there, it was on to Sandymouth; a stretch of golden sand with the kind of long, rolling waves that hypnotise you if you watch for too long. Light wasn’t great with it now being midday and a high sun with little cloud so instrad we sat, we had a cold drink and chatted enjyoing each others company.

The afternoon took us down to Boscastle, a small harbour village packed with detail; stone walls, colourful boats, and weathered textures everywhere you looked.

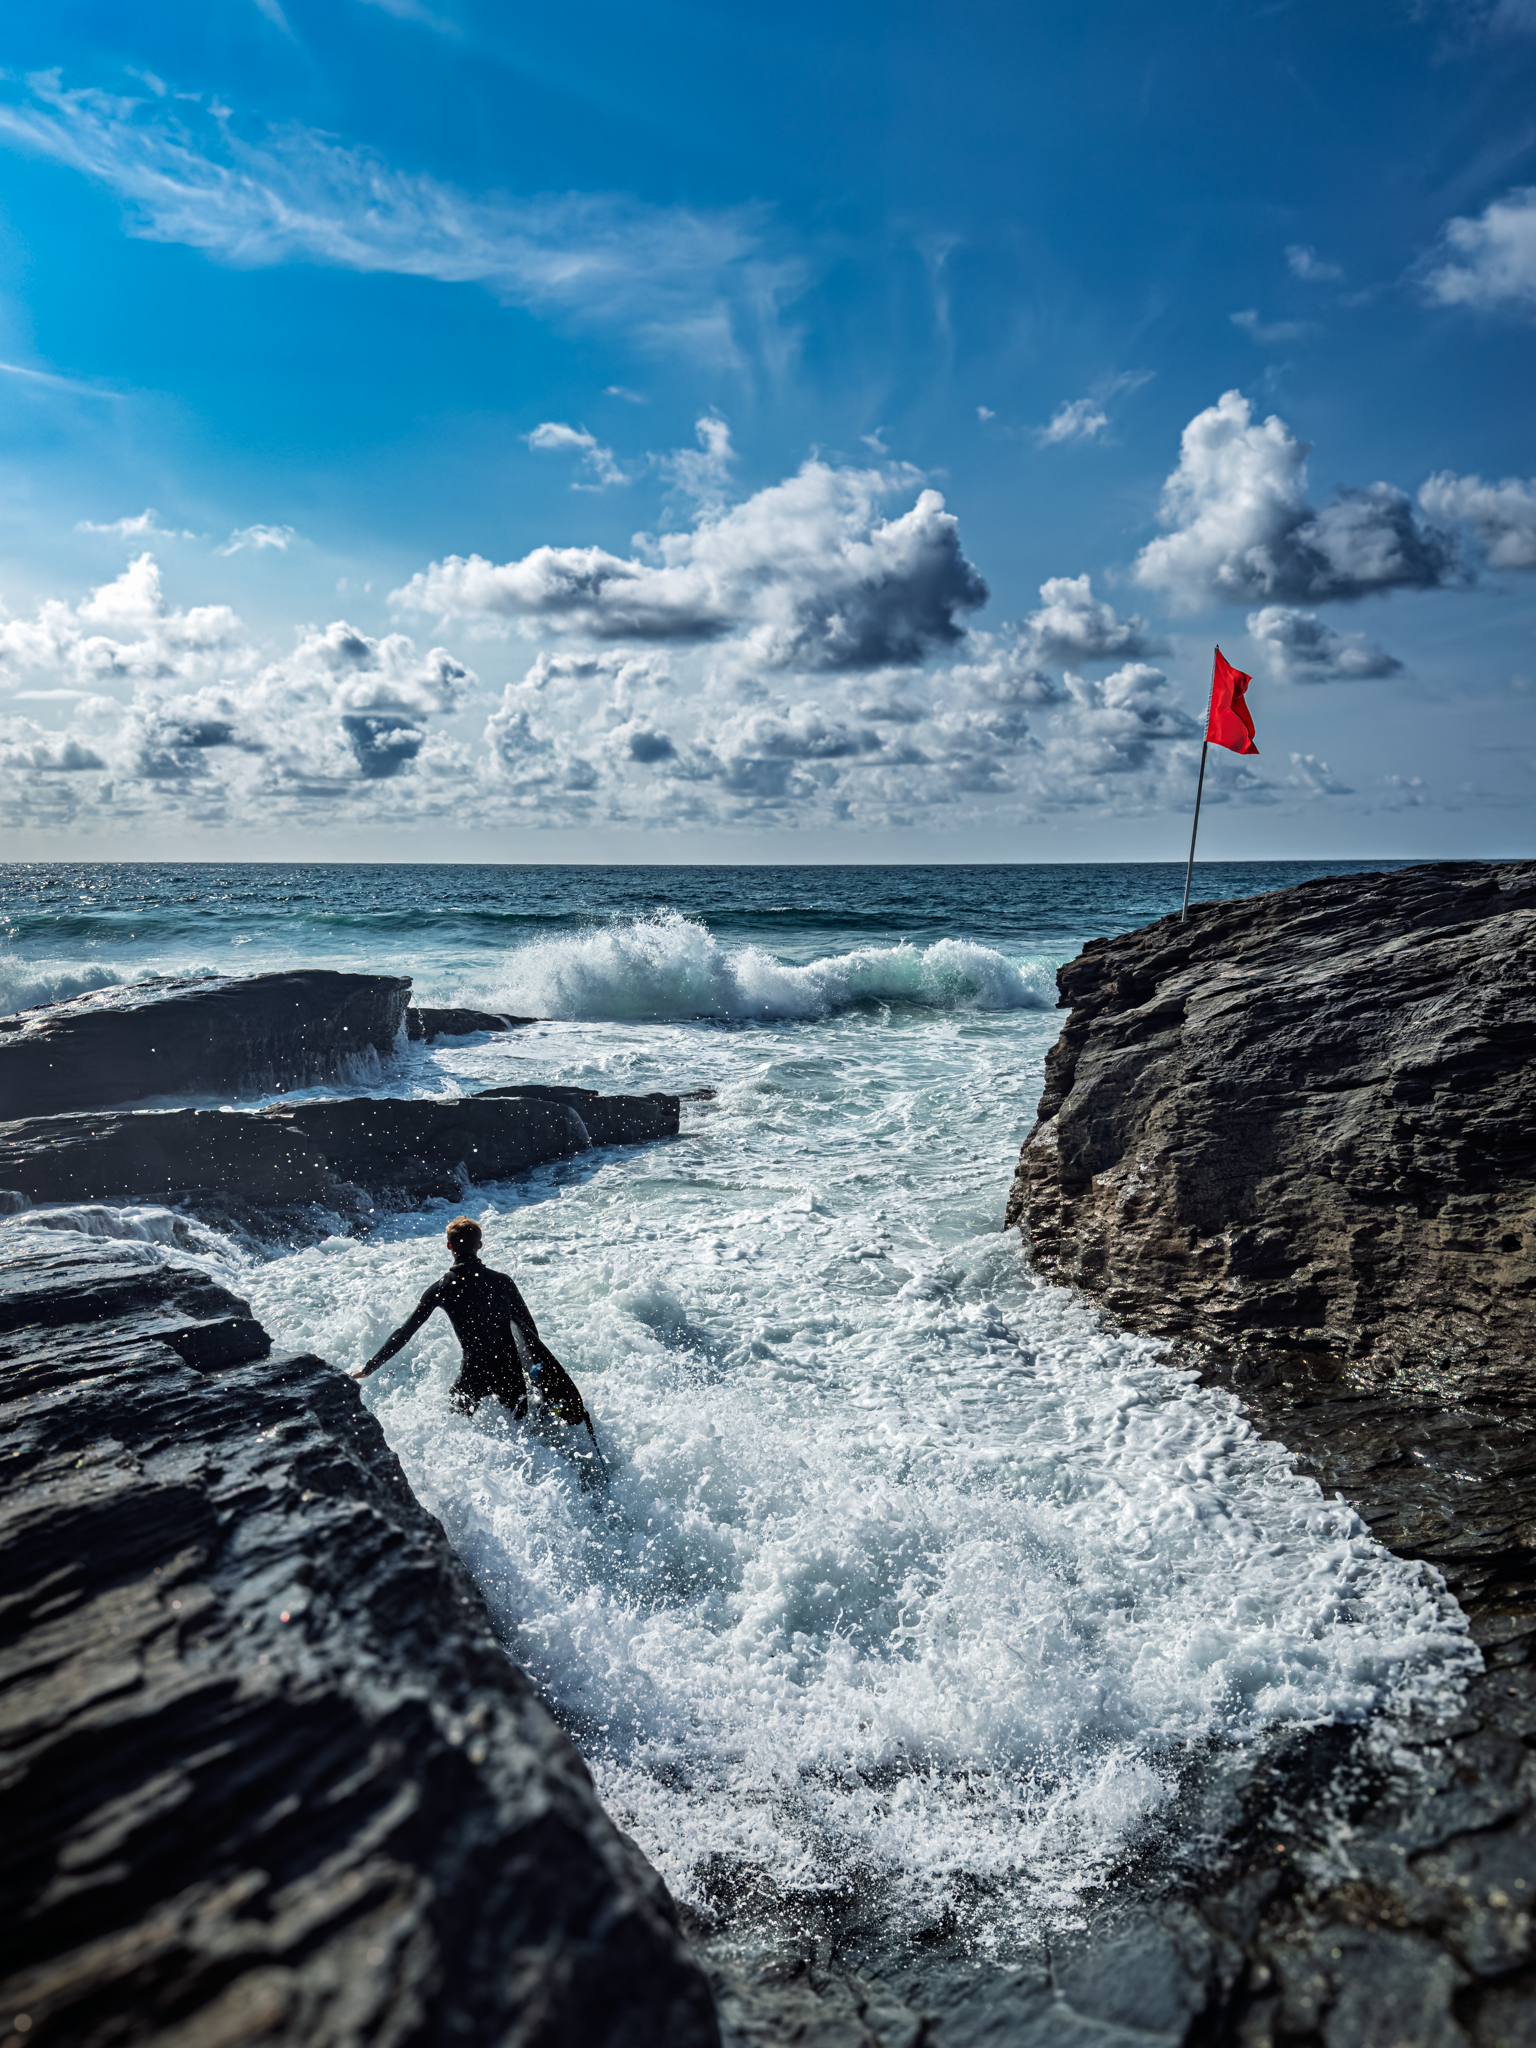
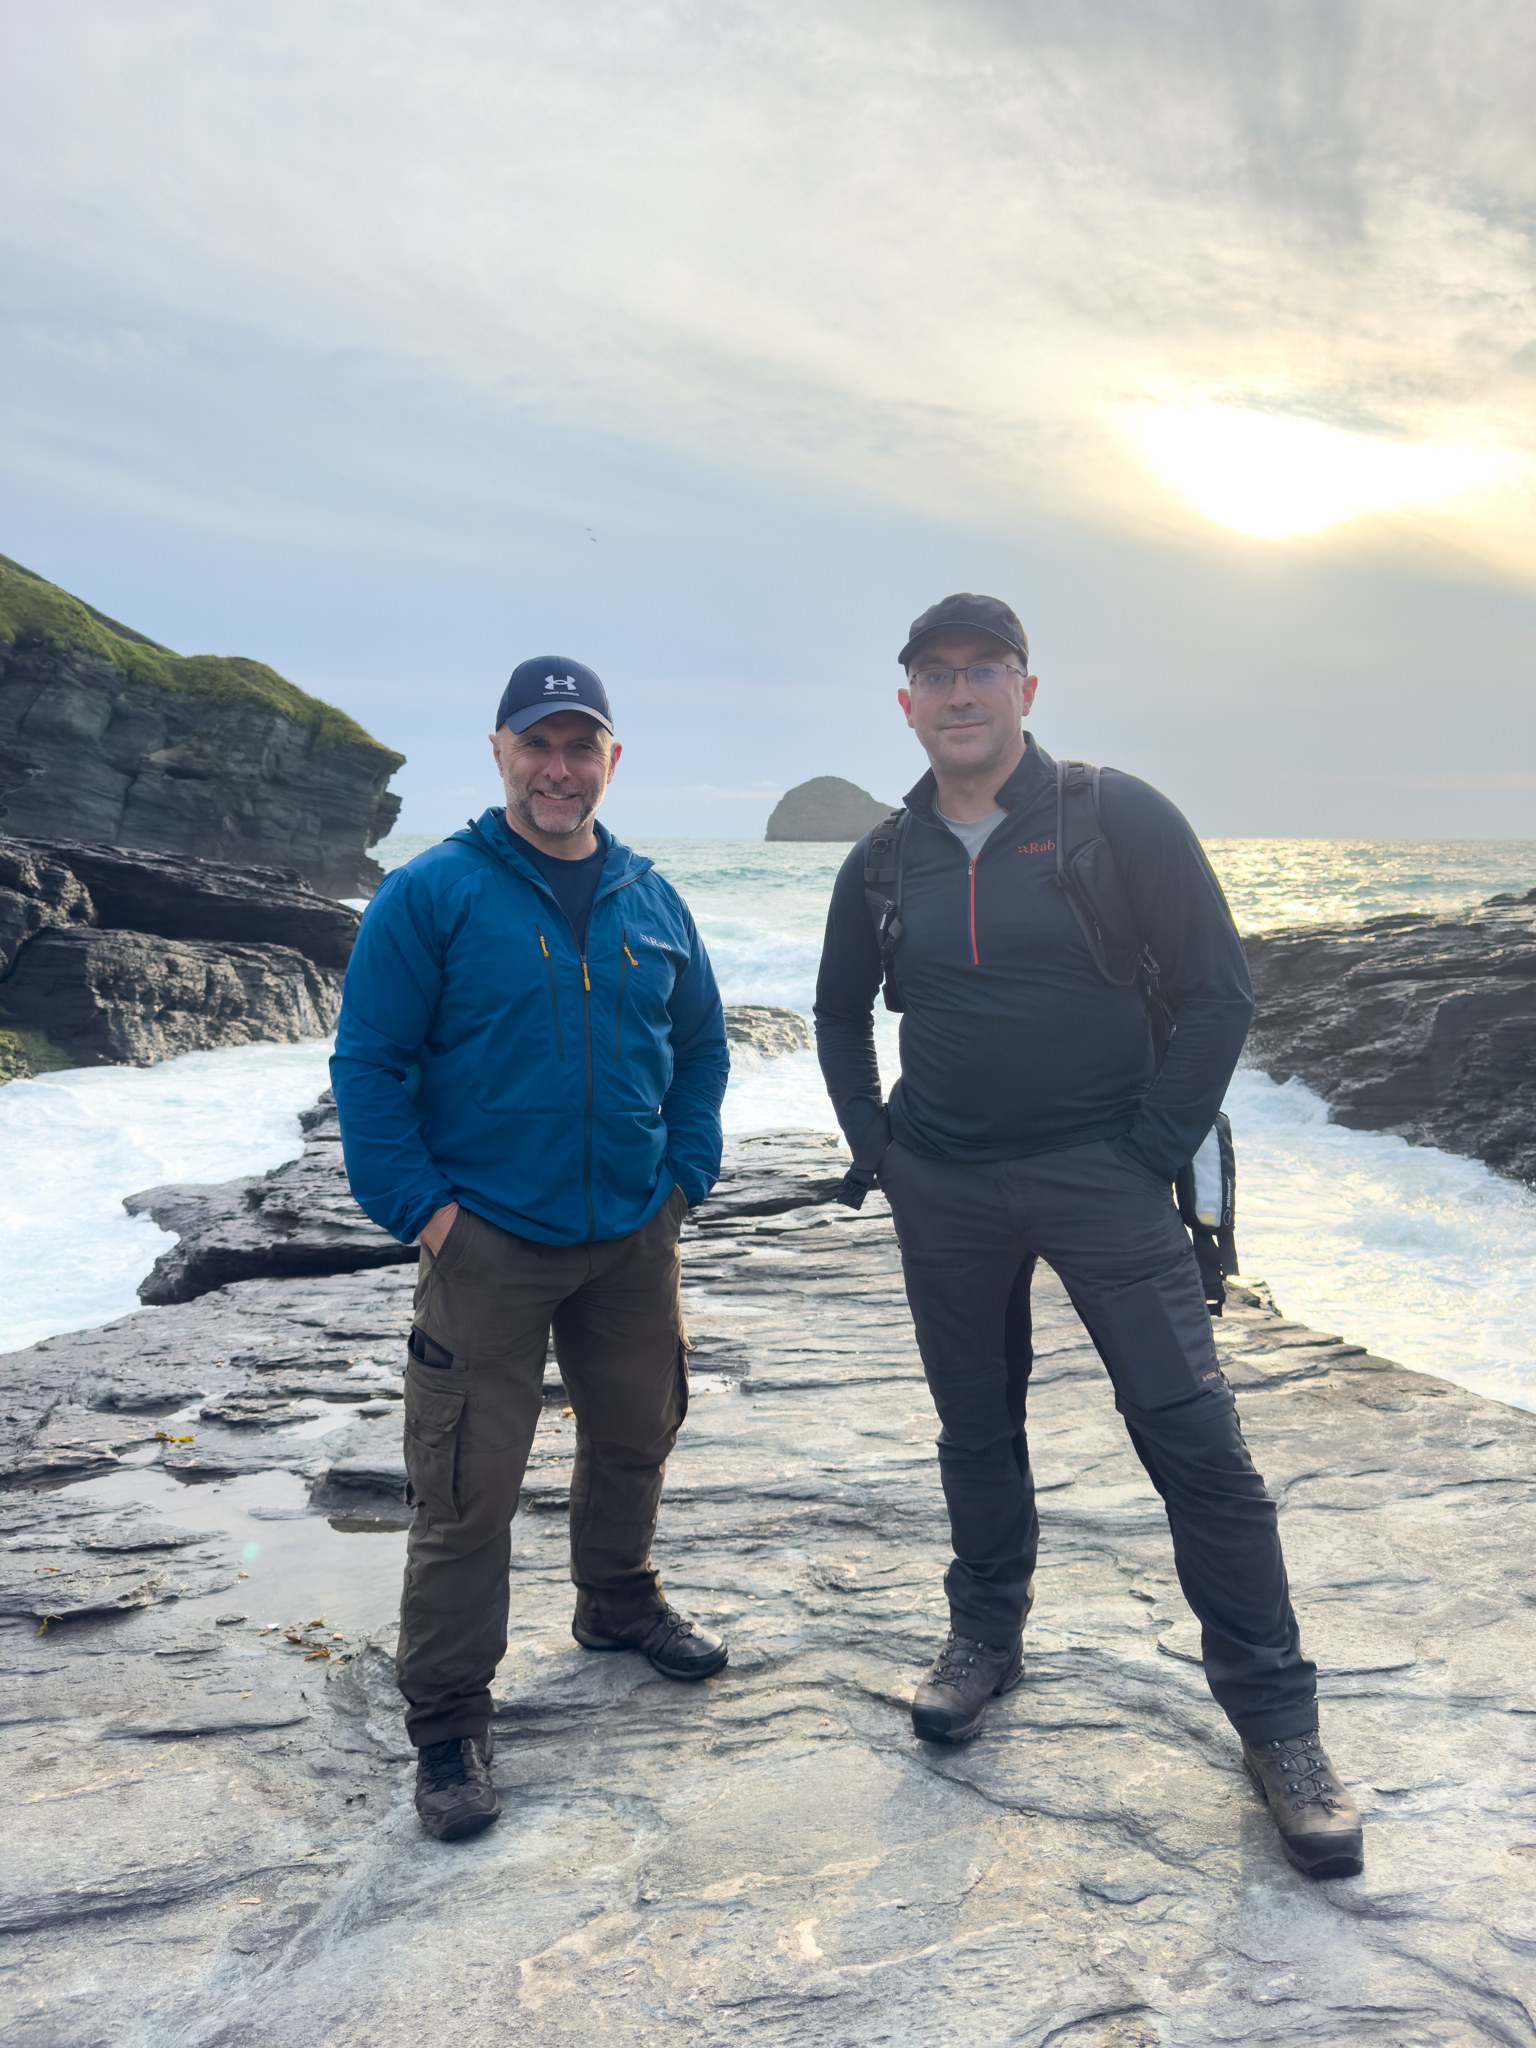
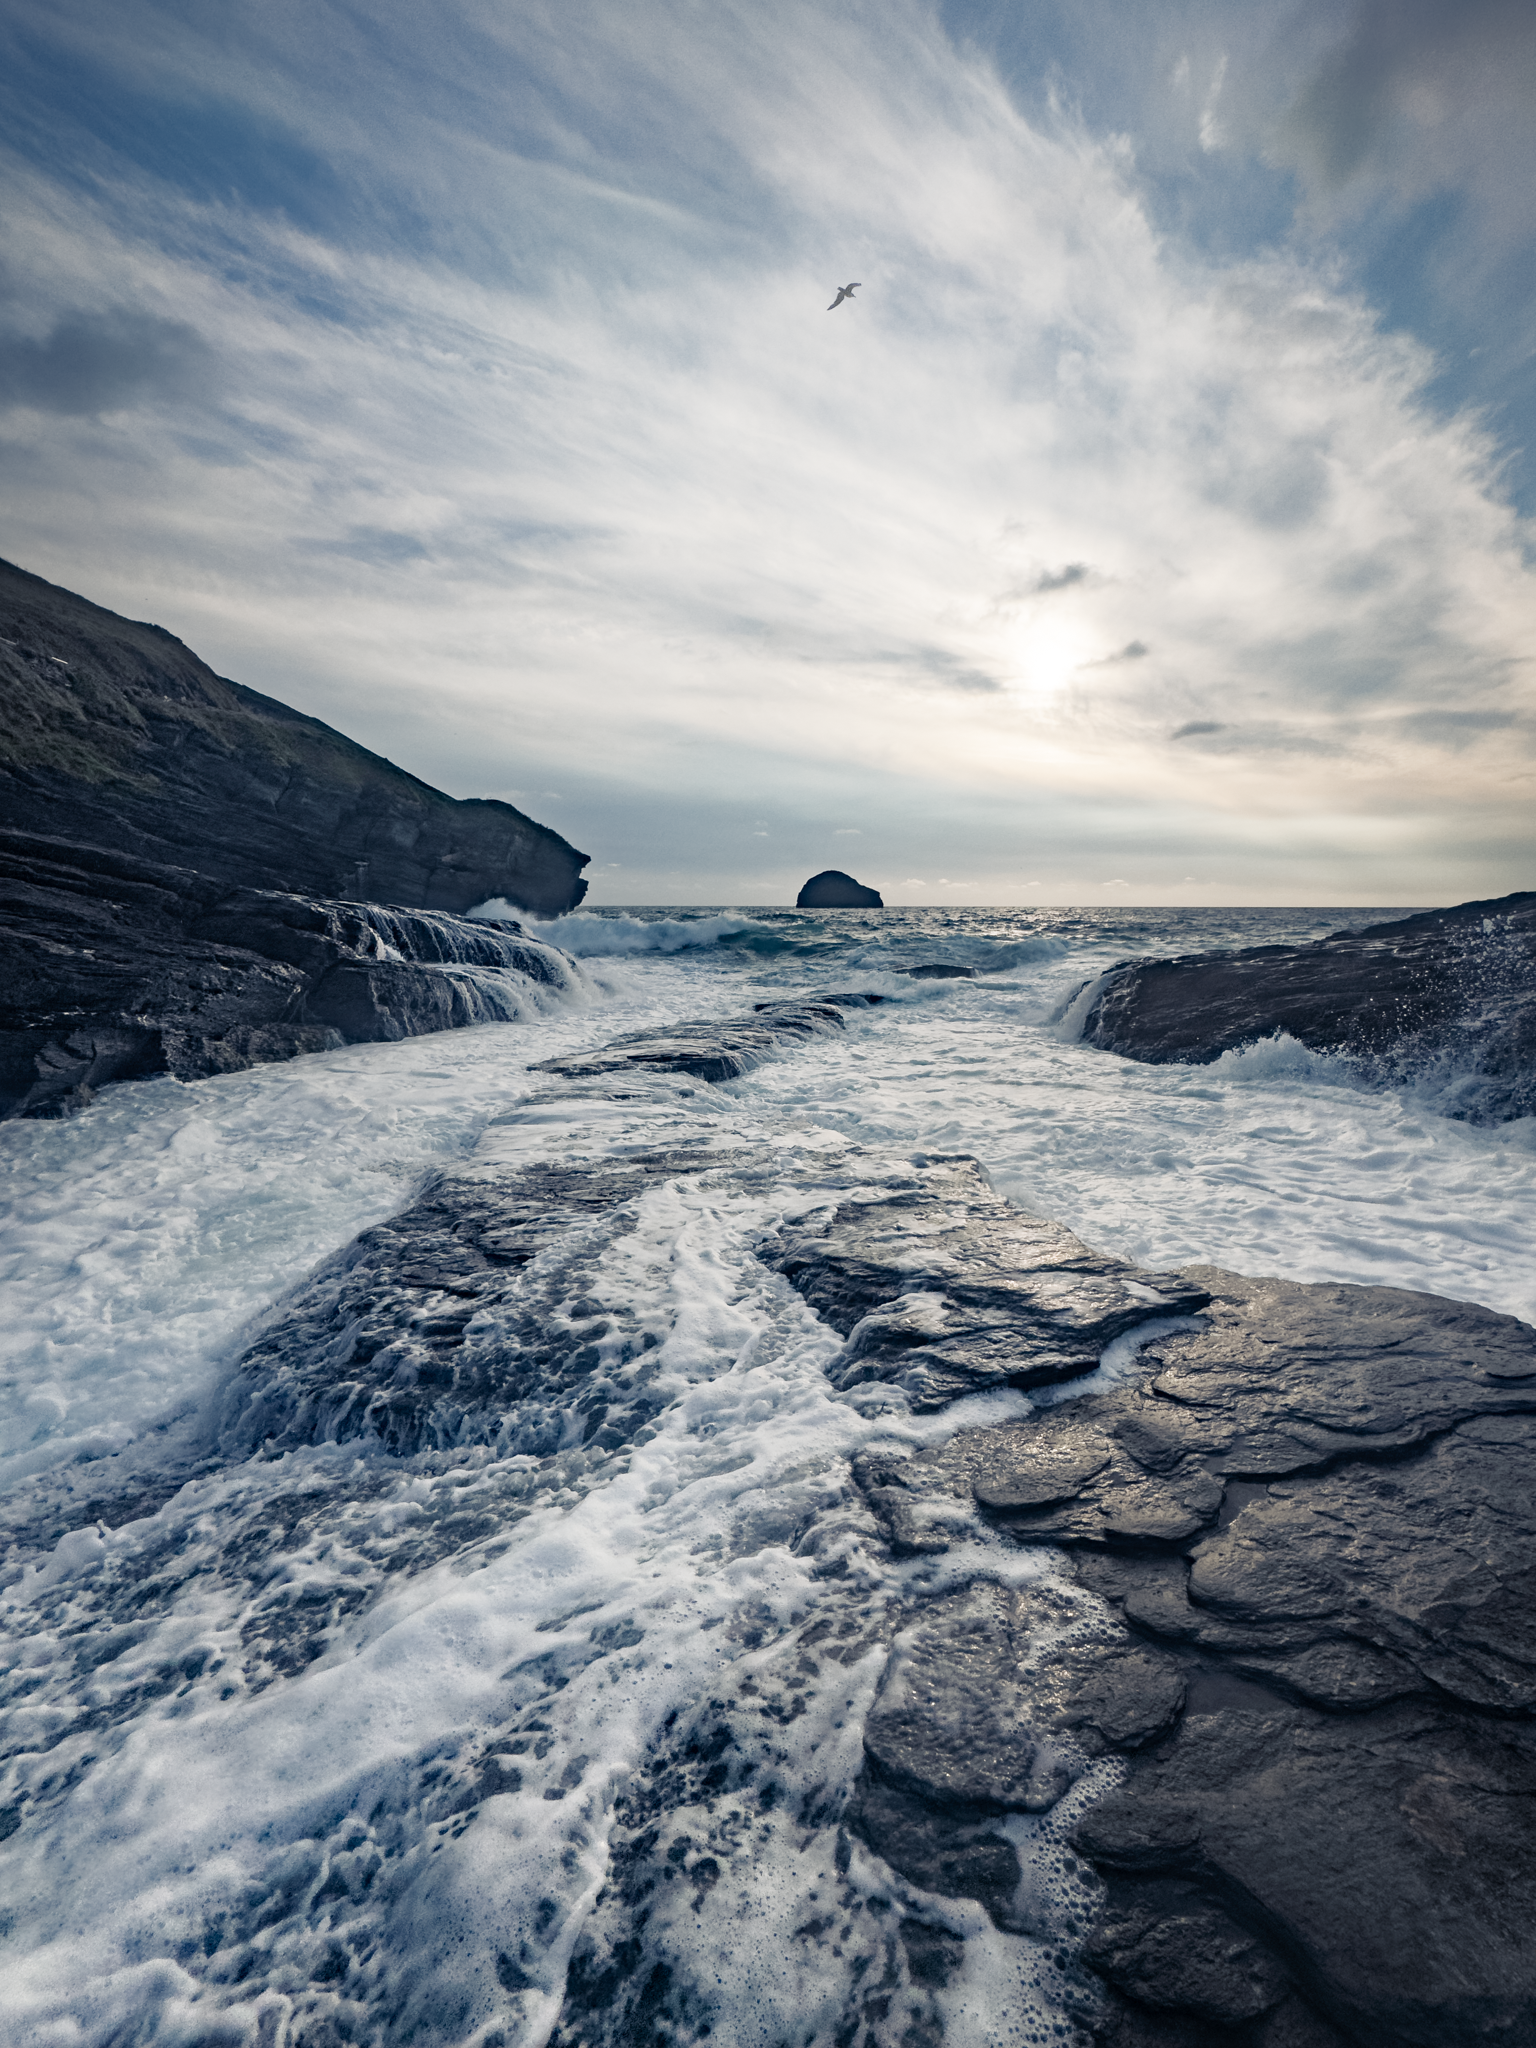
By evening, we rolled into Trebarwith Strand. The sea was glowing, the rock formations catching the last light of the day. Condioptns weren’t ideal but a little patience and I grabbed this shot of a surfer about to brave the battering waves…

Then it was time for some dinner (which was delicious) and then stepping outside Andy suggested we maybe take some shots of the incopming tide and wow … amd I glad he did because the conditions were stunning!

We then drove to Wadebridge and checked into the Premier Inn for the night which I have to say was spotless with quiet surroundings, and just the right amount of comfort after a day of climbing over rocks and chasing light.

Day Two – Lighthouses & Seals

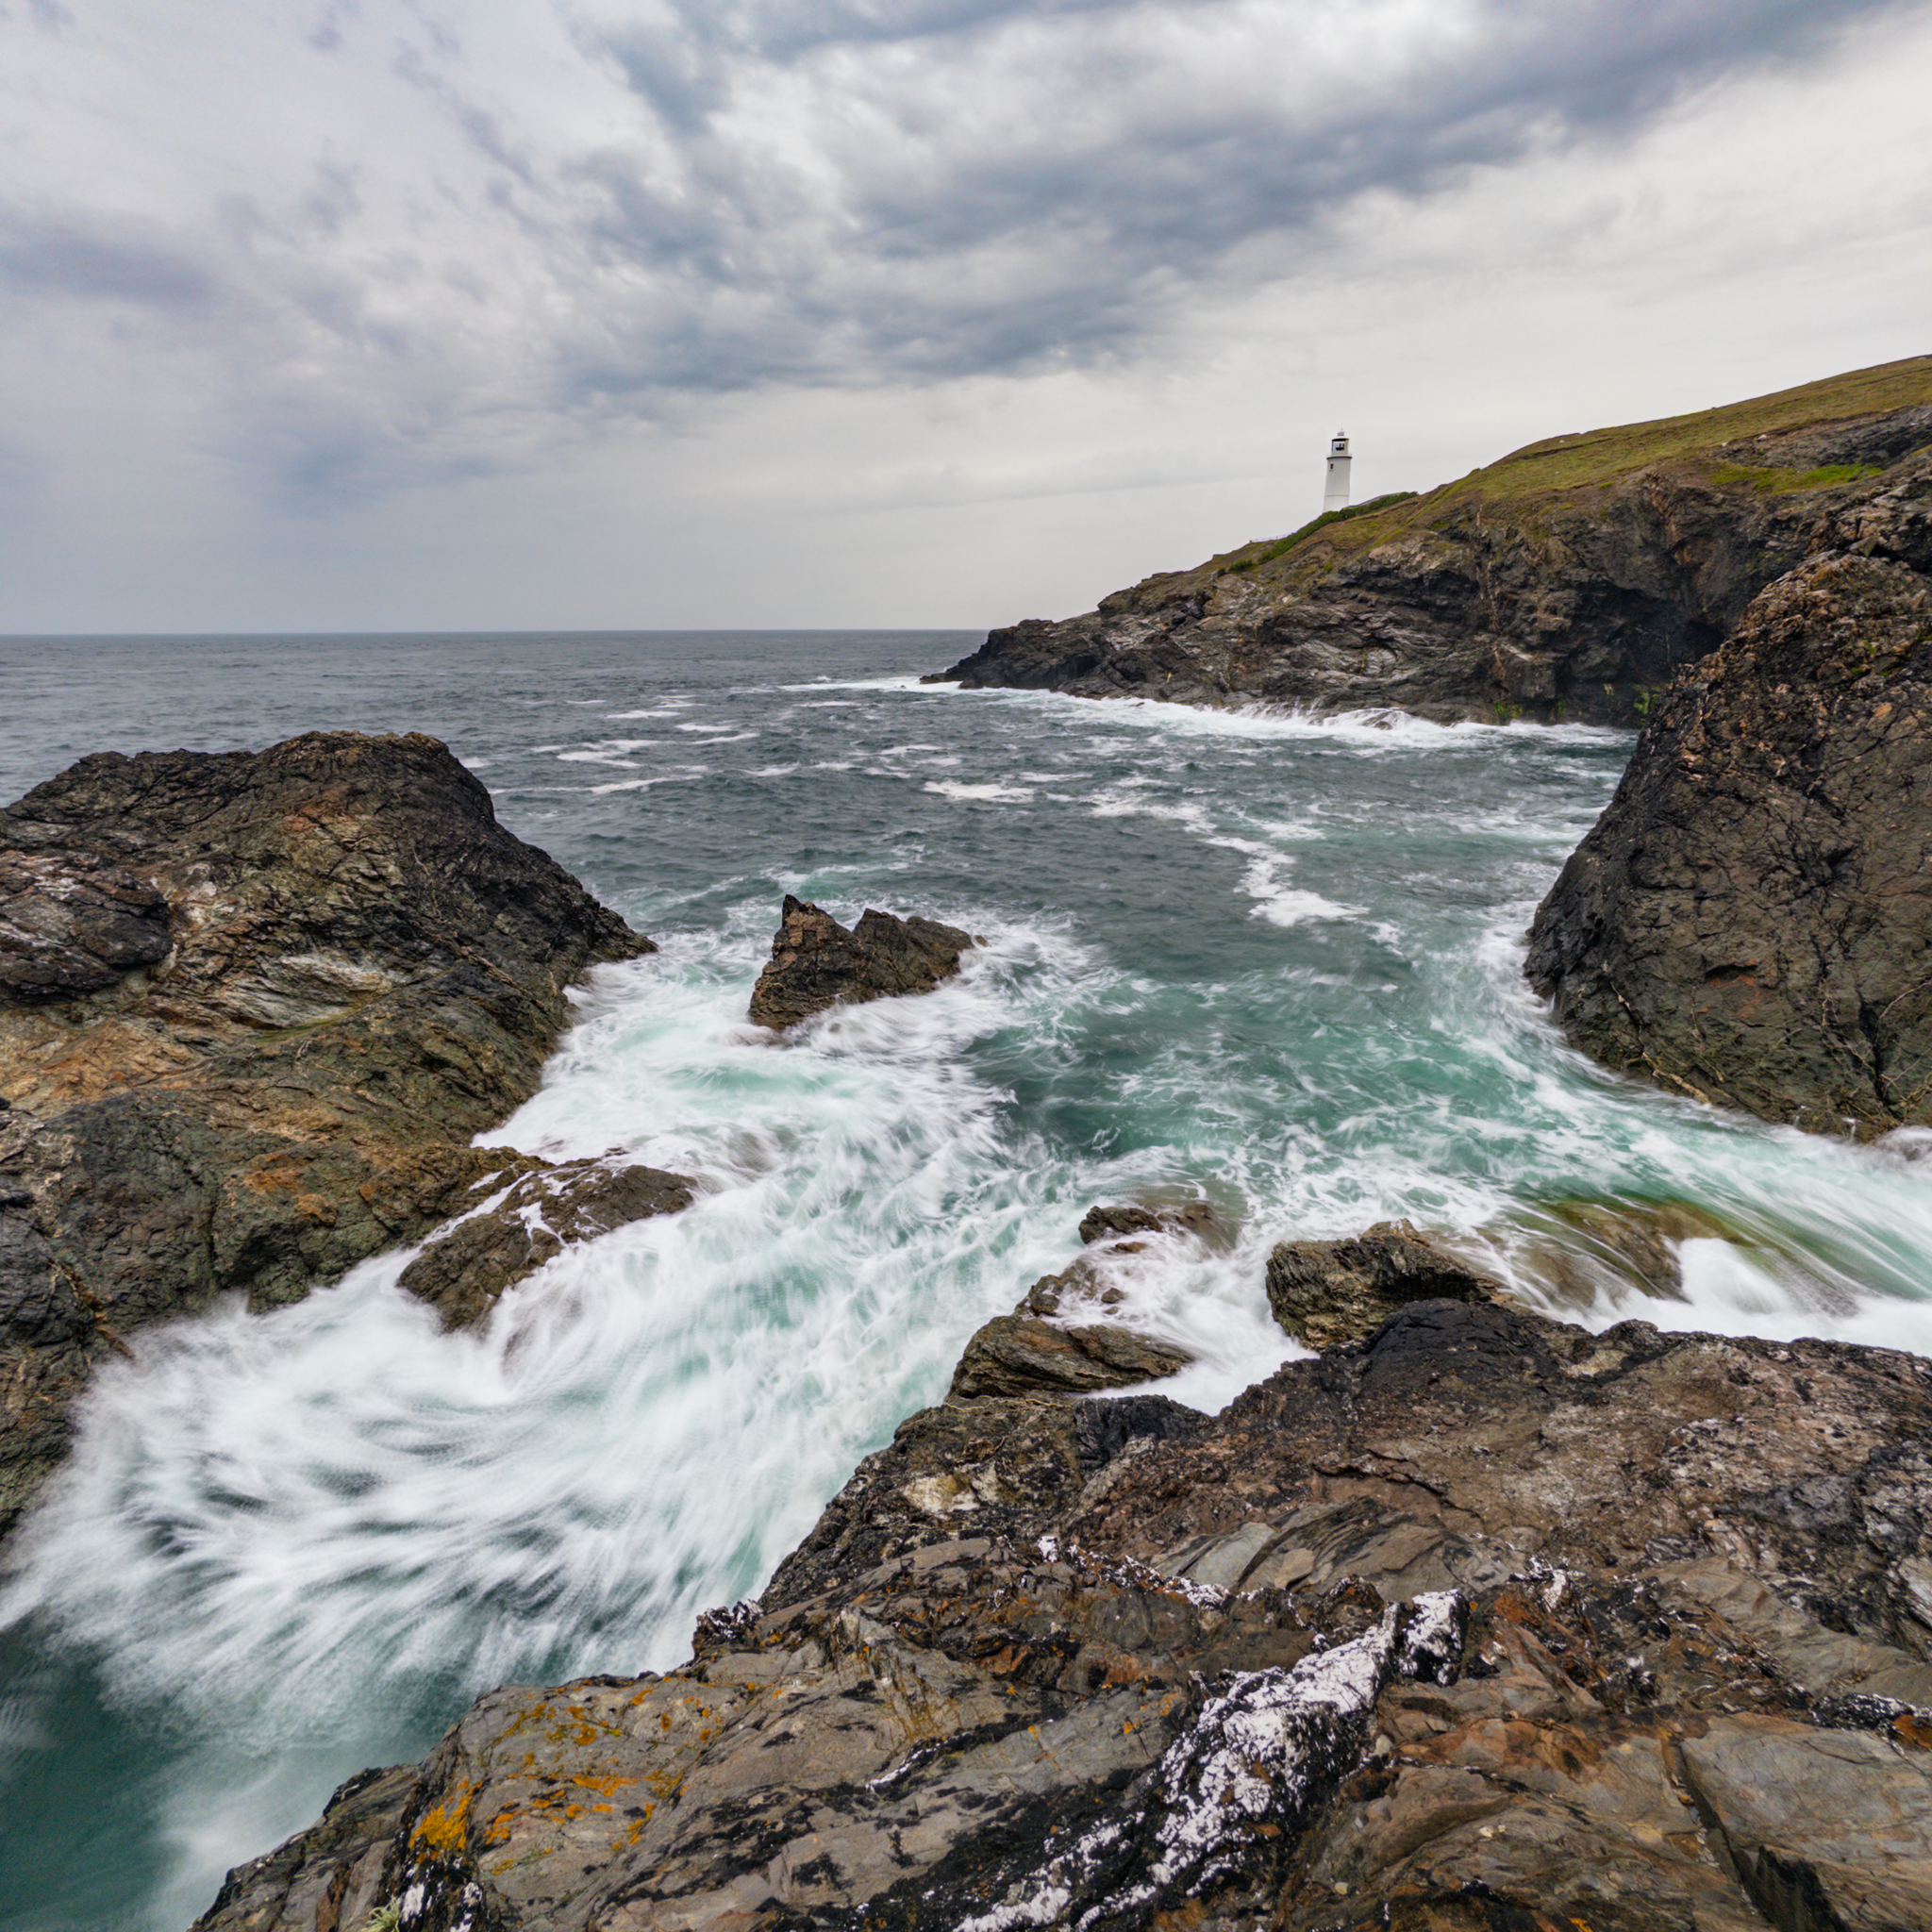
The next morning, we were up early and heading for Trevose Head. The air was fresh, the waves were crashing, and the lighthouse stood tall against a blue sky. As we stood there framing shots, a seal surfaced just off the rocks. Beautiful andthe sort of unexpected moment you always hope for on a trip like this.

Before the drive home, we swung by Bude for breakfast. It was one of those meals that feels even better because you’ve earned it after days of fresh air, walking, and late nights on the coast.

Light, Patience & a Pocket Camera

Both days gifted us exactly what we were hoping for; perfect light, a touch of drama, and just enough waiting around to make the results feel even more rewarding. Shooting entirely on the iPhone was freeing. No heavy gear, no fuss … just ProRAW files for maximum editing control and the ReeXpose app for those silky long exposures.

Two days, five locations, countless photos, and one very good reminder: the best camera really is the one you have with you.

My Glyn Dewis Masterclass Community on SKOOL

Yesterday I launched my Masterclass Community on SKOOL.

“A community for photography lovers wanting to build skills, confidence, and inspiration to create images that excite them and they’re truly proud of.”

Members that have already joined will have seen the calendar with Scott Kelby joining us for a LIVE Guest Seminar in July and Joel Grimes joining us for a seminar in August ... with a new Guest each month.

I have also set the referall commission at 50% which means if you recommend just 2 people who join then your membership is paid for ... and any recommendations ontop of that means money back in your pocket ... ( $175 on-off for Annual Membership and $19.50 every month ongoing for monthly membership )

CLICK / TAP FOR MORE DETAILS

Finally set up my Linktree Page 😃

So a couple of days ago I finally got round to setting up my Linktree Page, having decided to make the move from Biosite which I find limiting … and a little clunky.

Here’s my unique URL: linktr.ee/glyndewis

But … What is Linktree ?

In today’s digital world, managing multiple online profiles and content can be overwhelming. That’s where a Linktree comes in with a simple, effective way to organise and showcase all your important links in one place.

Linktree is a free (or premium) platform that allows you to create a personalised landing page with multiple clickable links.

Instead of sharing numerous URLs across different social media bios, email signatures, or websites, you can share just one Linktree URL, and when people click it, they’re directed to a page that displays all your relevant links prominently … all in one place.

Why Use a Linktree?

  • Centralised Access: Gather all your online content: social media profiles, blogs, shops, portfolios, videos etc in one easy-to-navigate page.

  • Save Space: Perfect for platforms with character limits, like Instagram bios.

  • Enhance Engagement: Direct followers precisely where you want them, be it your latest YouTube video, online store, or newsletter sign-up.

  • Professional Appearance: Make your online presence look organized and polished.

Who Can Benefit?

  • Creators and Influencers

  • Entrepreneurs and Small Business Owners

  • Artists and Musicians

  • Anyone with multiple online platforms looking for a convenient way to share their content.

Getting Started

Setting up your Linktree is straightforward: sign up, customize your profile, add your links, and share your unique Linktree URL. You can even customize the appearance to match your branding.

Final Thoughts

A Linktree simplifies the way you connect with your audience by providing a one-stop link that showcases everything you do. It’s a powerful tool to boost your online presence and make navigation easier for your followers.

Simples 😃

BenQ PD2730S - The 5K Upgrade My Desk Was Missing ✅

The BenQ PD2730S is a premium 27-inch 5K (5120×2880) monitor designed for creative professionals who demand high resolution and precise color. It offers:

  • Exceptional image clarity at 218 PPI — ideal for photo, video, and design work.

  • Wide color gamut with 100% sRGB, 100% Rec.709, and 98% DCI-P3 coverage; factory-calibrated to Delta E ≤ 2.

  • Professional features, including a Nano-Matte anti-glare coating, HDR10 support, and the Hotkey Puck G3 for quick adjustments.

  • Extensive connectivity, with Thunderbolt 4 (90W PD), USB-C, HDMI 2.1, DisplayPort, and a 10 Gbps USB hub.

  • Ergonomic design with full adjustability and VESA compatibility.

While its HDR capabilities and built-in speakers are modest, the PD2730S delivers superb color performance, sharp visuals, and a workflow-friendly design — making it a strong alternative to the Apple Studio Display.