Gear

HOW TO PRINT - The ULTIMATE Guide to Achieving the PERFECT PRINT

Watch this recording of a LIVE Broadcast following the launch of my long awaited HOW TO PRINT course for a Behind the Scenes look at what went into making the course content, tips, additonal learning and Q&A

Well my HOW TO PRINT course has officially launched, and I don't care whether it's right or wrong to say this but ... "I'm Bloomin Proud of myself"

As of today the course has over 7 hours of content which, I hasten to add, is the least amount of content that there will ever be as I'm looking forward to keeping this well and truly up to date for everyone that has and does enroll.

The support I've had has been incredible from close friends and people across the industry being willing, sometimes at short notice, to open their company doors and allow me in to do some filming and also them jumping on to a video conference to record an interview covering a certain topic relating to printing.

SPECIAL THANKS goes to Dominic Gurney from Epson UK who as well as freely sharing his vast knowledge has driven considerable mileage (more than once) to pass on some kit for me to use.

Everyone at Permajet for their constant support from Day 1 when I was planning this course. Inviting me into their offices, filming, lunch, paper, interviews and so much more. Outstanding!

Dr Chris Bai from BenQ whom I'm proud to call a friend and everyone at BenQ; always there and always willing to help and provide support. When I first met Dr Bai he said that his purpose was to educate me about colour and display technology and he sure has!

The BRILLIANT people at Digitalab who invited up to their offices for 2 days when I first started working on the course. Nothing was and is too much trouble for them and for that and all they do I am so incrediby grateful.

The great folks at Calibrite for helping out in so many ways providing kit, promotion, technical advice and information and always reaching out to see if I need any support.

Trevor Williams of West Street Picture Framing who opened his shop on a day it was ordinarily closed just so that I could do some filming of him showing how to correctly add a print onto backing board and add them into a mount for display.

MASSIVE thank you to everyone that has Pre Ordered the Course so far. I'm genuinely blown away at the response but also at the trust placed in me to provide a course that you're willing to hand over some of your hard earned money for. It is VERY much appreciated. (your course content will be available from 6pm UK today)

... and finally my wife Anne who does everything she can to make it easier for me to get on with getting on. Because of her support I don't have to think about anything other than getting this done and hand on heart I wouldn't have been able to get it finished and produced what I have without her.

This might sound a bit dramatic ... I mean it's 'only' a course that I've put together but heck, I've worked hard on this. I wanted to make this THE go-to course for printing so that others can get their share of the pleasure I get when seeing an image that you took the time and effort to get out and capture, retouch and finally hold in your hands.

"The ART doesn't end at the EDIT"

TOP 10 TECH TIPS for Photographers to AVOID DISASTER and KEEP YOUR PHOTOS SAFE | Peter Morgan

Watch the recording of this LIVE Broadcast as I chat with Photographer and Tech Expert Peter Morgan as we discuss the TOP 10 TECH TIPS for Photographers including Backup Solutions BEST PRACTICE to AVOID DISASTER and KEEP YOUR PHOTOS SAFE …

links mentioned in the video:

Beyond the Flash: Unlocking the. Potential of Constant Lighting in Photography

On Thursday of last week I had the pleasure of being invited to be part of Wescott Wednesday hosted by B&H Photo Video on their Event Space.

As I’m using Constant Flash more and more these days for when taking portraits I was asked to talk about my experience and how / why I feel that it has made such a positive impact on how I portraits, but not just for me but also the person being photographed.

The recording of the LIVE Broadcast I’ve added below, in which I go through what constant light I’m using, how I’m using it and also go through tips on how I take portraits in which I hope you’ll see how good constant light is to combine with them.

HUGE thanks to Westcott for inviting me to speak and also to the great folks at B&H who do such a great job hosting and preswenting these events.

From Movie Magic to Photographic Mastery | Lisa Carney

Thoroughly enjoyed chatting with Hollywood Movie Poster / Art Work Retoucher Lisa Carney and uncovering the HOW, WHAT and WHY of her personal work, her photography, process, retouching, personal projects and travel.

At the beginning of this recording check out the slideshow of her images and then learn how she captures and edits them because I guarantee, like me, you’ll be blown away!

Links mentioned in the video

Website: lisacarney.com (Portfolios, Photoshop Tutorials, Courses and more … )

Grief ( Art as Therapy - Personal Project ) LINK

Instagram: @lisacarney

The Lightroom Virtual Summit 2024: bit.ly/lvs-2024

Glyn’s Adobe Lightroom Community Page: LINK

Unsurprisingly, Lisa was a HUGE hit judging by some of the comments posted already from folks watching the recording …

Westcott Wednesday: Unlocking the Potential of Constant Lighting

So here’s a date for the diary …

In conjunction with Westcott and B&H Photo and Video, on the 15th May @ 3pm EDT (8pm UK) I'll be on "Westcott Wednesday" going through the WHY, WHAT and HOW of using Constant Lighting when taking portraits.

Thid will be the latest installment of the regular Westcott Wednesday series hosted by B&H in which I’ll be, as the description says …

Join us for this presentation as Photographer Glyn Dewis takes us through a journey shifting from traditional flash to constant lighting in portraiture. With a mix of image examples and behind the scenes, Glyn will explain how constant lighting has become the cornerstone of his portrait work, injecting a newfound level of creativity and enthusiasm into his photography.

“At first, using constant light almost felt like cheating but I’ve since completely changed my mind because aside from being under no illusion of the results I get and the ease of setting up, more than anything it enables me to concentrate even more on the person in front of my camera and the concept we’re working on.”

Oh and this event is FREE , will last about 1 hour and will be over on the B&H Event Page on YouTube ( LINK )

Classic Portraits with Constant Light

Recently I was back with friends in the studio taking portraits, and this time getting Steve in front of my camera to try out some ideas I’d stumbled across when browsing Pinterest that I thought would be another good excuse to get my L60-B constant light out for.

Pinterest

I’ve used Pinterest for years as a great place for not only finding inspiration by looking at the work of photographers I admire like Annie Leibovitz and Mark Seliger, but also a great tool for looking how other photographers pose their subjects, which lets face it can be awkward at times. 

Finding a balance between what you want but also making the pose look natural and the subject comfortable can be challenging to get right but I’ve always found it a massive help when you can guide your subject on what you’re looking for by showing them a picture.

Anyway, these here are some of the looks and poses I was really interested in …

Model for the Day

Model for the day was my dear friend Steve Healy whom I’ve known for years. 

There was a time when for quite a while we’d not met up because of Steve moving away to Devon but I’m glad to say that when we finally made the move to the South West , we’re now able to meet up fairly regularly to just hangout out and take photographs. This we will certainly be doing more and more of!

Anyway, Steve drove over to my house in the morning and then we both jumped into my car and headed to South Wales to catch up with the gang; some of my closest friends which to be honest are more like family … Ian Munro and Anthony Crothers.

This was the first time Steve had met up in person with Ian and Anthony even though I’m sure they felt like they knew each other anyway having messaged back and forth many times on social media and also in the chat room during my Sunday LIVE Broadcasts on YouTube. Needless to say … Steve instantly became ‘one of the gang’ 😃

So after a traditional meet up at Costa in Brynmawr, South Wales to fuel up on coffee, we then went to the studio and cracked on …

PORTRAIT 1

So the first portrait I really liked the look of doing was the one inspired by this portrait of Robert De Niro taken by Mark Seliger …

Steve had brought along a dark grey casual suit-type jacket which was ideal. He’d also bought a white shirt to wear underneath but when setting up we all felt that even though you’d only seen a small portion of it, it would be too distracting, so instead Steve kept with the black T-Shirt he was wearing.

BACKGROUND

For this I portrait as it was to be a fairly tight crop of Steve on one side and just a little bit of ‘dead space’ to the left, the 7’ x 5’ background would be plenty big enough and so this was set up with the rear supporting leg shortened so that the background took up less floor space and could be closer to the wall.


LIGHT + MODIFIER

I’ve said it before and I’ll say it again … I absolutely LOVE this light!

I wouldn’t be exaggerating when I say that positioning the light (L60-B) to get the Rembrandt Lighting Pattern 100% BANG ON took just a few seconds; such is the convenience and ease of doing so when using because … What You See Is What You Get

Bottom Left: iPad Pro with Pinterest App open showin the ‘reference’ image

To achieve a quality of light that was neither hard or soft but somewhere in between, and also to minimise the amount of light that would spill onto the background, I opted to use the Westcott 24” Rapid Box Switch Beauty Dish and with the outer diffusion panel fitted.

Westcott 24” Rapid Box Switch Beauty Dish with Outer Diffusion Panel

CAMERA + Lens

  • Sony A7RIV

  • Sony 85mm f/4.0 G Master

CAMERA SETTINGS

  • Aperture: F/4.0

  • Shutter Speed: 1/60sec

  • ISO 1250

Once set up and with any light in the studio that wasn’t contributing to the portrait turned off, I could then start taking portraits of Steve but what was really useful here was that everyone could see EXACTLY what the shots would be like without having to look at the back of my camera each time or look at my iPad Pro that I was tethering to; again because What You See Is What You Get

Studio lights and ‘any’ lights not contributing to the portrait turned off.

This made it so easy for anyone who wanted to make a suggestion and move in to maybe get Steve to angle himself differently or change the position of a hand.

It just worked and worked so incredibly well, making EVERYONE feel involved.

OUT OF CAMERA

Here’s the out of camera Raw file …

Original Raw file in Adobe Lightroom Classic

FINAL EDIT

Here’s the final retouched image which was worked on using both Lightroom and Photoshop …

Final Retocuhed Portrait

LIGHTROOM CLASSIC and PHOTOSHOP

Here’s a summary of the retouching steps carried out in both Lightroom Classic and Photoshop …

Lightroom

  • Straighten & Crop

  • Colour Correction*

  • Denoise

  • Masking (Enhance eyes - Iris and Pupil only)

*Had to do this manually as ‘somehow’ I forgot to use my Colour Checker Passport … Doh!

Photoshop

  • Clean Up

  • Dodge & Burn

  • 2010

  • Dreamy Glow (20%)

Lightroom

  • Colour (CN16)

  • Color Mixer (Reduce Orange & Red Saturation on Steve’s face)

  • Masking (Radial Gradient to Shape Light)

  • Masking Exposure on Face

  • Add Grain


PORTRAIT 2

For the 2nd portrait of Steve, this was the photograph I used as the initial inspiration / idea …

For this we went with the exact same set up albeit positioning the light camera left this time as opposed to camera right as it was for the first portrait.

Below is what the set up looked like before turning off the lights in the studio that weren’t contributing to the portrait …

Using the single L60-B coming in from high up and angled down produced exactly the lighting that was wanted (below) however I felt that the shadow side of Steve’s head was a touch too dark …

To add a touch more light onto the shadow side of Steve’s head, rather than use a 2nd L60-B we just used a Silver Reflector which also had a white side to it, however between the two surfaces, the silver side gave the best result …


OUT OF CAMERA

Here’s the ‘out of camera’ Raw file …

Out of Camera Raw file in Lightroom Classic

FINAL EDIT

Here’s the final retouched image which was worked on using both Lightroom Classic and Photoshop …

Final Retouched Portrait

lightroom classic and photoshop

Retouching steps in both Lightroom Classic and Photoshop were pretty much the same as in the first portrait, however there was one very definite difference.

When taking the 2nd portrait, we all felt that although Steve sitting on a stool worked, it did make him look a little squashed because of the height of the stool he was sitting on and also how his jacket sat, so we also tried a few shots with Steve standing …

With Steve standing it definitely stopped him looked squashed, however when looking at the images later in Lightroom Classic I was torn because I liked the pose and expression on Steve’s face from the seated shots.

So now in the retouching I was thinking I could either (a) do a head swap or (b) do the opposite of a technique I used to do when photographing physiques … and that’s what I chose to do.

PHOTOSHOP TUTORIAL

Here’s a short video showing exactly what I did in Photoshop to reduce / remove the ‘squashed’ look …

WRAP UP

Following the photo shoot we all the headed over to Abergavenny for what was a delicious bite to eat at The Angel … THANK YOU Steve!

So there you go, all of the steps that I went through from the initial idea, the kit, the set up and the final edit.

As always if you have any questions / comments, please do make use of the section below and I’ll be sure to reply.

Oh and don’t forget, if you’re interested in getting ANY of the Westcott kit including lighting, modifers, backgrounds etc then drop me a line as I’ll be able to give you a Discount Code for 10% OFF

Cheers
Glyn

DISPLAY 123 - Screen Calibration SIMPLIFIED but IT'S NOT FOR EVERYONE

The Display 123 from Calibrite removes the technicals from Screen Calibration making it possible for everyone with a simple 3 step process ... BUT it's not aimed at the Professional!

NOTE

The Display 123 is NOT suitable for the new LED technology Displays such as in the New Apple Macbook Pro M3 and Apple Pro Display XDR; for these a device like the Display Pro HL from Calibrite would be needed. The display 123 COULD prolfile these displays however only in sRGB. For all other displays using Backlit technology (which is currently the majority of displays on the market, the Display 123 will Calibrate the screen albeit without the additional parameters that more expensive / high end devices can. The display 123 is more aimed at the Consumer as opposed to the Professional.

For more information check out the Calbrite website ( LINK )

Calibrating my iPad Pro for Photography

One thing I always do when taking portraits is shoot tethered and that always used to be with my camera connected to my MacBook Pro or laptop BUT that has now changed to being my iPad because its way more portable and convenient.

I use the CaptureOne app for the tethering which works so incredibly well .. literally just open the app, plug in your camera (you can also use it wirelessly) and you’re up and running. You can even use it to tether to your iPhone … if you have one.

The only problem i find is that the screen on the iPad out of the box is too contrasty … its set up so that it gives the richest colours and the deepest blacks for when using apps, watching movies, playing games, looking at pictures which is great but not ideal for when using it when tethering.

However I have the 6th generation 12.9” iPad Pro running iOS 17.3.1 and this has Reference mode and this we can use to kind of calibrate the screen to something more suitable for photography.

NOTE:
Reference mode is actually available on 12” iPad Pro 5th generation or later and requires iOS 16 or later.

Cinematic Portrait using Constant LED Light

Last weekend I was back with friends Ian Munro and Anthony Crothers in South Wales filming more content for the update to my TIMELESS Photography and Retouching Course, but in addition to this managed to grab some extra portraits too.

The vintage clothing Anthony was wearing was for the TIMELESS Update and was provided by a great ccompany called Marigold Costumes who provide clothing and props to the TV and Movie Industry and whilst he was there collecting it, also picked up a ‘Grandad Shirt’ and a set of braces.

The set up above was what I was using for the TIMELESS Update and that consisted of …

  • Westcott X-Drop Pro Background Support System

  • Westcott 8’ x 8’ X-Drop Vintage Grey by Glyn Dewis (Material)

  • L60-B 60W Bi Colour LED

  • Westcott Rapid Box Switch 4’ x 3’ Softbox

  • Westcott Silver Reflector

The constant light I am absolutely loving! So much so infact I’ve now added a 2nd light to my kit with a 3rd on the way to give me more options for a new portrait series I’m going to be working on.

The portrait above is one that I took of anthony in-between filming segments for Timeless, and for this the set up was pretty much the same other than one addition.

Here’s what the ‘Out of Camera’ shot looks like when just using the L60-B LED and Softbox coming in from camera right …

At the time of this photo shoot I didn’t have a 2nd L60-B so instead I used the modelling light from my Westcott FJ200 strobe, and this worked a treat when fitted with the included reflector and honeycomb grid.

This was aimed behind Anthony from camera left so that just the soft outer portion of the light brushed past the side of his head.

Aiming the light past Anthony so that only the outer portion of the light hit him, meant the light will be soft unlike the portion of light nearer the centre. Also, doing this meant the softness of the light from the 4’ x 3’ softbox and the FJ200 matched.

A silver reflector was also positioned camera left just out of shot to bounce a bit of light onto Anthony’s shoulder and upper back nearest the camera because without it, there was very little detail.

As for the light you can see coming into the portrait from the top left, this was added very simply in Photoshop using a soft white brush and this I did so that the highlight on the side of Anthony’s head (camera left) made sense … if you know what I mean.

Below is a lighting diagram to give you an idea how the set up looked …

My favourite image from this quick portrait shoot is defintely the one above, but I did also grab this one with a wider field of view and slightly different pose and feel due to the chair having been turned around …

Using the exact same set up I also took a portrait of Ian, but with him standing instead of sitting …

I’m so looking forward to pushing on with a new portrait series using the L60-B LEDs ; there’s lots more to come so I’ll make sure to share what I get up to and grab plenty of Behind the Scenes.

I hope this breakdown is in some way useful and if you have any questions please don’t hesitate to drop them in the comment section and I’ll make sure to reply.

Cheers,
Glyn

• Note
As part of the retouching on these portraits I made use of my Dark & Moody Lightroom / Camera Raw preset at 20% strength, and this you can download for FREE when you subscribe to my twice-monthly newsletter

Want / Need a BIGGER Display to use with your Apple MacBook ?

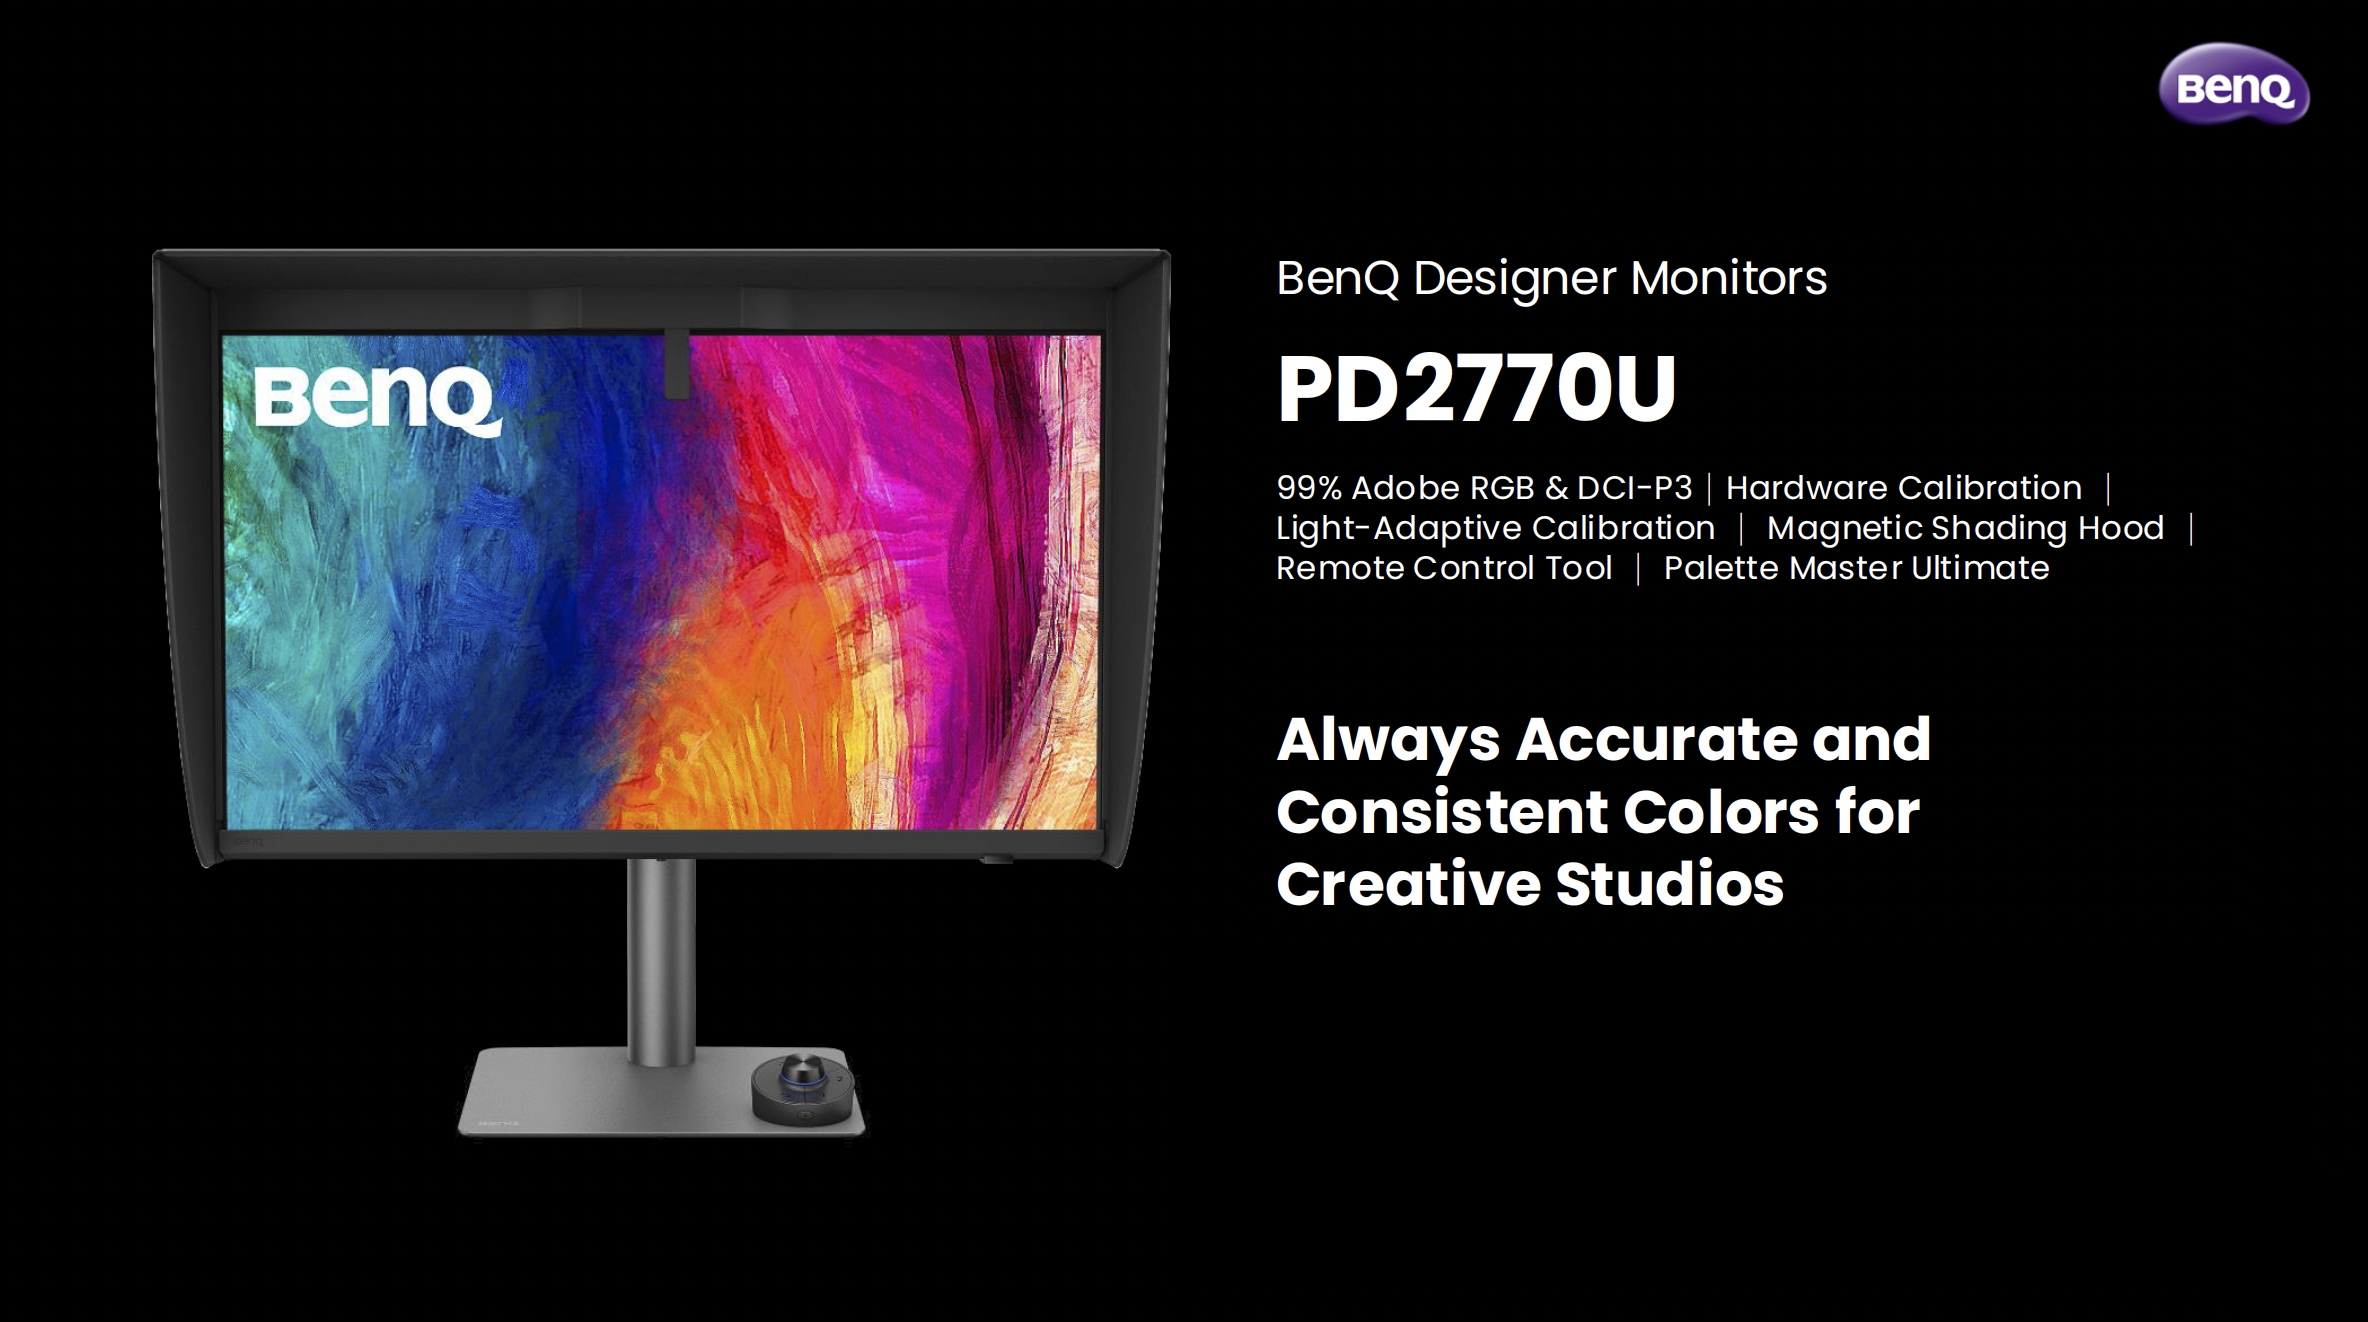
So this morning I was contacted by someone from my Newsletter Subscriber list asking about the BenQ Discount I’m able to give details about for their SW and PD range of displays, but also asking a bit of advice on their choice of display.

In short, they use a MacBook Pro as their main computer but the current display (not BenQ) that they plug their MacBook into, after a good few years of reliable service has developed a fault that by all accounts to get fixed would cost more than a replacement, so … a replacement it is.

SW or PD ?

Initially they were looking at getting the BenQ SW272Q which basically has the same spec as the display I have, the SW272U other than it’s a 2K display rather than 4K, however after a bit of digging about to discover exactly what they do, I suggested they consider a Display from BenQ’s PD Range.

As for ‘what they do’ it was mainly editing their photographs but not doing any home printing; if they did print any images they used a lab. They also did a little bit of video editing for social media content and the rest was general day to day computer use stuff.

The reason I recommended they take a look at the PD range of displays from BenQ was first and foremost because their main computer is their MacBook Pro.

Mac Ready

The PD range of displays are Mac Ready, meaning when you connect the MacBook and turn on M-Book mode you get identical colour and brightness, basically meaning no difference between the MacBook screen and the BenQ PD display.

HASSLE FREE Connection

Using just one cable, Thunderbolt 3, you connect the MacBook to the display and this cable is also used for audio, video and data.

ERGONOMIC STAND INCLUDED

The PD displays come with an ergonomic stand that as well as having that Mac metal kind of look, is also able to tilt, rotate and is height adjustable.

2 DISPLAYS IN 1

I have the PD 3420Q as a 2nd display, and because of the ultra wide screen format being 3440 x 1440, it’s like having 2 Displays in 1.

Unless I have Premiere Pro open full screen on my PD display, I’ll often have the Chrome Browser AND my MacMail open together side by side which makes day to day working at my computer way more efficient.

There’s lots more to the PD displays but I just thought it beneficial to share the main reasons I recommended the PD over the SW range of displays, and also to give you something to think about if you were consiodering a new display … especially if you’re a Mac user.

PRICE DISCOUNT

Anyway, if you are looking to get a new display now or in the near future, drop me a message and I’ll give you a link to a page where I have details that explain how you can get a discount on Benq displays in the SW and PD range.

There’s a reason I won’t just post that openly here and when you go to the page I explain why that is 😉

Also, here’s a link to my GEAR page where you can see my desktop set up and the displays I use.