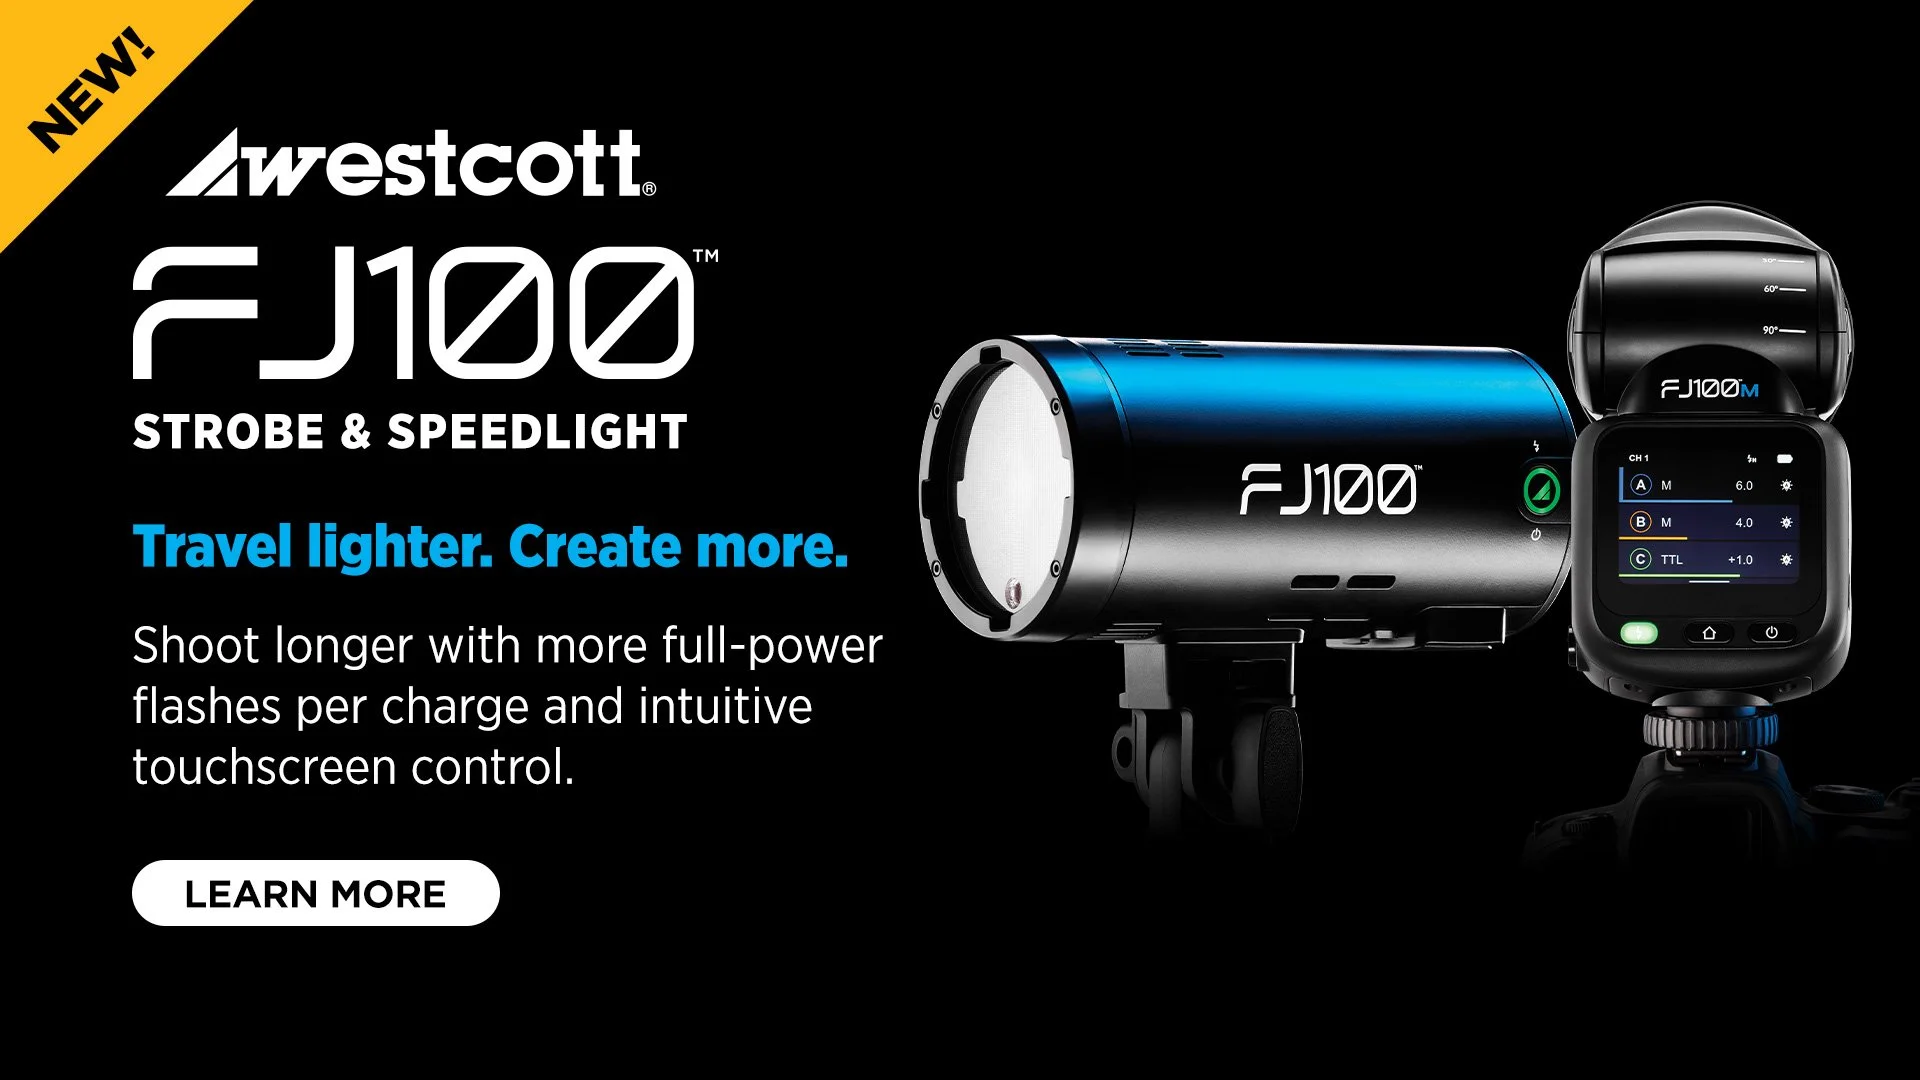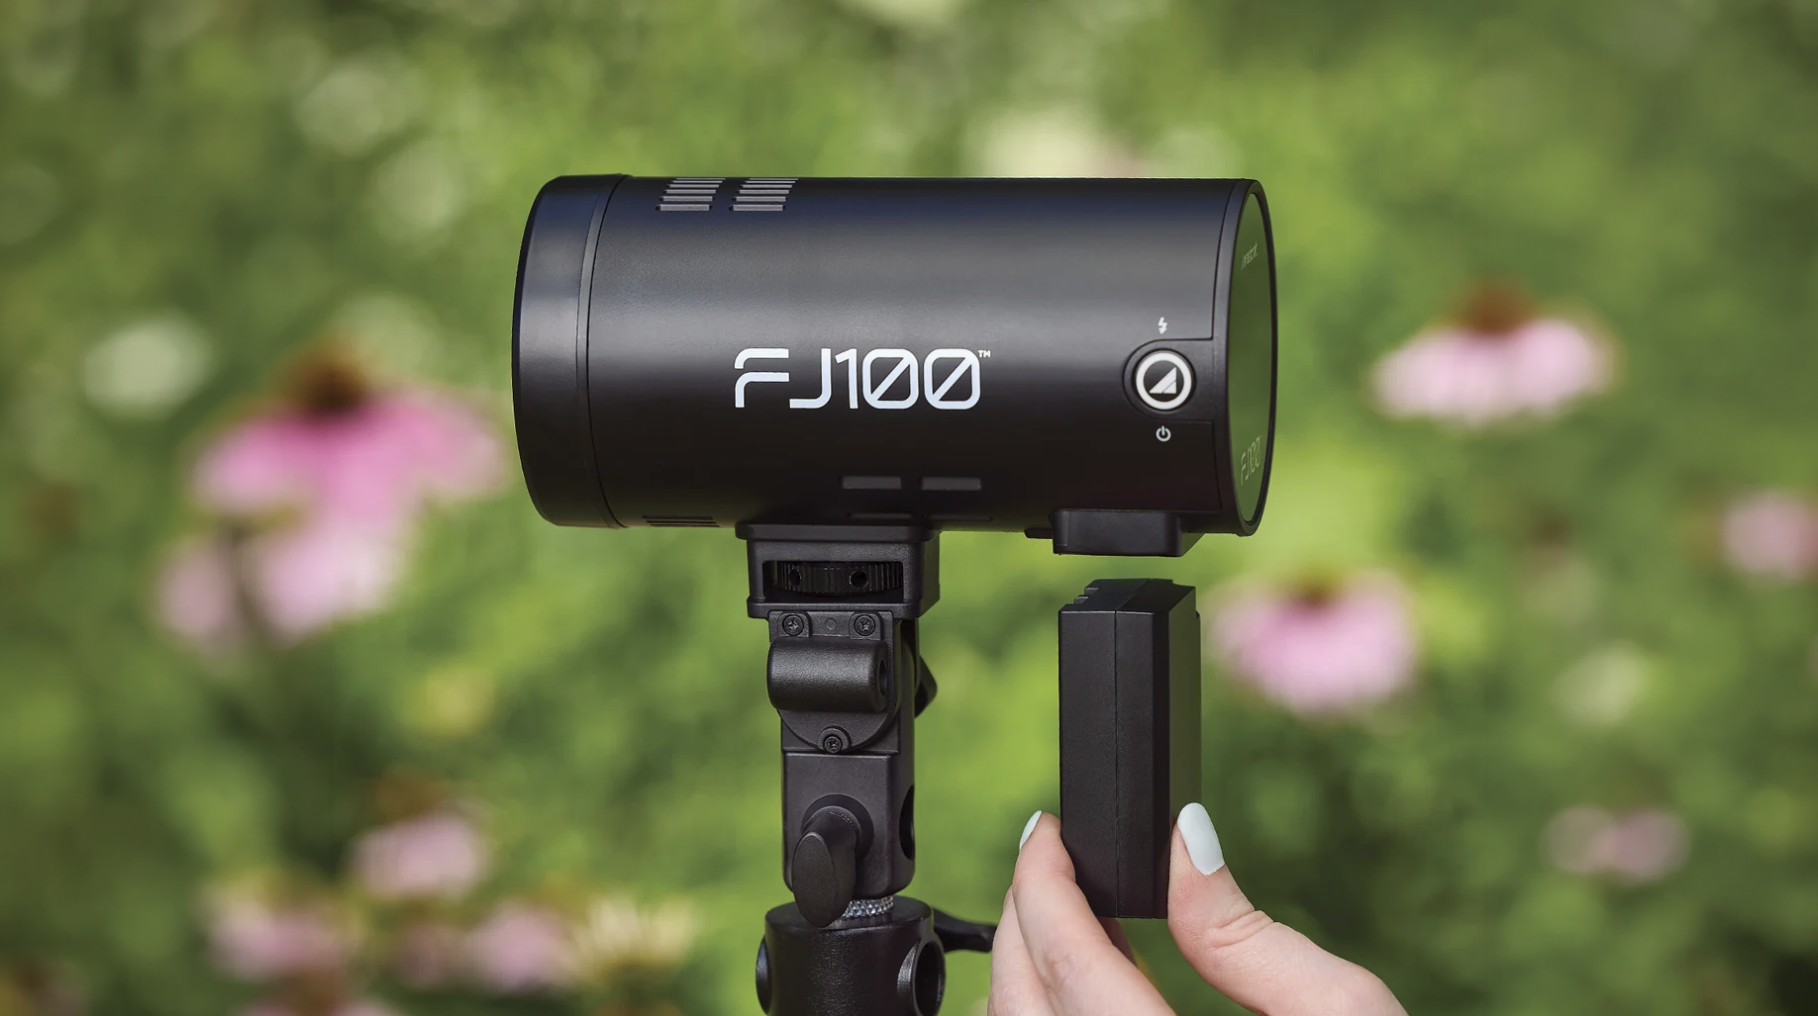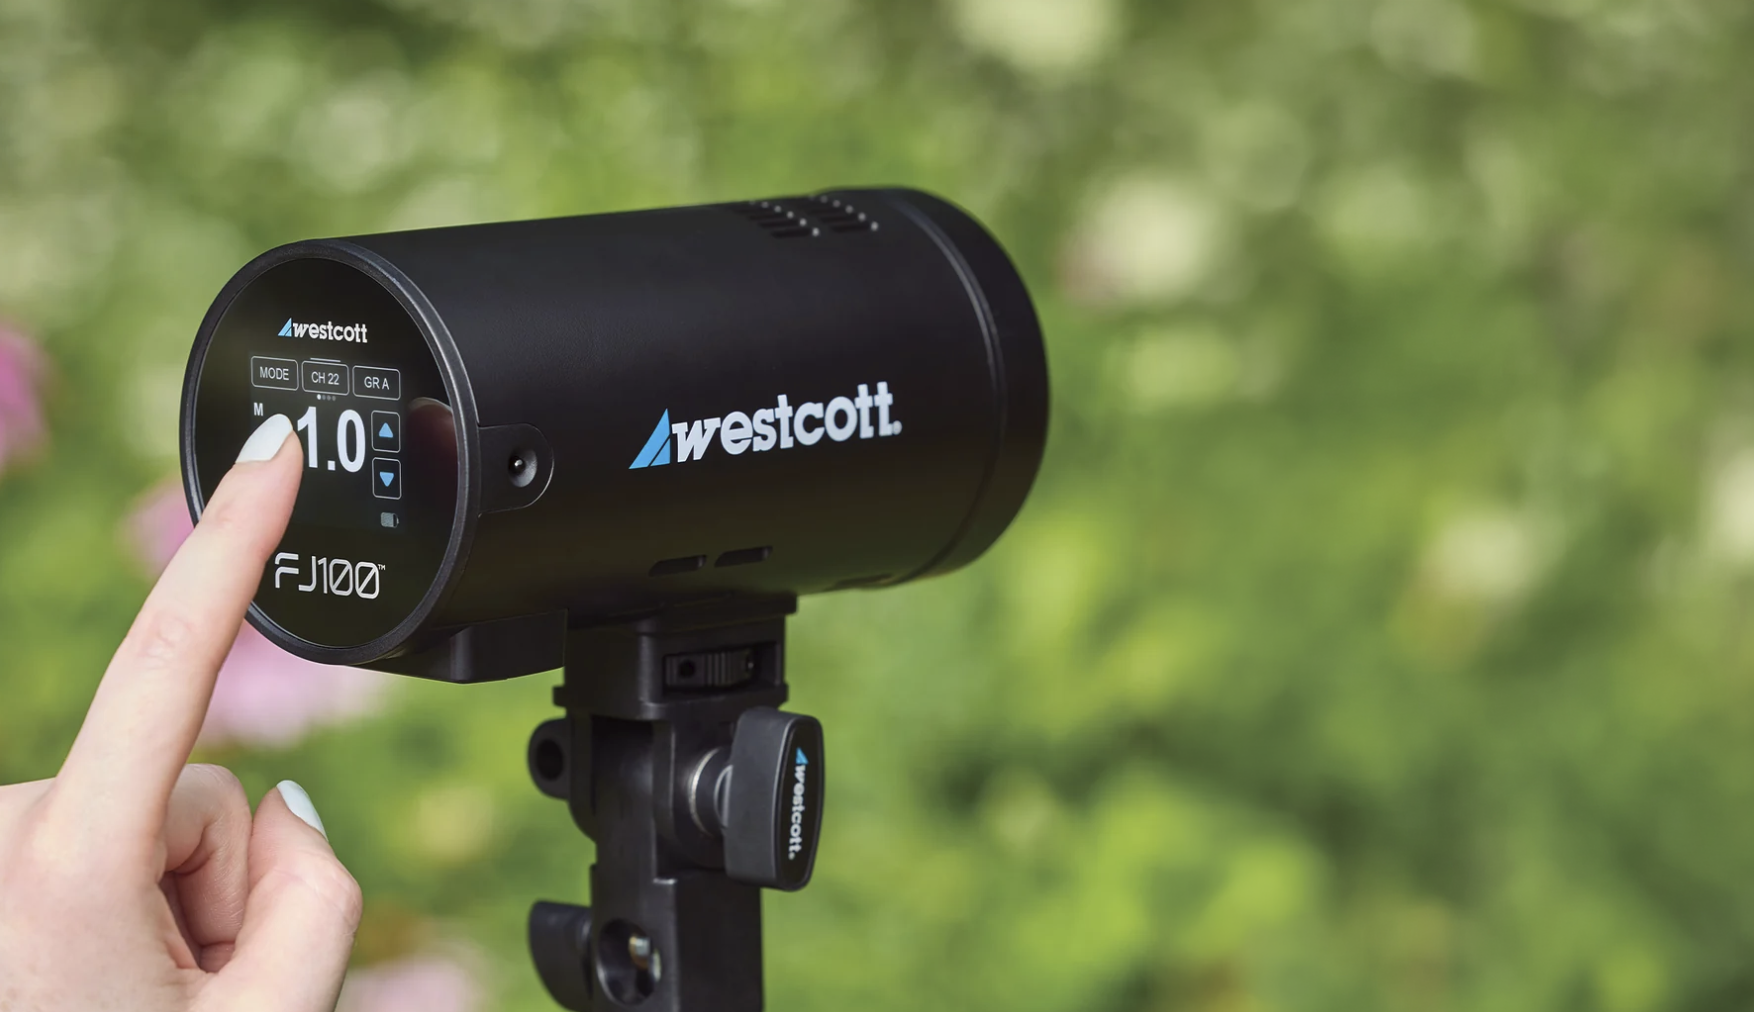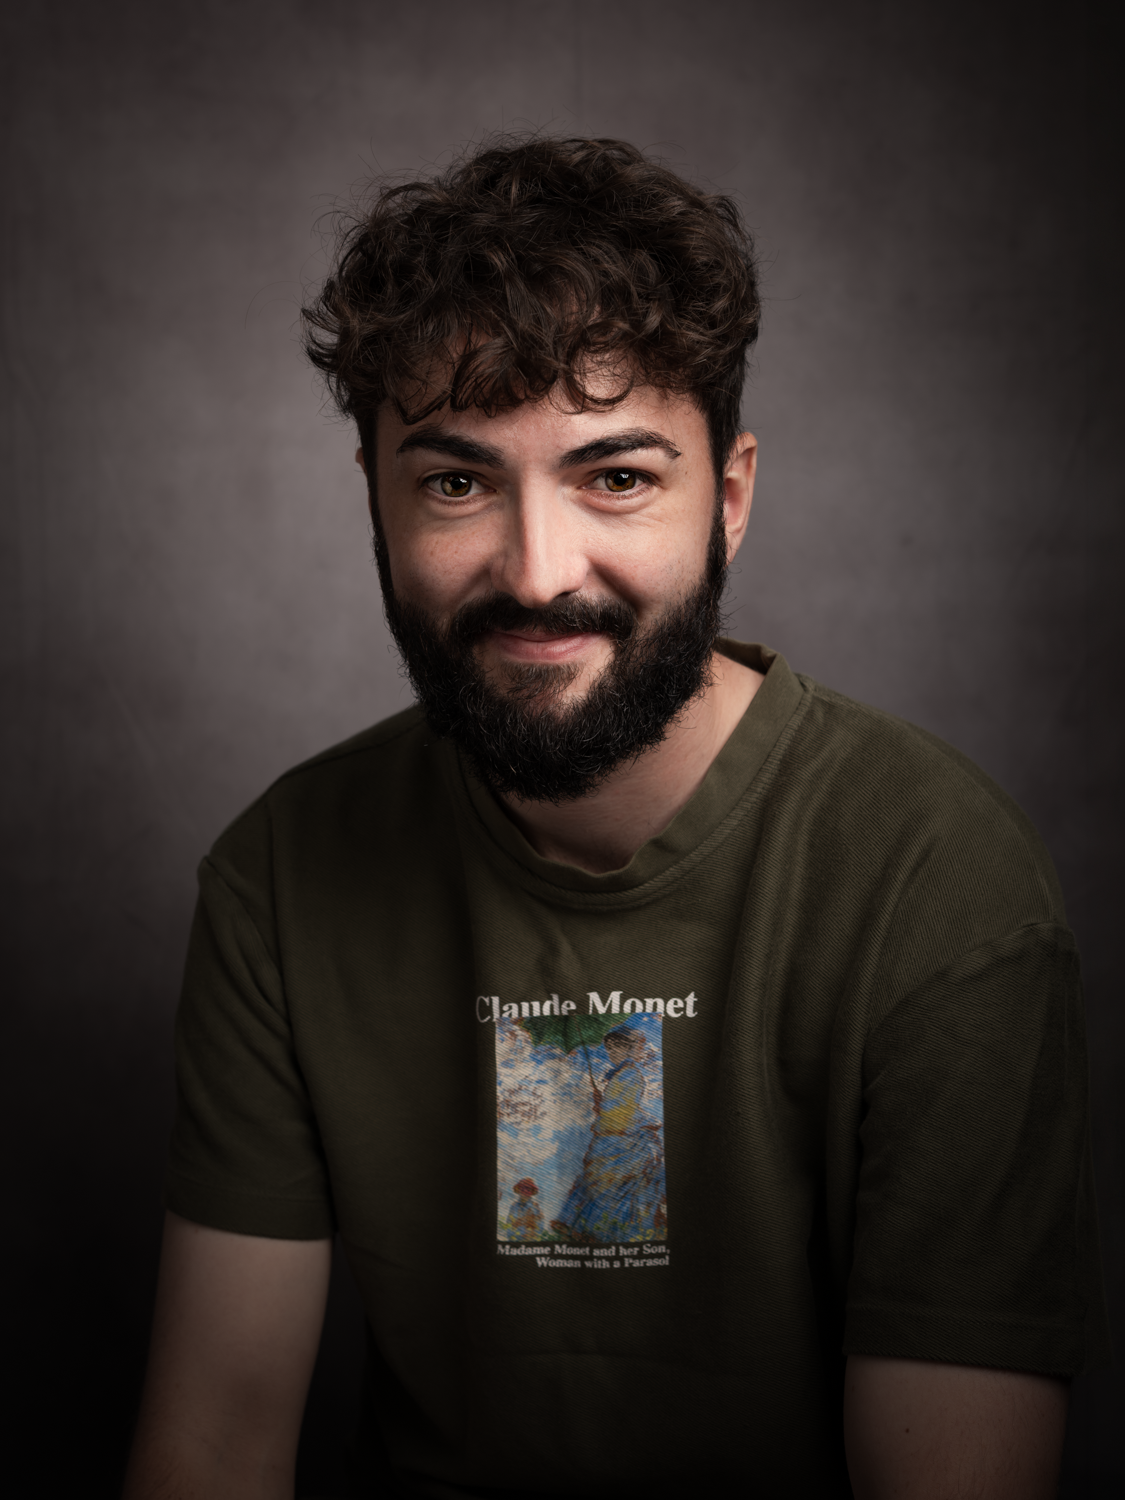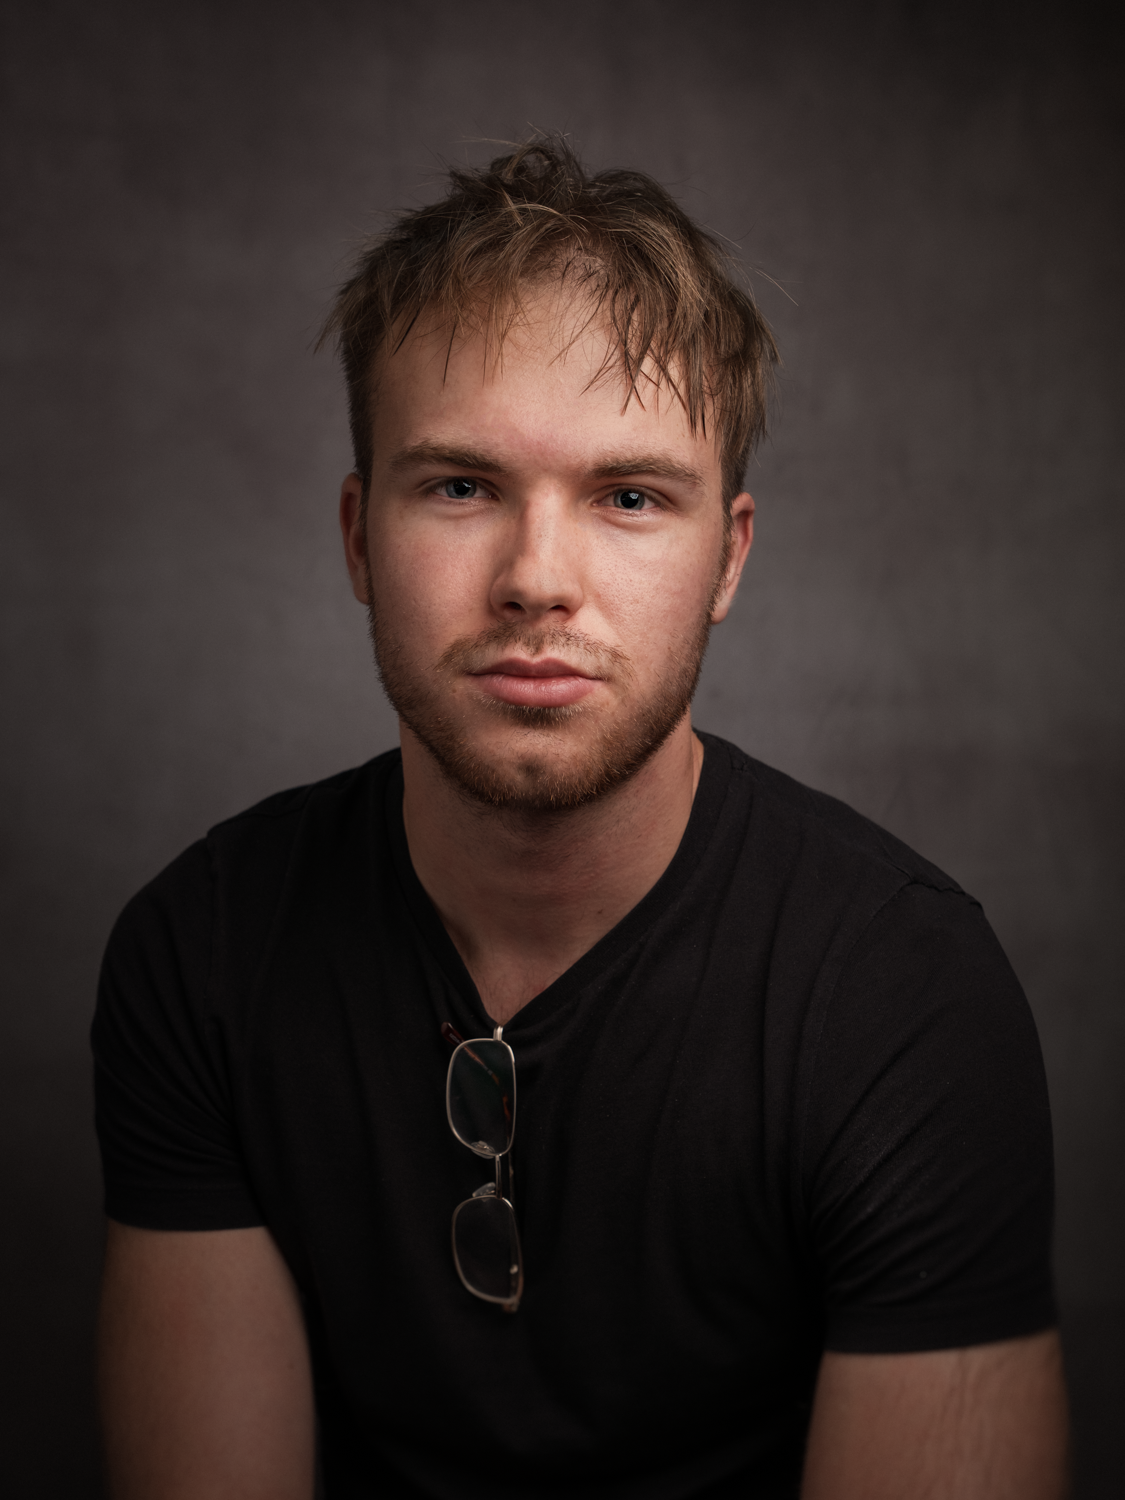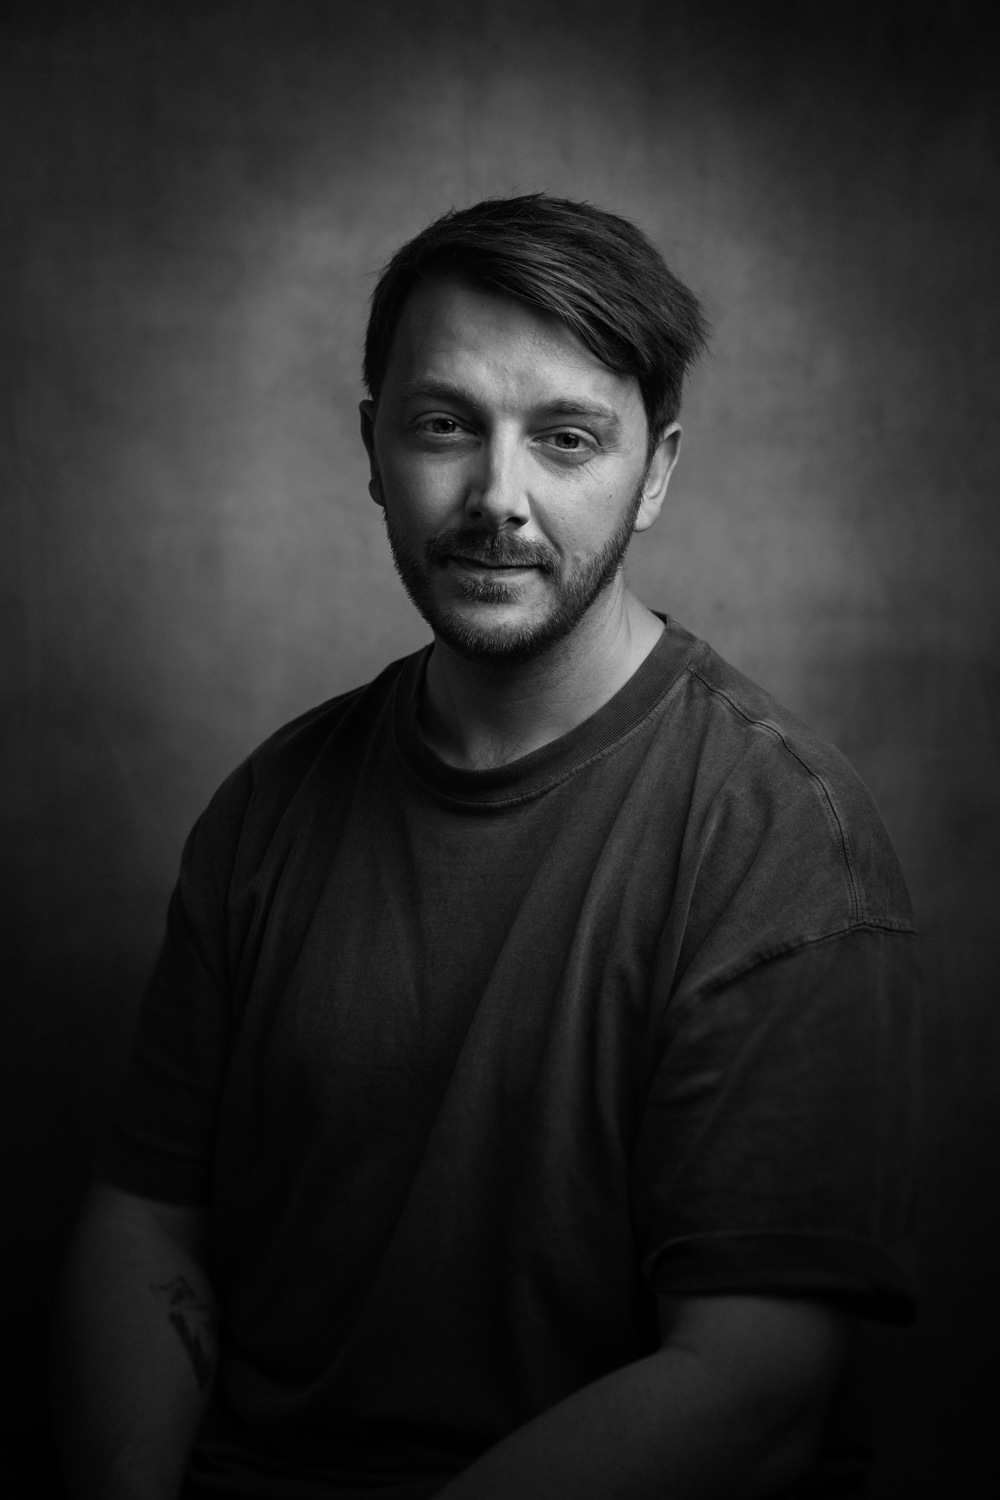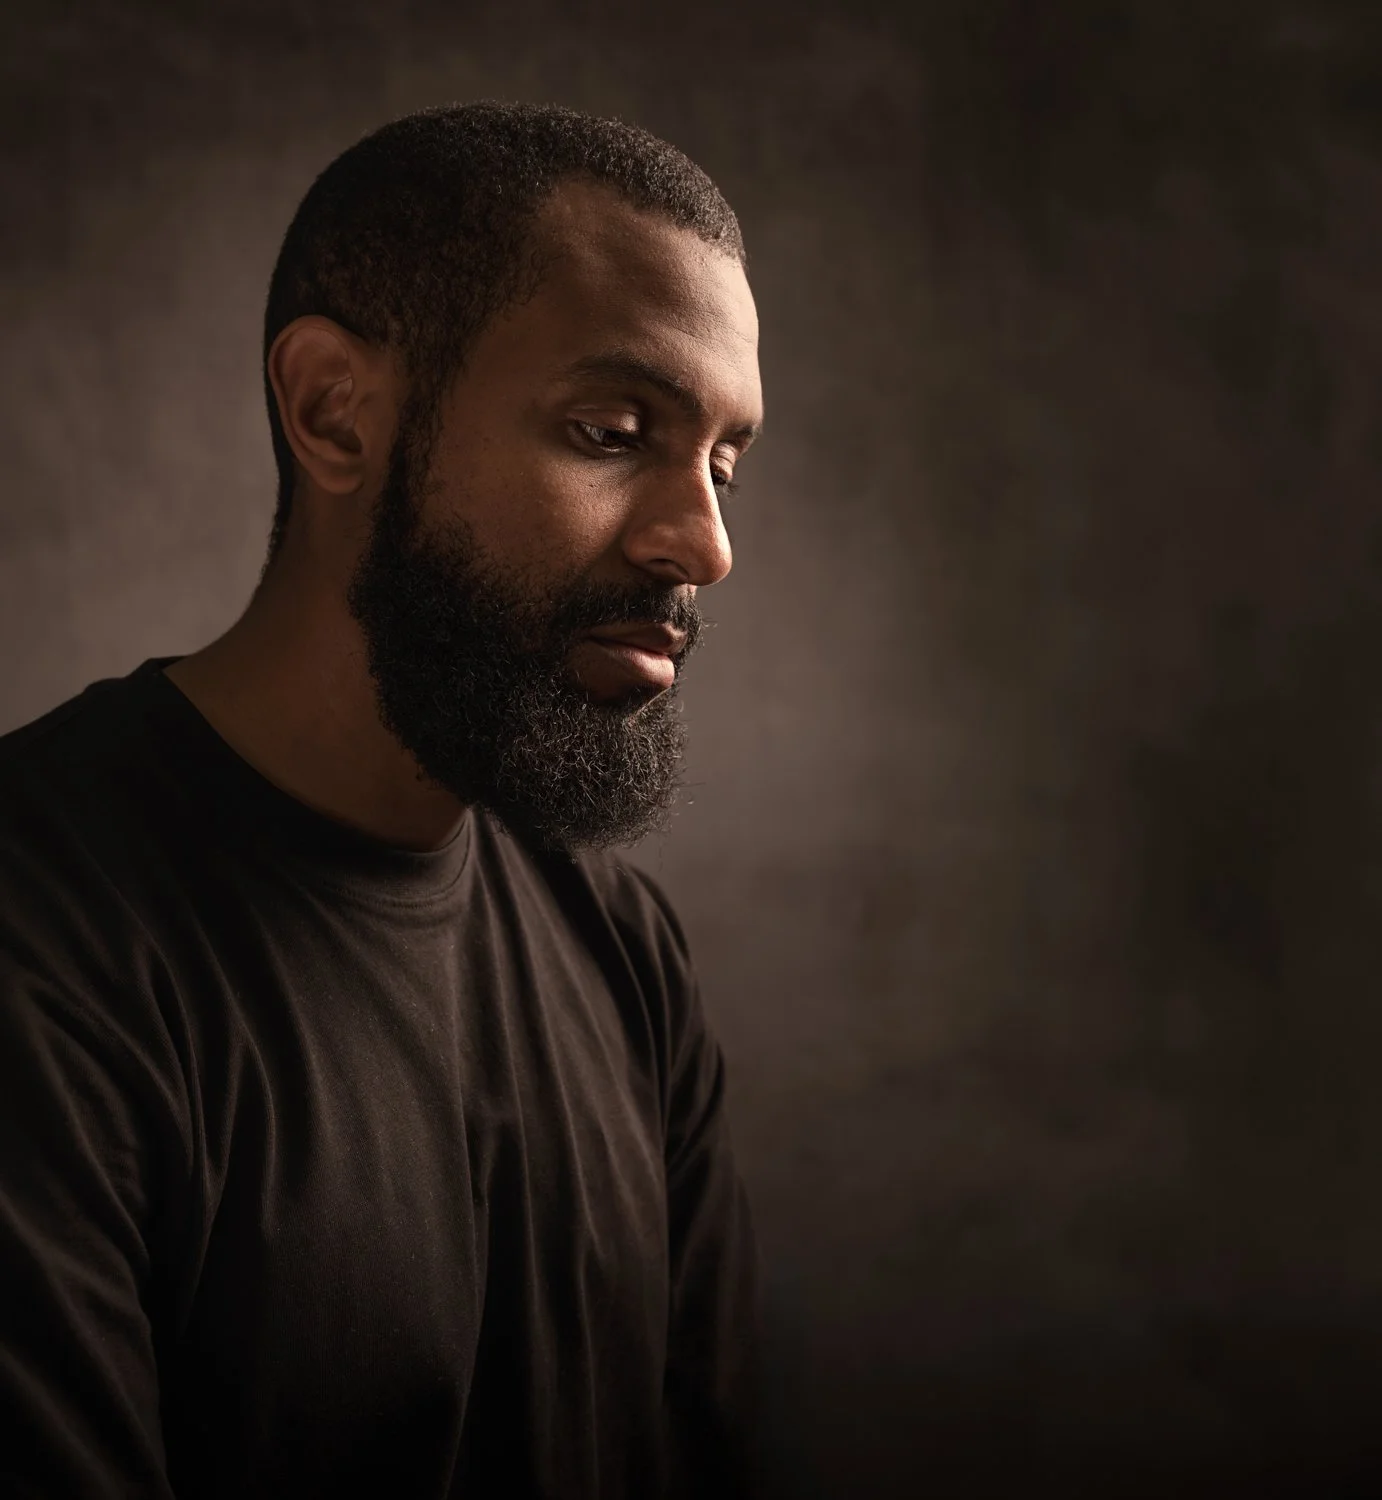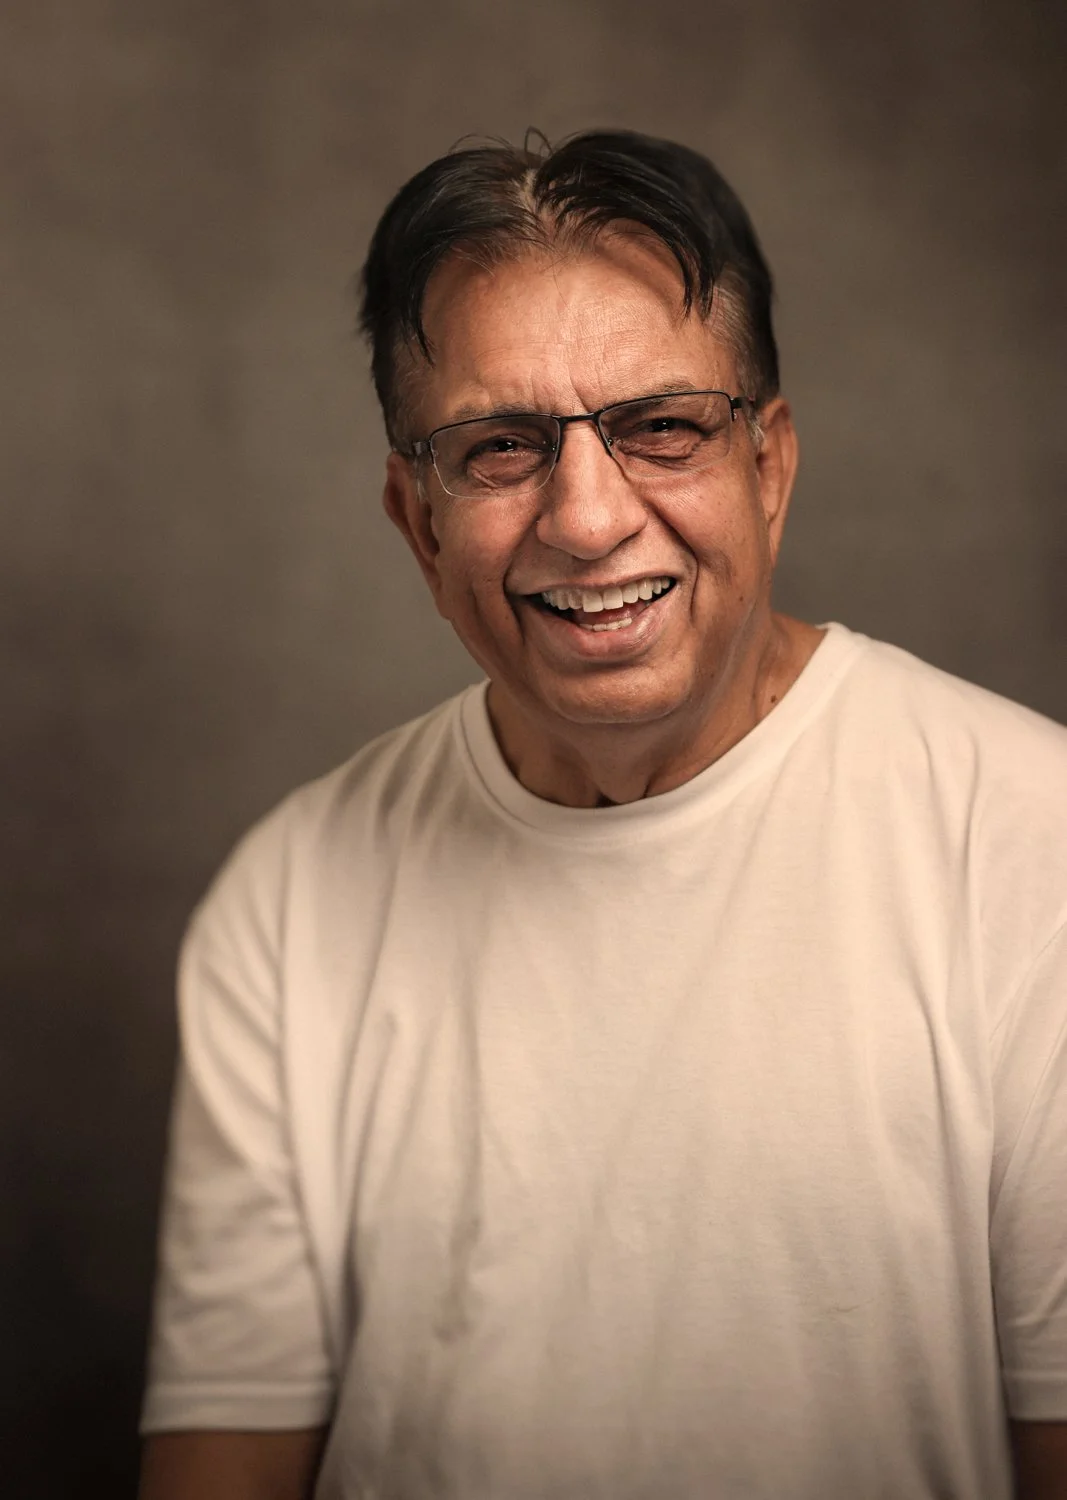
Westcott

TTL Flash: What It Is, How It Works, and How I Use It
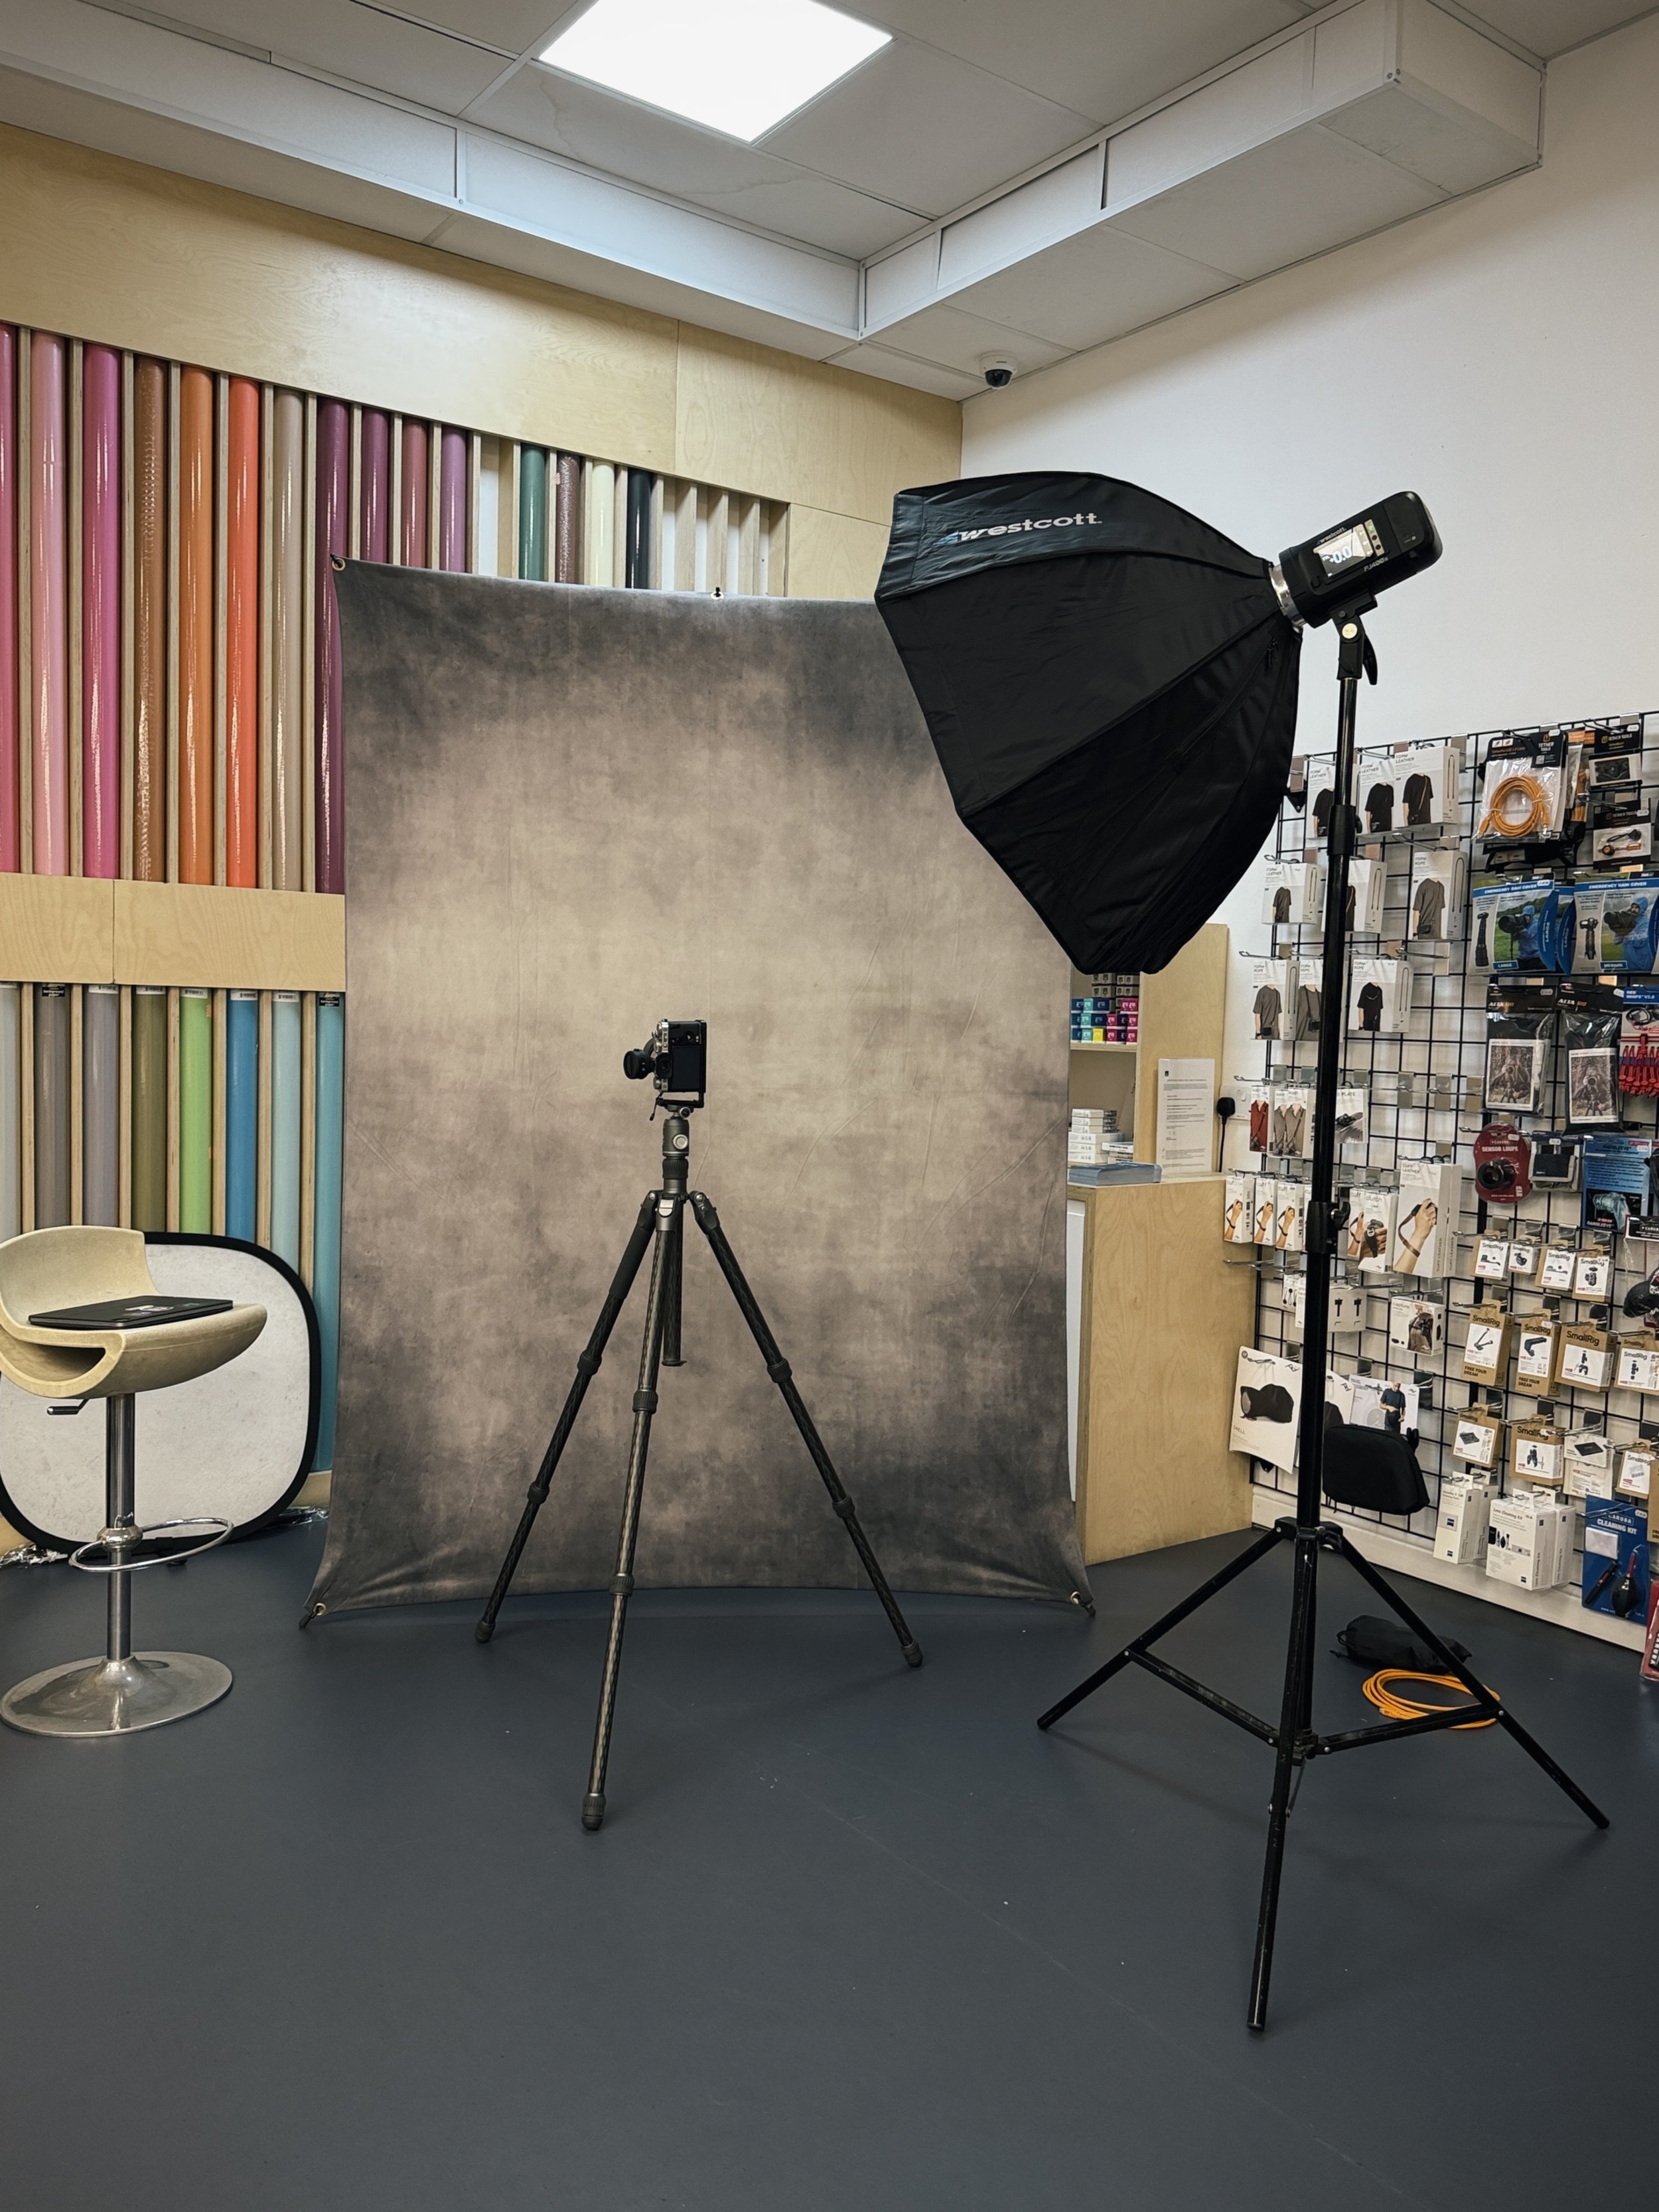
TTL has a bit of a reputation. People find it unpredictable, they get one shot that looks perfect and the next one that looks nothing like it, and they quietly go back to manual and never touch it again.

I understand why, but it's worth persevering, because TTL is not actually unpredictable. It's very consistent at doing the one thing it was built to do. The trick is understanding what that one thing is, and knowing when it's the wrong thing so you can step in. Once you have that, TTL stops being a mystery and becomes a genuinely useful tool.

So here is the whole thing in plain language.

What TTL is

TTL stands for Through The Lens; it's an automatic mode for your flash.

Instead of you deciding how much power the flash puts out, the camera and flash work it out for you, aiming to give your subject a sensible exposure.

The single most important thing to understand from the start is this … TTL is a flash mode, not a camera mode. It decides flash power; it does not decide your shutter speed, your aperture or your ISO. Those are still yours. Hold onto that, because it answers most of the questions people have about what overrides what.

How it works on a digital camera

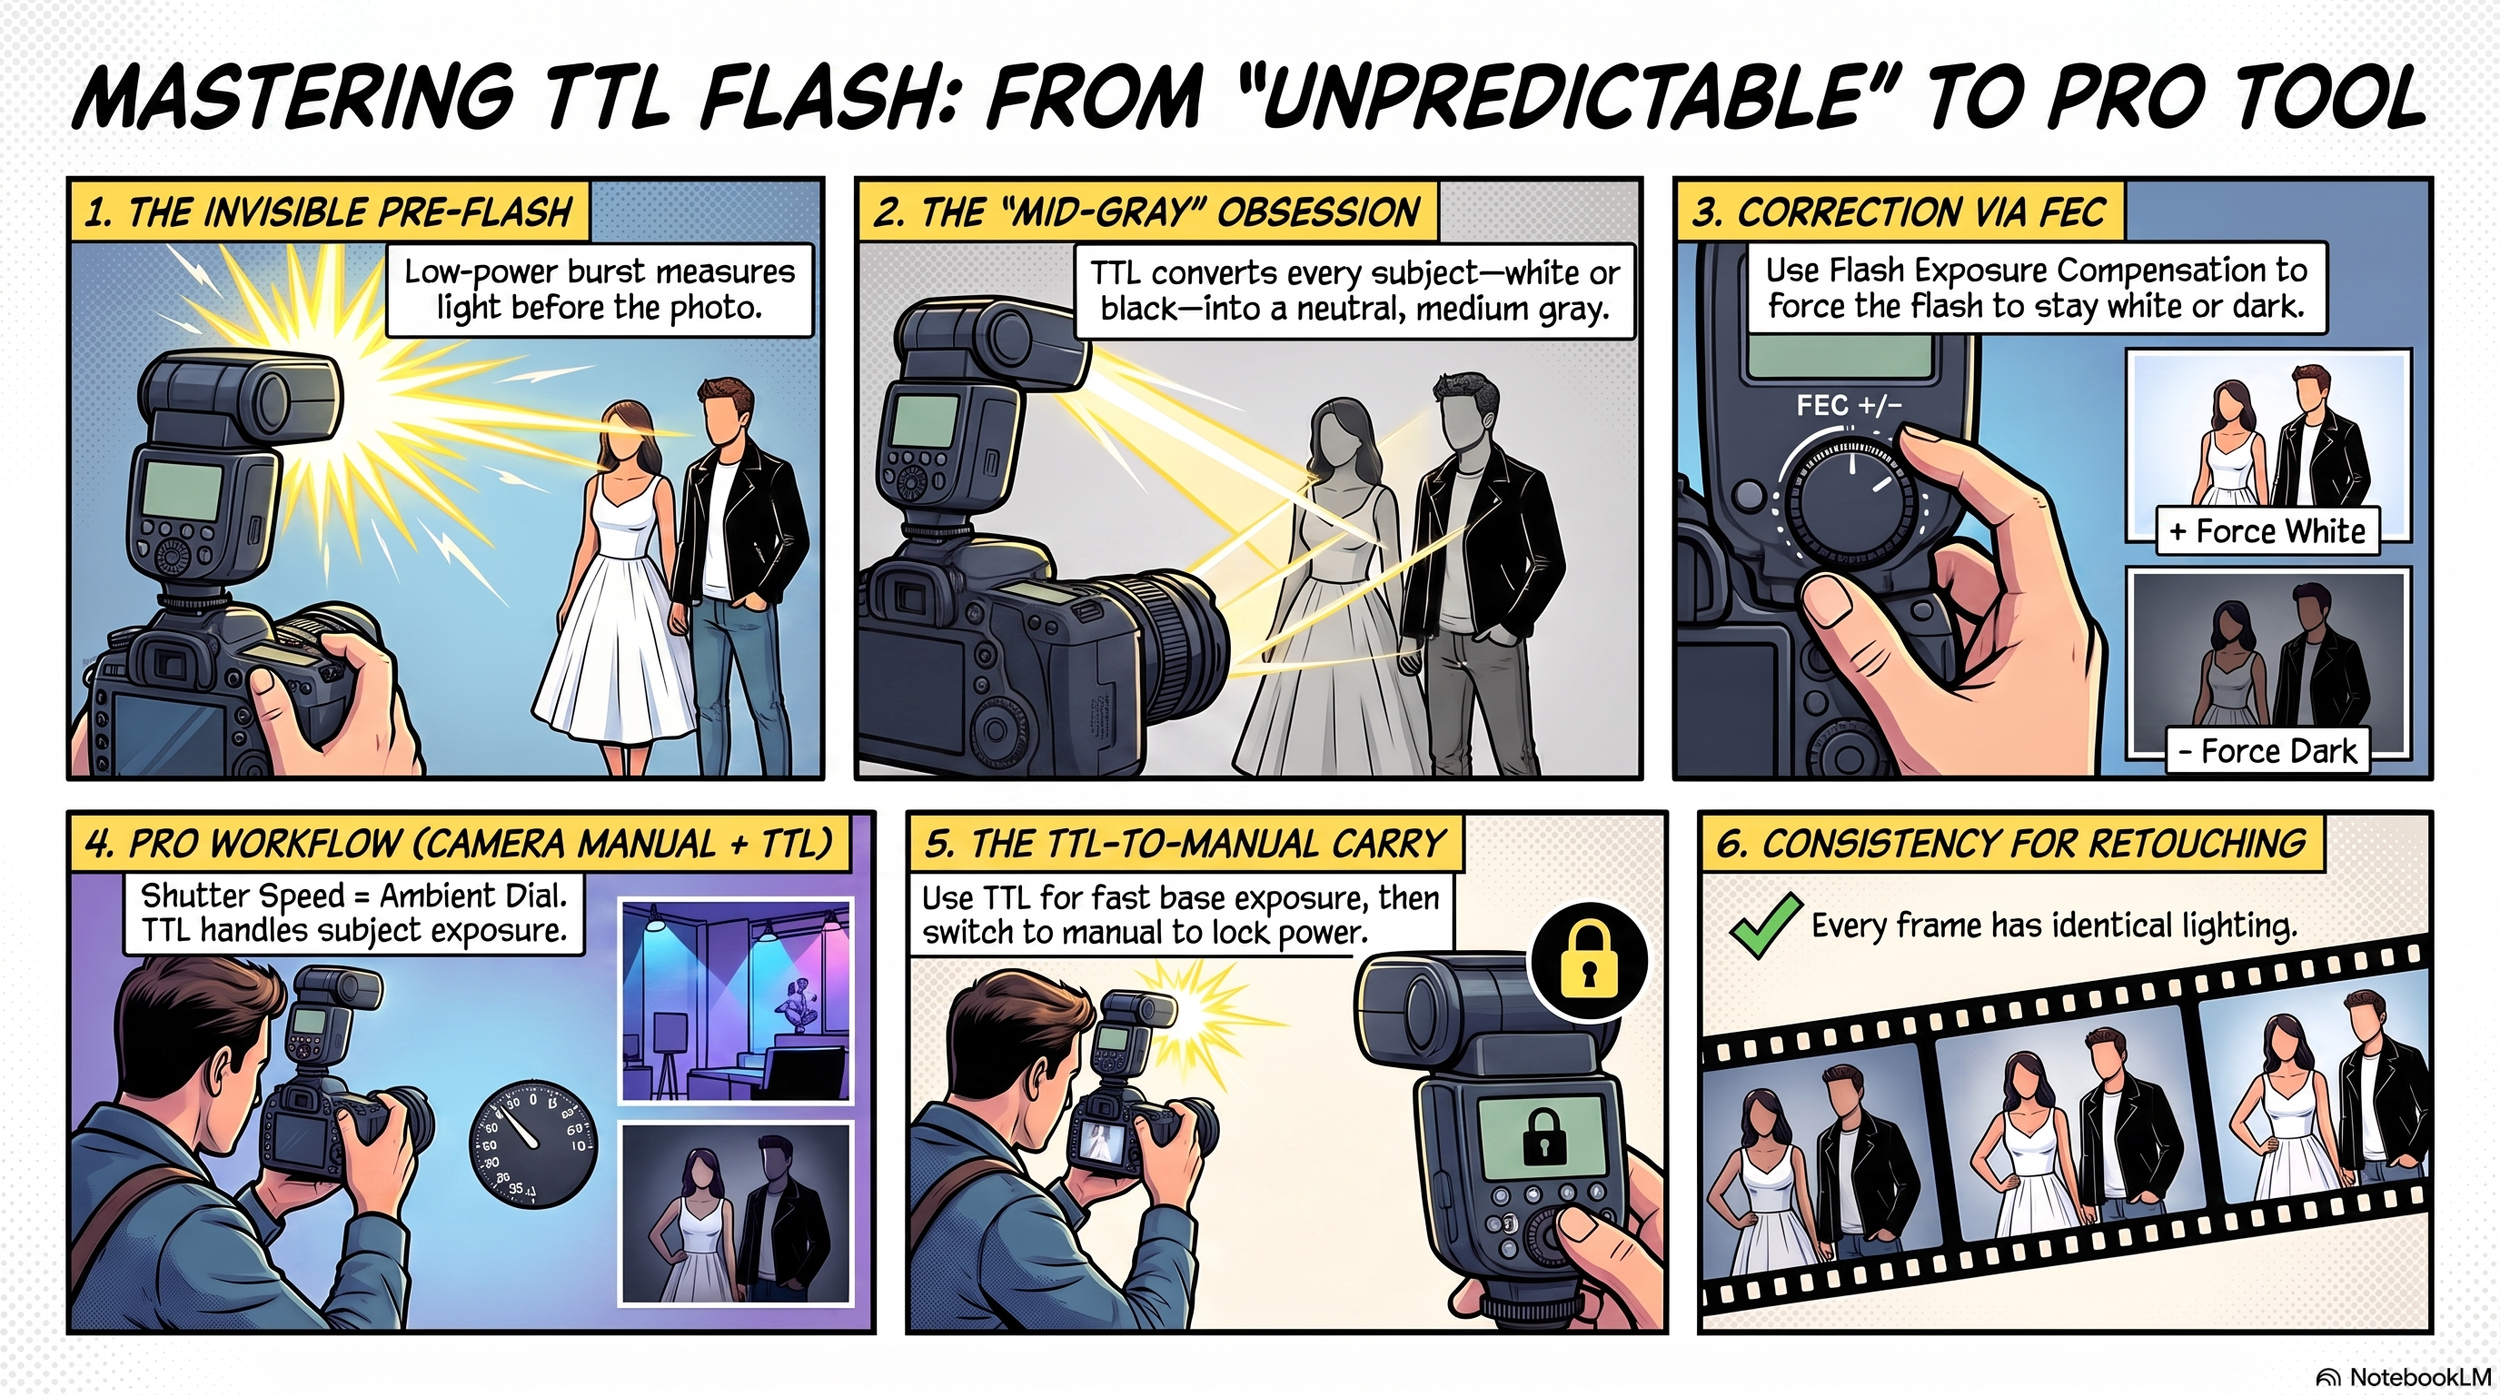
On a digital camera, TTL works using a pre-flash.

When you press the shutter, the flash fires a quick, low burst of light a fraction of a second before the picture is actually taken. That burst bounces off your subject, comes back through the lens, and lands on the camera's metering sensor. The camera reads how much light came back, works out how much the real flash needs to put out, then fires the main flash at that power as the shutter opens. All of it happens in a few thousandths of a second, so in normal use you never see the pre-flash as a separate pop.

It works this way for a reason. On film, the camera could read the light reflecting off the film surface during the actual exposure and cut the flash the moment it had enough. A digital sensor is not reflective enough to be read like that, so the pre-flash method replaced it. Every current system does this, whether it's Canon, Nikon, Sony or Fujifilm. They all fire a pre-flash to measure before the shot rather than during it.

What the metering actually is

This is the part that explains nearly every frustration people have with TTL.

TTL metering is reflective metering. It measures light bouncing back off your subject, and it has no idea what it's looking at. It cannot tell a white wedding dress from a black dinner jacket. All it knows is how much light came back, and its goal is always the same. It wants to render whatever it measured as a mid-tone, a medium grey.

That works beautifully when your subject is roughly average in tone; it falls apart when it's not. Point it at something white and bright and it assumes plenty of light is coming back, so it holds the power down and the white comes out grey and underexposed. Point it at something dark and it assumes too little is coming back, so it pushes the power up and the dark comes out washed and overexposed.

So TTL is not unreliable; it's reliably aiming for grey. The skill is knowing when grey is the wrong target and telling it so, which you do with Flash Exposure Compensation. FEC adjusts only the flash output and leaves your ambient exposure alone. White subject looking muddy, dial in some positive FEC; dark subject blowing out, dial in some negative. In real use it tends to live somewhere between minus two and plus two stops depending on the subject and the scene. There is no single setting that works every time, because there are too many variables. It's an educated adjustment, and the back of the screen tells you when you have it right.

Do your other camera settings override TTL?

They do not override it, but they absolutely shape what it does, and this is the mental model worth having.

Your aperture and ISO set the box TTL has to work inside. Open the aperture or raise the ISO and TTL simply needs less power to get there. Stop down or drop the ISO and it needs more. TTL adapts to your settings, it does not fight them. You can back it into a corner though. Shoot at a very narrow aperture and very low ISO and the flash may need more power than it physically has, so you get underexposure even at full output. When that happens the answer is not more compensation, it's changing your aperture or ISO to bring the flash back into range.

Shutter speed is the odd one out, because within your sync speed it does not change the flash exposure at all. It changes how much of the existing room light or daylight you let in around the flash. That is why I think of shutter speed as the ambient dial and flash power as the subject dial. They are largely independent, and that independence is what makes flash so controllable once it clicks.

If your camera is in manual, does that override TTL?

No, and this catches a lot of people out.

Your camera's exposure mode, whether that is Manual, Aperture Priority or Program, and your flash's metering mode, TTL or manual, are two separate systems. You can have the camera in full manual and the flash still in TTL, and the flash will happily keep metering with its pre-flash and adjusting its own power shot to shot.

That combination is actually one of the most useful ways to work. Camera in manual gives you a fixed, deliberate ambient exposure that will not drift between frames. Flash in TTL then tops up the subject automatically as you move around. Change your shutter speed and the background gets brighter or darker while the subject stays put. Change your aperture and TTL quietly compensates to keep the subject exposed. You get consistency in the ambient and convenience in the flash at the same time.

The trap is the opposite setup, camera in Program or Aperture Priority with TTL as your main light. There the camera keeps shifting your shutter speed between frames, your ambient drifts, and nothing feels consistent. If you want predictability, put the camera in manual and let TTL handle only the flash.

How I actually use TTL, and why I don't carry a light meter

Here is the bit that ties all of this together into something practical, because it's exactly how I work.

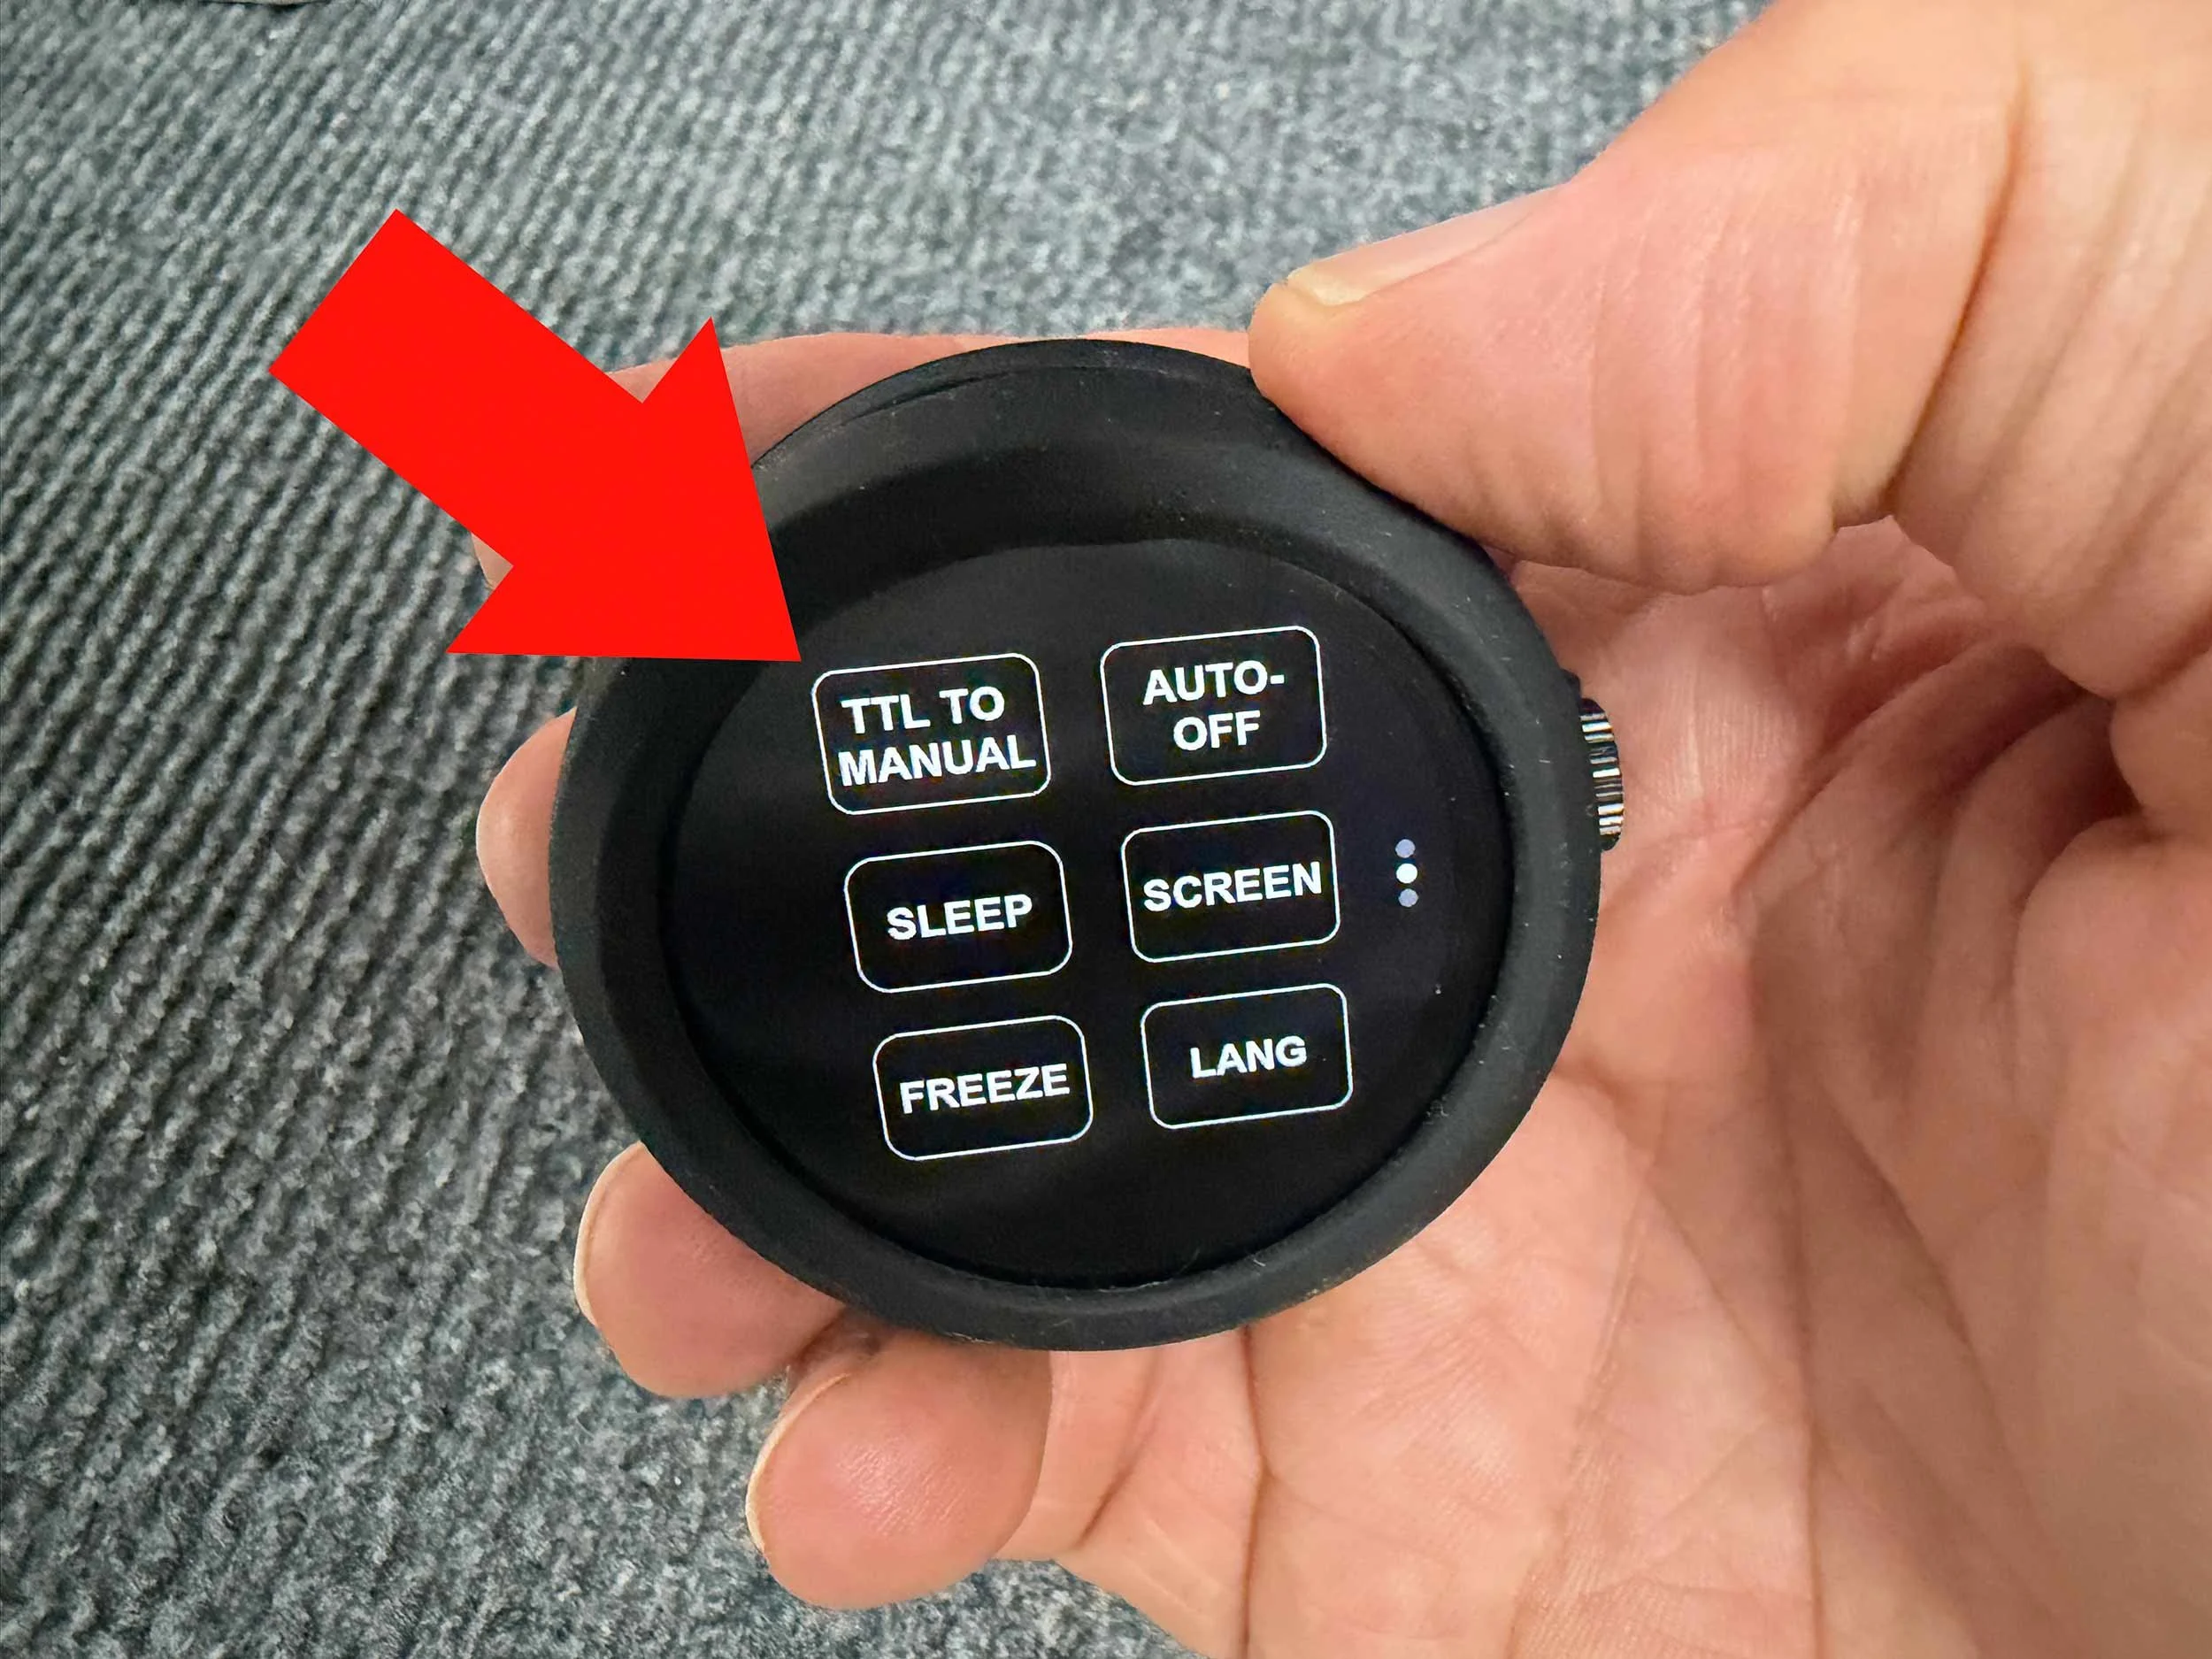
I shoot the Westcott FJ system, and my trigger is a universal, multi-brand unit, so the same trigger sits on top of whatever camera I am using rather than being locked to one brand. That is handy in itself, but the feature I lean on most is the TTL to Manual carry-over.

In TTL the flash recalculates its power for every single frame. Convenient, but it means the power can wobble slightly from shot to shot as the metering reacts to tiny changes in the scene. For portraits I am going to retouch as a series, I do not want that; I want every frame identical.

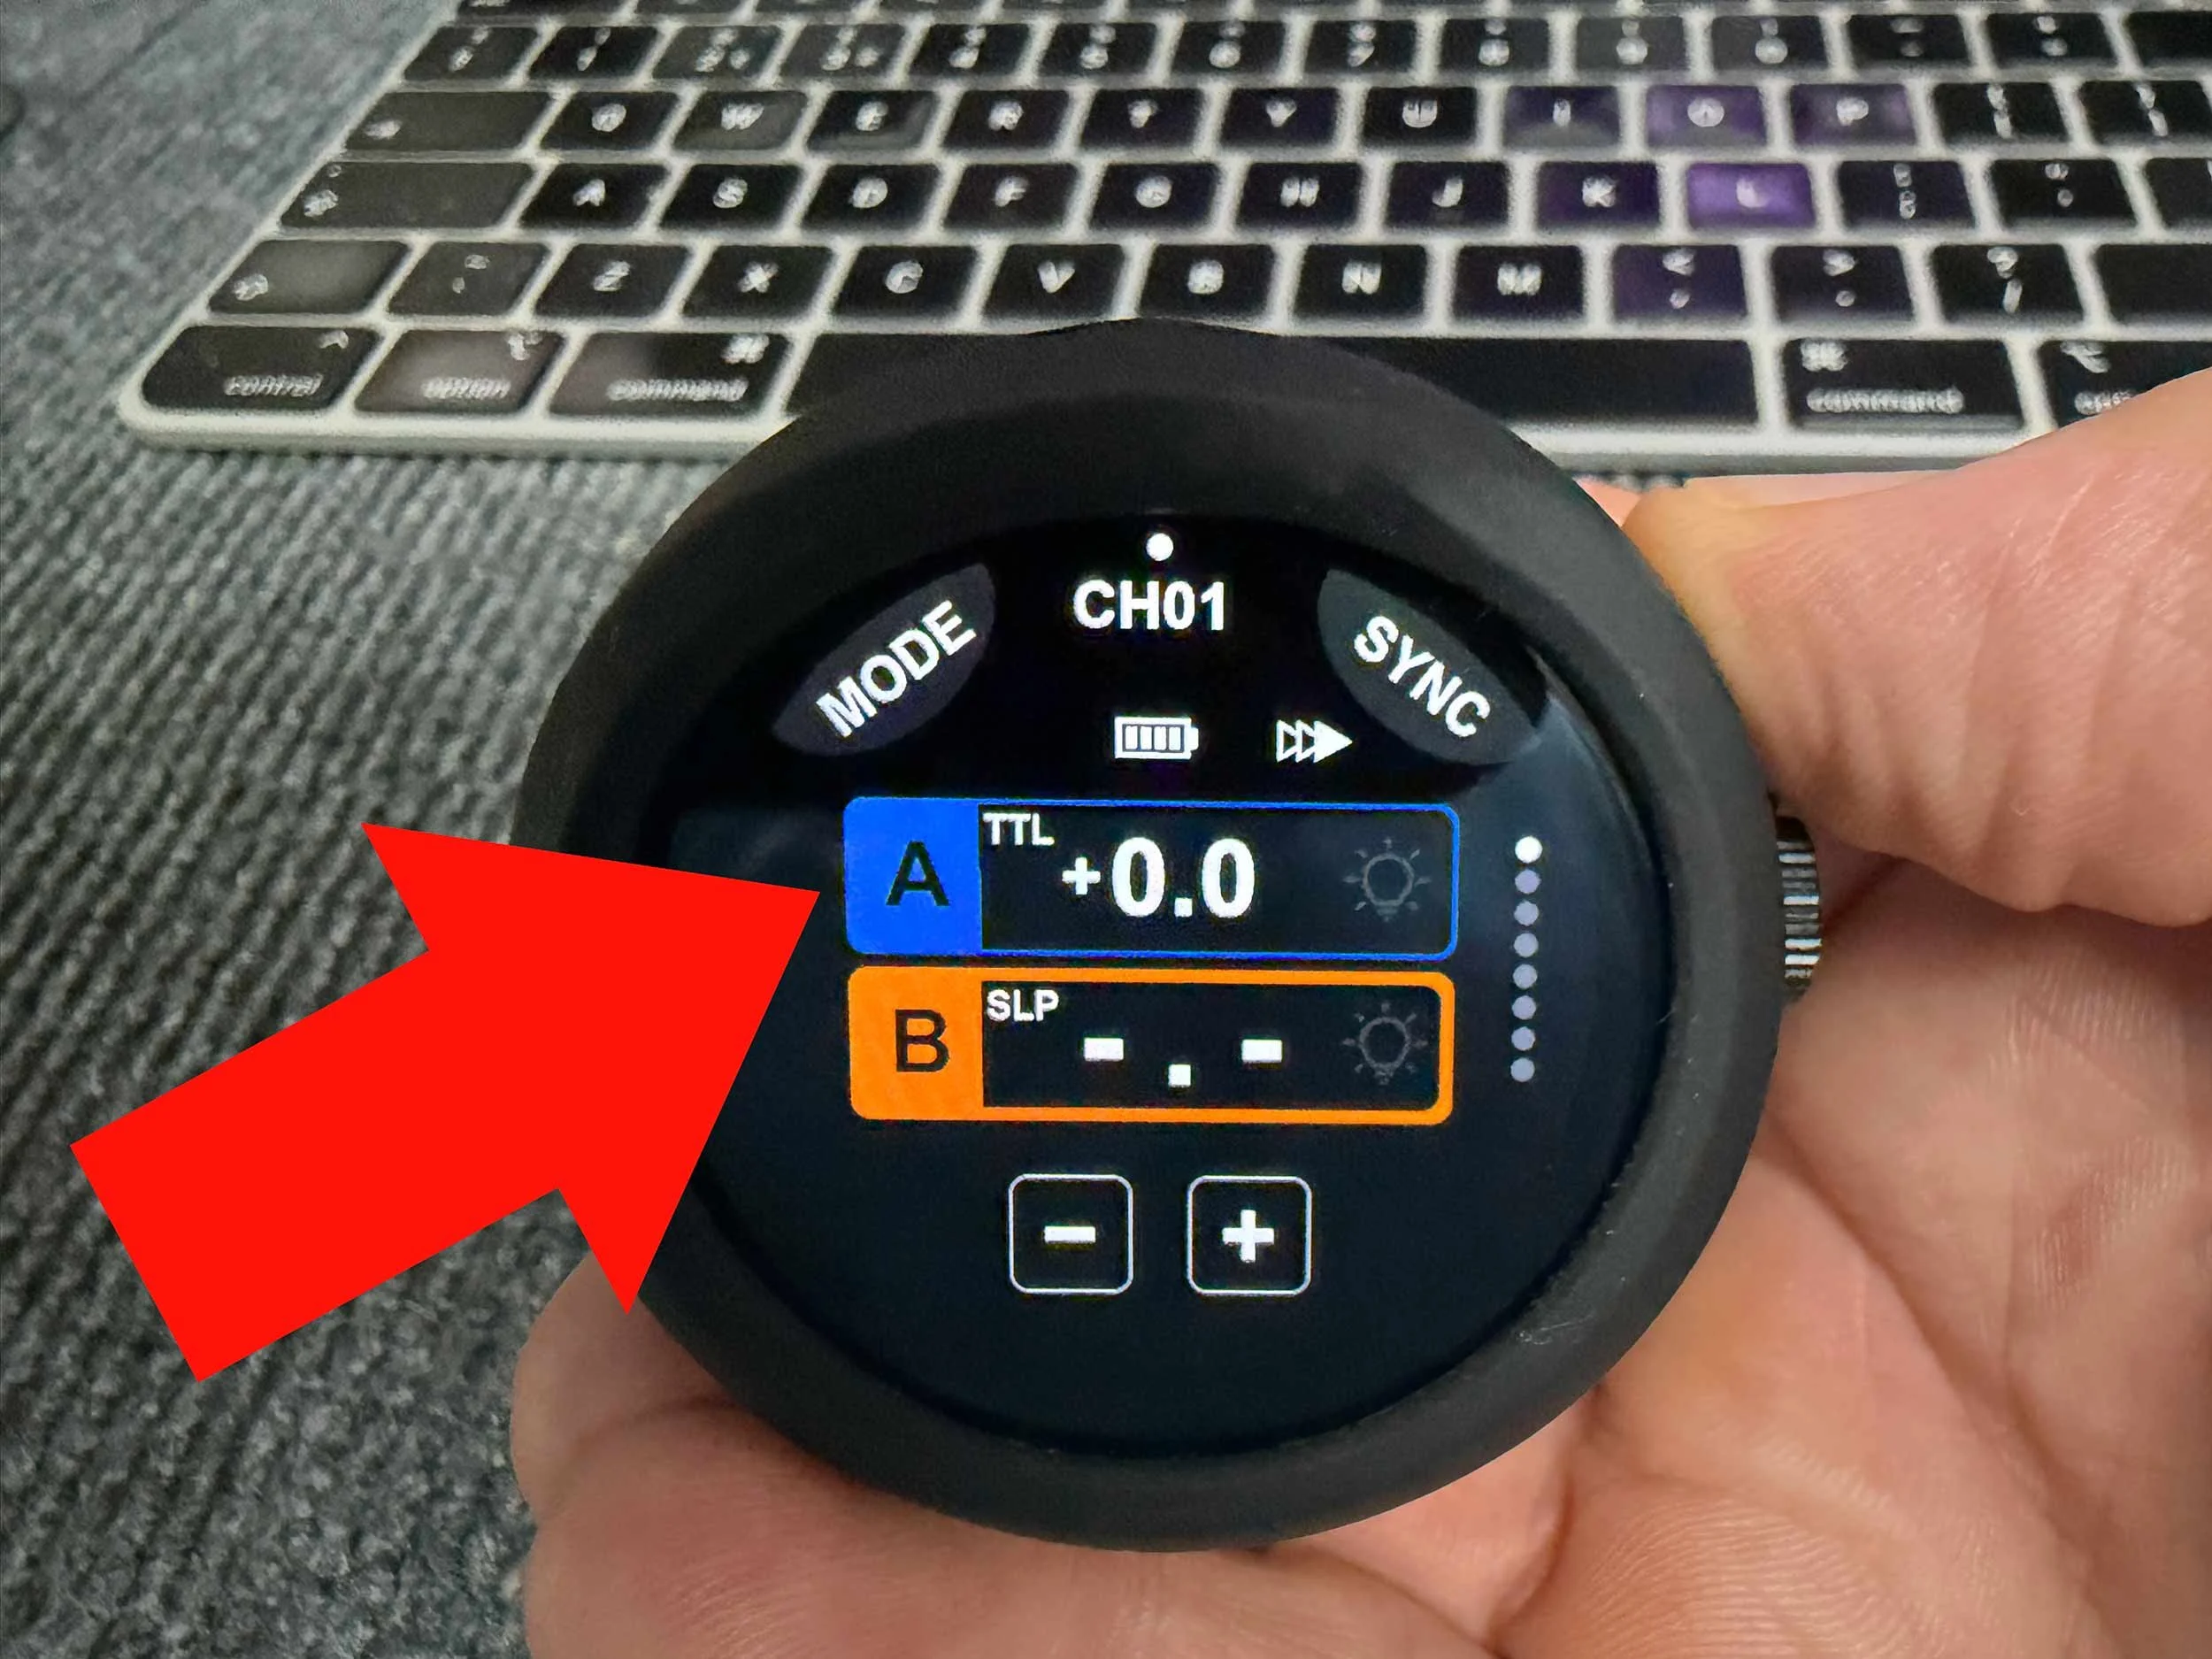
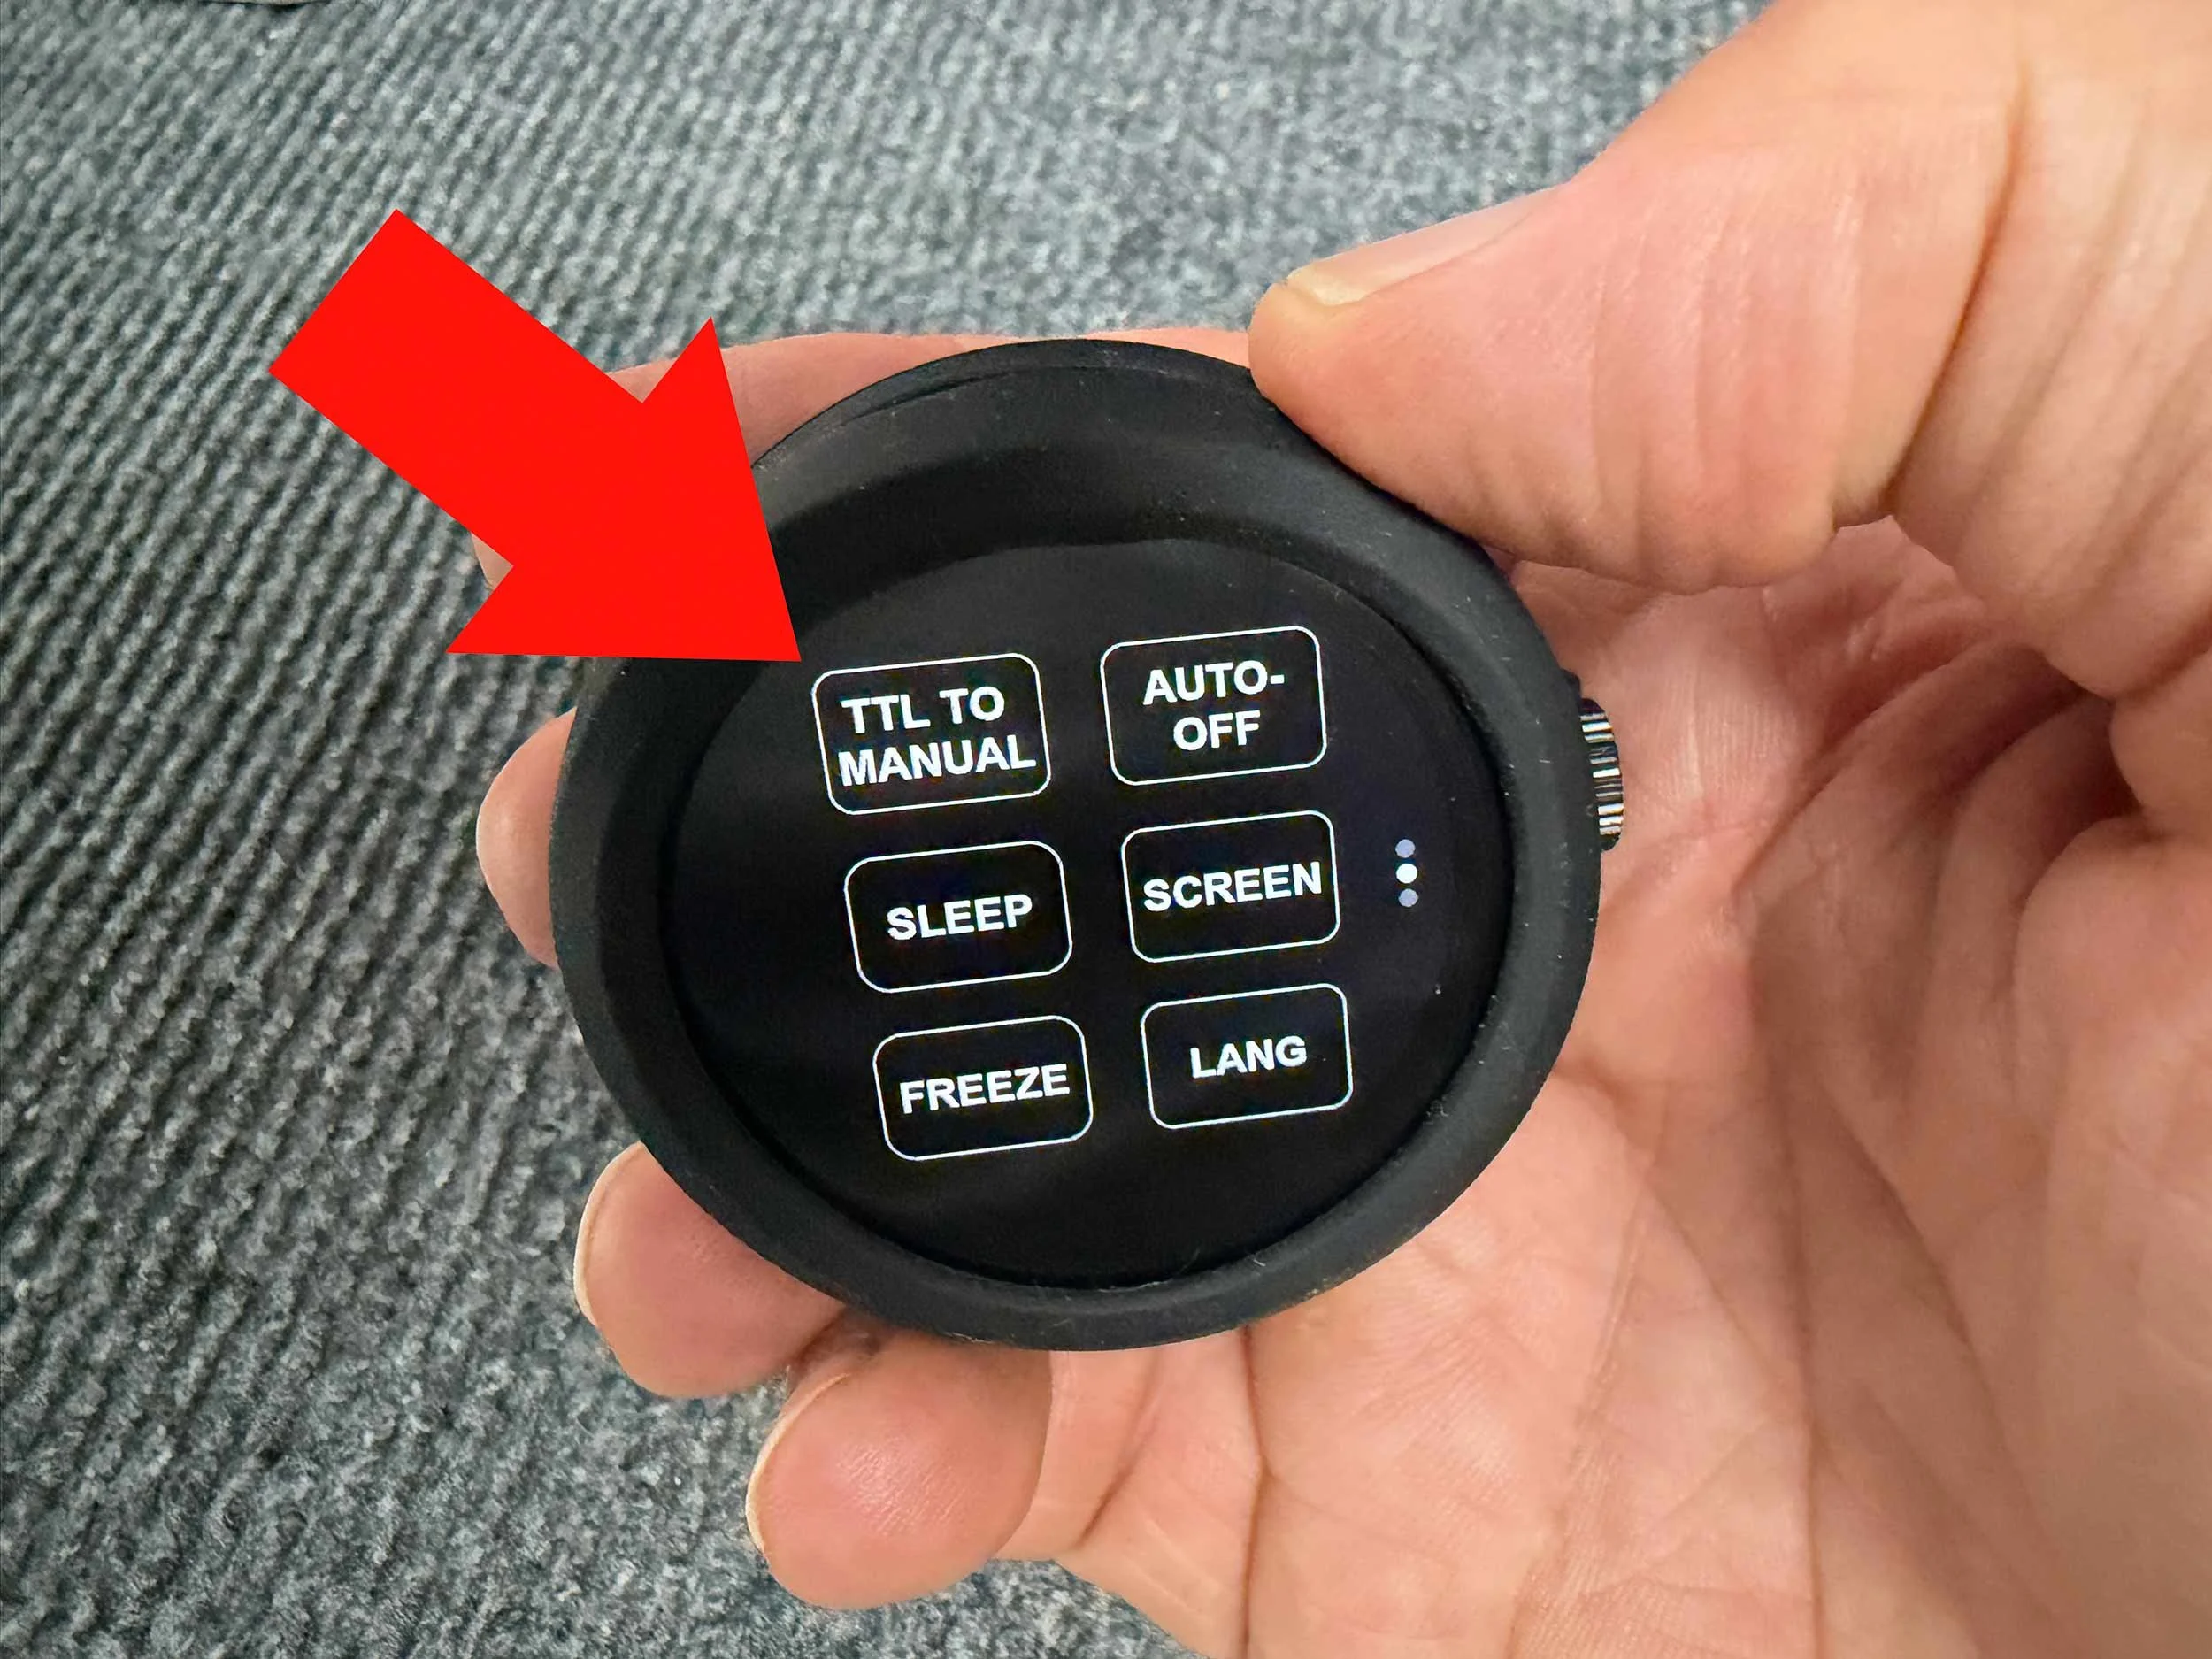
So my routine is simple. I set the flash to TTL and take a shot to get a good base exposure in seconds. Then I hit the TTL to manual function, which carries that exact TTL power output straight over into manual. From there the power is locked. If I want it a touch brighter or darker I nudge it from that known starting point, and once I am happy every single frame fires at precisely the same output. Nothing drifts.

That is the reason I do not carry a handheld light meter. TTL gets me to the right ballpark faster than metering ever would, the carry-over locks it in, and my own eyes on the back of the screen do the fine tuning. For the way I shoot, a meter would just be an extra thing to hold.

Worth knowing if you are not on Westcott, this is not a Westcott-only idea. Some other brands have their own equivalent technology, so whatever system you are on, it's worth checking whether you already have this feature sitting there unused. It's one of those things that quietly changes how you work once you start using it.

A word on Fuji face and eye detection

I shoot Fuji, and a question I get asked a lot is whether having face and eye detection switched on matters when you are using flash. It does, and in a good way.

Start with the obvious. Face and eye detection's main job is autofocus, and that alone is reason to leave it on. Eye detection is really just face detection refined to lock onto the eye, which is exactly where you want critical focus on a portrait.

Here is the part people miss. On Fuji, TTL meters the flash essentially the same way the camera meters ambient light. And when face detection is active, the camera biases that metering towards the detected face, to the point where it takes over from whatever metering mode you had selected. Put those two facts together and you get something genuinely useful. With a face detected, your TTL flash exposure is weighted towards exposing that face correctly, rather than being thrown off by a very bright or very dark background behind it.

In practice that means better, more consistent skin exposure straight out of camera when you are working quickly in TTL. It's not a pure spot reading off the face, it's more of a blend under the bonnet, and Fuji do not spell out the exact recipe, but the result is reliable and it works in your favour for portraits.

Two things to keep in mind. First, because face detection takes over your metering, do not rely on the Fuji spot meter for an ambient reading while it's active, because a detected face will quietly override it. If you want a spot reading off a specific tone, take it with detection off, then switch detection back on for the shoot. Second, none of this applies once your flash is in manual power. If you have locked your power in manual, including straight after the TTL to manual carry-over above, the flash fires at the set power regardless, and detection is back to doing nothing but focus. Which, for a controlled portrait, is exactly what you want anyway.

wrapping up

TTL is an automatic flash mode that sets flash power and nothing else. On digital it uses a pre-flash to measure light bounced back through the lens, then fires the main flash to match. It always aims to make what it measured a mid grey, so it gets fooled by very light or very dark subjects, and FEC is how you correct that. Your aperture and ISO define the box it works inside, shutter speed handles your ambient, and TTL adapts rather than getting overridden. Putting your camera in manual does not switch TTL off, and camera manual paired with flash TTL is a strong, consistent way to work. And if your kit has a TTL to manual carry-over, use it, because it gives you the speed of TTL and the consistency of manual in one move.

Get those few ideas straight and TTL stops being the thing you avoid and becomes another tool you can reach for when it suits the shot.

Minimal Kit, Timeless Portraits with WeX in Bristol and Birmingham

The last few days have been brilliant.

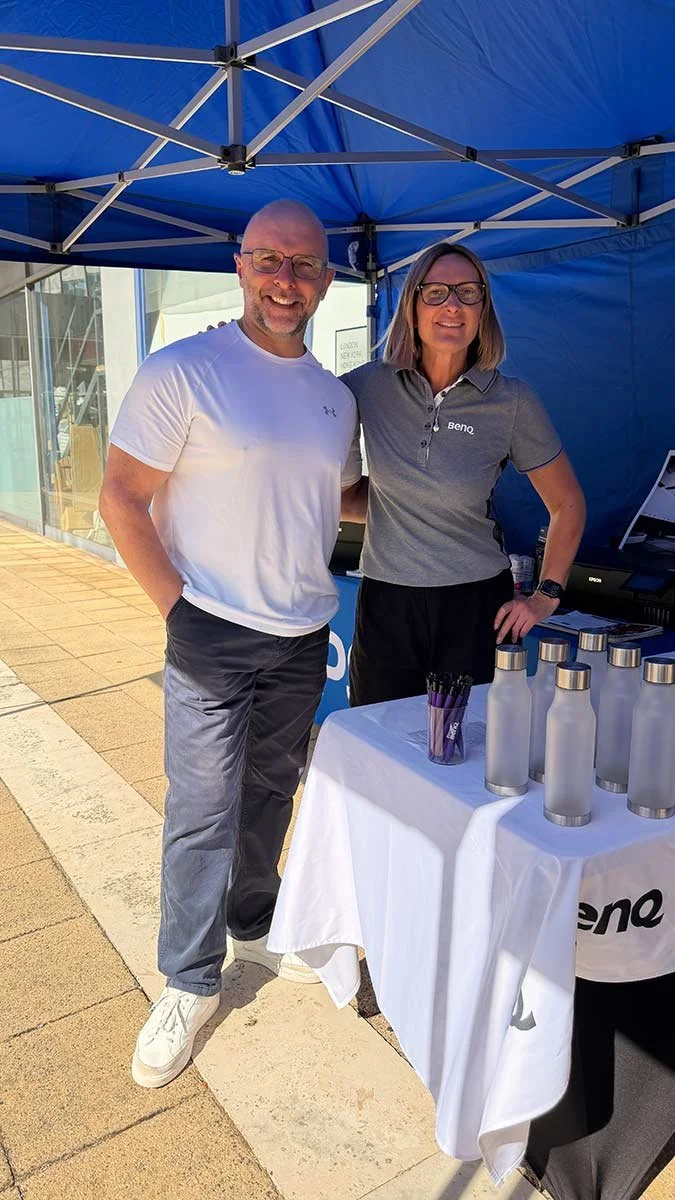
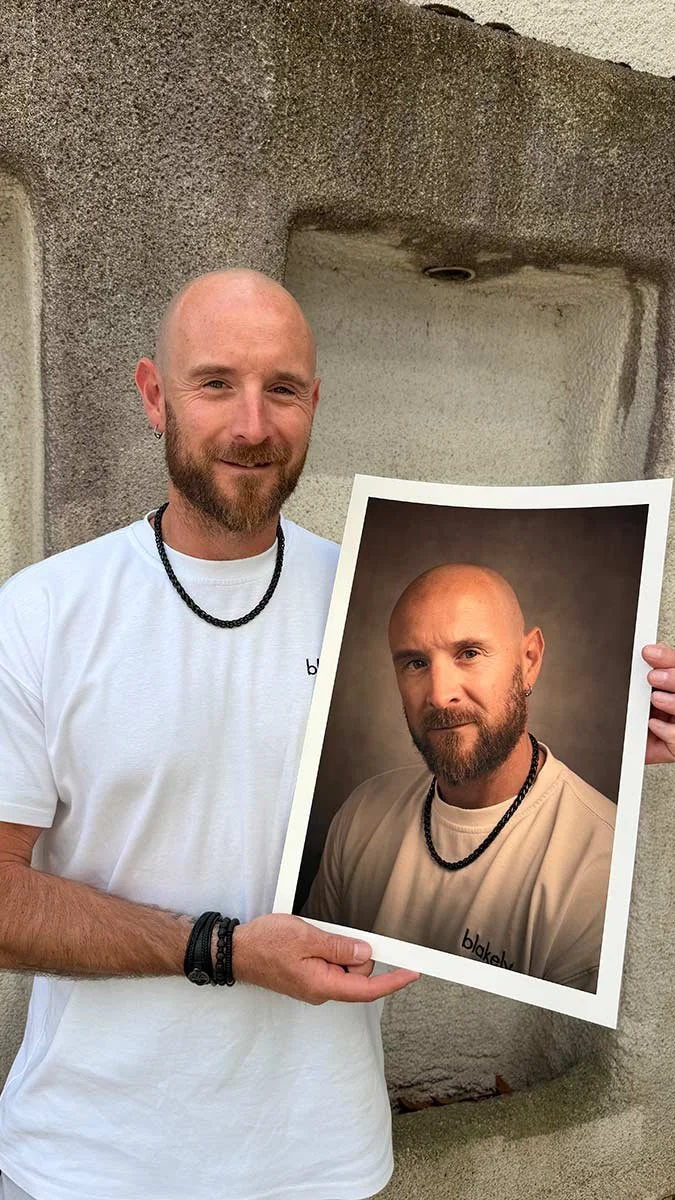
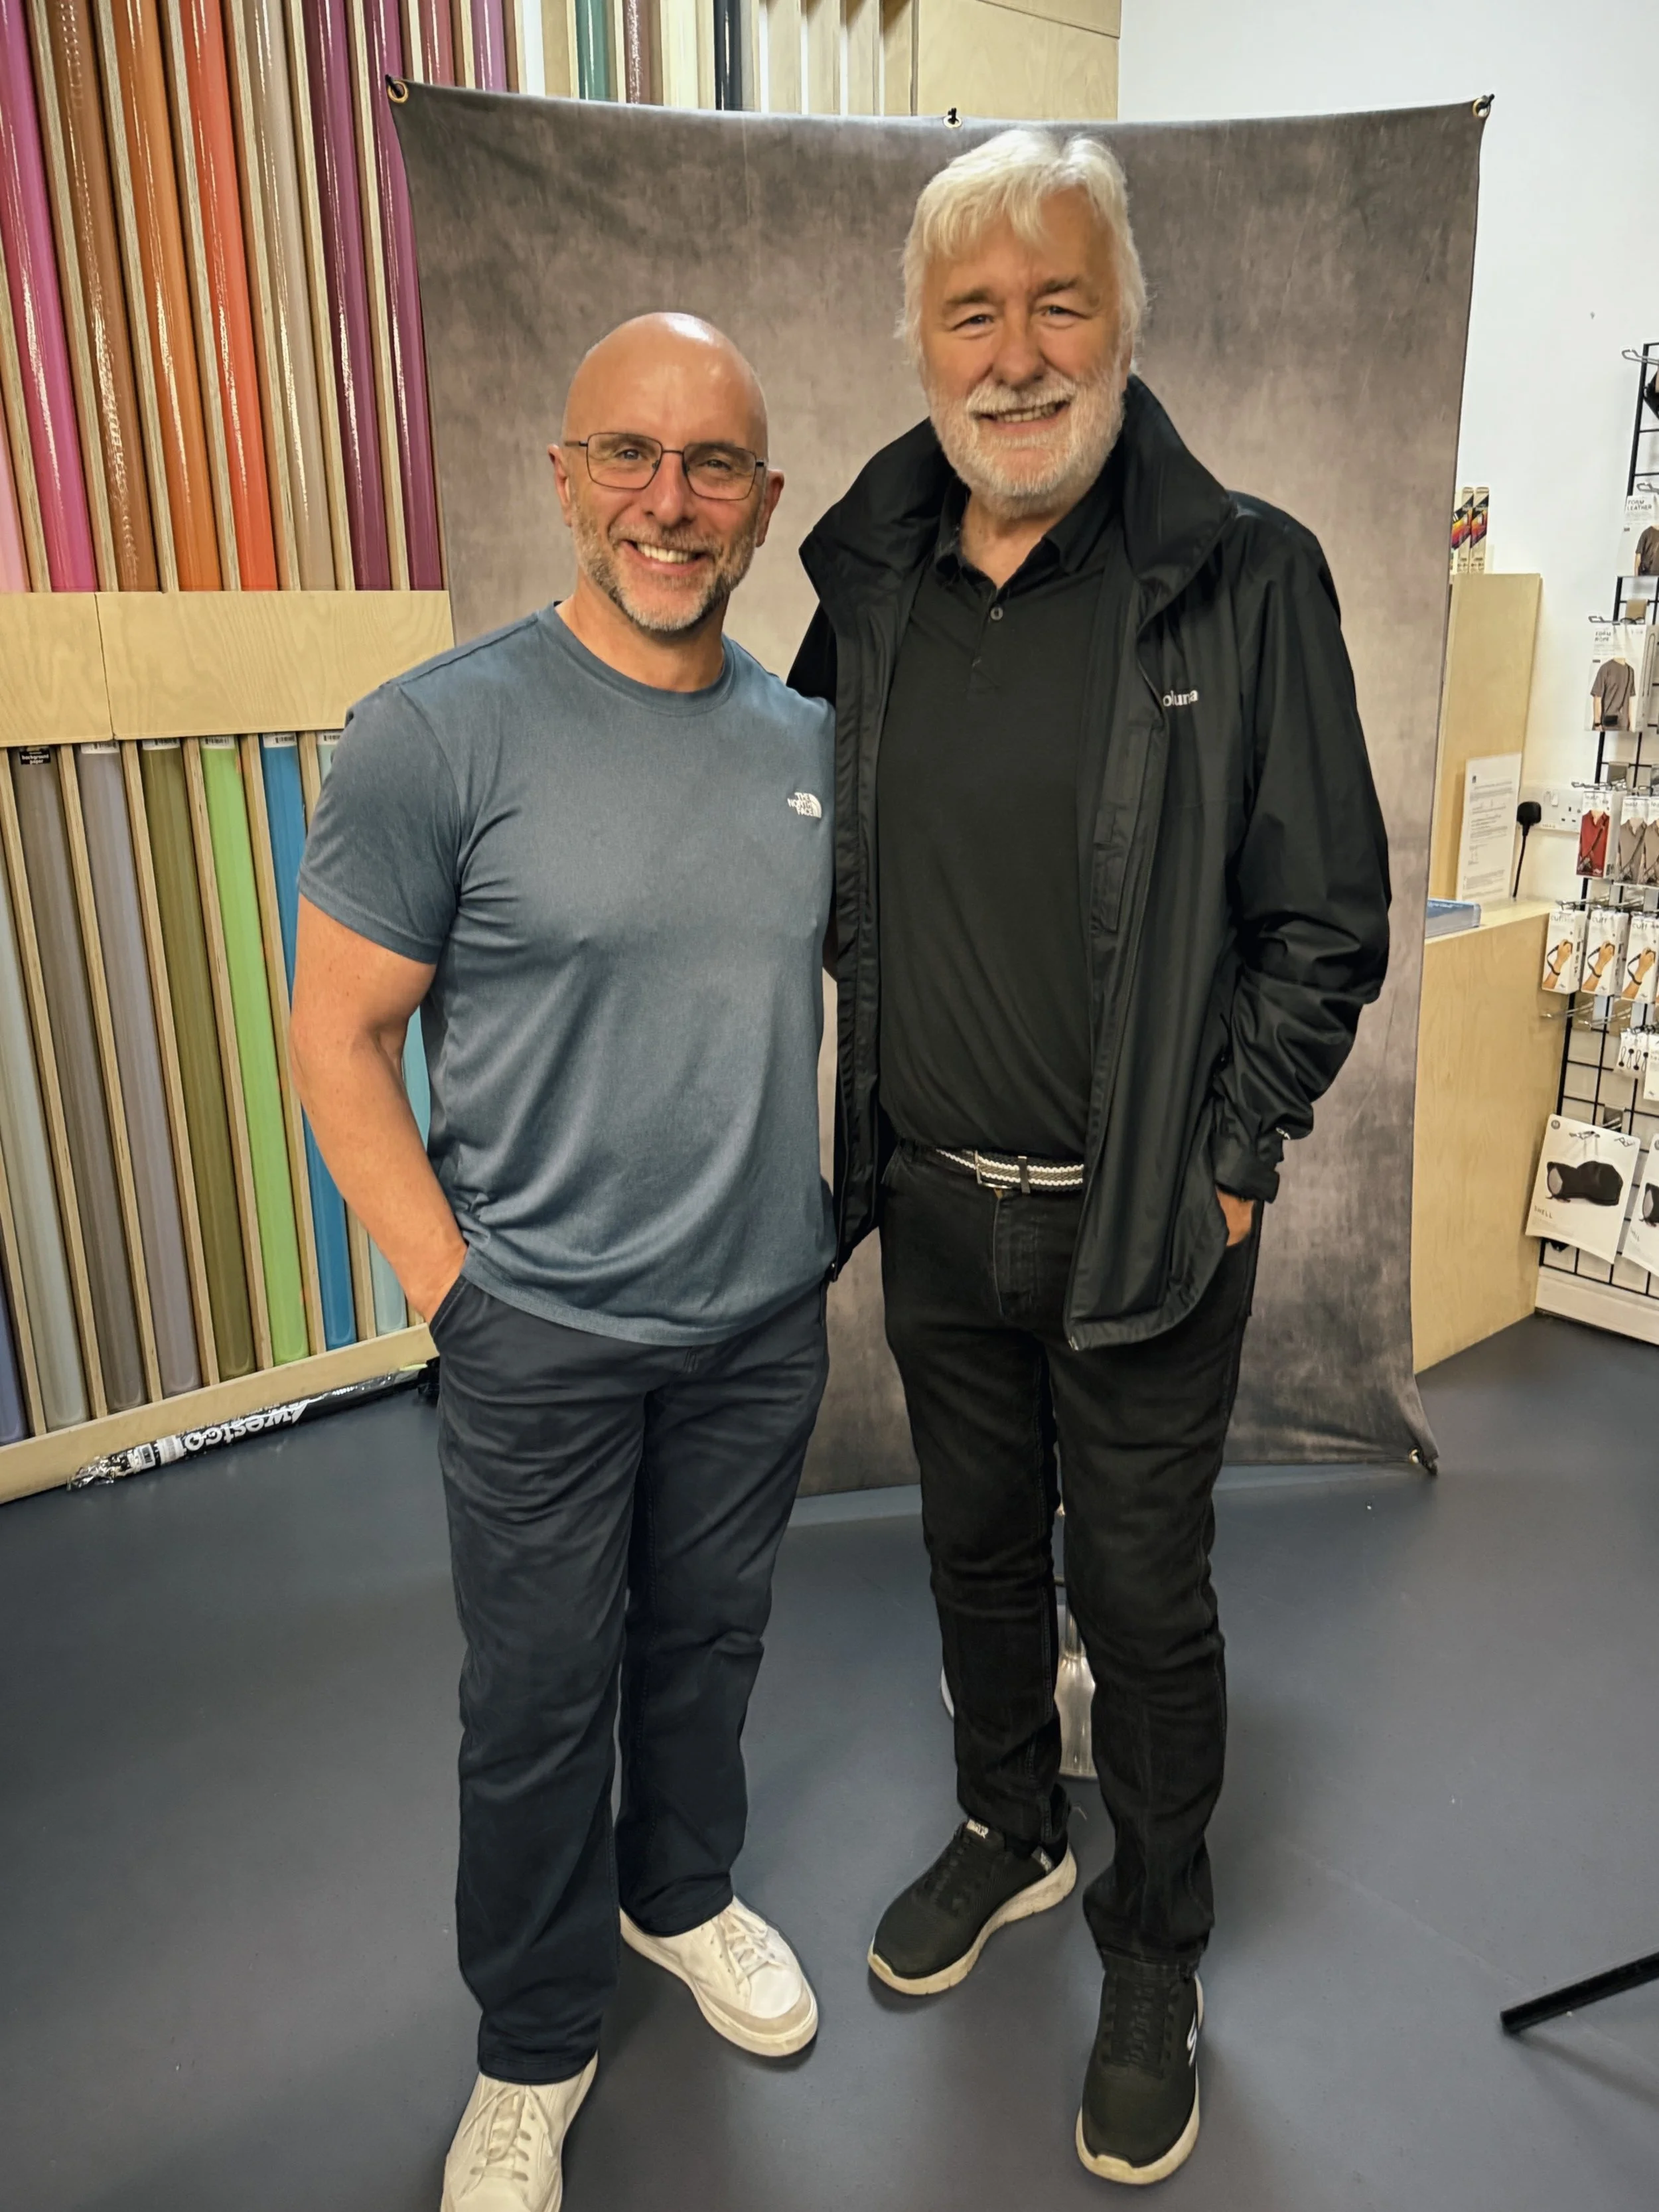
Last Thursday, the 23rd July, I was over in Bristol for the next leg of the Wex Summer Road Show, and then on the Friday and Saturday, the 24th and 25th July, I was up at the Wex store in Birmingham.

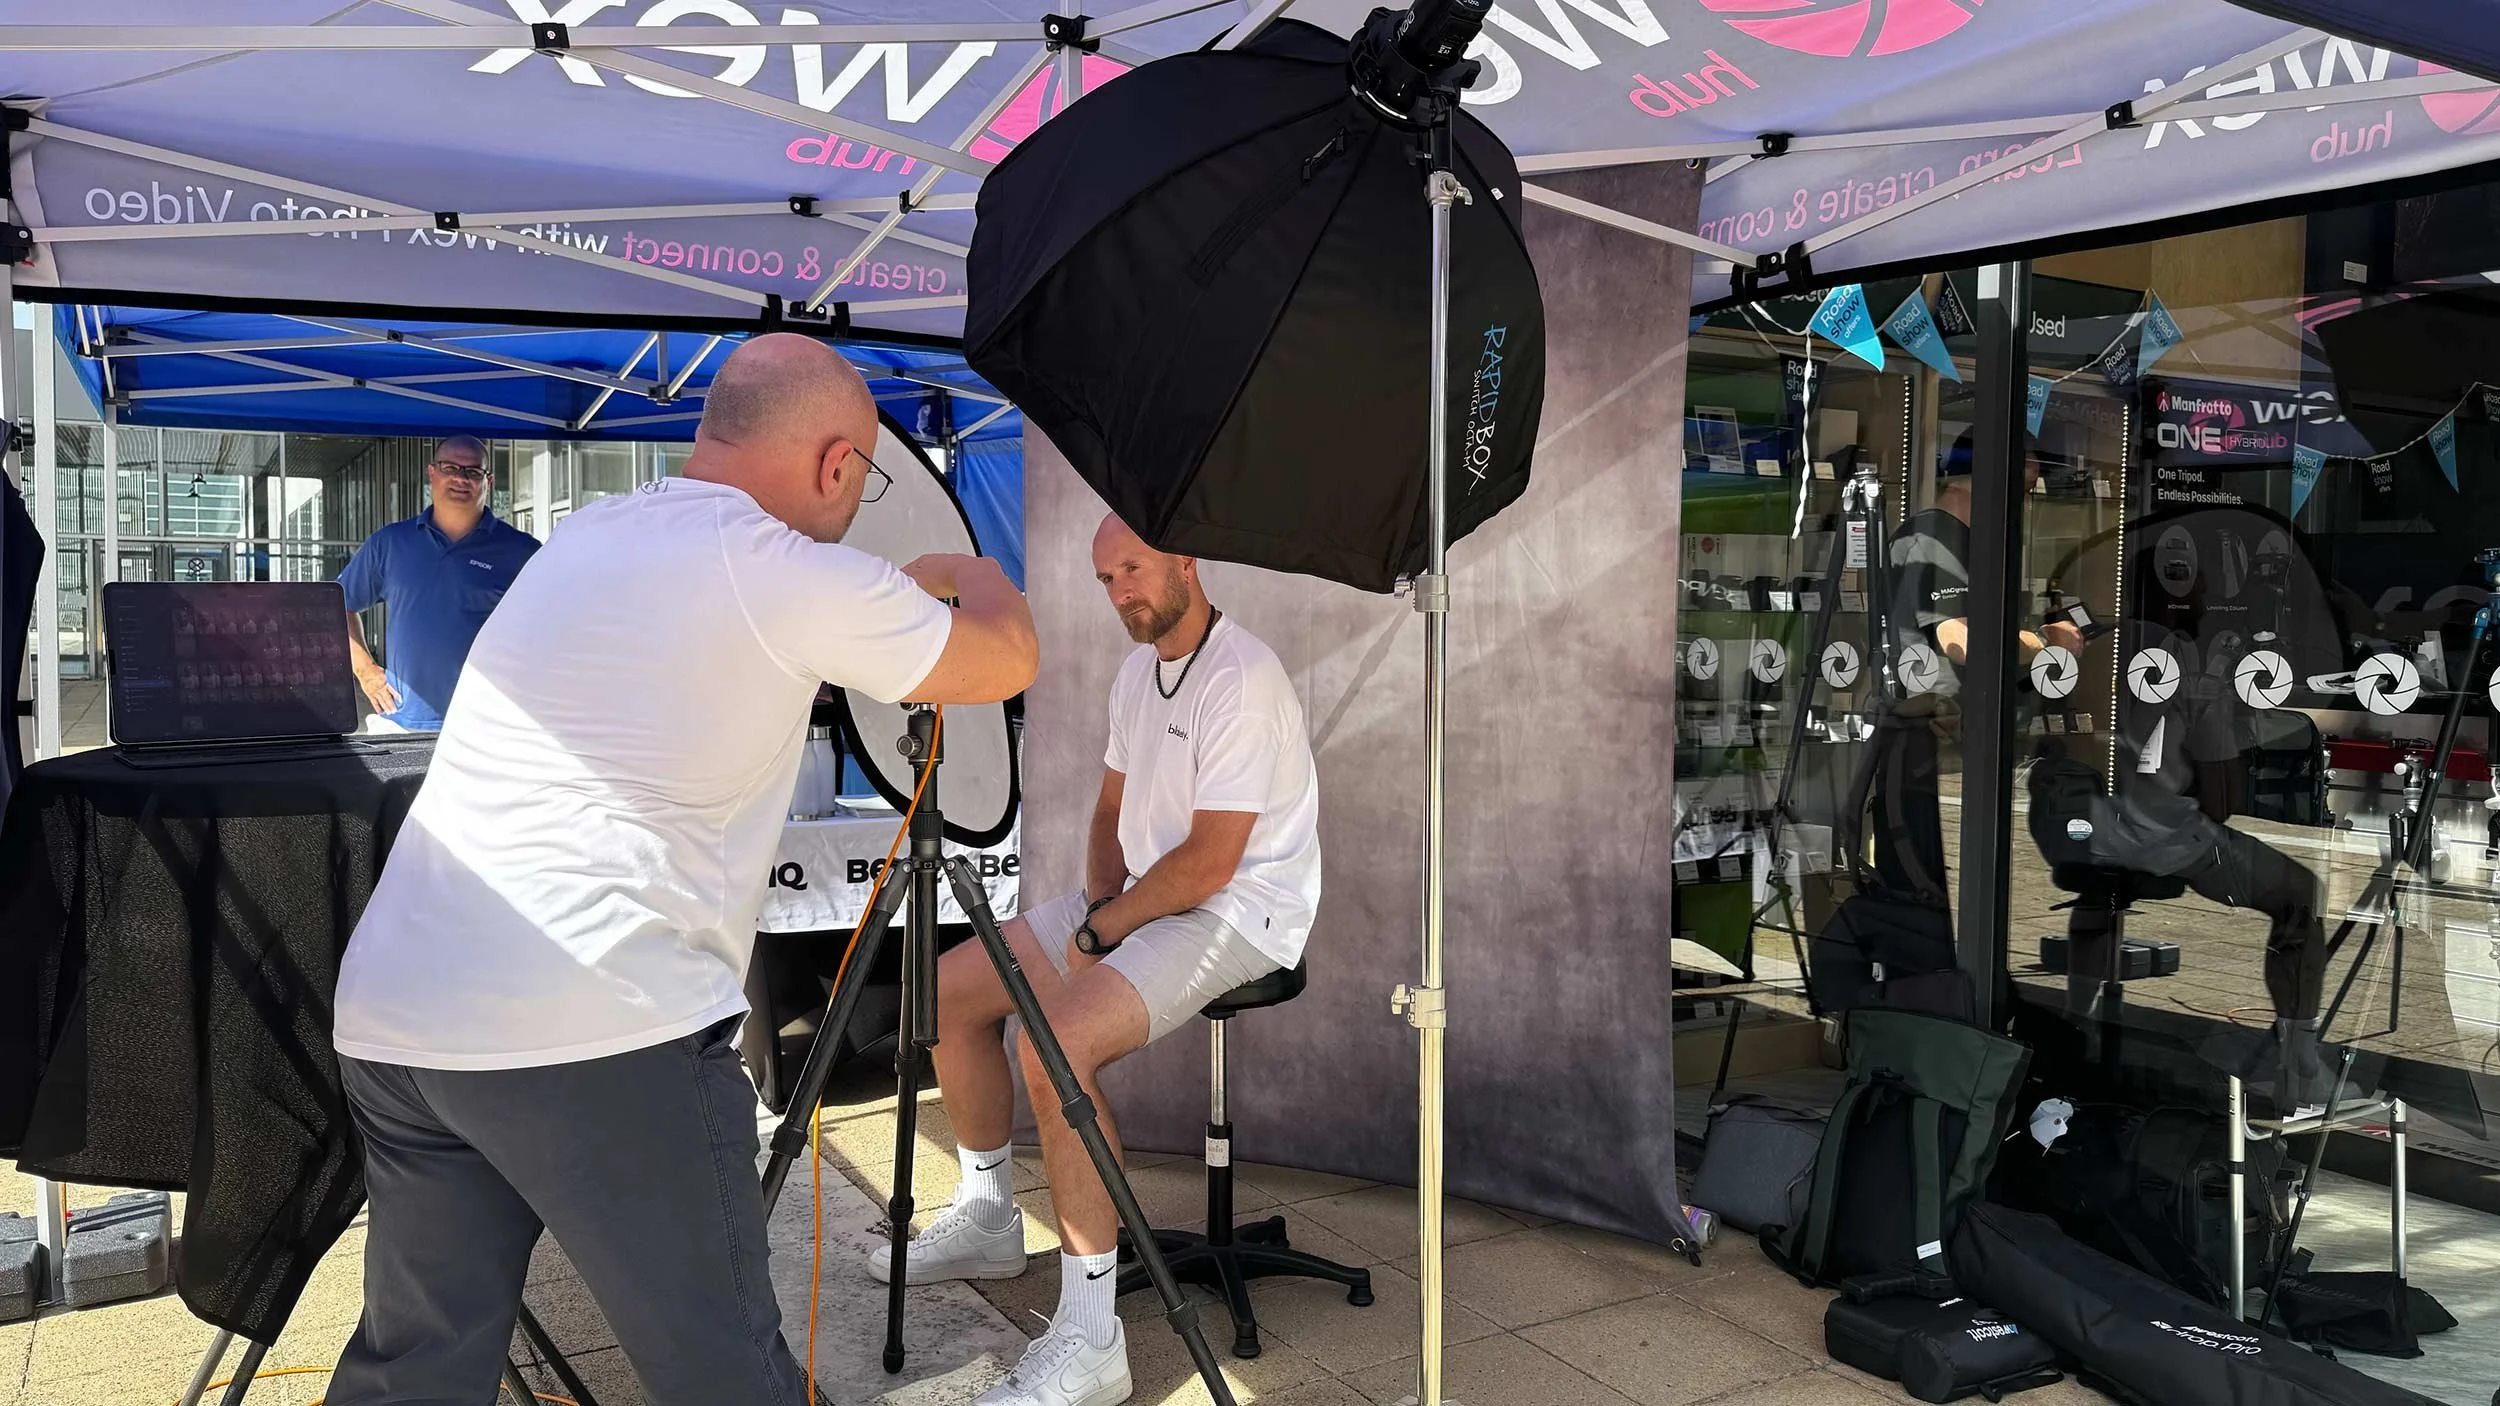
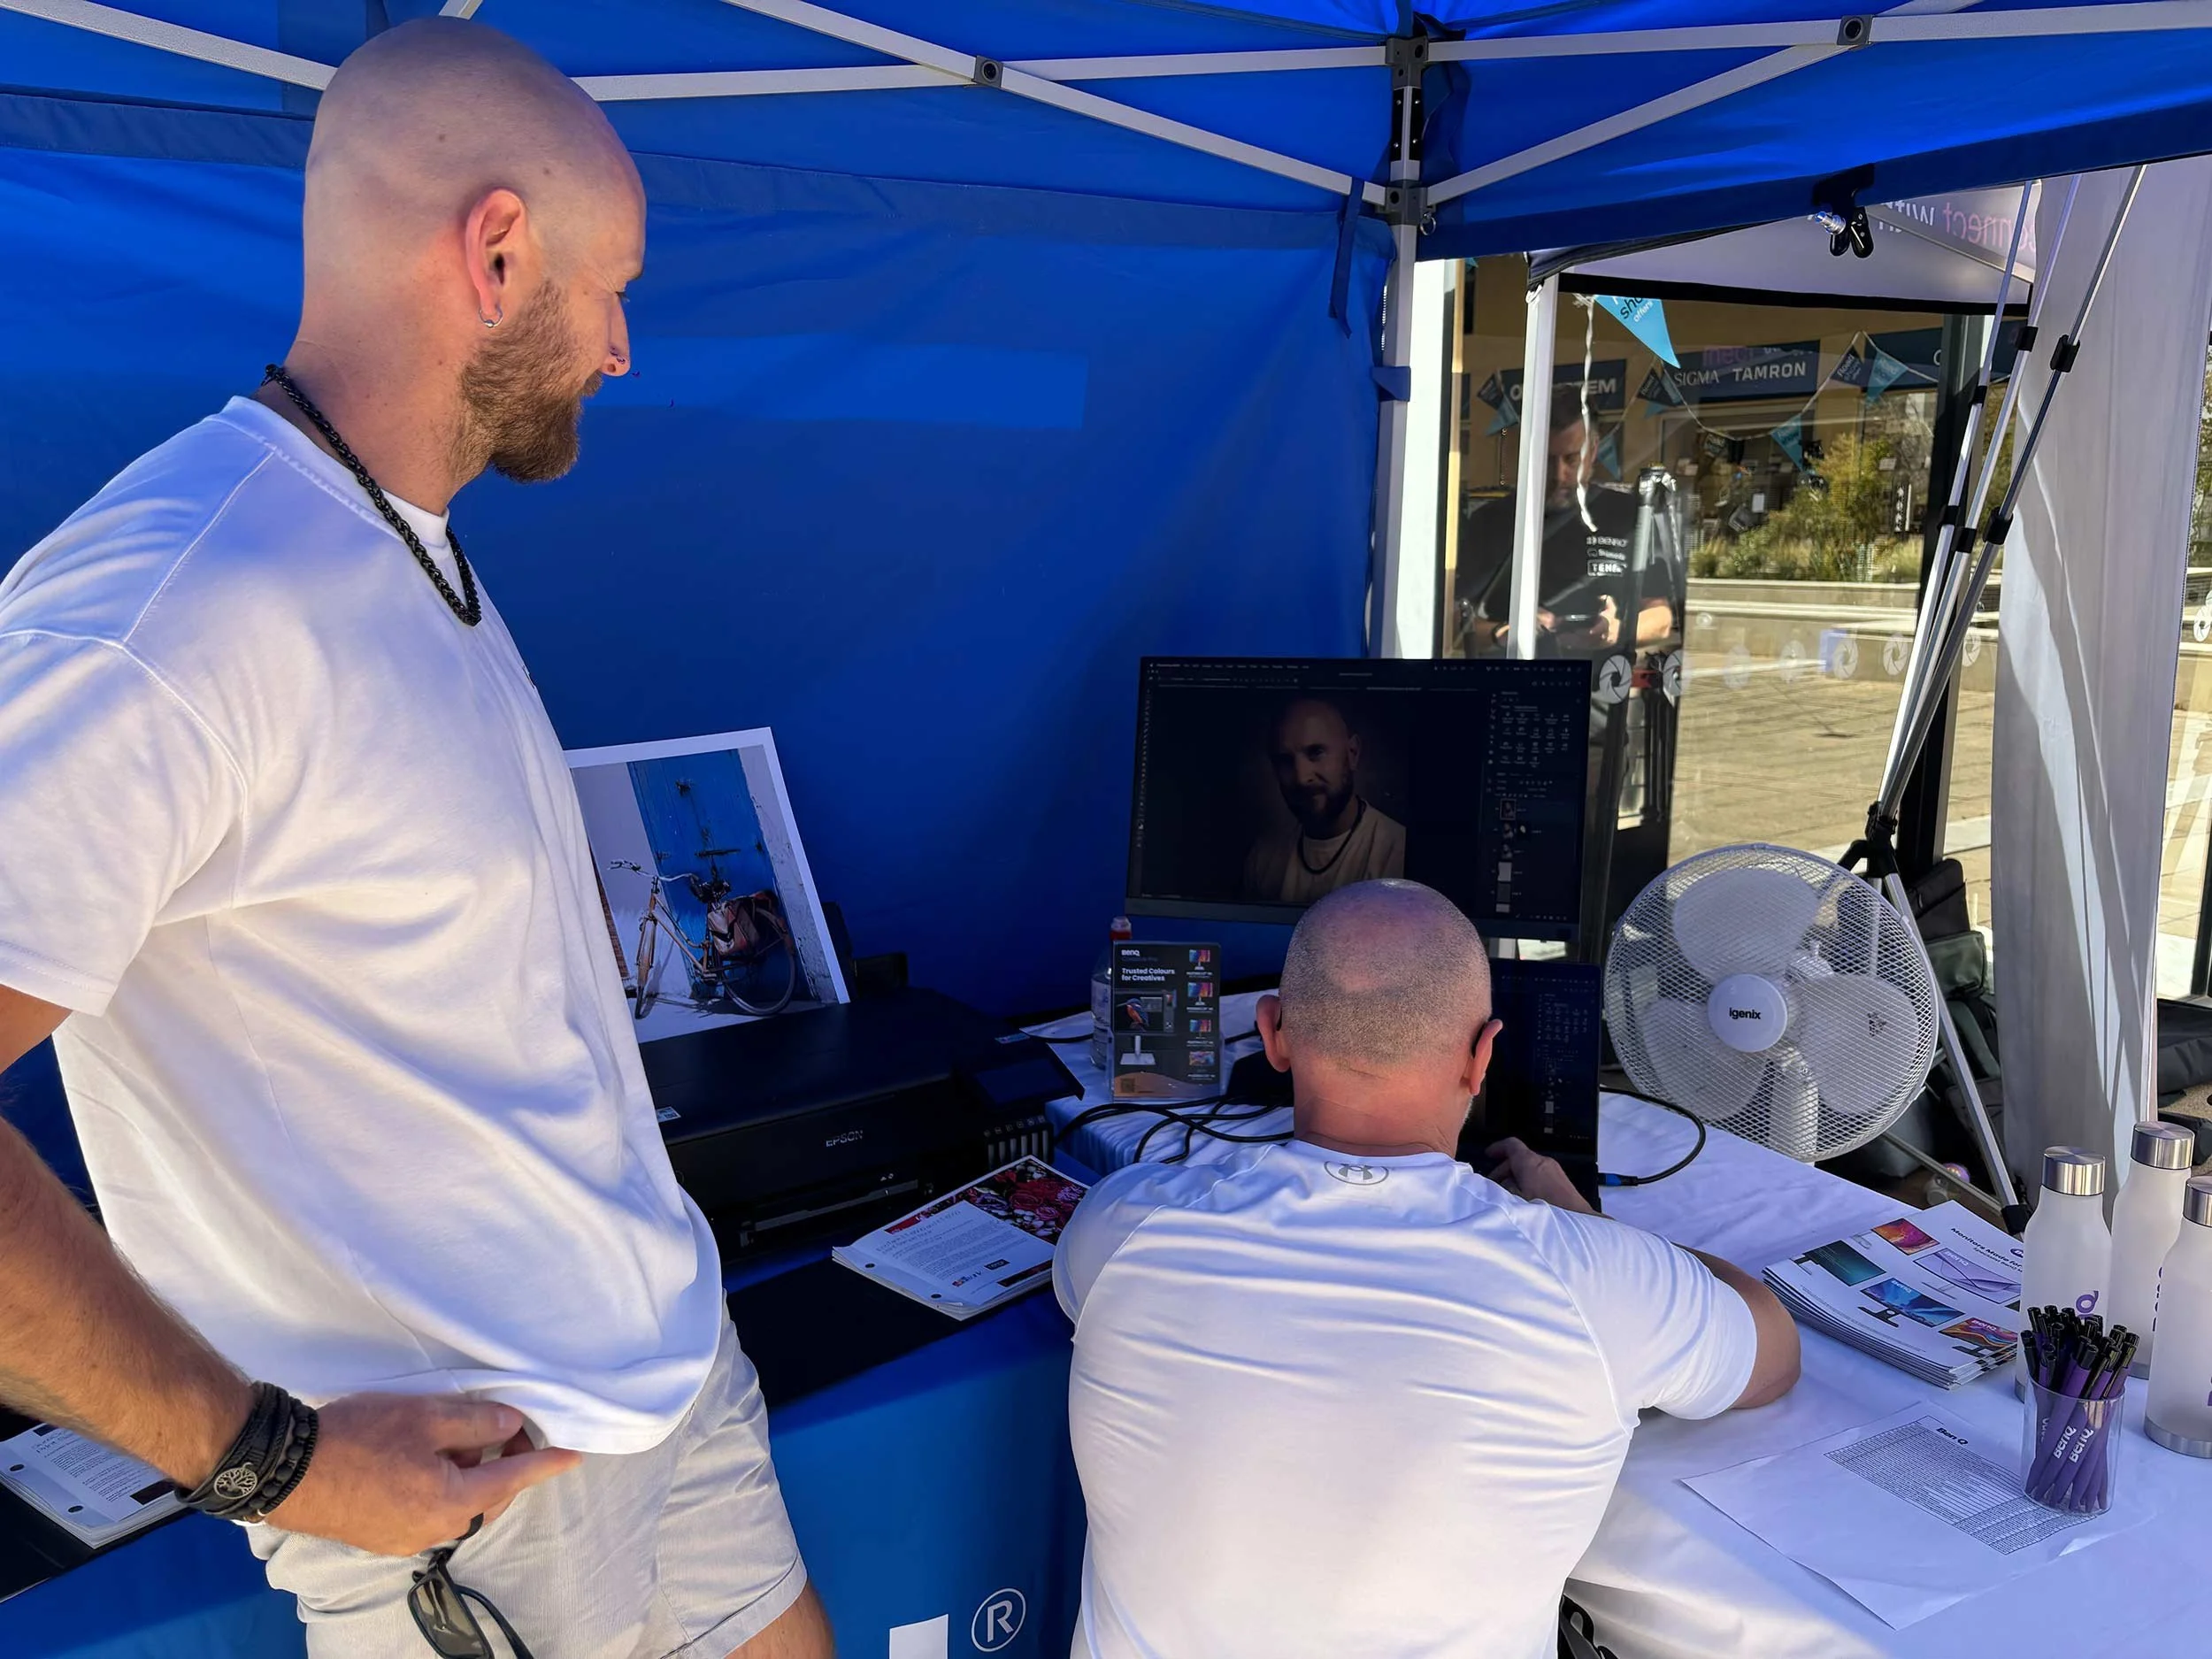
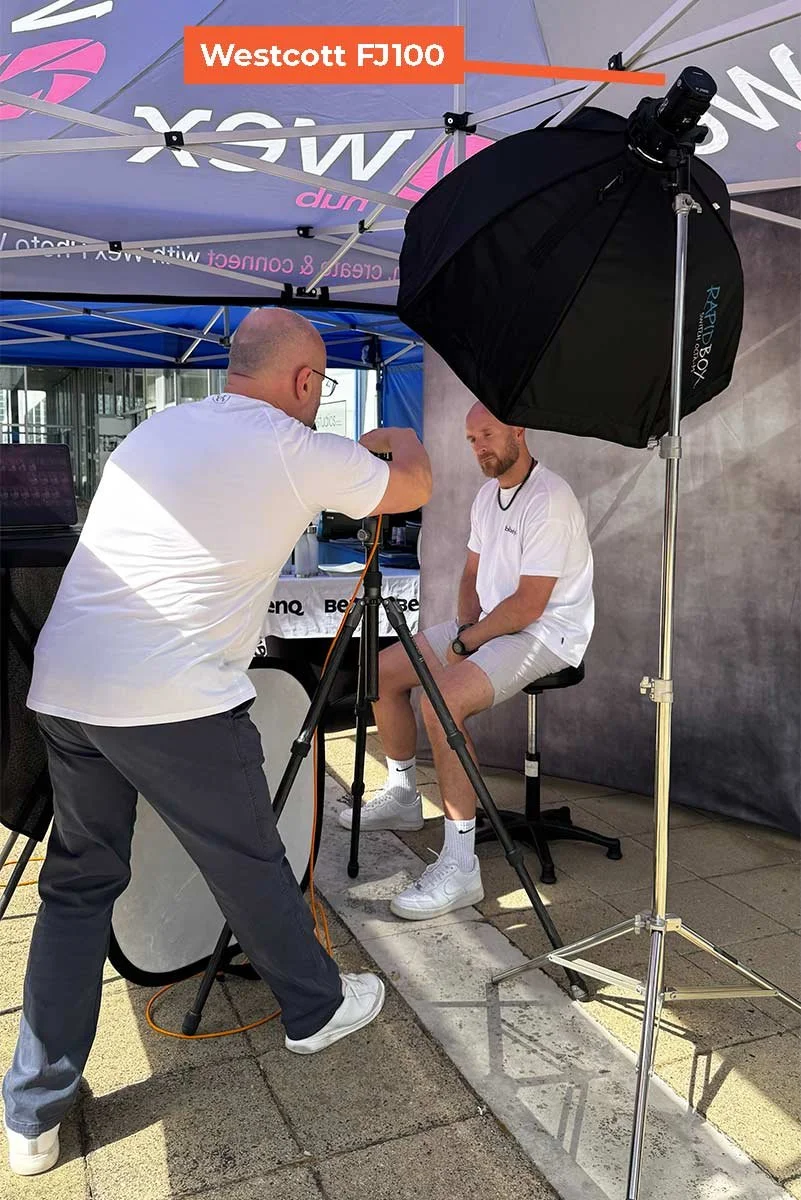
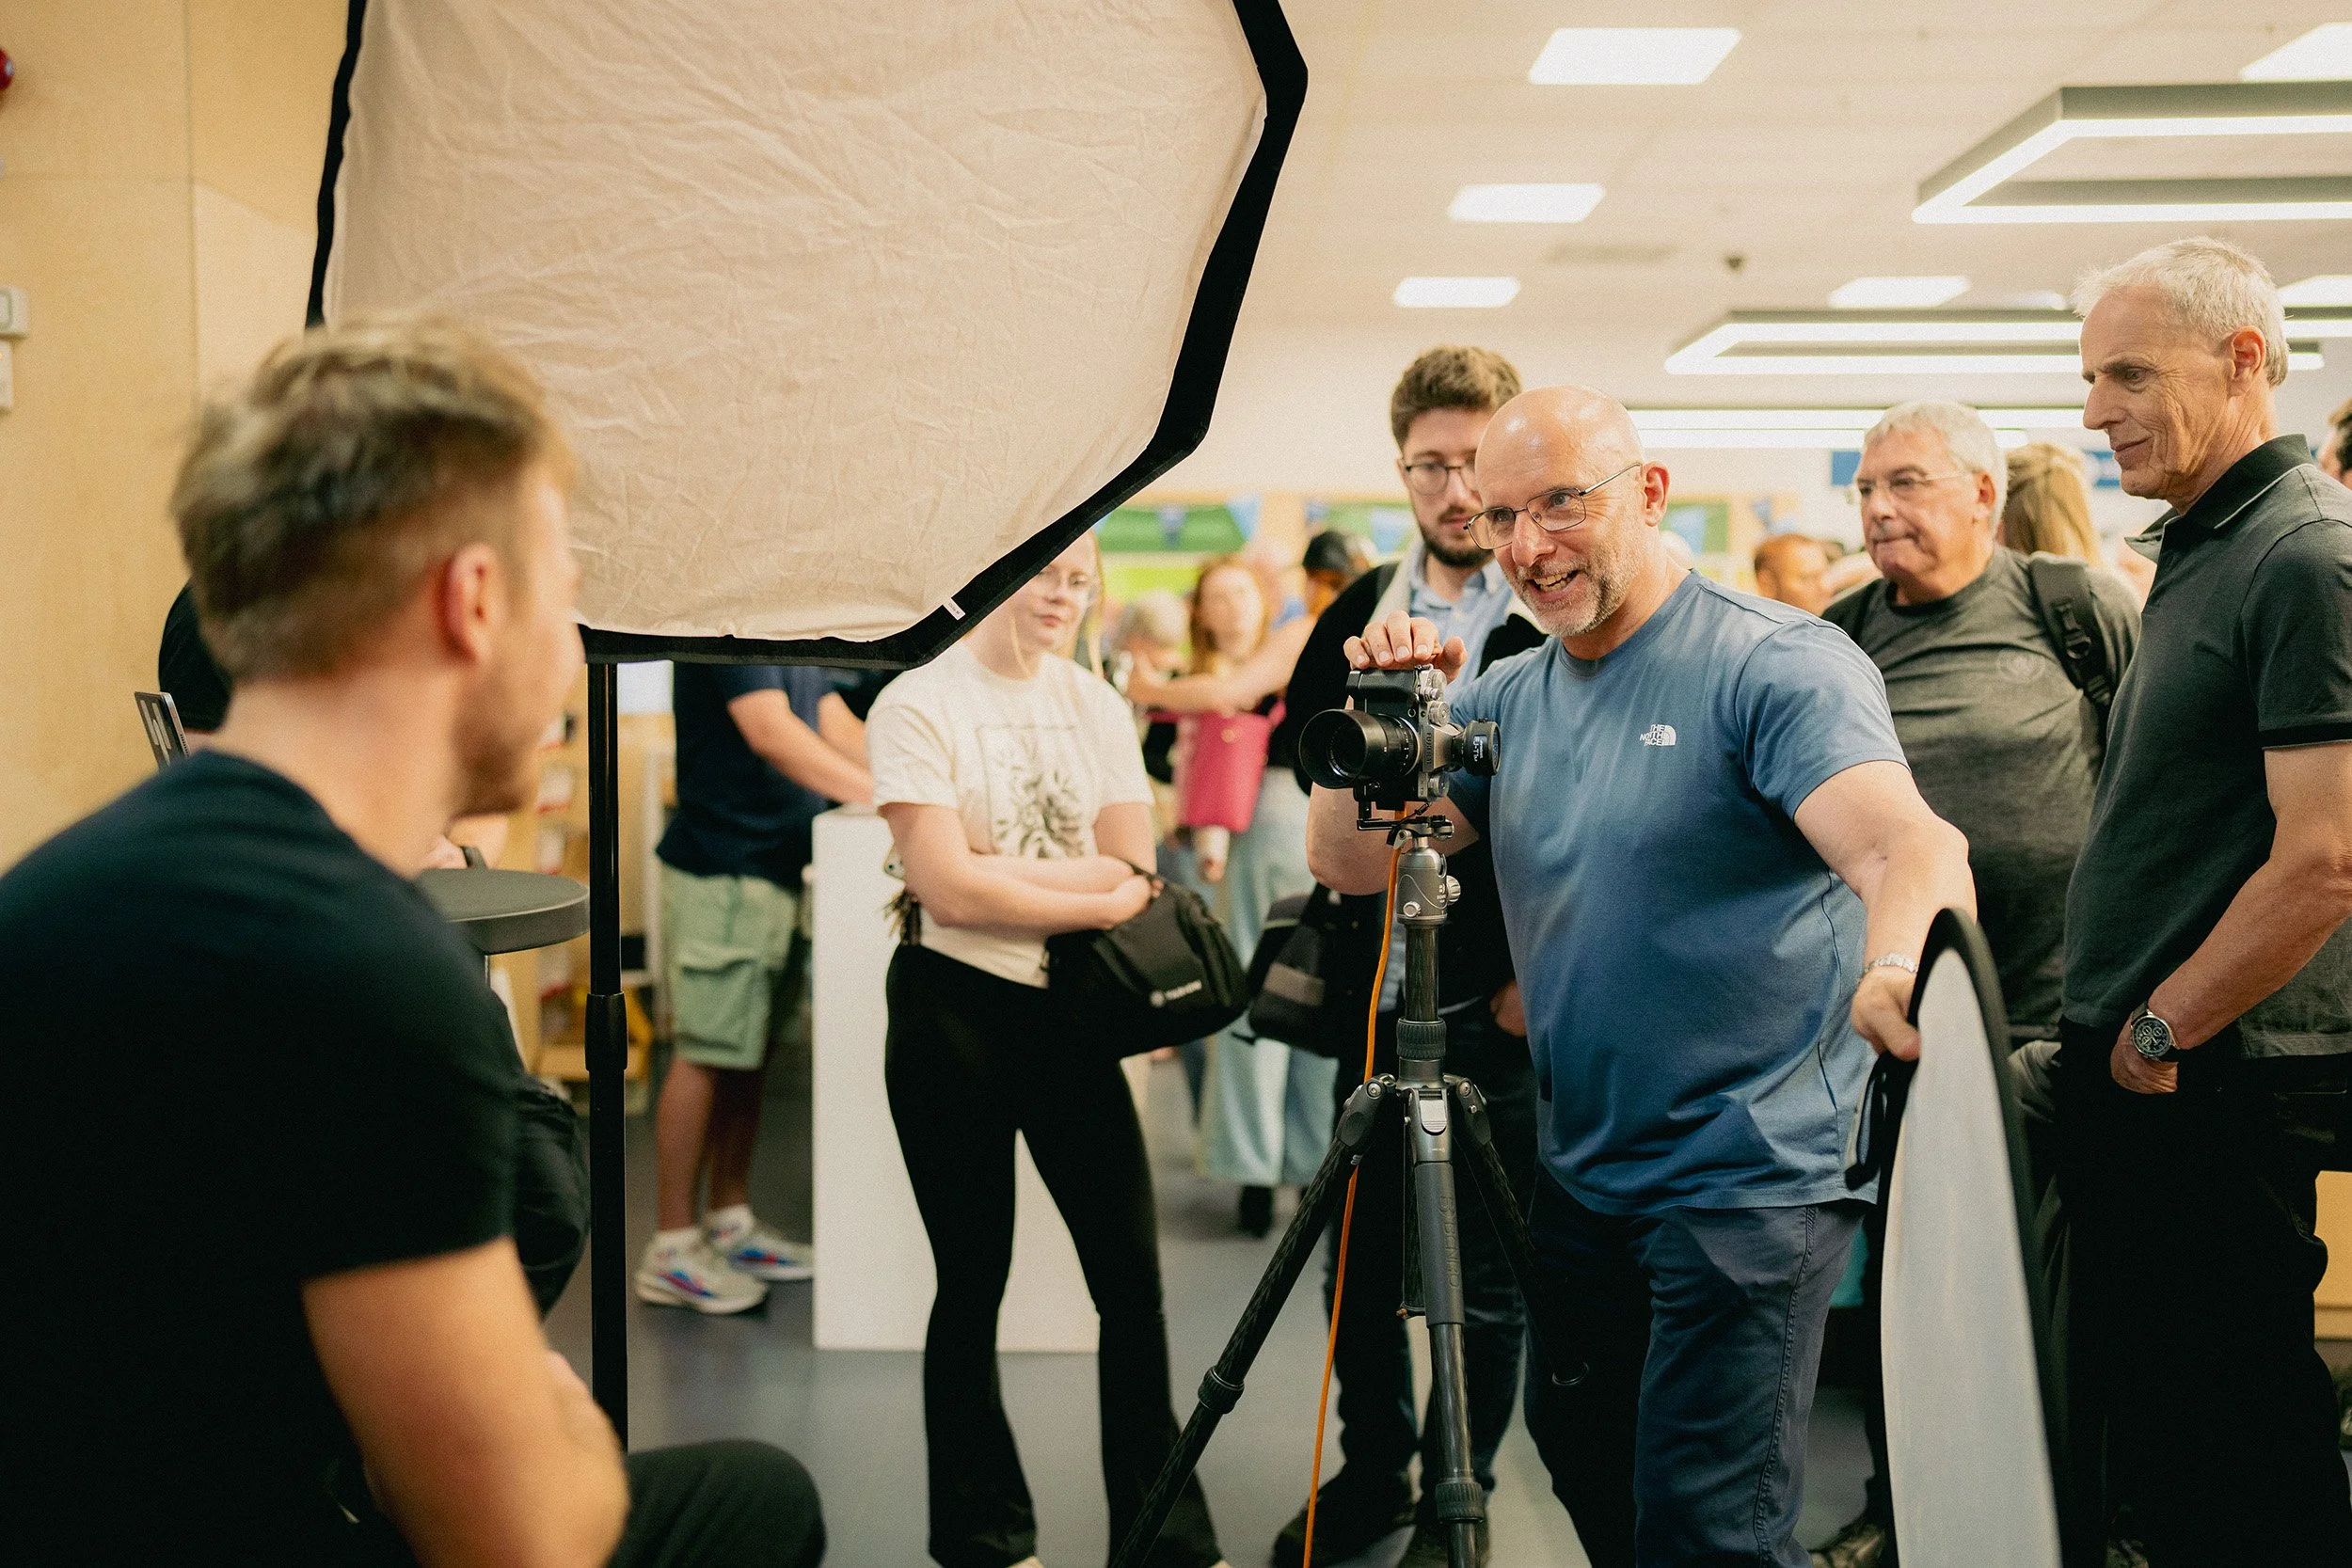
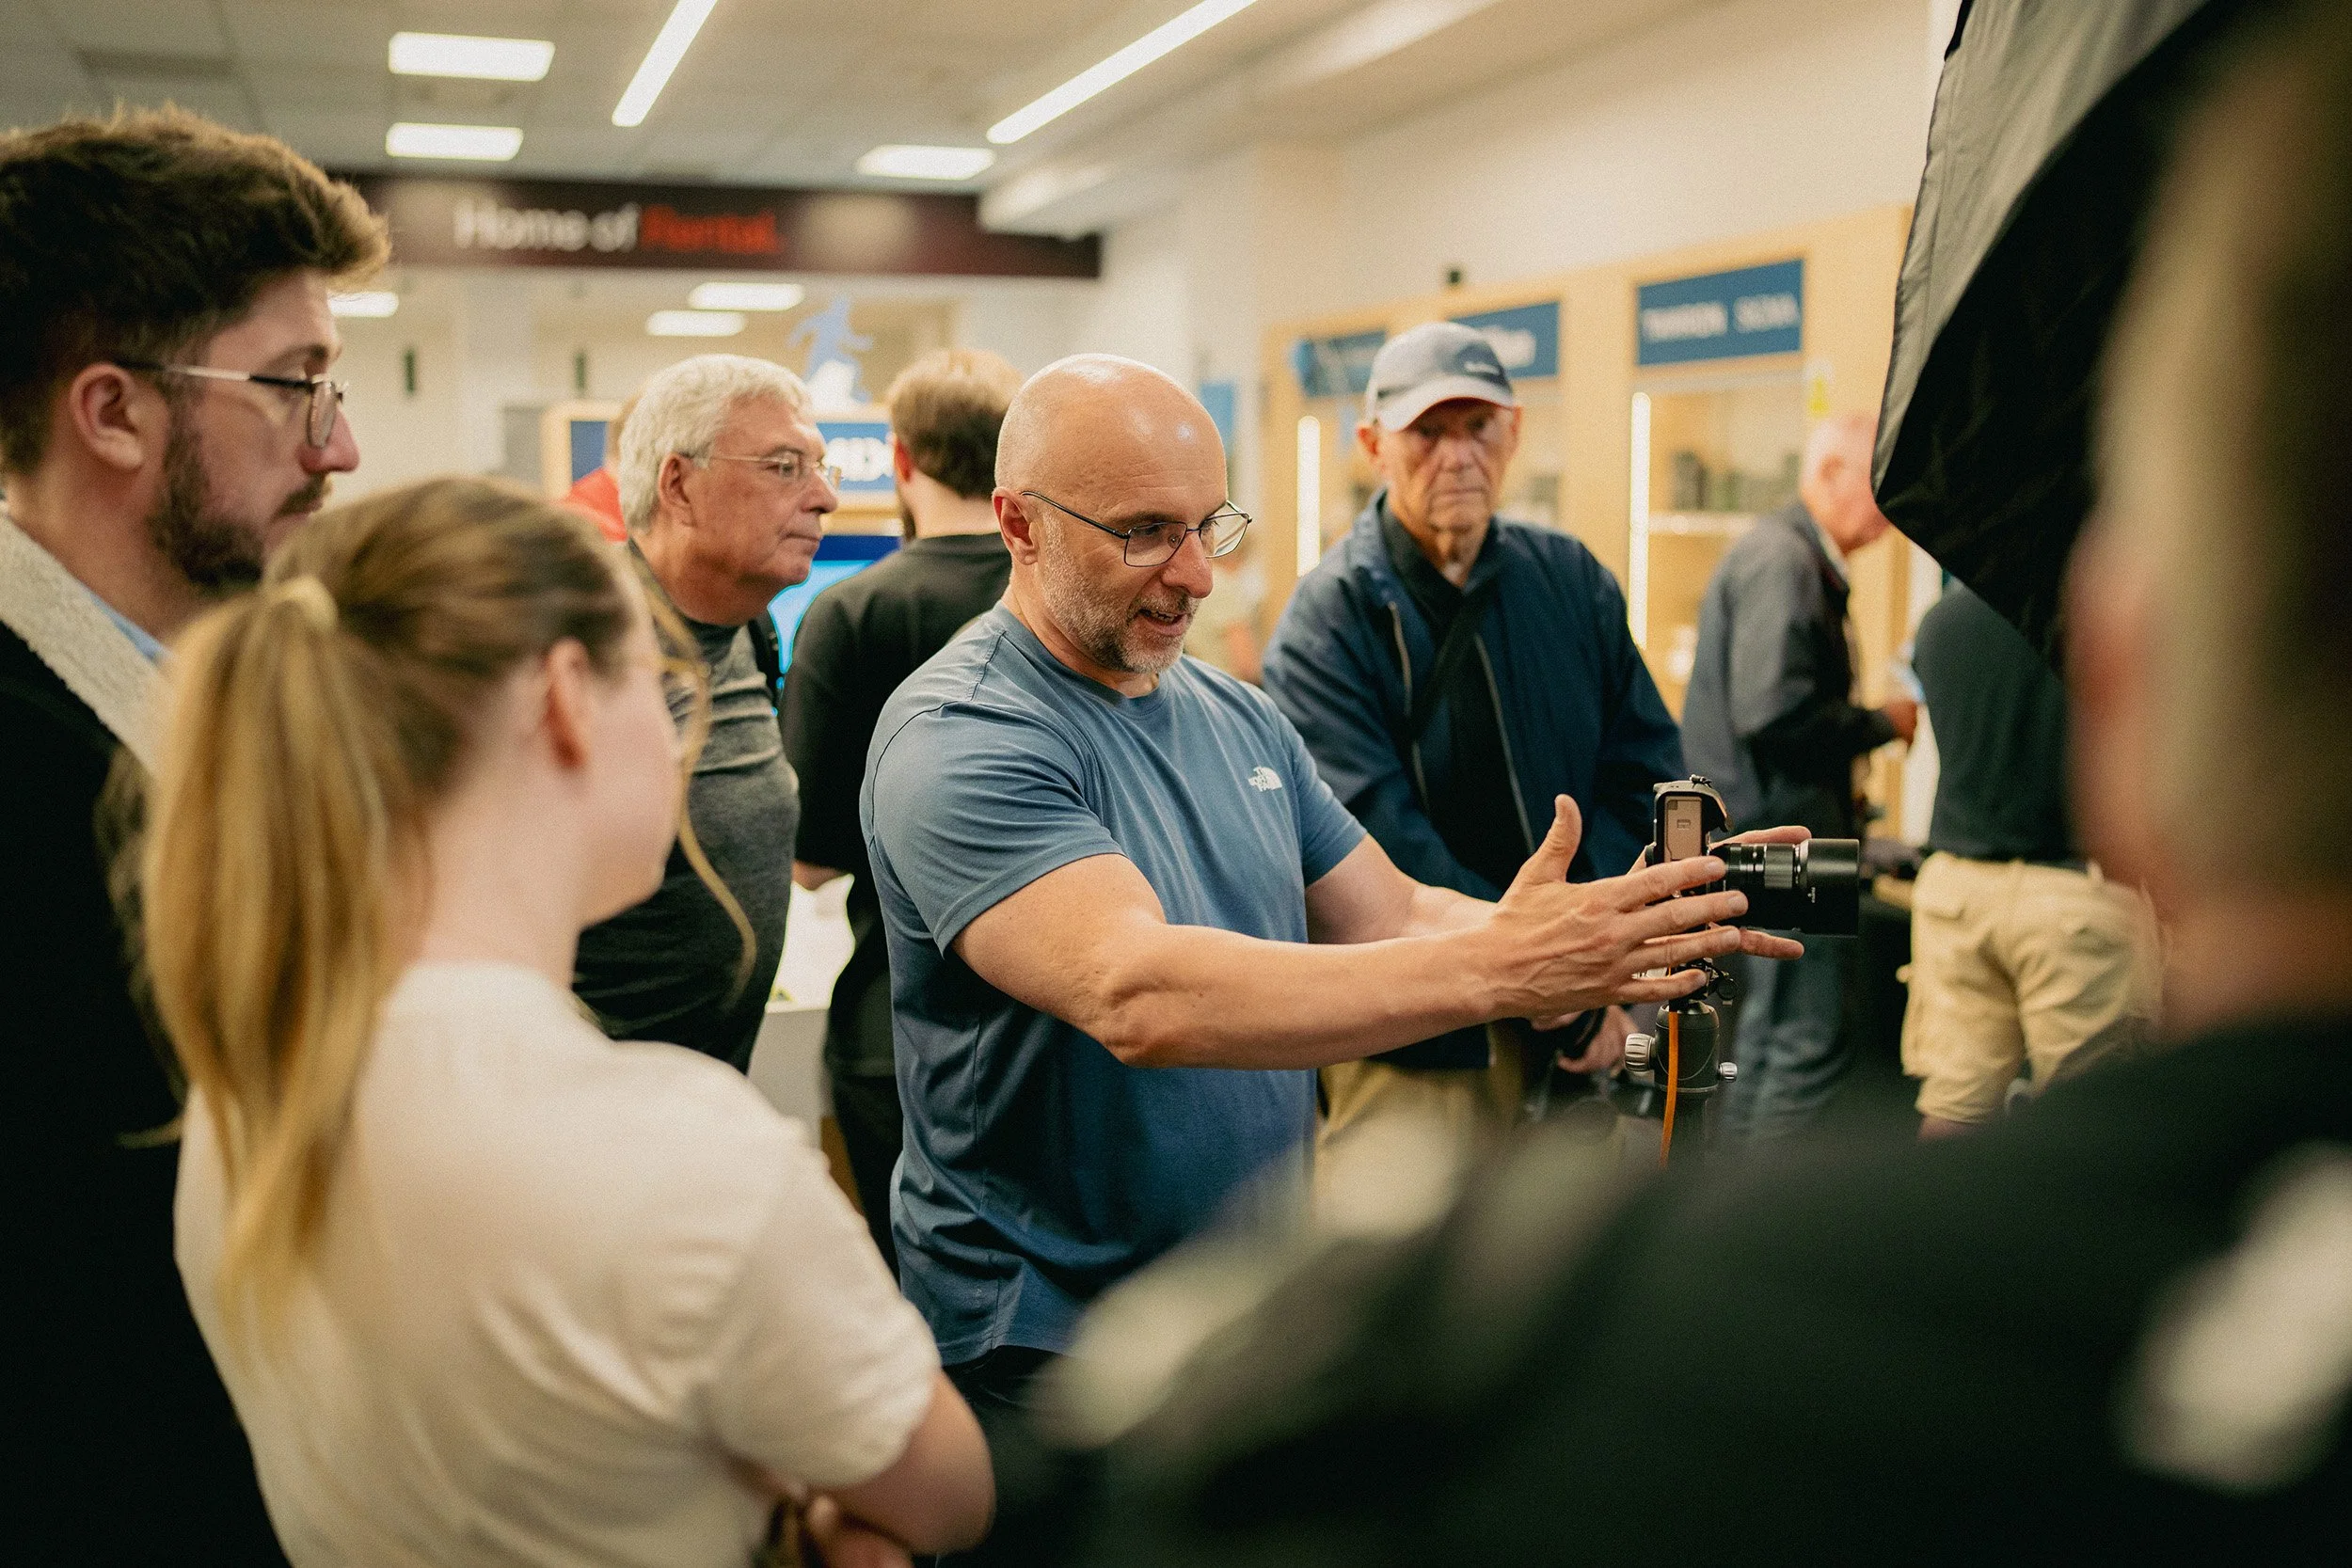
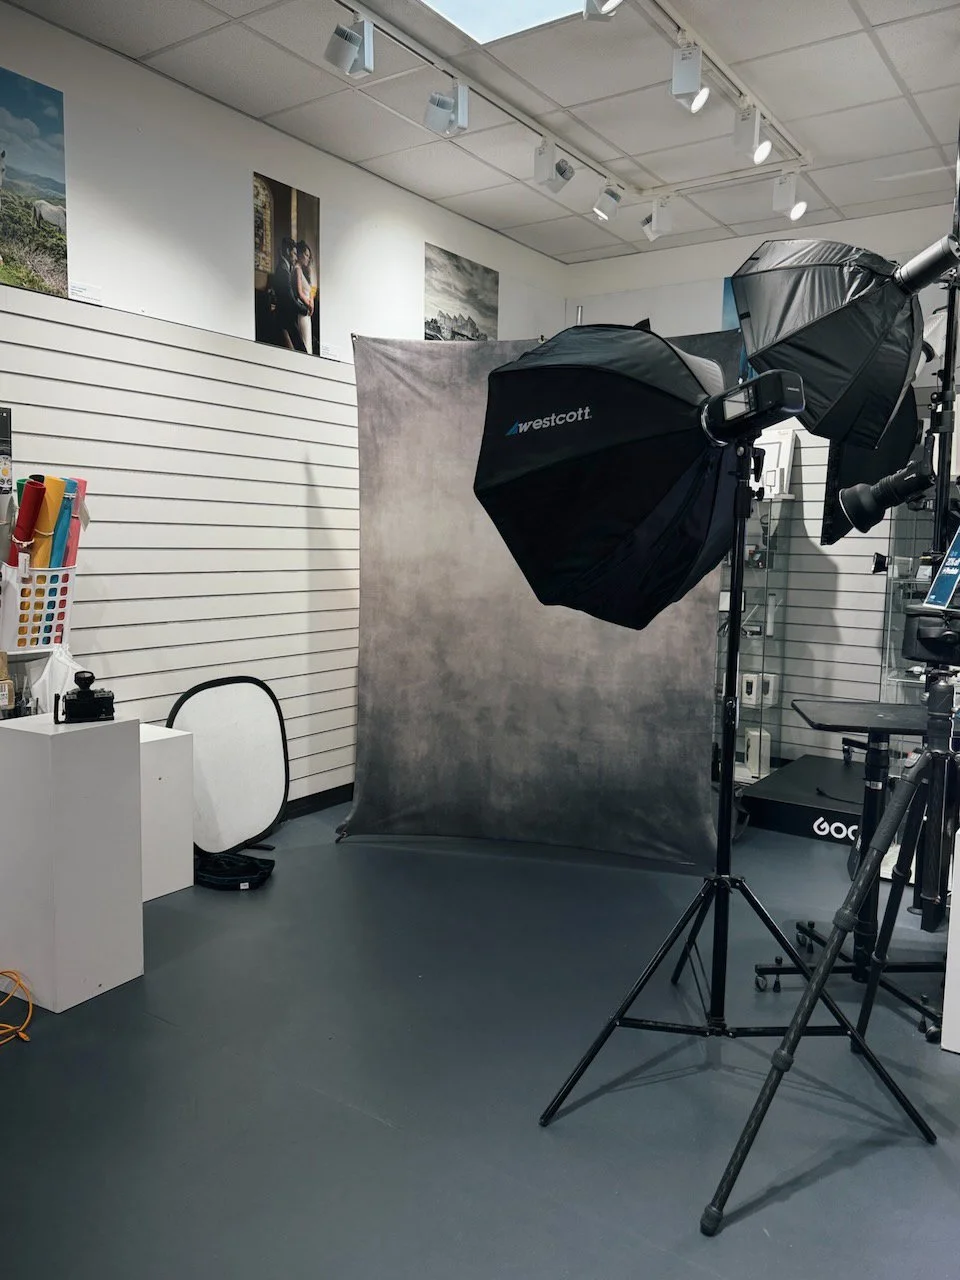
The idea behind these days is simple. I'm there on the shop floor, all day, showing people how I take classic, timeless portraits using minimal kit in a limited space, and when I say limited space, I really do mean it. Being on the shop floor, that's genuinely all the room I've got, which is exactly what makes it so authentic. There's no hiding behind a studio setup. It's just me, a small bit of kit, and whatever space I can carve out.

The kit I've been using is the same as I've had for a while now:

  • X-Drop Pro Background

  • My signature vintage grey backdrop

  • One light … either the FJ250 or the FJ400 from Westcott

  • White / Silver Reflector

  • My Fuji X-T5

  • Medium RapidBox Switch Octa from Westcott (36”)

That's it.

That's the whole point.

Showing people that you don't need a room full of gear to take a portrait you'll be proud of.

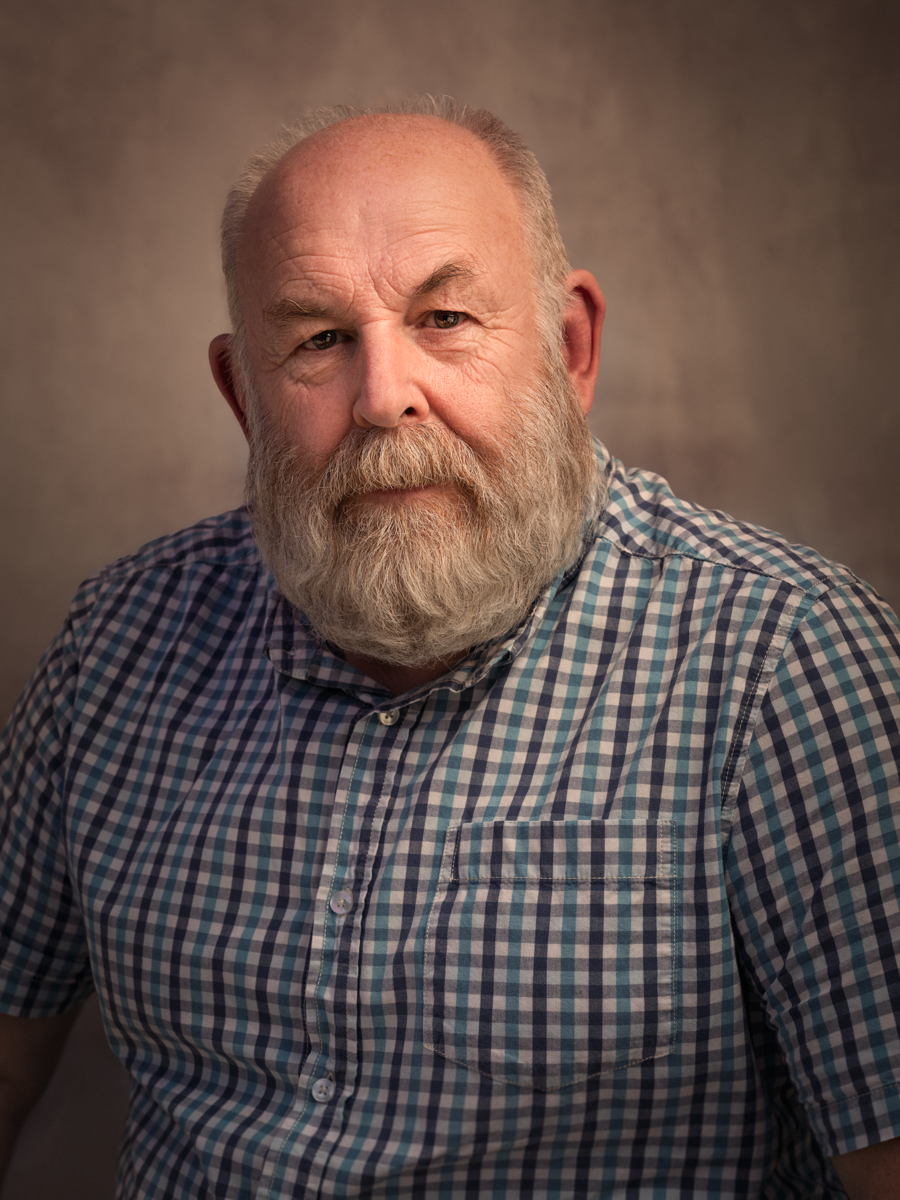
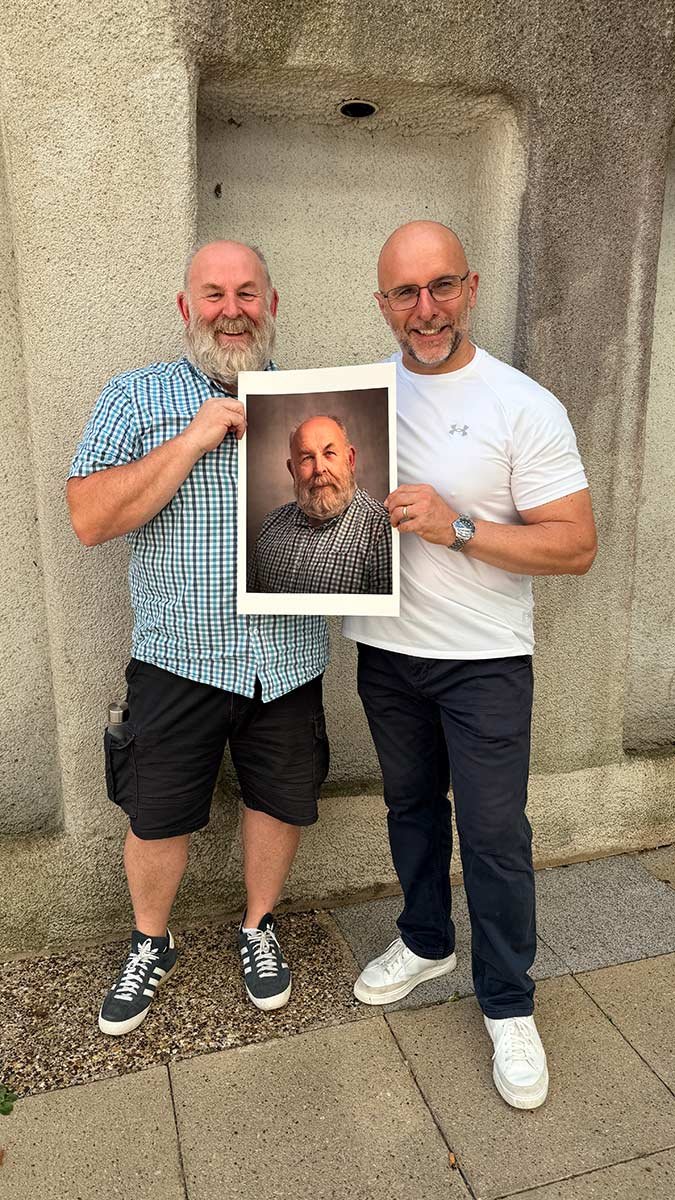
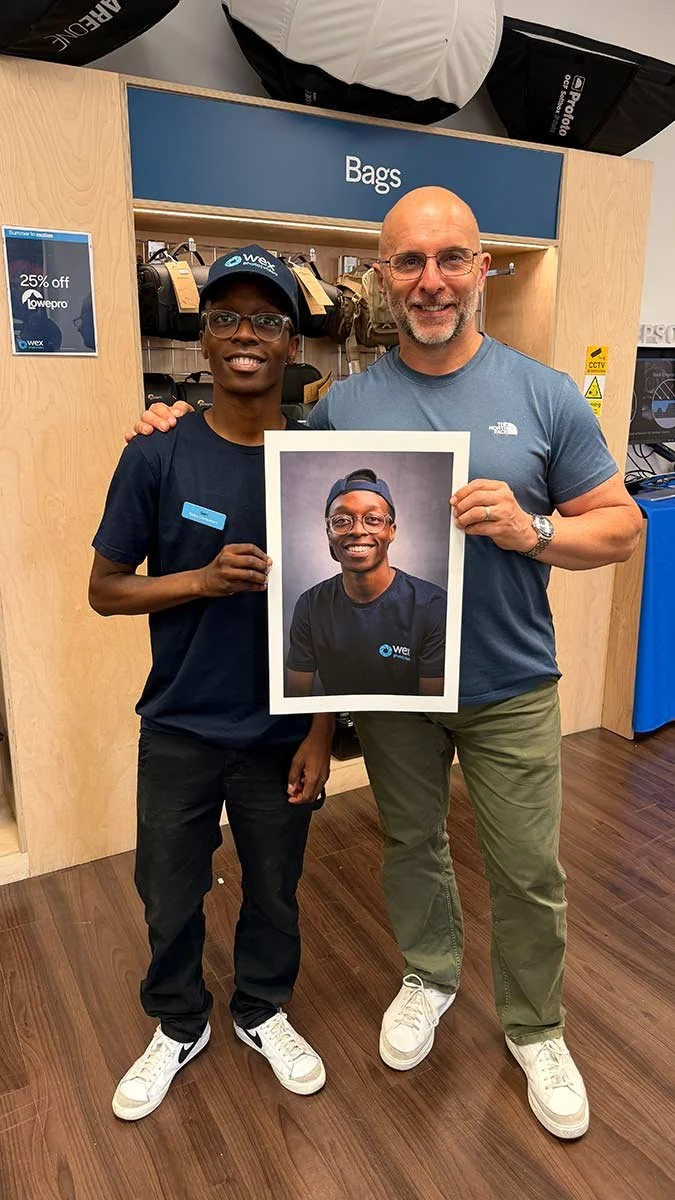
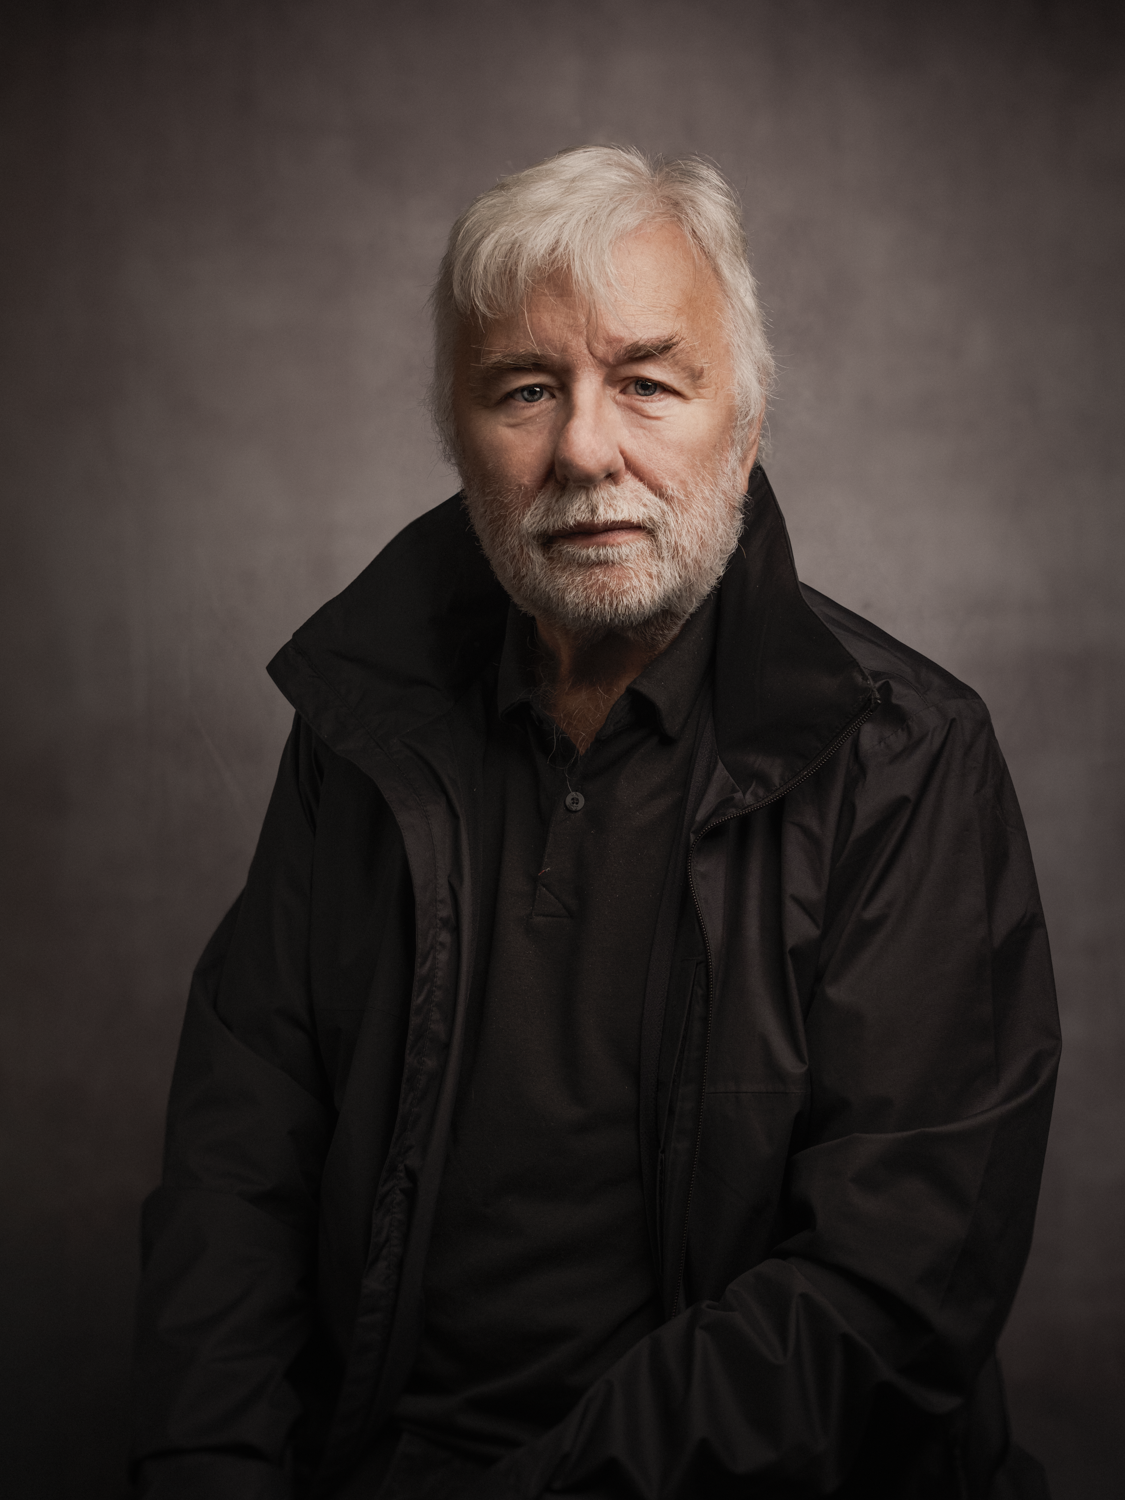
It's been a fantastic few days. I took some great portraits of friends along the way, and on the Thursday over at Bristol I grabbed Andre from Lumix for a slightly different kind of portrait, again using just that one light.

The Friday at Birmingham was really busy, and it turned into a day of constant repeat mini workshops, which I absolutely loved. Taking people through the process from scratch is my favourite part. So many of the attendees had never used flash, so being able to simplify it right down so it just clicks for them is such a good feeling. You can actually see the light bulb go on in their eyes when they get it.

One moment that stuck with me was chatting to a couple of gentlemen and walking them through it all. One of them handed me his camera, a Canon 200D with a kit lens on it.

Because the Westcott X-T1 M is a multi-brand trigger, I could switch it over from Fuji to Canon, pop it straight onto his camera, and take a portrait of his friend using that same single light. I edited the shots afterwards and sent them over, and they were over the moon with them. That's the bit that makes these days worth it.

The team at Wex

I also have to give a special mention to the staff, and in particular the team at Wex in Birmingham. They were so welcoming, so friendly and genuinely caring, and it made the whole couple of days an absolute pleasure.

Adele, the store manager is a sweetheart. She was incredibly attentive, constantly making sure everything was running smoothly. She even went so far as to sort out a salad for me on the second day, having picked up that I'm quite particular about the food I eat. That kind of thoughtfulness is just brilliant, and it doesn't go unnoticed.

Rees too, who I believe looks after sales for Wex across the south of the UK, was super friendly and attentive throughout … a lovely guy! Honestly, I couldn't have wished for more.

The TTL question

One thing that's come up again and again on this road show is how surprised people are that I'm using TTL with the flash.

Here's how it works. My camera stays in manual, so I can set the scene and get rid of any unnecessary ambient light, which really matters in the stores with all the mixed lighting going on, but the flash itself is on TTL.

TTL does all the hard work of calculating how much flash power you need. I take a shot, the TTL tells me what it thinks it needs, and I make an adjustment from there.

Then comes the really clever part.

Using the Westcott trigger, I use the TTL to Manual function and the trigger shows me exactly what the power output is. Once that's locked in, I can carry on shooting and get the exact same flash power shot after shot after shot. It's such a great way to work and removes any need for a flashmeter.

This coming week I'm in Manchester, and I might even dive a little deeper into that TTL to manual setting, because it's genuinely useful.

I'm loving this road show.

Loving meeting the people, and loving seeing folks get excited about something creative in their lives.

Bring it on.

Here’s a ( LINK ) to the remaining road show dates and locations … it would be awesome to see you there!

I Am Lyme: Nicola of Kathrens Rare Knitwear, Lyme Regis

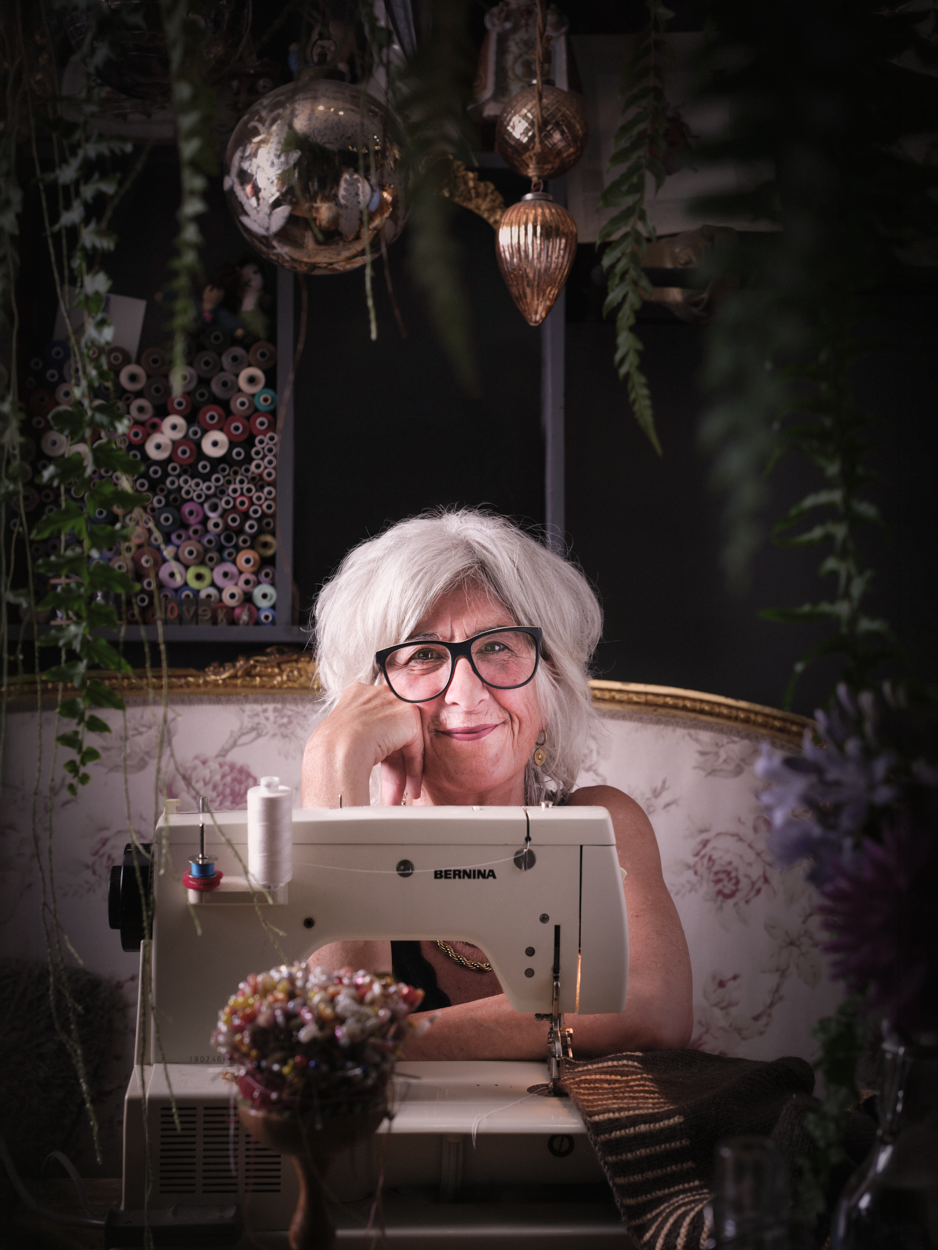
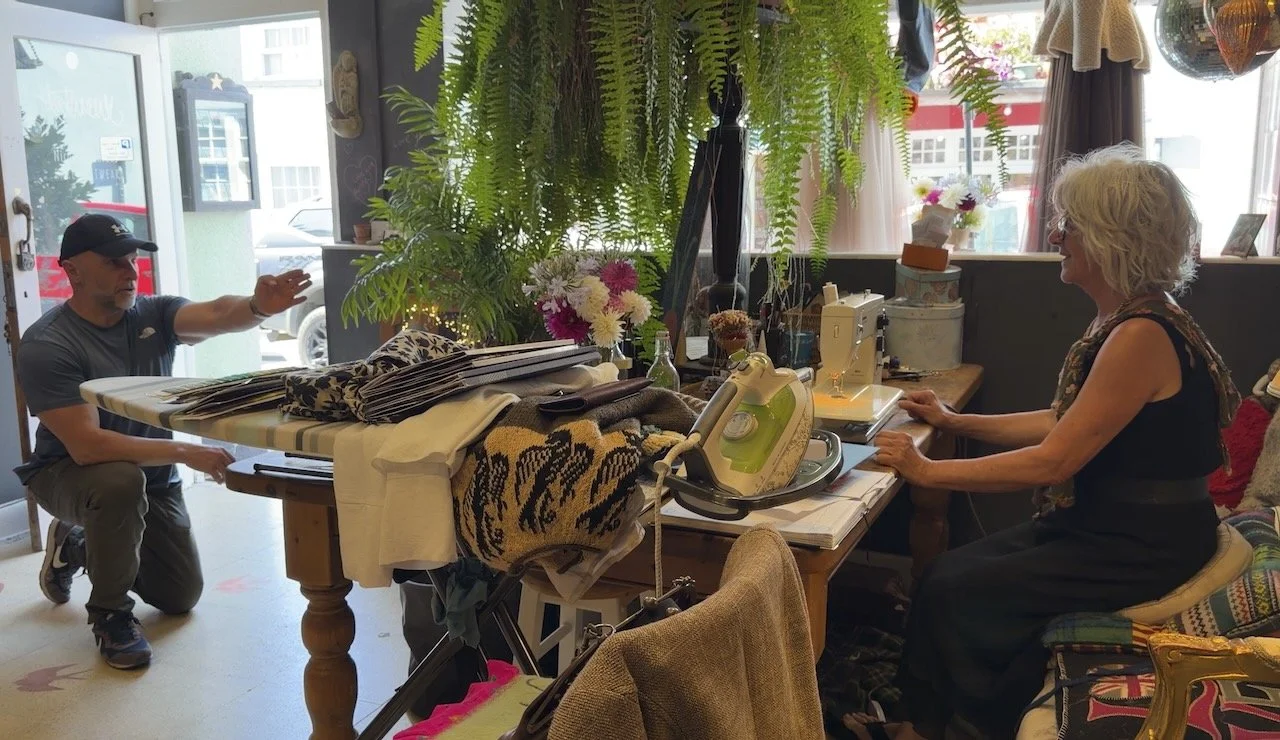
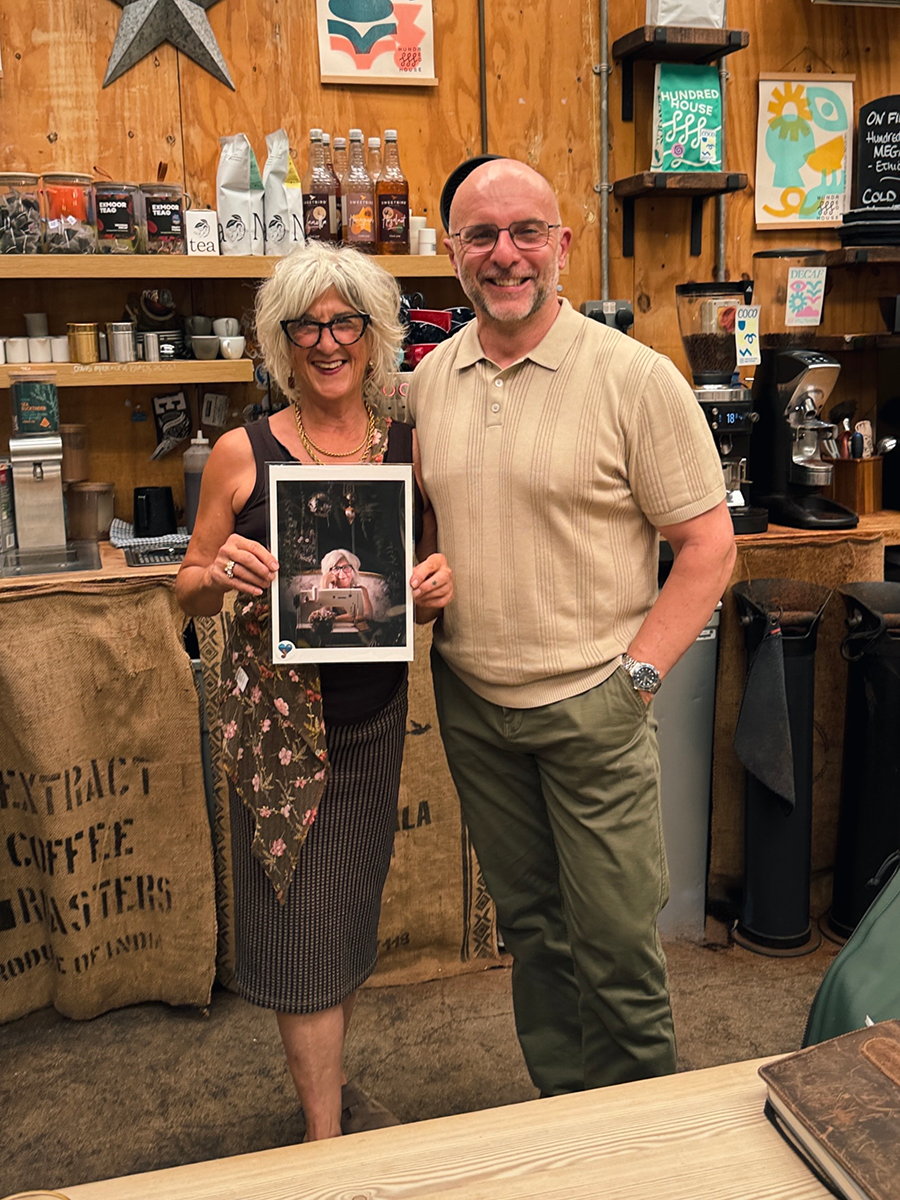
Last week I was out shooting another portrait for my I Am Lyme project, this time with the wonderful Nicola Kathren, who owns Kathrens Rare Knitwear on Coombe Street in Lyme Regis.

I'd known of Nicola for ages but we'd never actually met, until Sarah from the Town Mill Bakery introduced us a week or so ago while I was there grabbing some breakfast. We hit it off straight away, got a shoot organised, and on the day my mate Anthony Crothers drove over from South Wales to lend a hand.

The idea

Nicola has this big desk where she sits with her sewing machine and all her day-to-day bits around her, so it made sense to photograph her right there seeing as I Am Lyme is about the people who make this town what it is; an environmental portrait of her in her own space, doing what she does, felt exactly right.

The setup

Nicola’s desk sits right by the shop's big front window, which looks straight out onto the narrow road outside. When the light comes through that window it's fantastic, but at the time we were shooting there just wasn't enough of it. It's a narrow street with tall buildings opposite, so they block a fair bit of the natural light, and at midday the position of the sun meant the shop front was sitting in shadow for much of the time.

The first challenge was actually the window display; we had to carefully reposition the mannequins so as not to disturb it, while still leaving enough of a gap for the light to come through.

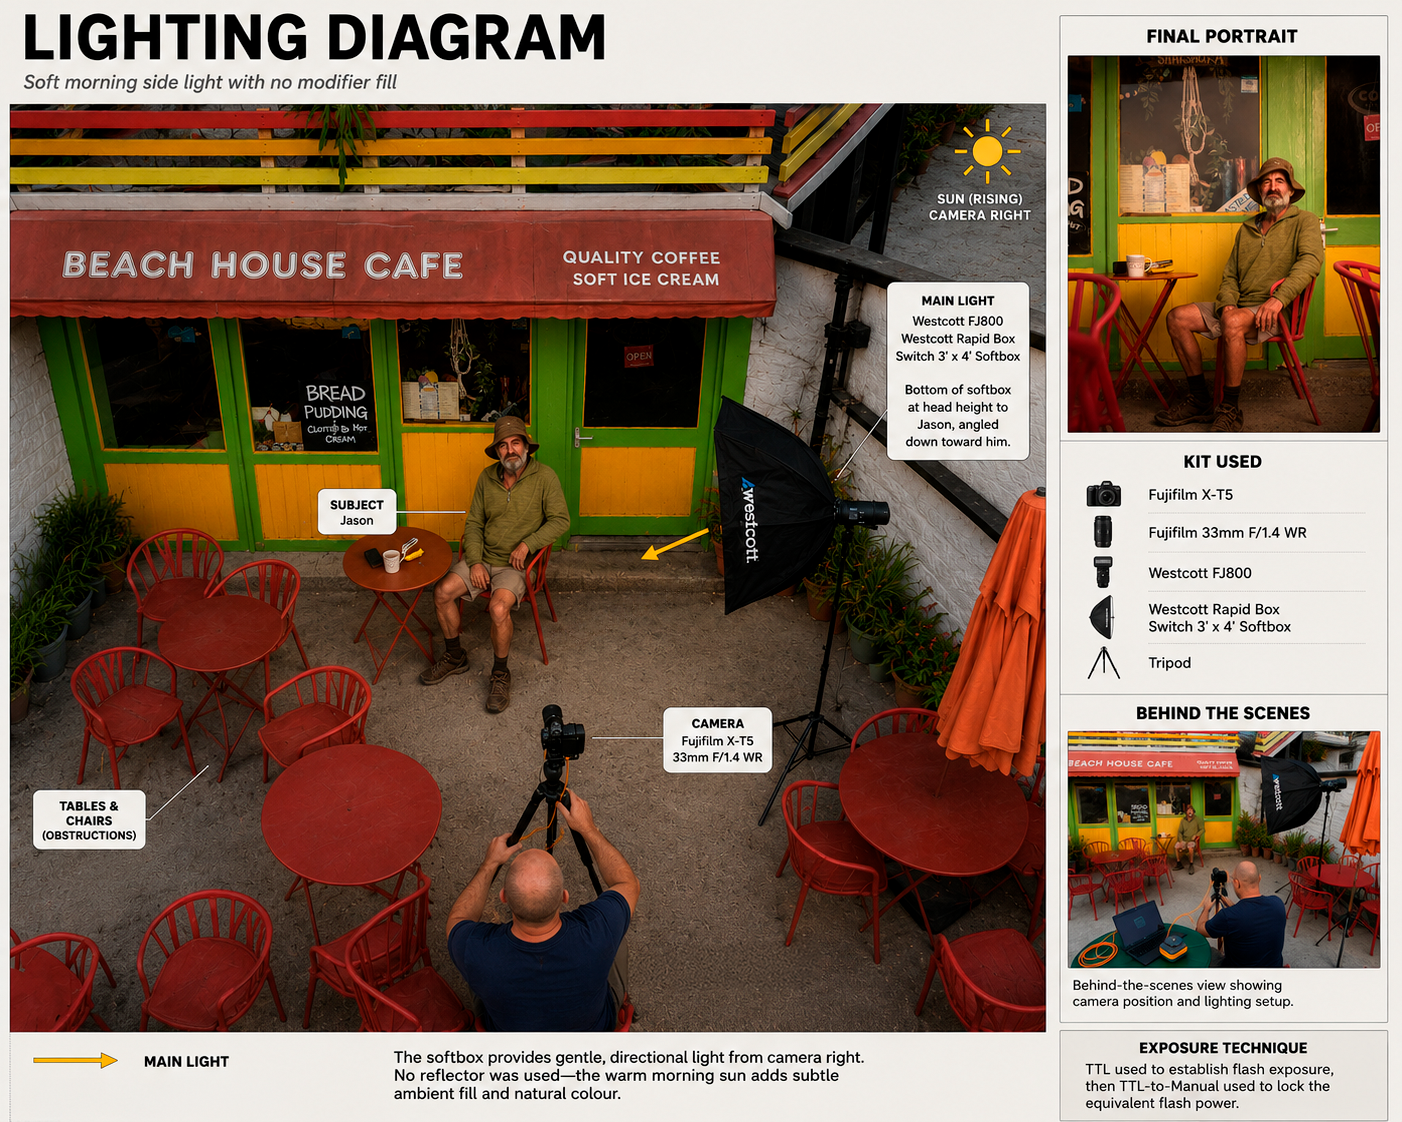
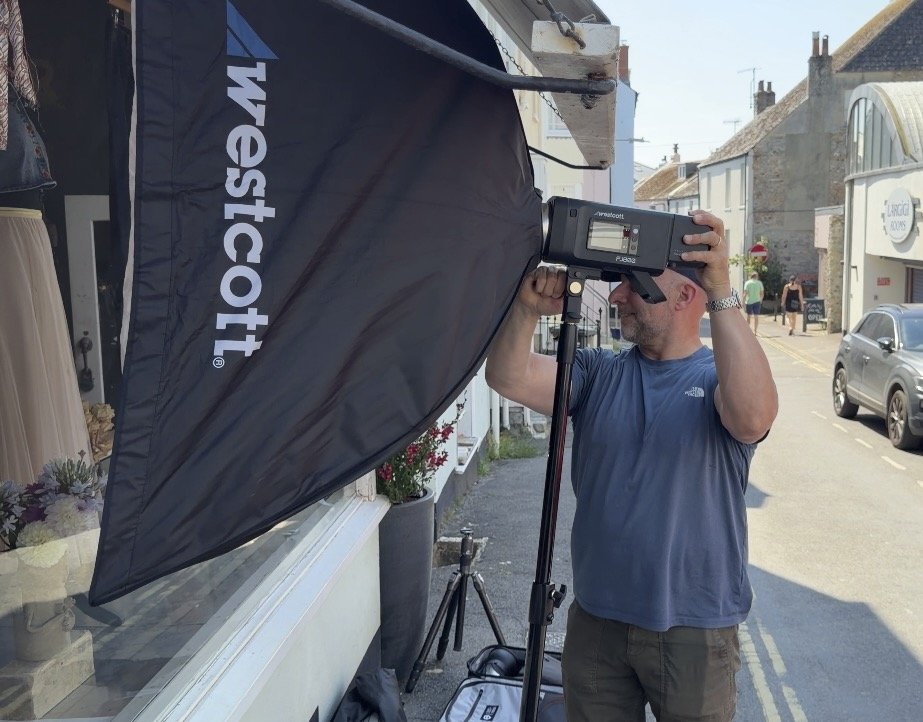
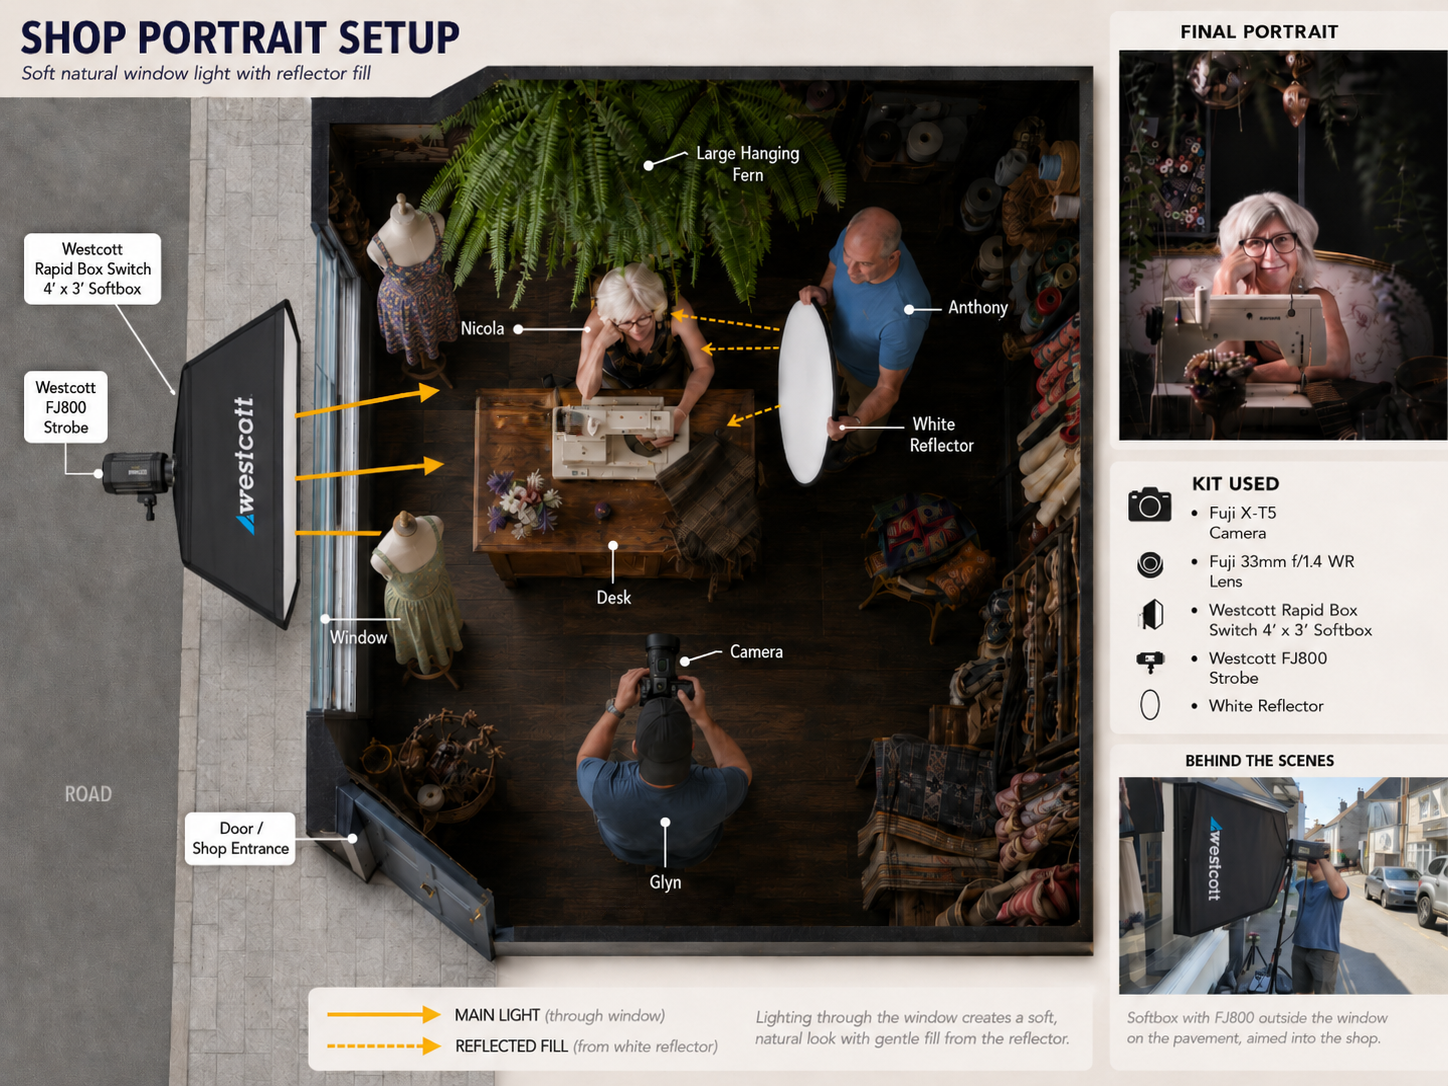
Keeping things simple, I went with one light, but this time I put it outside, pressed against the window, essentially to create my own window light. The direction of that natural window light and what it did was absolutely stunning; I just needed more of it.

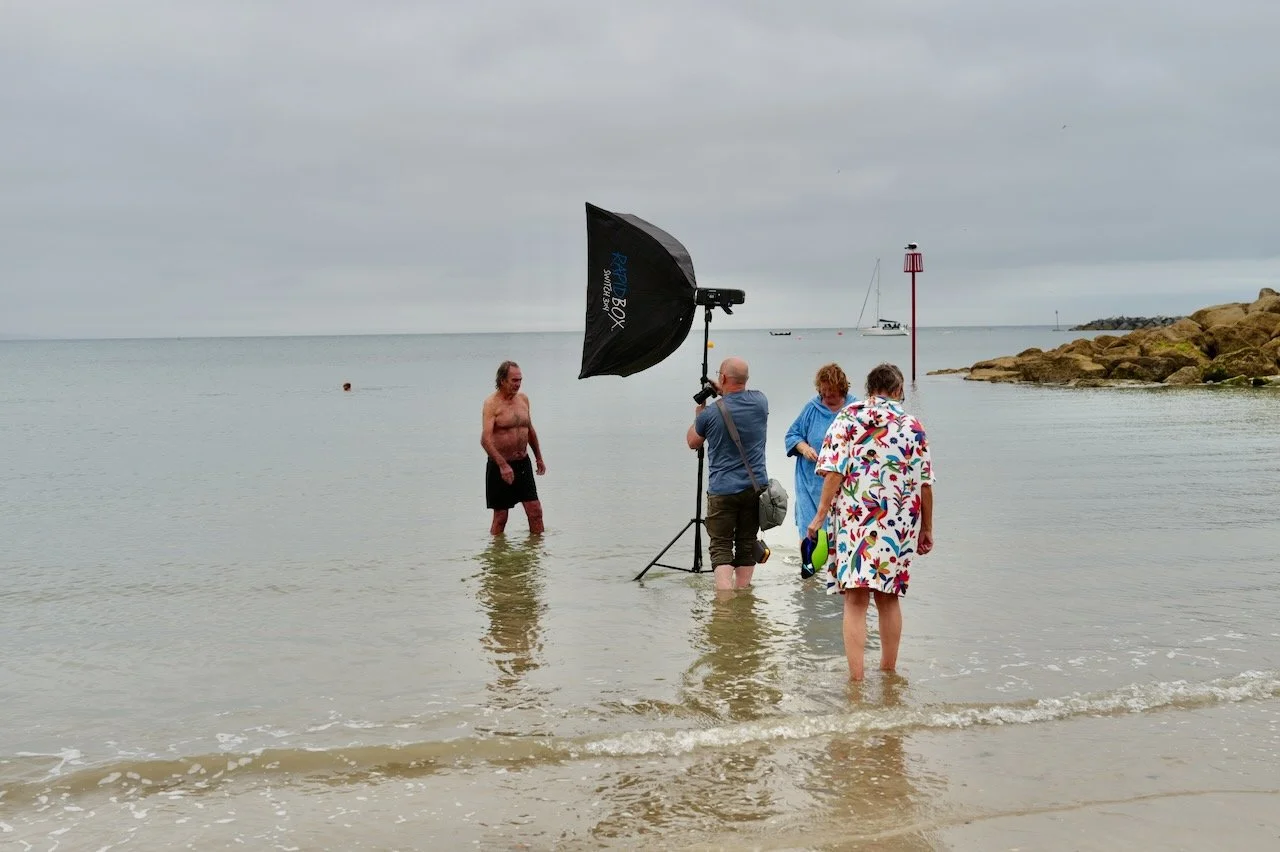
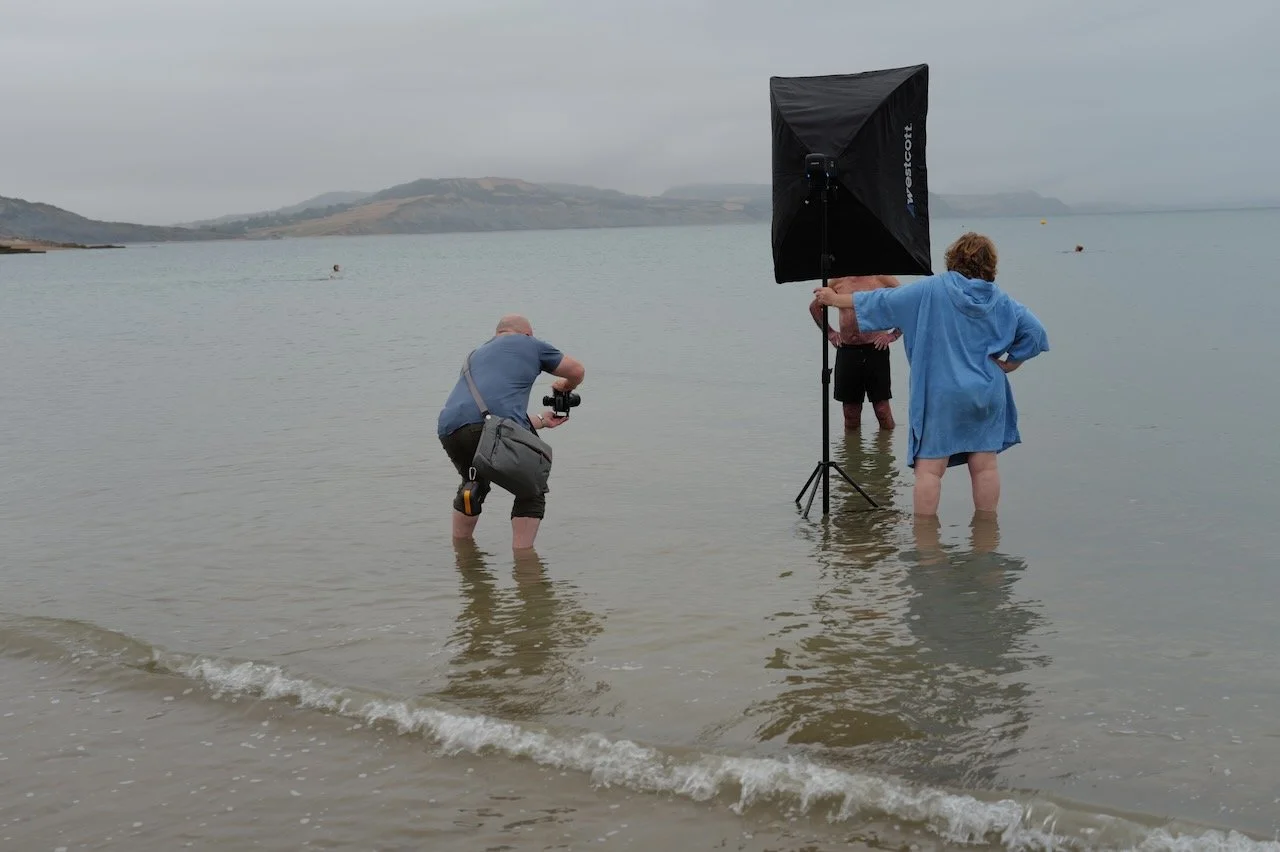
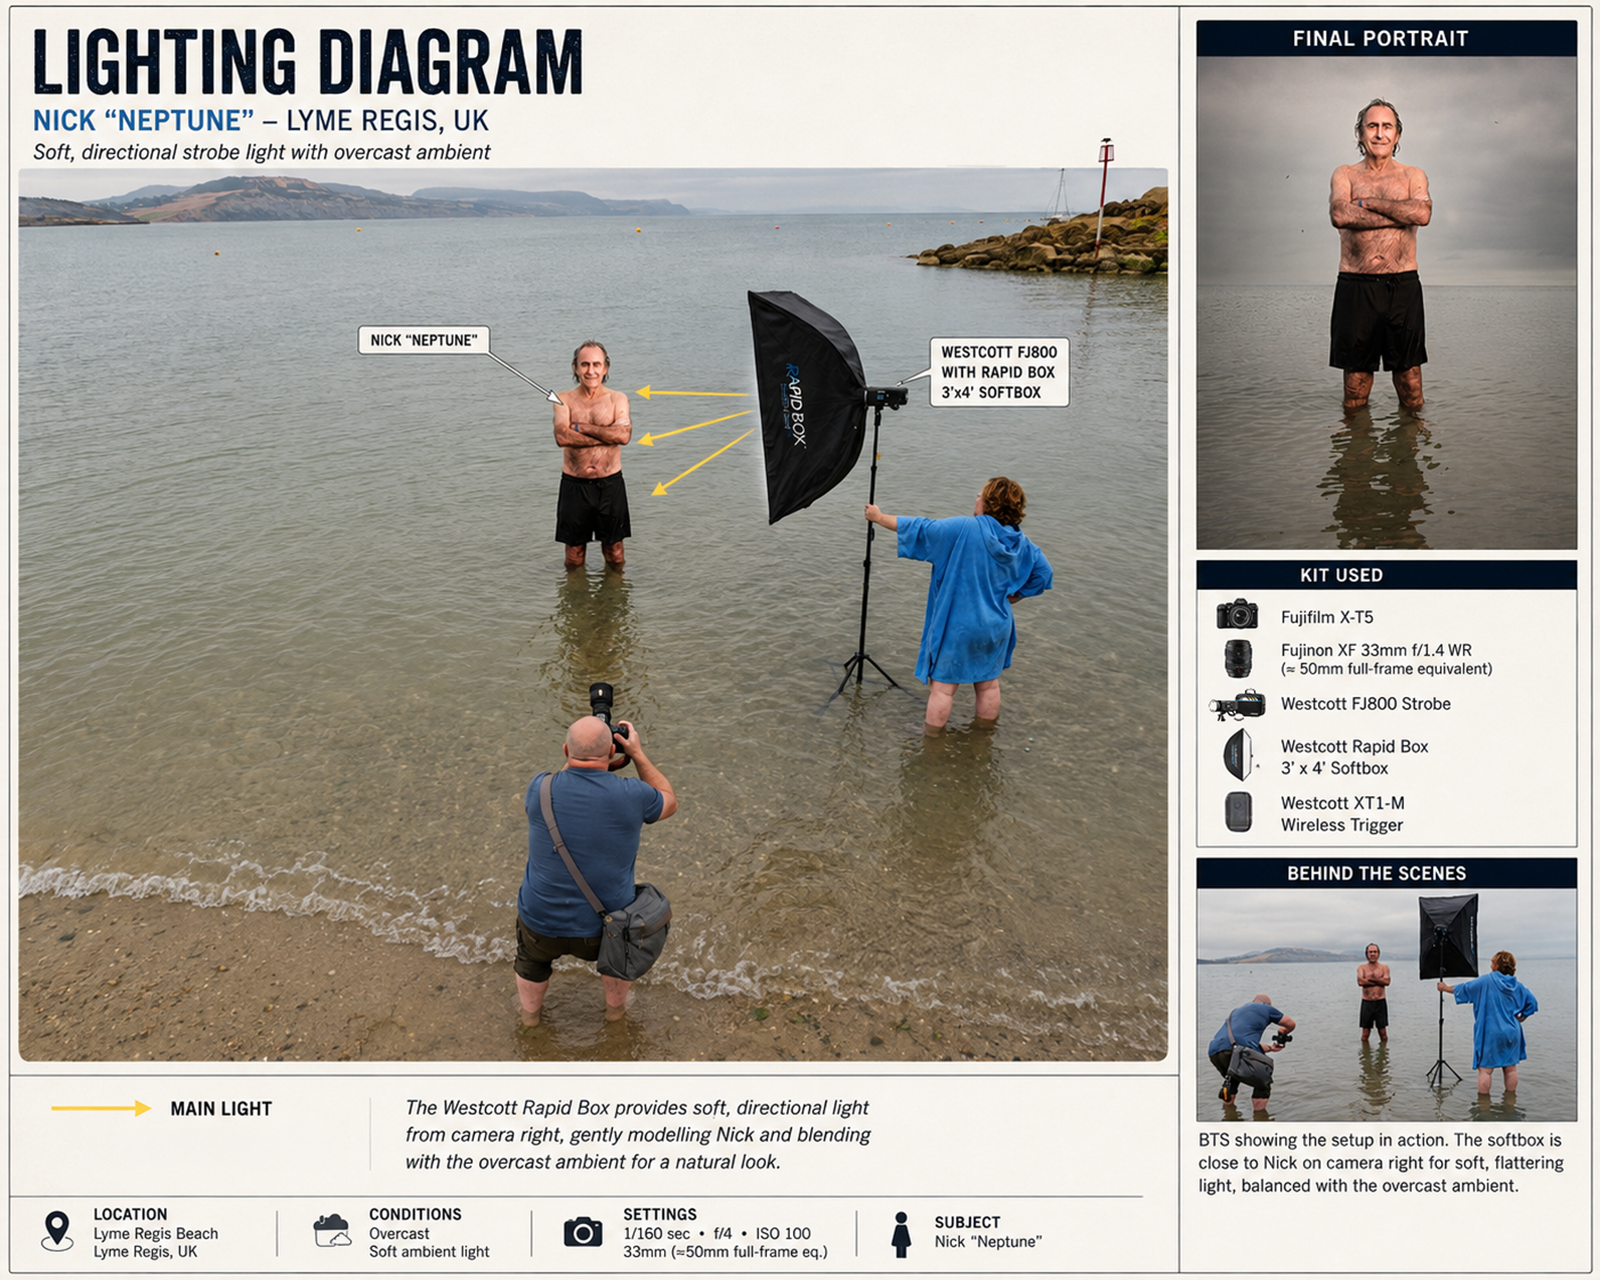
So I set up the Westcott Rapid Box 4x3 softbox and the Westcott FJ800 on the pavement, firing in, to enhance the direction that was already there rather than fight it, so it still read as natural, even though it was being lit.

Nicola's camera-right side needed a little lift, so Anthony stood just out of frame holding up a white reflector to bounce a touch more of that softbox light back onto her. I tried the silver side first, but it was too much … it flattened everything out and almost removed the shadows completely. The white gave just the gentle lift I was after.

The shoot

It only took a few minutes to get everything up and running, so Nicola sat at her sewing machine and we just chatted. It felt like a conversation with the odd frame grabbed along the way, rather than a "shoot."

Then, in a lull, she rested her head against her hand and looked completely relaxed. That was the moment, and it came about naturally rather than being posed.

I was aiming the camera at Nicola through a gap in the big overhanging fern because I really wanted to add some layers to the image and show exactly the creative environment she works in.

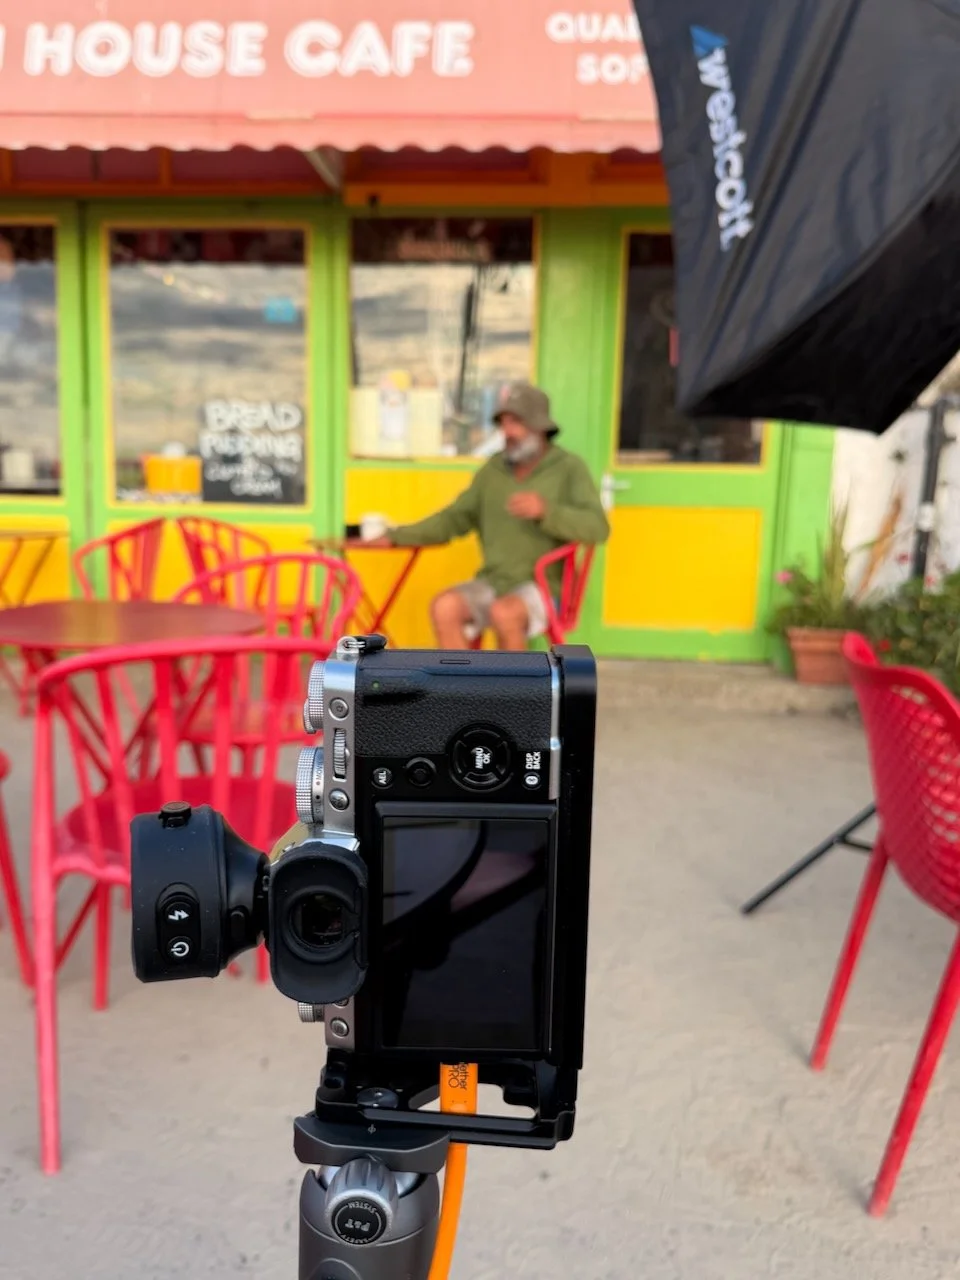
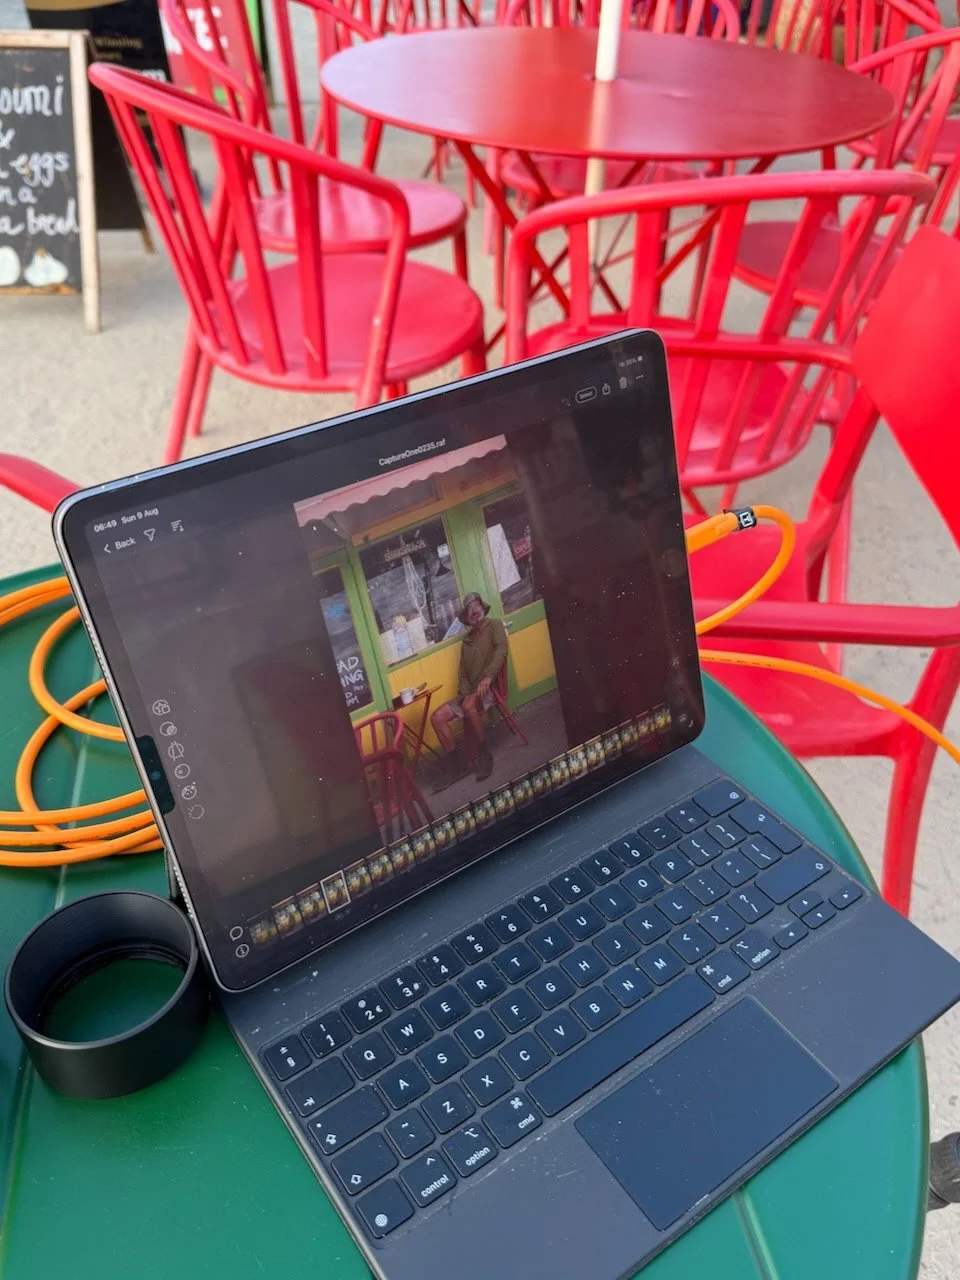
Shot on the 33mm on my Fuji X-T5 (50mm equivalent), on a tripod, tethered into Capture One Mobile so I could see everything coming through as we went. Start to finish, about 45 minutes.

A brilliant shoot with a wonderful person.

What's next?

Keep ‘em peeld because very soon the I Am Lyme website will GO LIVE with the dates organised for the exhibiton in Summer 2027, to be held in the Town Mill Gallery.

Onwards and upwards 😃

🚨 Check out Kathrens Rare Knitwear, Lyme Regis ( LINK )

Explained: HSS (High Speed Sync) versus ND when using Flash

High-Speed Sync, or HSS, is a flash mode that lets you use flash at shutter speeds faster than your camera's normal flash sync speed.

For most cameras, normal flash sync speed sits around:

1/160 sec, 1/200 sec or 1/250 sec

Go faster than that and HSS becomes essential.

What High-Speed Sync Actually Does

Normally, when you take a flash photo, the flash fires one quick burst of light while the shutter is fully open. At normal sync speeds, that works perfectly.

But push past your camera's sync speed and the shutter is no longer fully open at any single moment. Instead, a narrow slit travels across the sensor. If the flash fired just one burst at that point, only part of the frame would be lit, leaving you with a dark band across the image.

HSS solves this by making the flash pulse rapidly for the entire time that slit is travelling across the sensor. So instead of one big pop, you get lots of tiny rapid pulses instead.

Why I Use It

The main reason is simple: it lets you shoot with wider apertures in bright light.

Say you're outside on a sunny day and you want to shoot a portrait at f/2.8, f/2, or even f/1.4. That gives you shallow depth of field, a blurred background, nice separation, and that more polished portrait look.

The problem is, in bright daylight, a wide aperture often forces your shutter speed up to something like 1/1000 sec, 1/2000 sec, or even 1/4000 sec. Without HSS, your flash simply won't sync properly at those speeds. With it switched on, you can keep that wide-aperture look and still use off-camera flash.

What It's Really For

Here's where a lot of photographers get it wrong: HSS isn't really there to freeze action. That's a common misunderstanding.

Its real purpose is to give you control over ambient light while still using flash. It frees up your shutter speed, which means you can darken the background, hold onto detail in a bright sky, shoot wide open, and still light your subject properly with flash.

Put simply: HSS lets you make daylight behave itself.

How I Use It in Practice

A typical off-camera flash setup with HSS goes something like this.

1. Set your exposure for the background first

Start without flash. Choose your aperture, for example f/2.8, and set your ISO low, around ISO 100. Then adjust your shutter speed until the background looks the way you want it. In bright daylight, that might mean 1/1000 sec or faster.

At this point your subject is probably too dark. That's where the flash comes in.

2. Turn on HSS

You'll usually need to enable HSS on the flash trigger, the flash head, the camera's flash menu, or sometimes all three, depending on the system. With Westcott, Godox, Profoto, Canon, Nikon, Sony and so on, the exact menu or button differs, but the principle is the same. Look out for HSS, High-Speed Sync, FP Sync, or a lightning bolt with an H next to it.

3. Add flash to light your subject

Position your off-camera light where you want it. For portraits, I'll usually go for around 45 degrees to the subject, slightly above eye level, using a softbox, beauty dish or umbrella, and close enough to keep the light soft and powerful. Then adjust your flash power until your subject looks right.

4. Balance flash and ambient

Think of it this way: shutter speed controls the ambient light, flash power controls the light on your subject. In HSS, that's mostly true, but there's one important catch. Because HSS reduces flash power, very fast shutter speeds will also make your flash work a lot harder.

A Simple Example

You're photographing someone outdoors at golden hour, or in bright sun. You want a blurred background, a dramatic sky, and your subject nicely lit.

Settings might look like this:

  • ISO 100

  • f/2.8

  • 1/2000 sec

  • HSS turned on

  • Flash in a softbox, off-camera

The shutter speed brings the bright background down. The flash brings your subject back up. That's HSS doing its job.

Why Not Just Use Normal Flash Sync?

At normal sync speed, say 1/200 sec, bright daylight might force you to use f/8, f/11 or even f/16. That gives you more depth of field, so the background is sharper.

That can work fine for some shots, but if you're after that more cinematic, shallow-depth portrait look, it becomes limiting fast. HSS removes that restriction entirely.

The Limitations of High-Speed Sync

HSS is brilliant, but it's not without trade-offs.

1. You lose flash power

This is the big one. Because the flash is pulsing rapidly rather than firing one full burst, the available power drops significantly. The faster your shutter speed, the more power you lose. At 1/4000 sec, your flash has nowhere near the effective reach it has at 1/200 sec.

2. You may need the flash closer

With less power available, you'll often need to bring the light in closer to your subject. That's not necessarily a bad thing, closer light is usually softer, but it can be a problem if you need to light someone from further away.

3. Battery drain is higher

HSS makes the flash work harder, which means more battery use, slower recycle times, more heat, and fewer shots per charge. Fine for a quick portrait session. Worth thinking about for fast-paced shoots, events, or long days.

4. It's not ideal for overpowering the sun

You can use HSS in bright sunlight, but if your goal is to completely overpower harsh midday sun, you need a genuinely powerful light. Small speedlights tend to struggle here. Something like a Westcott FJ400, or similar, is much better suited to the job.

5. It can be less efficient than an ND filter

An ND filter lets you keep your shutter speed at normal sync speed while still shooting wide open. For example:

  • ISO 100

  • f/2.8

  • 1/200 sec

  • ND filter fitted

  • Flash at normal sync

This keeps far more flash power in reserve. So the real choice often comes down to this:

HSS is faster and simpler, with no filter needed. An ND filter gives you more flash power, but it's slower to work with.

HSS vs ND Filter

Use HSS when:

  • you want to work quickly

  • the light is changing

  • you don't want to mess about with filters

  • you're shooting portraits outdoors

  • you need flexibility with shutter speed

  • your flash has enough power to spare

Use an ND filter when:

  • you need maximum flash power

  • you're working in very bright conditions

  • your flash is struggling to keep up

  • you want to stay at normal sync speed

  • you're happy taking a little more time

Neither is better than the other. They're just different tools for different jobs.

The Big Thing to Remember

High-Speed Sync is mainly about creative control. It lets you shoot with flash at fast shutter speeds so you can use wide apertures, darken the ambient light, hold onto detail in bright backgrounds, create separation, and light your subject properly outdoors.

The price you pay is reduced flash power. So the practical rule I stick to is this:

Use HSS when you need the shutter speed. Avoid it when you need maximum flash power.

That's HSS in a nutshell. It gives you freedom, but it charges you for it in flash output.

Portrait using a 55mm Prime and LED Lighting

I’m currently trying out a new portrait style for me using a different lens focal length than what I’ve used for a while now, and also adding in an additonal light to my usual one-light set up.

For some time I’ve used the Sony 85mm G Master lens with my Sony A7RIV and have and still do love it for the quality and sharpness of the files it produces. However I’m now going to be using a 55mm focal length … my Zeiss f/1.8 Prime Lens.

It’s hard to put into words what I’m really liking about the look the lens gives … it’s just different. Some would say that it gives a much more realistic ‘as the eyes see it’ look but I guess that also depends on how close to the subject you position yourself.

I also like how the focal length means you’re much closer to the subject, making the portraits much more intimate and revealing of the person being photographed ... if that makes sense.

I’m also, like I said, using an additional light with this new look I’m working on; both of which are LED Constant lights.

I’ve been using the 60W Westcott L60-B COB LED for a while now but a few days ago I received the new 120W L120-B COB LED; a slightly bigger unit with the advnatage that no adaptor is needed to fit any of my light modifiers.

So the portrait of my friend Anthony above, I took using one of the grey walls in my office as the background; here’s the set up showing the positon of the lights …

LIGHTING

Westcott L60-B COB LED fitted with a square Westcott Pocket Box Softbox rear and camera right and positioned so that it added both a bit of light onto the background but also a hint of light onto the camera right side of Anthony’s head.

Westcott L120-B COB LED fitted with the 24” Rapid Box Switch Softbox

Westcott 2-in-1 Reflector (silver and White) with silver side uppermost

*NOTE: If you’re looking to invest in Westcott Kit, then give me a shout and I’ll pass on a Discount Code

Westcott L120-B COB LED

Westcott 24” Rapid Box Switch Beauty Dish

Westcott Pocket Box Speedlight Softbox Kit

camera settings

  • Aperture: f/5.6

  • Shutter Speed: 1/60sec

  • ISO: 1250

When taking Anthony’s portrait I was experimenting with different apertures to see hat I prefered for this new look; f/2.0 , f,4.0 , f/5.6 and actually liked the look of f/40 as with the 55m lens it gave a great depth of field with the tip of the nose in foucs and then from the ears losing focus.

However, I mistakenly left the camera in f/5.6 so during the retouching in Lightroom I used the Lens Blur to convincingly fake the depth of the field.

retouching in lightroom

The portrait I retouched using only Lightroom and I’ve added it into my Lightroom Community Profile Page

When you go to my Lightroom Community Profile Page, click on the portrait and this will then take you to where you can see all of the retouching steps I did to the ‘out of camera’ file. You can also save the settings as a preset to use on your own images and even click on Remix to get access to a Smart Preview of my original file and have a go at retouching it yourself.

Beyond the Flash: Unlocking the. Potential of Constant Lighting in Photography

On Thursday of last week I had the pleasure of being invited to be part of Wescott Wednesday hosted by B&H Photo Video on their Event Space.

As I’m using Constant Flash more and more these days for when taking portraits I was asked to talk about my experience and how / why I feel that it has made such a positive impact on how I portraits, but not just for me but also the person being photographed.

The recording of the LIVE Broadcast I’ve added below, in which I go through what constant light I’m using, how I’m using it and also go through tips on how I take portraits in which I hope you’ll see how good constant light is to combine with them.

HUGE thanks to Westcott for inviting me to speak and also to the great folks at B&H who do such a great job hosting and preswenting these events.

Westcott Wednesday: Unlocking the Potential of Constant Lighting

So here’s a date for the diary …

In conjunction with Westcott and B&H Photo and Video, on the 15th May @ 3pm EDT (8pm UK) I'll be on "Westcott Wednesday" going through the WHY, WHAT and HOW of using Constant Lighting when taking portraits.

Thid will be the latest installment of the regular Westcott Wednesday series hosted by B&H in which I’ll be, as the description says …

Join us for this presentation as Photographer Glyn Dewis takes us through a journey shifting from traditional flash to constant lighting in portraiture. With a mix of image examples and behind the scenes, Glyn will explain how constant lighting has become the cornerstone of his portrait work, injecting a newfound level of creativity and enthusiasm into his photography.

“At first, using constant light almost felt like cheating but I’ve since completely changed my mind because aside from being under no illusion of the results I get and the ease of setting up, more than anything it enables me to concentrate even more on the person in front of my camera and the concept we’re working on.”

Oh and this event is FREE , will last about 1 hour and will be over on the B&H Event Page on YouTube ( LINK )

Classic Portraits with Constant Light

Recently I was back with friends in the studio taking portraits, and this time getting Steve in front of my camera to try out some ideas I’d stumbled across when browsing Pinterest that I thought would be another good excuse to get my L60-B constant light out for.

Pinterest

I’ve used Pinterest for years as a great place for not only finding inspiration by looking at the work of photographers I admire like Annie Leibovitz and Mark Seliger, but also a great tool for looking how other photographers pose their subjects, which lets face it can be awkward at times. 

Finding a balance between what you want but also making the pose look natural and the subject comfortable can be challenging to get right but I’ve always found it a massive help when you can guide your subject on what you’re looking for by showing them a picture.

Anyway, these here are some of the looks and poses I was really interested in …

Model for the Day

Model for the day was my dear friend Steve Healy whom I’ve known for years. 

There was a time when for quite a while we’d not met up because of Steve moving away to Devon but I’m glad to say that when we finally made the move to the South West , we’re now able to meet up fairly regularly to just hangout out and take photographs. This we will certainly be doing more and more of!

Anyway, Steve drove over to my house in the morning and then we both jumped into my car and headed to South Wales to catch up with the gang; some of my closest friends which to be honest are more like family … Ian Munro and Anthony Crothers.

This was the first time Steve had met up in person with Ian and Anthony even though I’m sure they felt like they knew each other anyway having messaged back and forth many times on social media and also in the chat room during my Sunday LIVE Broadcasts on YouTube. Needless to say … Steve instantly became ‘one of the gang’ 😃

So after a traditional meet up at Costa in Brynmawr, South Wales to fuel up on coffee, we then went to the studio and cracked on …

PORTRAIT 1

So the first portrait I really liked the look of doing was the one inspired by this portrait of Robert De Niro taken by Mark Seliger …

Steve had brought along a dark grey casual suit-type jacket which was ideal. He’d also bought a white shirt to wear underneath but when setting up we all felt that even though you’d only seen a small portion of it, it would be too distracting, so instead Steve kept with the black T-Shirt he was wearing.

BACKGROUND

For this I portrait as it was to be a fairly tight crop of Steve on one side and just a little bit of ‘dead space’ to the left, the 7’ x 5’ background would be plenty big enough and so this was set up with the rear supporting leg shortened so that the background took up less floor space and could be closer to the wall.


LIGHT + MODIFIER

I’ve said it before and I’ll say it again … I absolutely LOVE this light!

I wouldn’t be exaggerating when I say that positioning the light (L60-B) to get the Rembrandt Lighting Pattern 100% BANG ON took just a few seconds; such is the convenience and ease of doing so when using because … What You See Is What You Get

Bottom Left: iPad Pro with Pinterest App open showin the ‘reference’ image

To achieve a quality of light that was neither hard or soft but somewhere in between, and also to minimise the amount of light that would spill onto the background, I opted to use the Westcott 24” Rapid Box Switch Beauty Dish and with the outer diffusion panel fitted.

Westcott 24” Rapid Box Switch Beauty Dish with Outer Diffusion Panel

CAMERA + Lens

  • Sony A7RIV

  • Sony 85mm f/4.0 G Master

CAMERA SETTINGS

  • Aperture: F/4.0

  • Shutter Speed: 1/60sec

  • ISO 1250

Once set up and with any light in the studio that wasn’t contributing to the portrait turned off, I could then start taking portraits of Steve but what was really useful here was that everyone could see EXACTLY what the shots would be like without having to look at the back of my camera each time or look at my iPad Pro that I was tethering to; again because What You See Is What You Get

Studio lights and ‘any’ lights not contributing to the portrait turned off.

This made it so easy for anyone who wanted to make a suggestion and move in to maybe get Steve to angle himself differently or change the position of a hand.

It just worked and worked so incredibly well, making EVERYONE feel involved.

OUT OF CAMERA

Here’s the out of camera Raw file …

Original Raw file in Adobe Lightroom Classic

FINAL EDIT

Here’s the final retouched image which was worked on using both Lightroom and Photoshop …

Final Retocuhed Portrait

LIGHTROOM CLASSIC and PHOTOSHOP

Here’s a summary of the retouching steps carried out in both Lightroom Classic and Photoshop …

Lightroom

  • Straighten & Crop

  • Colour Correction*

  • Denoise

  • Masking (Enhance eyes - Iris and Pupil only)

*Had to do this manually as ‘somehow’ I forgot to use my Colour Checker Passport … Doh!

Photoshop

  • Clean Up

  • Dodge & Burn

  • 2010

  • Dreamy Glow (20%)

Lightroom

  • Colour (CN16)

  • Color Mixer (Reduce Orange & Red Saturation on Steve’s face)

  • Masking (Radial Gradient to Shape Light)

  • Masking Exposure on Face

  • Add Grain


PORTRAIT 2

For the 2nd portrait of Steve, this was the photograph I used as the initial inspiration / idea …

For this we went with the exact same set up albeit positioning the light camera left this time as opposed to camera right as it was for the first portrait.

Below is what the set up looked like before turning off the lights in the studio that weren’t contributing to the portrait …

Using the single L60-B coming in from high up and angled down produced exactly the lighting that was wanted (below) however I felt that the shadow side of Steve’s head was a touch too dark …

To add a touch more light onto the shadow side of Steve’s head, rather than use a 2nd L60-B we just used a Silver Reflector which also had a white side to it, however between the two surfaces, the silver side gave the best result …


OUT OF CAMERA

Here’s the ‘out of camera’ Raw file …

Out of Camera Raw file in Lightroom Classic

FINAL EDIT

Here’s the final retouched image which was worked on using both Lightroom Classic and Photoshop …

Final Retouched Portrait

lightroom classic and photoshop

Retouching steps in both Lightroom Classic and Photoshop were pretty much the same as in the first portrait, however there was one very definite difference.

When taking the 2nd portrait, we all felt that although Steve sitting on a stool worked, it did make him look a little squashed because of the height of the stool he was sitting on and also how his jacket sat, so we also tried a few shots with Steve standing …

With Steve standing it definitely stopped him looked squashed, however when looking at the images later in Lightroom Classic I was torn because I liked the pose and expression on Steve’s face from the seated shots.

So now in the retouching I was thinking I could either (a) do a head swap or (b) do the opposite of a technique I used to do when photographing physiques … and that’s what I chose to do.

PHOTOSHOP TUTORIAL

Here’s a short video showing exactly what I did in Photoshop to reduce / remove the ‘squashed’ look …

WRAP UP

Following the photo shoot we all the headed over to Abergavenny for what was a delicious bite to eat at The Angel … THANK YOU Steve!

So there you go, all of the steps that I went through from the initial idea, the kit, the set up and the final edit.

As always if you have any questions / comments, please do make use of the section below and I’ll be sure to reply.

Oh and don’t forget, if you’re interested in getting ANY of the Westcott kit including lighting, modifers, backgrounds etc then drop me a line as I’ll be able to give you a Discount Code for 10% OFF

Cheers
Glyn

Cinematic Portrait using Constant LED Light

Last weekend I was back with friends Ian Munro and Anthony Crothers in South Wales filming more content for the update to my TIMELESS Photography and Retouching Course, but in addition to this managed to grab some extra portraits too.

The vintage clothing Anthony was wearing was for the TIMELESS Update and was provided by a great ccompany called Marigold Costumes who provide clothing and props to the TV and Movie Industry and whilst he was there collecting it, also picked up a ‘Grandad Shirt’ and a set of braces.

The set up above was what I was using for the TIMELESS Update and that consisted of …

  • Westcott X-Drop Pro Background Support System

  • Westcott 8’ x 8’ X-Drop Vintage Grey by Glyn Dewis (Material)

  • L60-B 60W Bi Colour LED

  • Westcott Rapid Box Switch 4’ x 3’ Softbox

  • Westcott Silver Reflector

The constant light I am absolutely loving! So much so infact I’ve now added a 2nd light to my kit with a 3rd on the way to give me more options for a new portrait series I’m going to be working on.

The portrait above is one that I took of anthony in-between filming segments for Timeless, and for this the set up was pretty much the same other than one addition.

Here’s what the ‘Out of Camera’ shot looks like when just using the L60-B LED and Softbox coming in from camera right …

At the time of this photo shoot I didn’t have a 2nd L60-B so instead I used the modelling light from my Westcott FJ200 strobe, and this worked a treat when fitted with the included reflector and honeycomb grid.

This was aimed behind Anthony from camera left so that just the soft outer portion of the light brushed past the side of his head.

Aiming the light past Anthony so that only the outer portion of the light hit him, meant the light will be soft unlike the portion of light nearer the centre. Also, doing this meant the softness of the light from the 4’ x 3’ softbox and the FJ200 matched.

A silver reflector was also positioned camera left just out of shot to bounce a bit of light onto Anthony’s shoulder and upper back nearest the camera because without it, there was very little detail.

As for the light you can see coming into the portrait from the top left, this was added very simply in Photoshop using a soft white brush and this I did so that the highlight on the side of Anthony’s head (camera left) made sense … if you know what I mean.

Below is a lighting diagram to give you an idea how the set up looked …

My favourite image from this quick portrait shoot is defintely the one above, but I did also grab this one with a wider field of view and slightly different pose and feel due to the chair having been turned around …

Using the exact same set up I also took a portrait of Ian, but with him standing instead of sitting …

I’m so looking forward to pushing on with a new portrait series using the L60-B LEDs ; there’s lots more to come so I’ll make sure to share what I get up to and grab plenty of Behind the Scenes.

I hope this breakdown is in some way useful and if you have any questions please don’t hesitate to drop them in the comment section and I’ll make sure to reply.

Cheers,
Glyn

• Note
As part of the retouching on these portraits I made use of my Dark & Moody Lightroom / Camera Raw preset at 20% strength, and this you can download for FREE when you subscribe to my twice-monthly newsletter

Westcott Cyber Week Sale 2023

The great folks who make and sell my Vinatge Grey Canvas by Glyn Dewis background for when taking portraits AND the samefolks who make and sell the lighting and modifiers I use, currnetly have their CYBER SALE WEEK running until Monday 27th November 2023

Looking through some of the items I’ve noticed up to $200 OFF lighting kits, and various other discounts on Modifiers, Backgrounds, LED Lighting Kits and so on …