kit

DISPLAY 123 - Screen Calibration SIMPLIFIED but IT'S NOT FOR EVERYONE

The Display 123 from Calibrite takes the technical side out of screen calibration, making it possible for everyone with a simple three-step process, but it's not aimed at the professional. It isn't suitable for displays using newer LED technology, such as the Apple MacBook Pro M3 and the Apple Pro Display XDR, where a device like the Calibrite Display Pro HL would be needed; the Display 123 could profile those only in sRGB. For displays using backlit technology it'll calibrate the screen, albeit without the additional parameters that more expensive, high-end devices offer, which is why it's more of a consumer device.

NOTE

The Display 123 is NOT suitable for the new LED technology Displays such as in the New Apple Macbook Pro M3 and Apple Pro Display XDR; for these a device like the Display Pro HL from Calibrite would be needed. The display 123 COULD prolfile these displays however only in sRGB. For all other displays using Backlit technology (which is currently the majority of displays on the market, the Display 123 will Calibrate the screen albeit without the additional parameters that more expensive / high end devices can. The display 123 is more aimed at the Consumer as opposed to the Professional.

For more information check out the Calbrite website ( LINK )
Want / Need a BIGGER Display to use with your Apple MacBook ?

So this morning I was contacted by someone from my Newsletter Subscriber list asking about the BenQ Discount I’m able to give details about for their SW and PD range of displays, but also asking a bit of advice on their choice of display.

In short, they use a MacBook Pro as their main computer but the current display (not BenQ) that they plug their MacBook into, after a good few years of reliable service has developed a fault that by all accounts to get fixed would cost more than a replacement, so … a replacement it is.

SW or PD ?

Initially they were looking at getting the BenQ SW272Q which basically has the same spec as the display I have, the SW272U other than it’s a 2K display rather than 4K, however after a bit of digging about to discover exactly what they do, I suggested they consider a Display from BenQ’s PD Range.

As for ‘what they do’ it was mainly editing their photographs but not doing any home printing; if they did print any images they used a lab. They also did a little bit of video editing for social media content and the rest was general day to day computer use stuff.

The reason I recommended they take a look at the PD range of displays from BenQ was first and foremost because their main computer is their MacBook Pro.

Mac Ready

The PD range of displays are Mac Ready, meaning when you connect the MacBook and turn on M-Book mode you get identical colour and brightness, basically meaning no difference between the MacBook screen and the BenQ PD display.

Mac Ready graphic showing a BenQ monitor above a MacBook on a black background

HASSLE FREE Connection

Using just one cable, Thunderbolt 3, you connect the MacBook to the display and this cable is also used for audio, video and data.

ERGONOMIC STAND INCLUDED

The PD displays come with an ergonomic stand that as well as having that Mac metal kind of look, is also able to tilt, rotate and is height adjustable.

BenQ PD monitors with colourful wallpaper set up alongside a MacBook laptop

2 DISPLAYS IN 1

I have the PD 3420Q as a 2nd display, and because of the ultra wide screen format being 3440 x 1440, it’s like having 2 Displays in 1.

Unless I have Premiere Pro open full screen on my PD display, I’ll often have the Chrome Browser AND my MacMail open together side by side which makes day to day working at my computer way more efficient.

There’s lots more to the PD displays but I just thought it beneficial to share the main reasons I recommended the PD over the SW range of displays, and also to give you something to think about if you were consiodering a new display … especially if you’re a Mac user.

PRICE DISCOUNT

Anyway, if you are looking to get a new display now or in the near future, drop me a message and I’ll give you a link to a page where I have details that explain how you can get a discount on Benq displays in the SW and PD range.

There’s a reason I won’t just post that openly here and when you go to the page I explain why that is 😉

Also, here’s a link to my GEAR page where you can see my desktop set up and the displays I use.

SONY ... WHAT WERE YOU THINKING? 🔥 ZV-E1 Overheating FIXED but it COST ME MONEY

I love my Sony ZV-E1 for filming video content and for live streaming, but there's been one big problem with it: even at the lowest recording settings it overheats. In this video I talk through that problem and show the fix, a cooling system that was recommended to me and which has now sorted the overheating out. It did mean spending extra money on top of the camera itself, which is why I'm left asking what Sony were thinking, but it means I can finally get on with filming and streaming without the camera overheating on me.

Links mentioned in the video …

Tilta Cooling System ( LINK )

Tilta Full Camera Body Cage ( LINK )

My ULTIMATE Desktop Set Up for Photography, Content and Zoom ( YouTube LIVE )

This is a recording of a YouTube live broadcast where I went through my complete desktop set up. I'm often asked about the kit and hardware I use every day for photography, creating content, live streaming and Zoom calls, so here I go through the lot. That's everything I use that makes editing, both photography and video, along with streaming, so much easier, and how it all comes together on my desk.

You can see all of the kit I go through over on my GEAR page.

RØDE Wireless GO II ... A small but BIG Improvement

*Note … this article contains Affiliate Links

I love my RØDE Wireless GO II microphones but just over a year ago I (temporarily) moved away from using them for 2 main reasons …

  1. The Clip

  2. No Charging Case

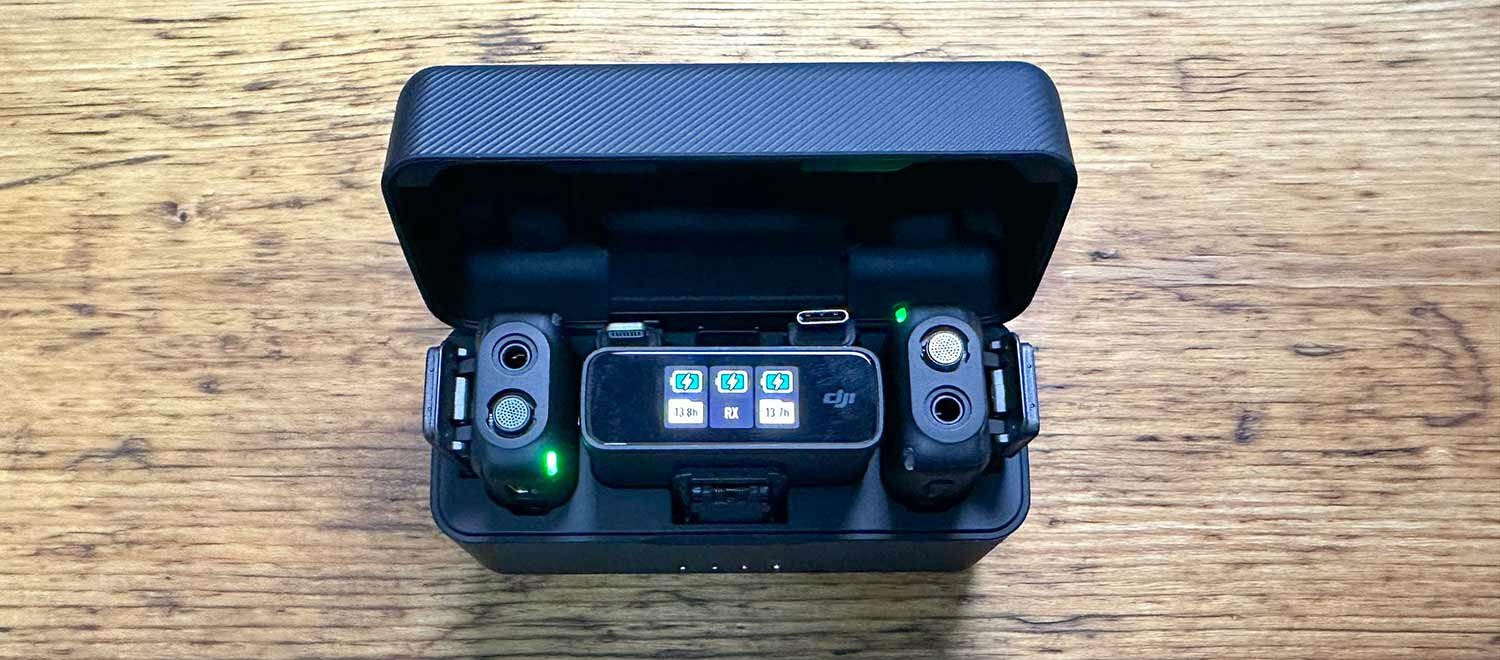
I ended up buying the DJI Wireless Microphone set which like the RØDE comes complete with 2 x Transmitters, 1 x Receiver BUT also a magnetic clip AND a charging / storage case.

So what’s the big deal about a magnetic clip ?

Well, it’s the fact that you can mount the transmitter so much easier onto your clothing.

With a standard clip you need a lapel for it to hold onto which is fine if you have one, otherwise you need to clip it onto your neckline / collar if you’re wearing a T-Shirt.

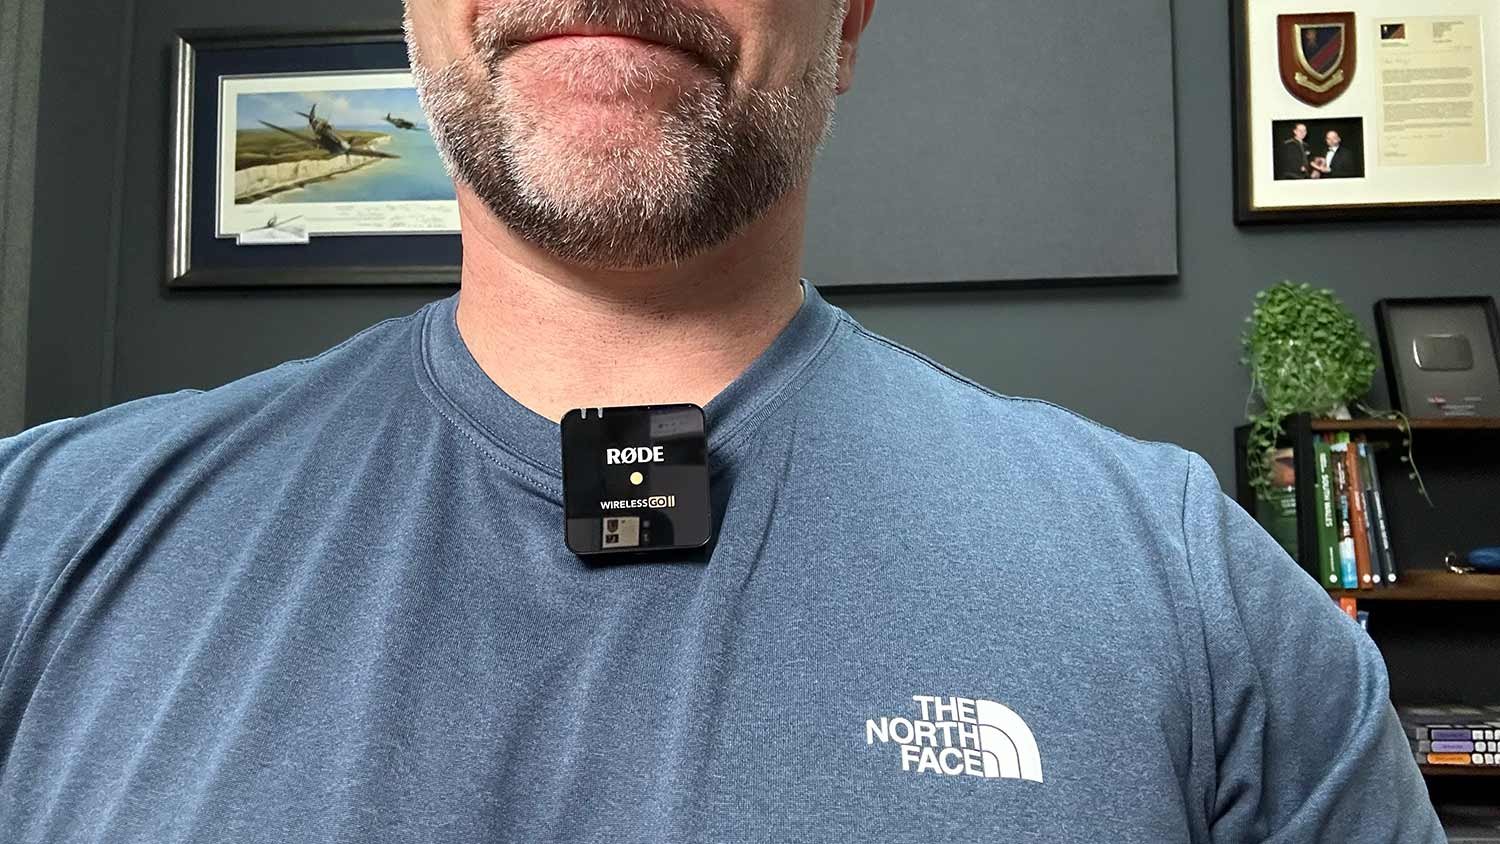
The problem doing this is that as you move your head a little, your chin / neck can rub against the transmitter.

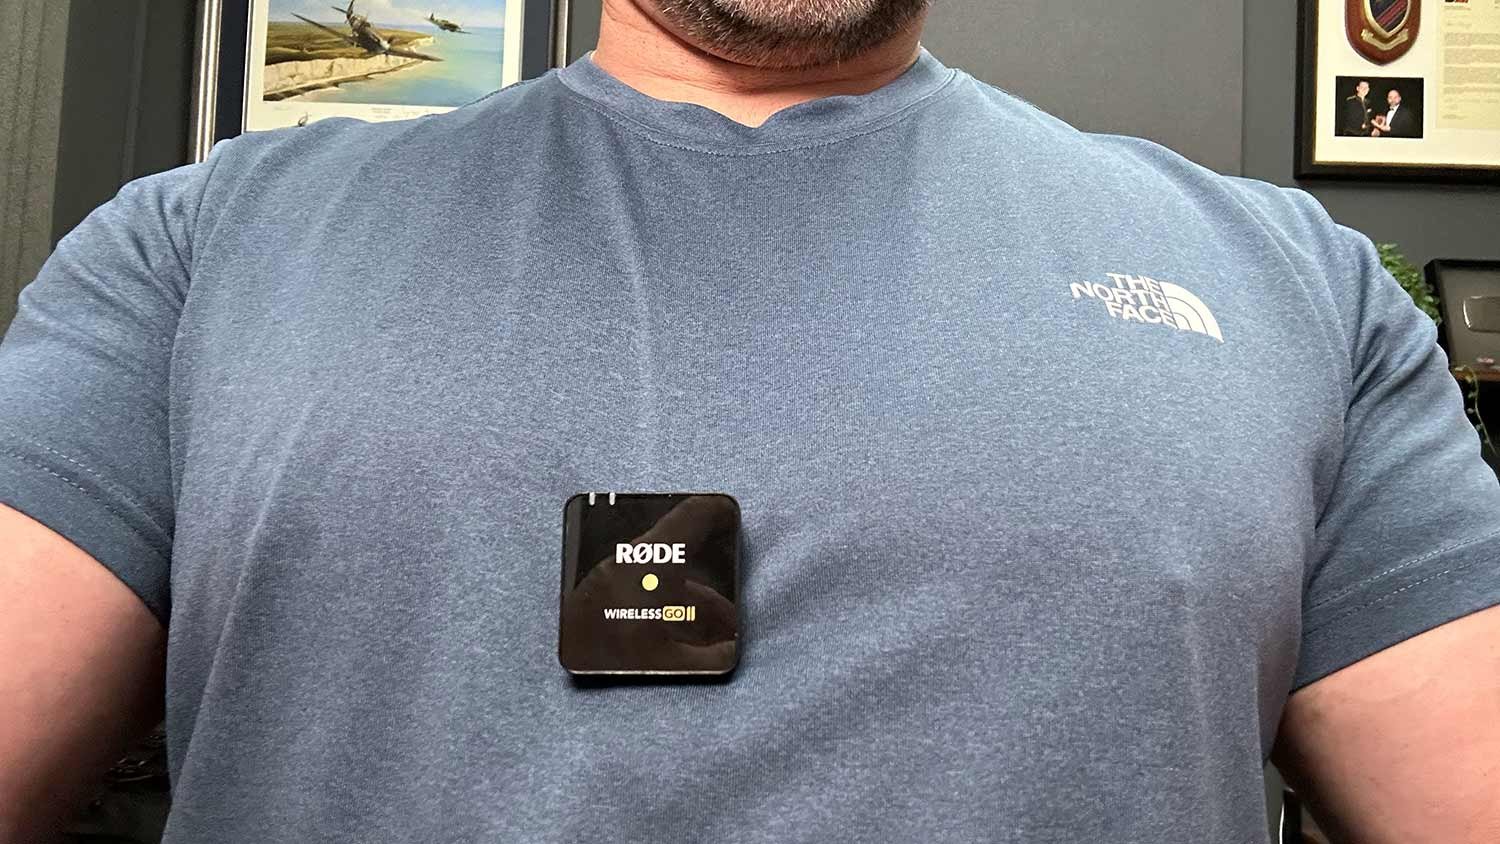
Man wearing a RØDE Wireless GO II microphone clipped to his T-shirt

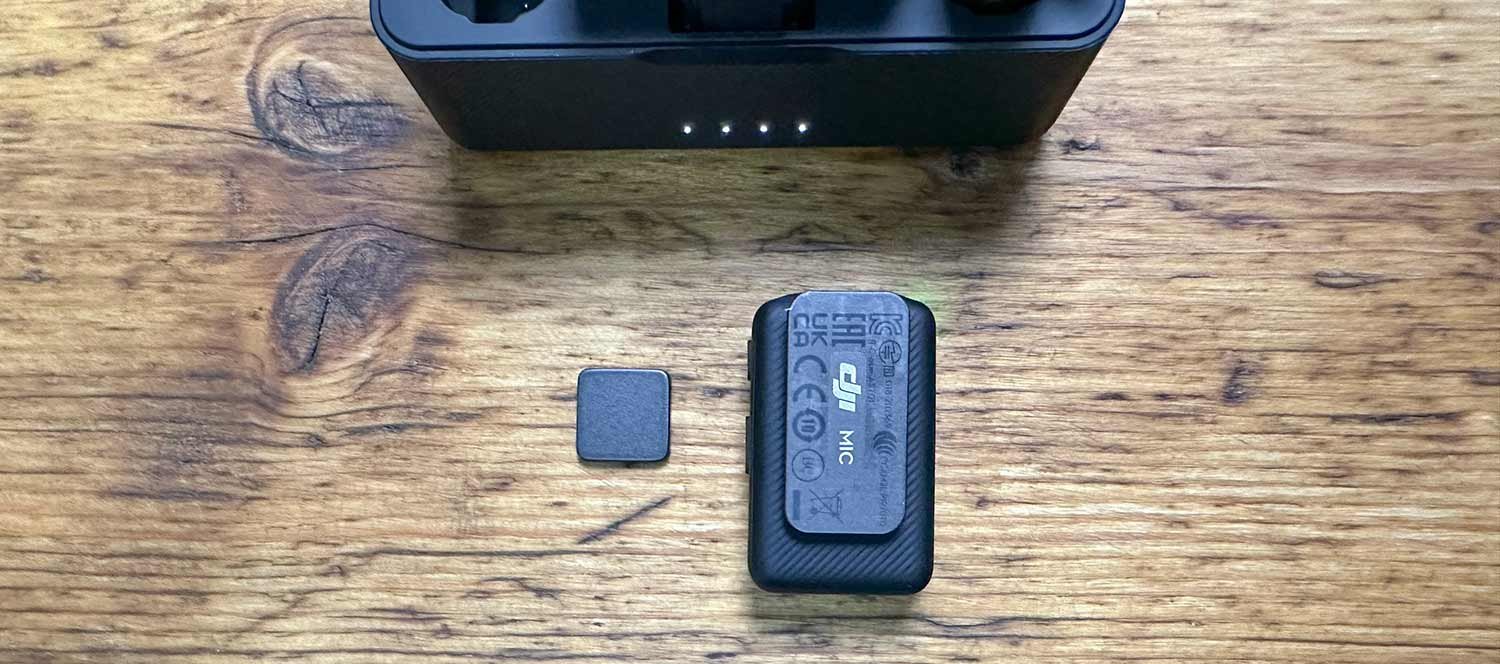
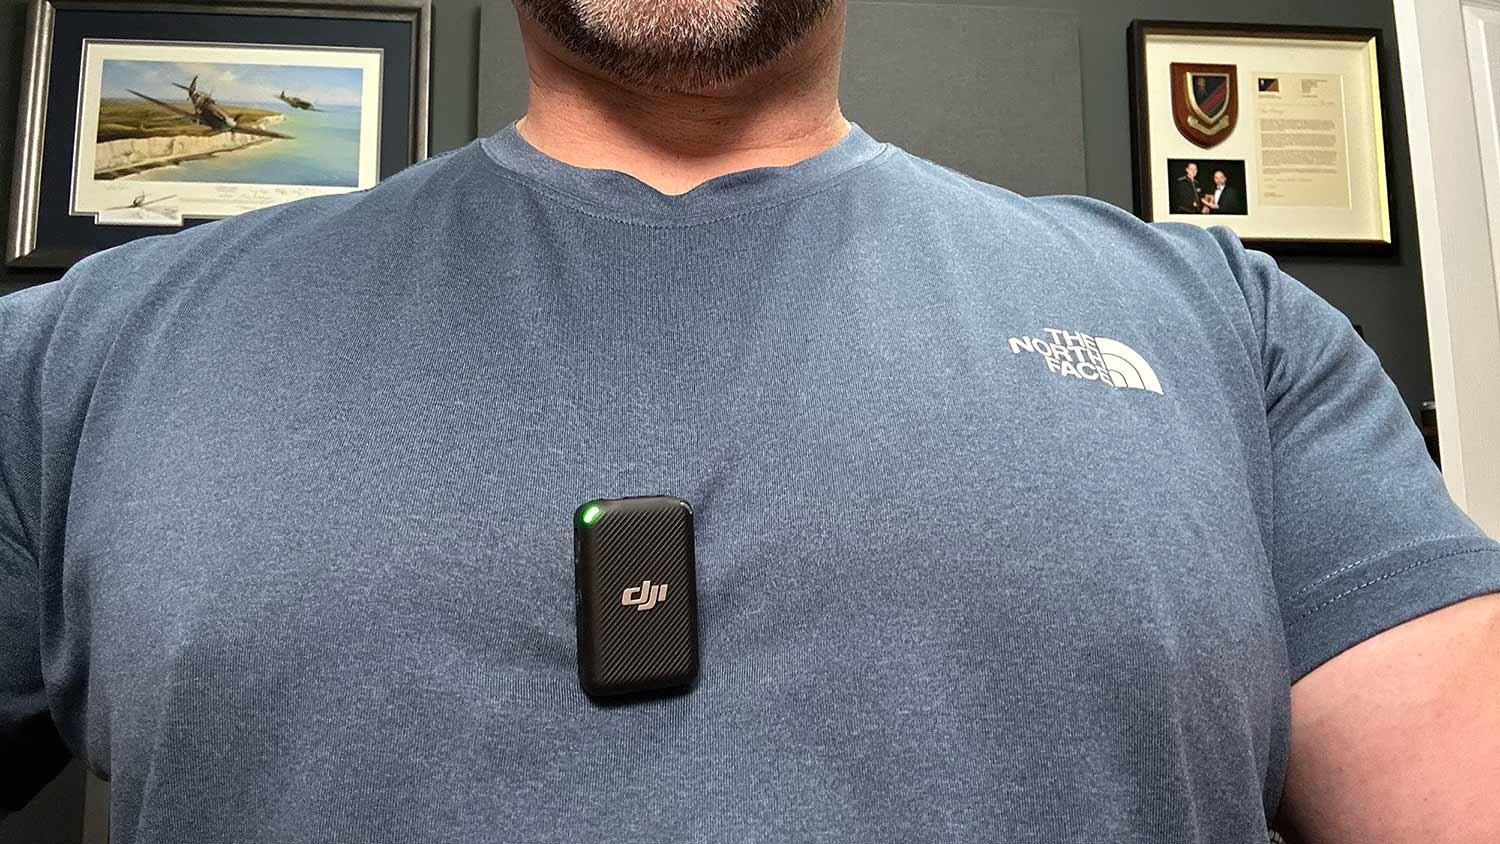
Having a magnetic clip means you can put the magentic block on the inside of your clothing and the transmitter on the outside, attaches to it and you’re good to go.

Wireless microphone transmitter and magnetic clip on a wooden desk
Man wearing a DJI wireless microphone attached to his T-shirt with a magnet

This along with the charging / storage case you would think would make the DJI Wireless Microphones my go to, however I’ve never been happy with the audio quality from them.

DJI wireless microphone charging case open on a wooden desk

The microphones seem to have quite a bad ‘noise floor’ in my opinion (and others I’ve seen) and this gets even worse when you increase the gain, which you need to do. This ends up with you having to do extra processing on the audio to improve it in Adobe Audition, and even then the audio just never sounds as good as the RØDE.

Happy Accident

So very recently whilst browsing the RØDE website looking at some new products (RØDE NT1 5th Generation Microphone and the RØDE Caster Duo) purely by chance I ended up scrolling through the Accessories section and that’s when I stumbled upon this … RØDE MagClip GO Magnetic Clip attachment for the RØDE Wireless GO II and Wireless ME …

RØDE Wireless GO II transmitter with its new magnetic clip on a wooden desk

This is EXACTLY what I’ve been looking for; in fact I’d even drawn up a sketch of the very same and was going to get in touch with RØDE to see if they would make something like it, but it turns out they already have and it works a treat!

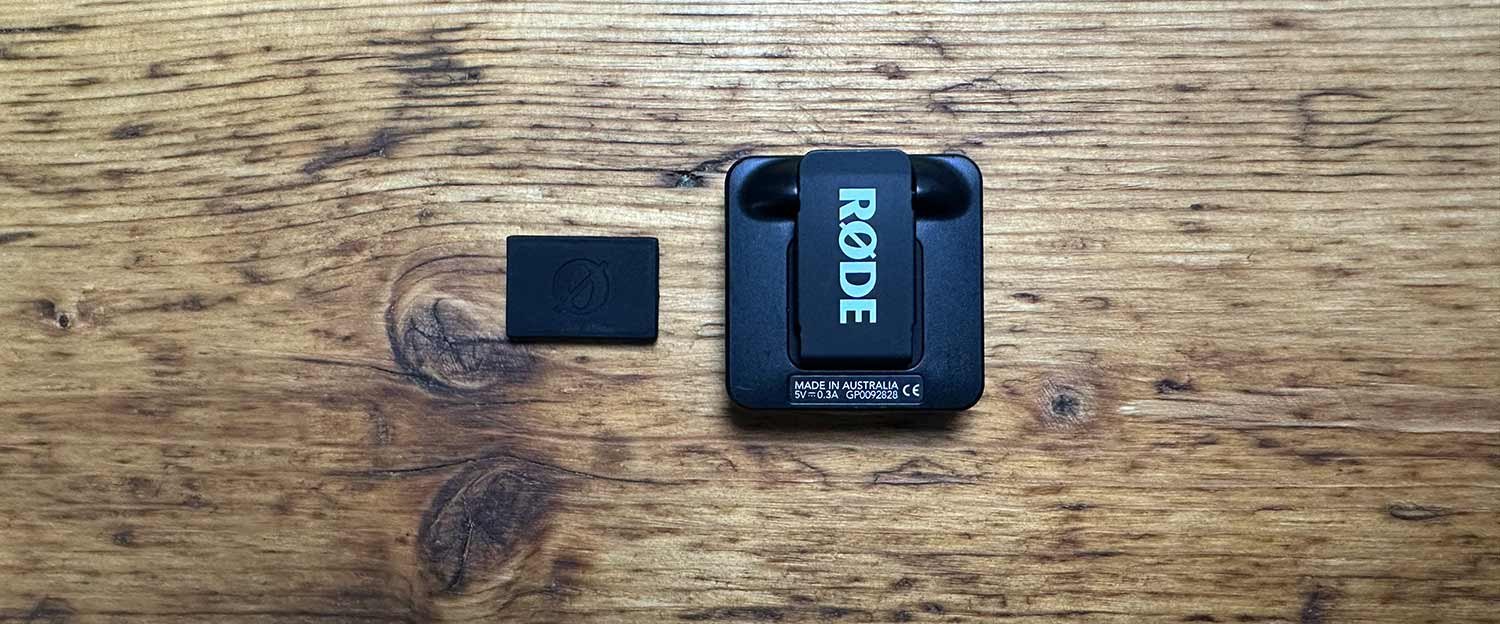
All you have to do is to slide the metal sleeve over the clip on the Wireless GO II and then use the the magentic block just as you would with the DJI WIreless Microphones to attach anywhere on your clothing.

Fantastic!

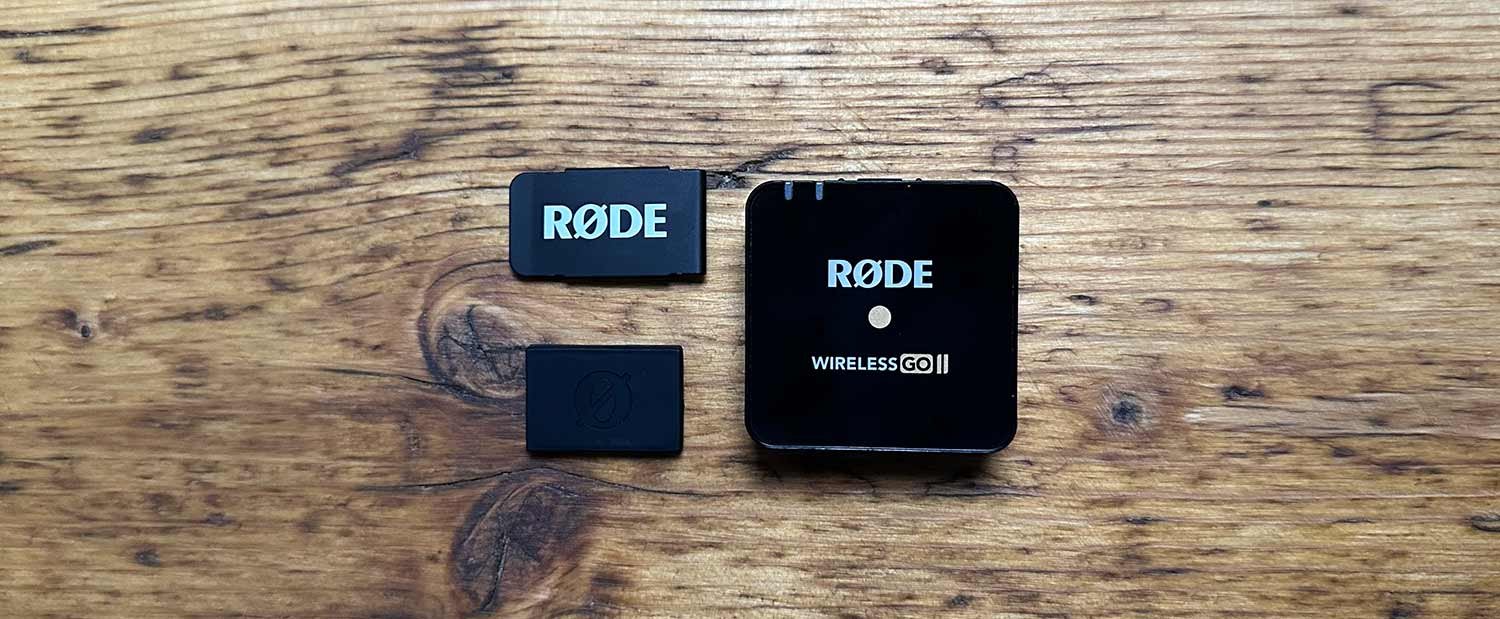
RØDE Wireless GO II transmitter and magnetic clip side by side

Now you might be thinking … “ Why not just stick the transmitter in your pocket and use a Lav Mic? “

Well there’s a couple of reasons …

  1. Convenience. Having to feed a cable through your clothing so that you can have a Lav Mic, is well, a pain in the a$$. The cable can get caught on clothing as you move, you have to keep taking the transmitter out of your pocket to turn it off and on inbetween recordings and all of this just makes it less user friendly and again being honest, less desire to use them. Just being able to quickly place the transmitter on your clothing and be up and running is so much better!

  2. A decent Lav Mic isn’t cheap. These transmitters are superb. The audio quality is outstanding so I don’t want or need to have to buy an extra Lav Mic to fit into them if I don’t have to. Plus the quality of the transmitters being as good as they are I wouldn’t want to use a cheap Lav Mic; that would be like having a VERY expensive lens and putting a cheap ND filter on the front of it.

RØDE Wireless GO II microphone held on a T-shirt with the magnetic clip

The MagClip GO works so well and makes these great little microphones even better, and at around £15 I totally think it’s worth it.

Needless to say, I’m back using my RØDE Wireless GO II’s and VERY happy.

Oh and the charging / storage case … watch this space 😉

Sony ZV-E1 | 3 REASONS why it's their BEST and CHEAPEST FULL FRAME CAMERA 😮

This isn't a review of the Sony ZV-E1. Instead, it's a look at the three reasons I think it's Sony's best and cheapest full frame camera, and why and how the technology inside it makes it, in effect, a shrunken FX3. That same technology also means you don't need a gimbal, you don't need external microphones and you don't need an assistant, which for anyone filming themselves makes a huge difference to how simple the whole set up can be.

FINALLY got the BEST PHONE MOUNT ... no more WASTING MY MONEY!!!

I've wasted so much money on c&$p holders for my phone so that I can use it on my tripod, but I've finally found the BEST one on the market (in my opinion) for build quality, ease of use and value for money …

The ULANZI ST-27 ( LINK )

I've wasted so much money over the years on poor phone holders so that I can use my phone on a tripod, but I've finally found the one I think is the best on the market. Here I show you the mount and explain why it gets my vote, looking at its build quality, how easy it is to use and the value for money it offers. If you shoot with your phone on a tripod, it's well worth knowing about before you spend money on one that lets you down.

My NEW Favourite Phone Holder for my Tripod

Found my new favourite phone holder for mounting on my tripod … the ULANZI ST-27

Not exactly cheap but well worth it. VERY well made ( metal construction ). Slots straight into the ARCA mount on my tripod. Locks phone in place and separate turn knob to lock in vertical or horizontal.

Lately we’ve had few spells of high winds on the coast and I found that although the SmallRig I have been using is pretty stable on the tripod, the support for the phone itself I’ve never trusted 100%

This new holder though is rock steady on the tripod and the hold it has on the phone is VERY secure with a turn of the red metal dial The inner black metal dial you turn to lock the orientation of the phone ( vertical / horizontal )

. The fact that it is so small too is definitely a bonus!

Check it out on Amazon using the *link below …

*affiliate link

I PRINTED a 72" iPhone Photo and you WON'T BELIEVE THE RESULT !!!

Yes, you read that right: a 72 inch print of an iPhone photograph. Here I not only show the print itself but also take you through the kit I used, along with my favourite iPhone app for creating long exposure photographs. I also show what I used to upscale the original image more than four times to reach the final 72 inches, and I honestly couldn't believe how good the quality of the print turned out to be. It made me very excited about where mobile photography is heading.

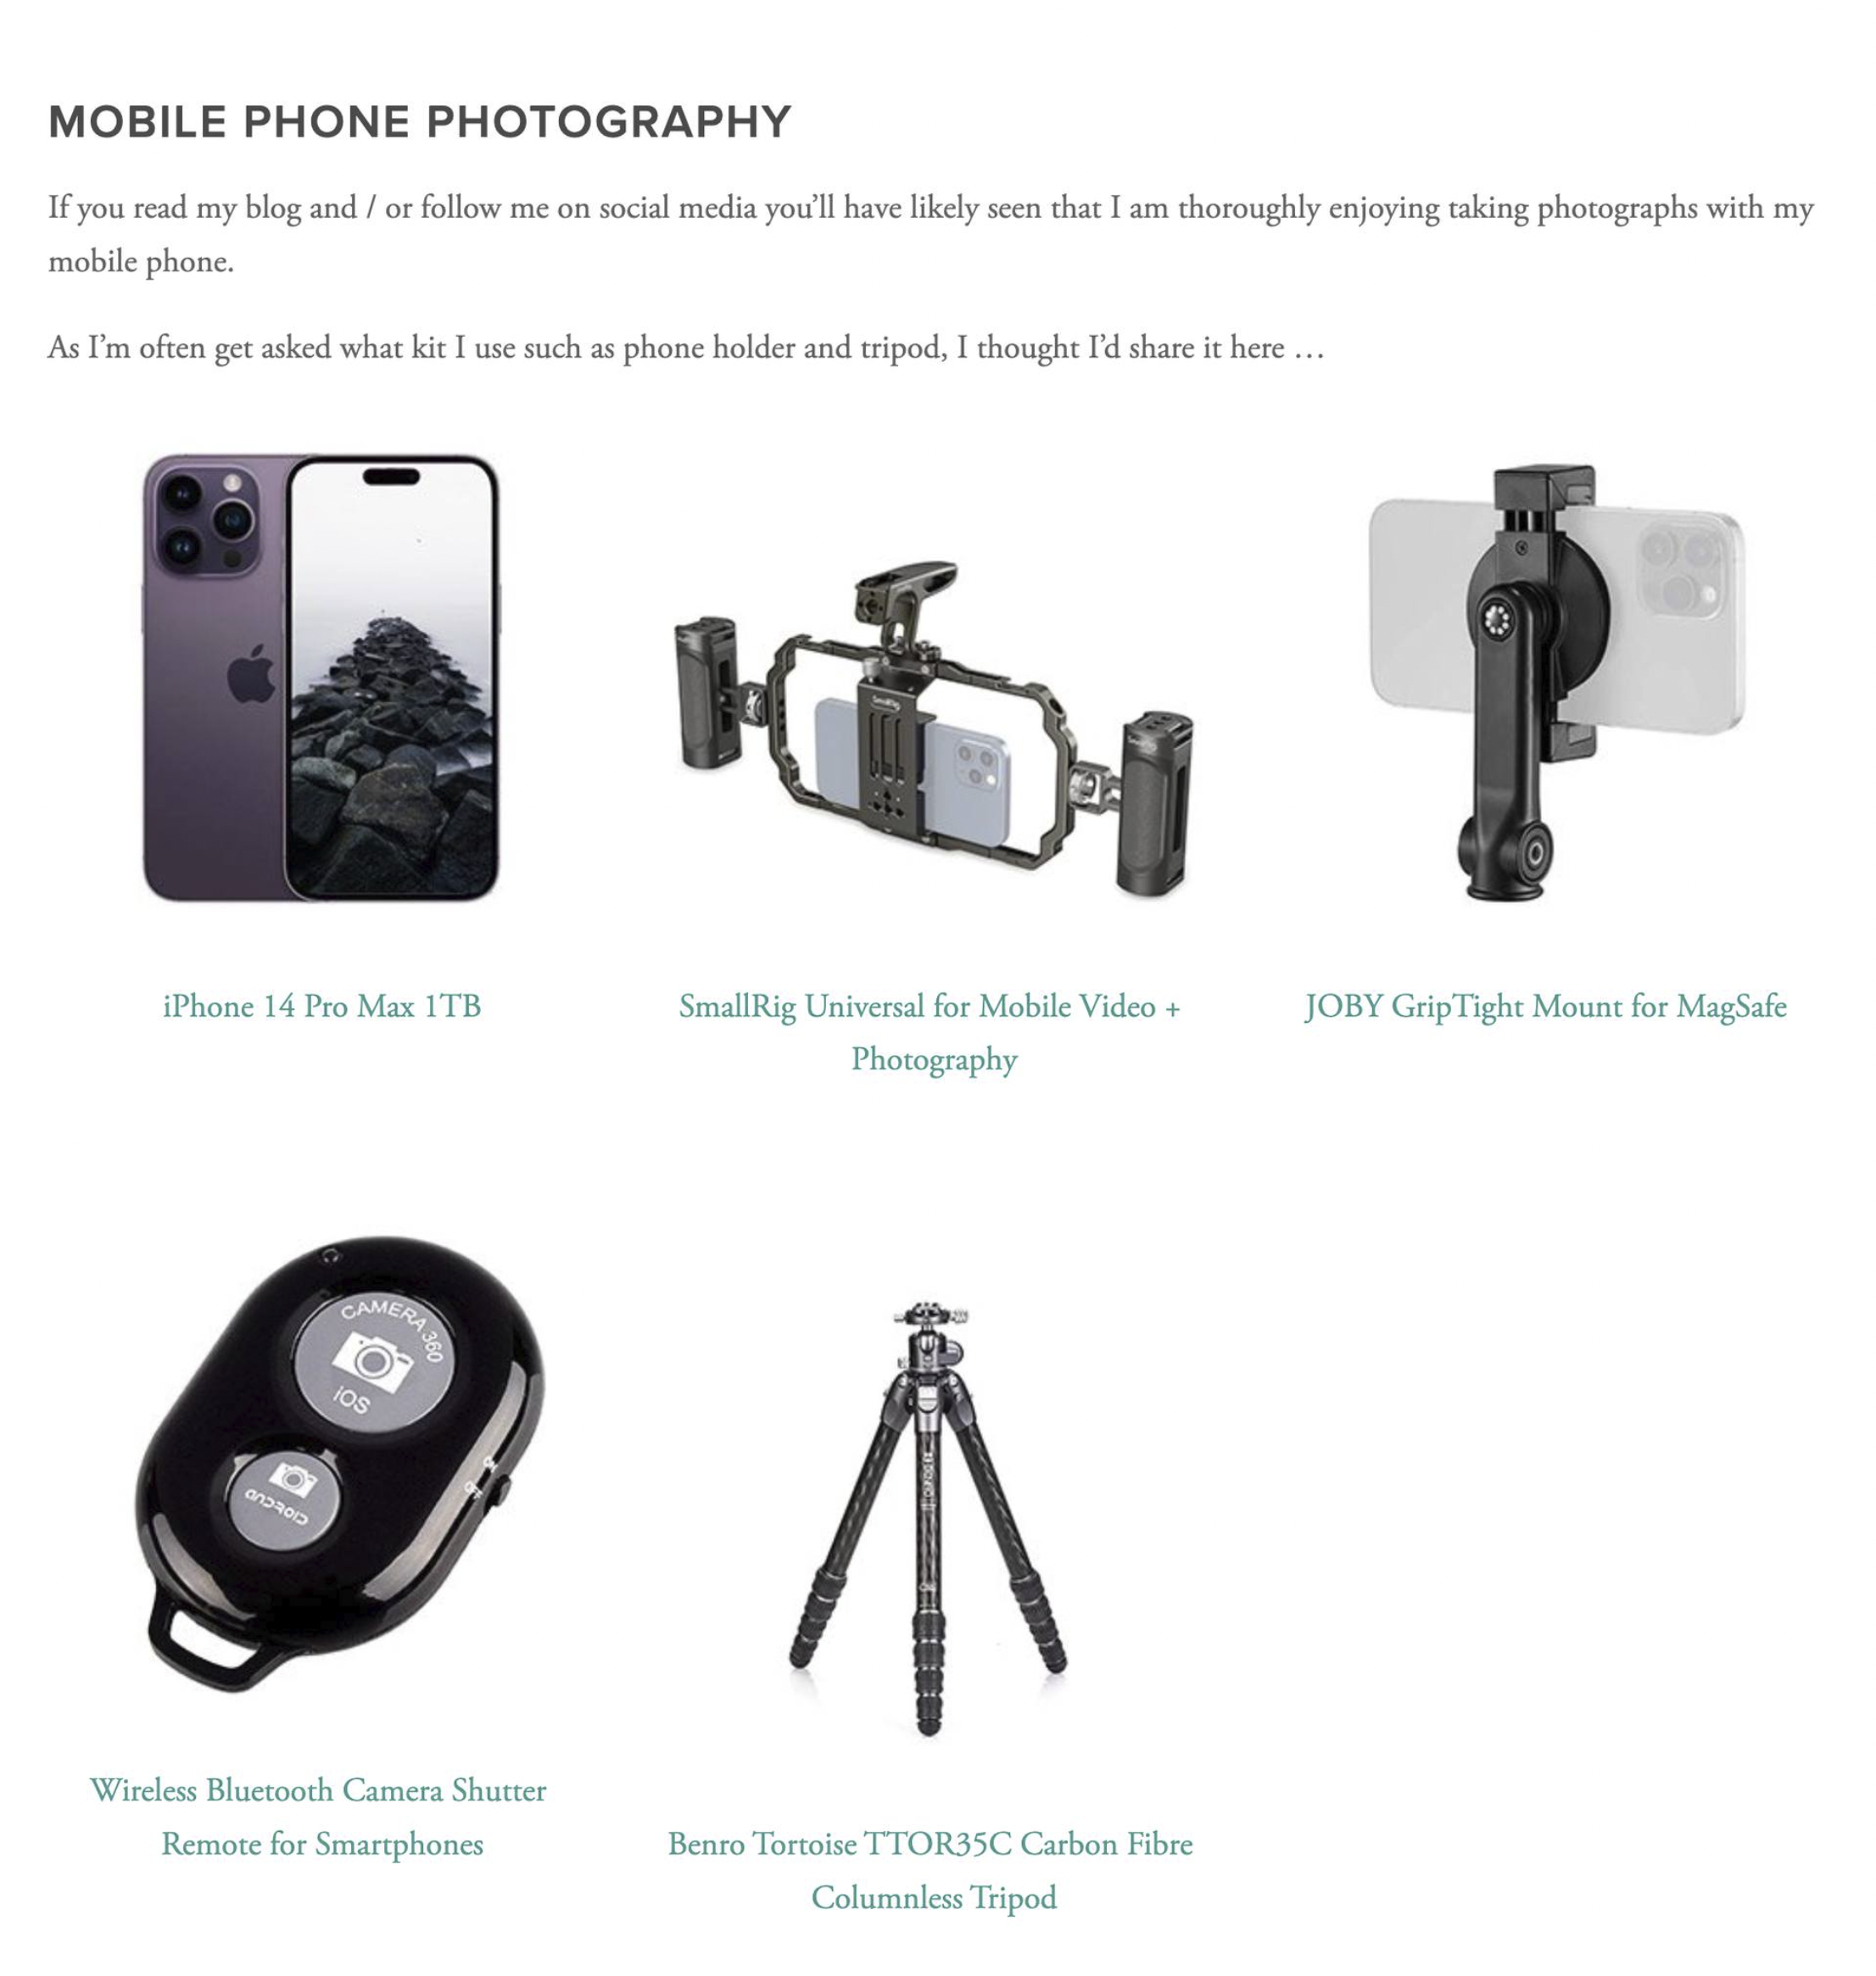
My Mobile Phone / Smartphone Photography Kit

With me doing more and more photography with my Smartphone (iPhone) these days, I often get asked what kit I use with it ... Phone Mount? Tripod? Trigger?

So I thought I’d share it here as well as adding it all into the GEAR Page where you’ll see ALL the kit I use for Photography and Video …

*To use the phone holders on my tripod, I purchased a few extra Arca Plates that screw into them

There’s also various apps I’m using so I’ll make sure to share details of those and any future kit I try out … especially as I intend to be doing some portrits using off-camera lighting triggered by my phone 😃