
I used Artificial Intelligence (A.I.) to not just REPAIR but also BUILD this 70 year old family photograph and in this video I show you how incredibly easy it was to do it using DALL-E , Photoshop and Topaz GigaPixel AI …
DOG PORTRAIT from START to FINISH in Lightroom and Photoshop
Did you see the dog portrait I did a couple of weeks back?
If not, this is the one.
The dog belongs to my friend Trigga, and I I took it after I’d finished taking his portrait…

So here’s a video showing all the editing / retouching I did in both Lightroom and Photoshop …
Hope you like it, but as always, if you have any questions, just post them in the comments section below and I’ll make sure to reply.
Cheers,
Glyn
UFO??? NO...I added some VERY BRIGHT LIGHTS to my DRONE
The Law Staes that when flying a UAS (Drone) we MUST maintain direct visual line of sight at all times.
So ... I added these VERY BRIGHT LEDs from Strobon to help 💡

*This is where I bought them from (Non-Affiliate Link) … LINK
The NEW X-Drop Pro Background from Westcott
VERY excited that Westcott have recently upgraded their popular X-Drop Background system to the new, X-Drop Pro …
I’ve been using the original X-Drop for years.
If you’ve seen portraits I’ve taken over the past 3 years and any of my World War 2 Veterans Portraits from my 3945 Project then you’ll definitely have seen it …

But, more recently I’m now using the new X-Drop Pro which is a whole new design; bigger, sturdier and easier to set up, pack away and with the now foldable backgrounds, way more convenient and portable …
The X-Drop Pro has a completely new design to the main collapsible support and the arms / legs with a thicker structure which still maintains its light weight …

The clips to extend and close down the legs / arms are bigger too which altogether makes this a much more, grounded, sturdy system when installed …

The X-Drop Pro also has larger backgrounds measuring 8’ x 8’ and 8’ x ‘12 but the X-Drop Pro can still be fitted with the 5’ x 7’ and 5’ x 12’ backgrounds, be they on a roll or foldable material. based.
On the topic of material backgrounds, Westcott now have their printed backgrounds, which ordinarily came on canvas or vinyl, available now on foldable, machine washable and dryer resistant.
This to me, dare I say, is a Game Changer because although the previous X-Drop Background System was portable, this new one is even more so despite being bigger when installed, because of the foldable material backgrounds.
My signature ‘Glyn Dewis Vintage Grey’ which has proven incredibly popular is available on foldable material and in all is`es: 5’ 7’ , 5’ x 12’ , 8’ x 8’ and 8’ x 12’
If you’ve used or seen the X-Drop system in the past, you will see a BIG difference with the now Pro version.
Way to go Westcott!
*Note:
For folks in the UK (and Europe) , Carmarthen Cameras are an Official Westcott Distributor based in Wales. Speak to Krish and tell him I said hi 😃
QUICK FIX ... Jump Cuts in video using Premiere Pro CC
Jump Cuts ... Love them or Hate them? Great when used creatively but sometimes unavoidable ... or are they?
Here's 60 seconds showing how to fix them in Premiere Pro CC 👍🏻

Lightroom is for Photographer's who take the picture correctly ... REALLY???
Had to share this and to ask your thoughts...
So my most recent video which is only 9 minutes long is all about Color and which Color Space (sRGB , Adobe RGB , ProPhoto RGB ) to use for Photography ... Editing , Printing , Sharing , Posting on the Web ... Comments have been fantastic BUT one posted yesterday stopped me in my tracks; this is it...
Photoshop is for people who are engineering images.
Lightroom is for photographers who take the picture correctly the first time.
I disagree.
Lightroom is getting better and better. It's exciting to see the enhancements BUT there are things we can do in Lightroom now that only a short while agree would only have been possible in Photoshop; in fact, Lightroom's full name is ... Adobe Photoshop Lightroom.

We would always see and hear the “I like to get it right in camera” comments (well...don't we all?!?) but this made me think ... will we now start to see the 'I only edit in Lightroom' comments as being the modern day Put Down attempt ?
Images are edited.
They ALWAYS have been.
Even choosing a paper is (in my opinion) editing, because paper influences the look / feel of the final image.
Just a thought 🤔
Anyway, if you haven’t see my Color Space video, here it is …
COLOR SPACE for PHOTOGRAPHY 🌈 WHAT to use, WHY and WHEN ( Keeping it SIMPLE )
Color is a HUGE topic! sRGB , Adobe RGB , ProPhoto RGB ... What to use, Why to use it and When?!?
In this video I explain it all for editing , printing , web and sharing so you get the very BEST and CONSISTENT results 🌈
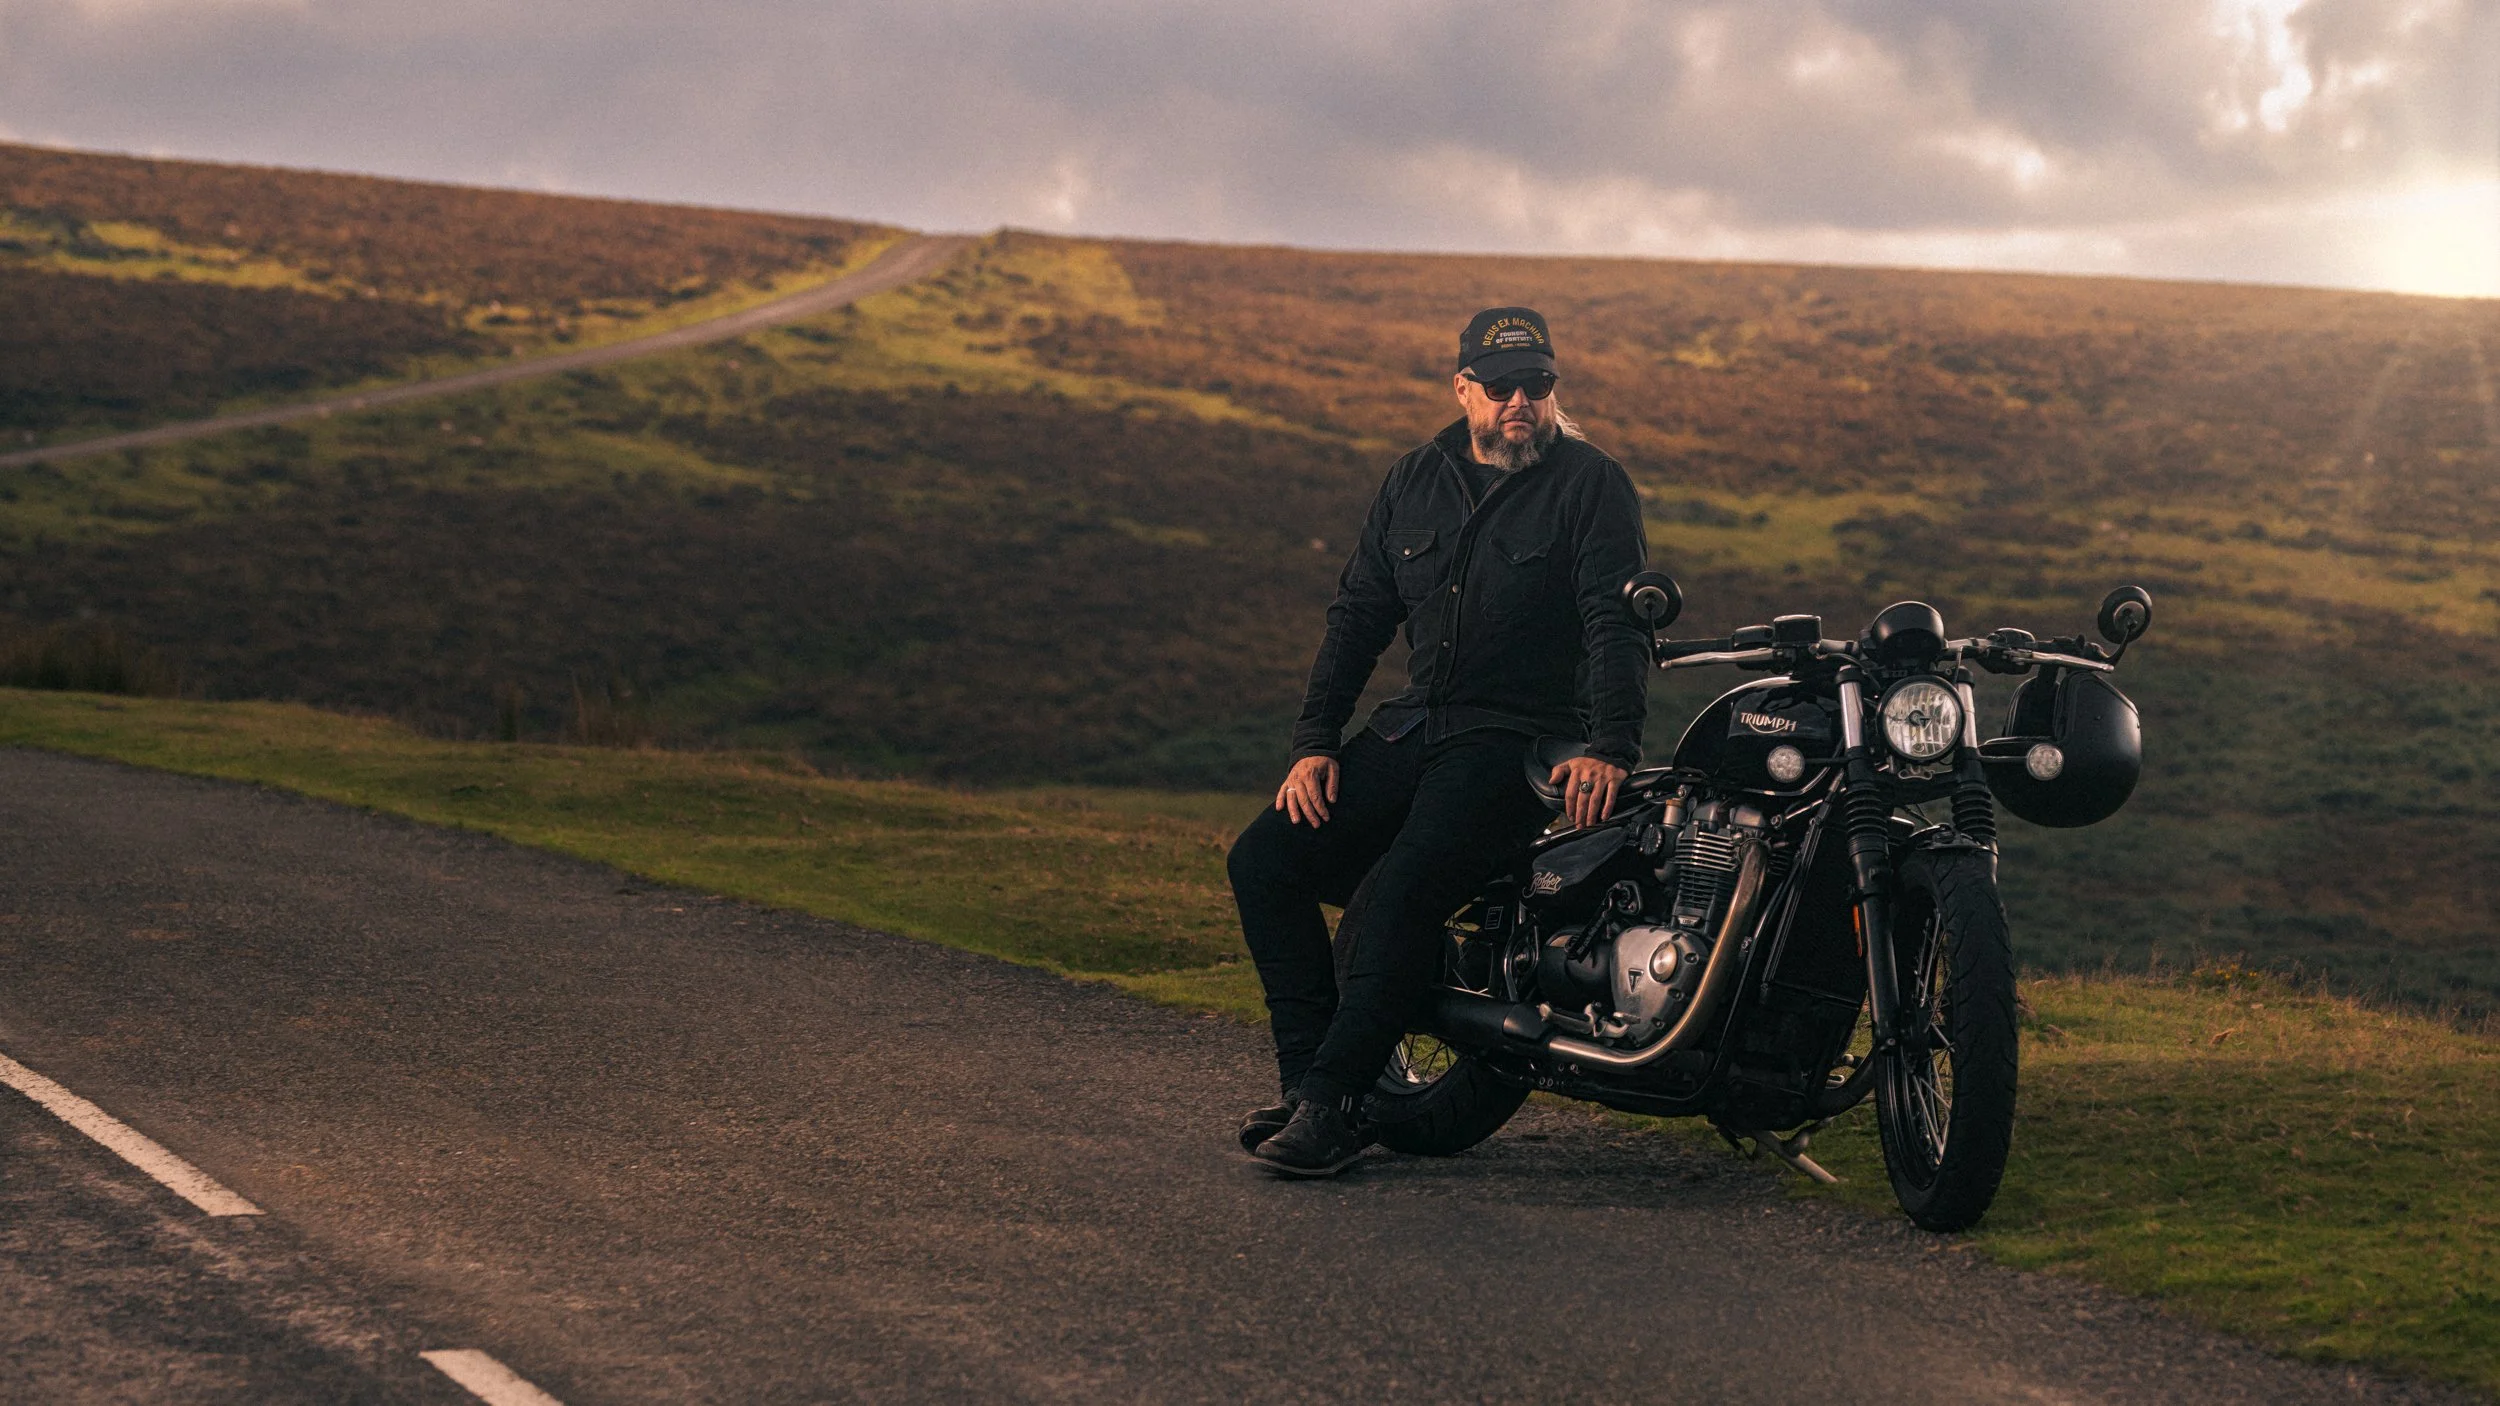
Portrait of a Biker with his Triumph on Dartmoor (Behind the Scenes)
So last week I was out in the Dartmoor National Park in the South West of the UK photographing a GREAT Guy and a GREAT Motorcycle.
With rolling hills and roads that twist and turn and disappear over the horizon line, Dartmoor is a fantastic location for photography … especially the motorbike kind, so when Matt agreed to being in front of my camera, we just had to head out …
When there, the very first thing to do was to find a composition; not an easy task with so many possibilities but so few safe areas to park up with the roads being narrow.
Finding the composition is always the hardest part, and it’s all about finding a fine balance between the background, but also where you are going to place the subject.
Now this here (below) would have been great, and maybe I'll try next time, but placing the subject (Matt and his Triumph) to the right of the frame would have meant that his head would be blocking part of the road in the distance.
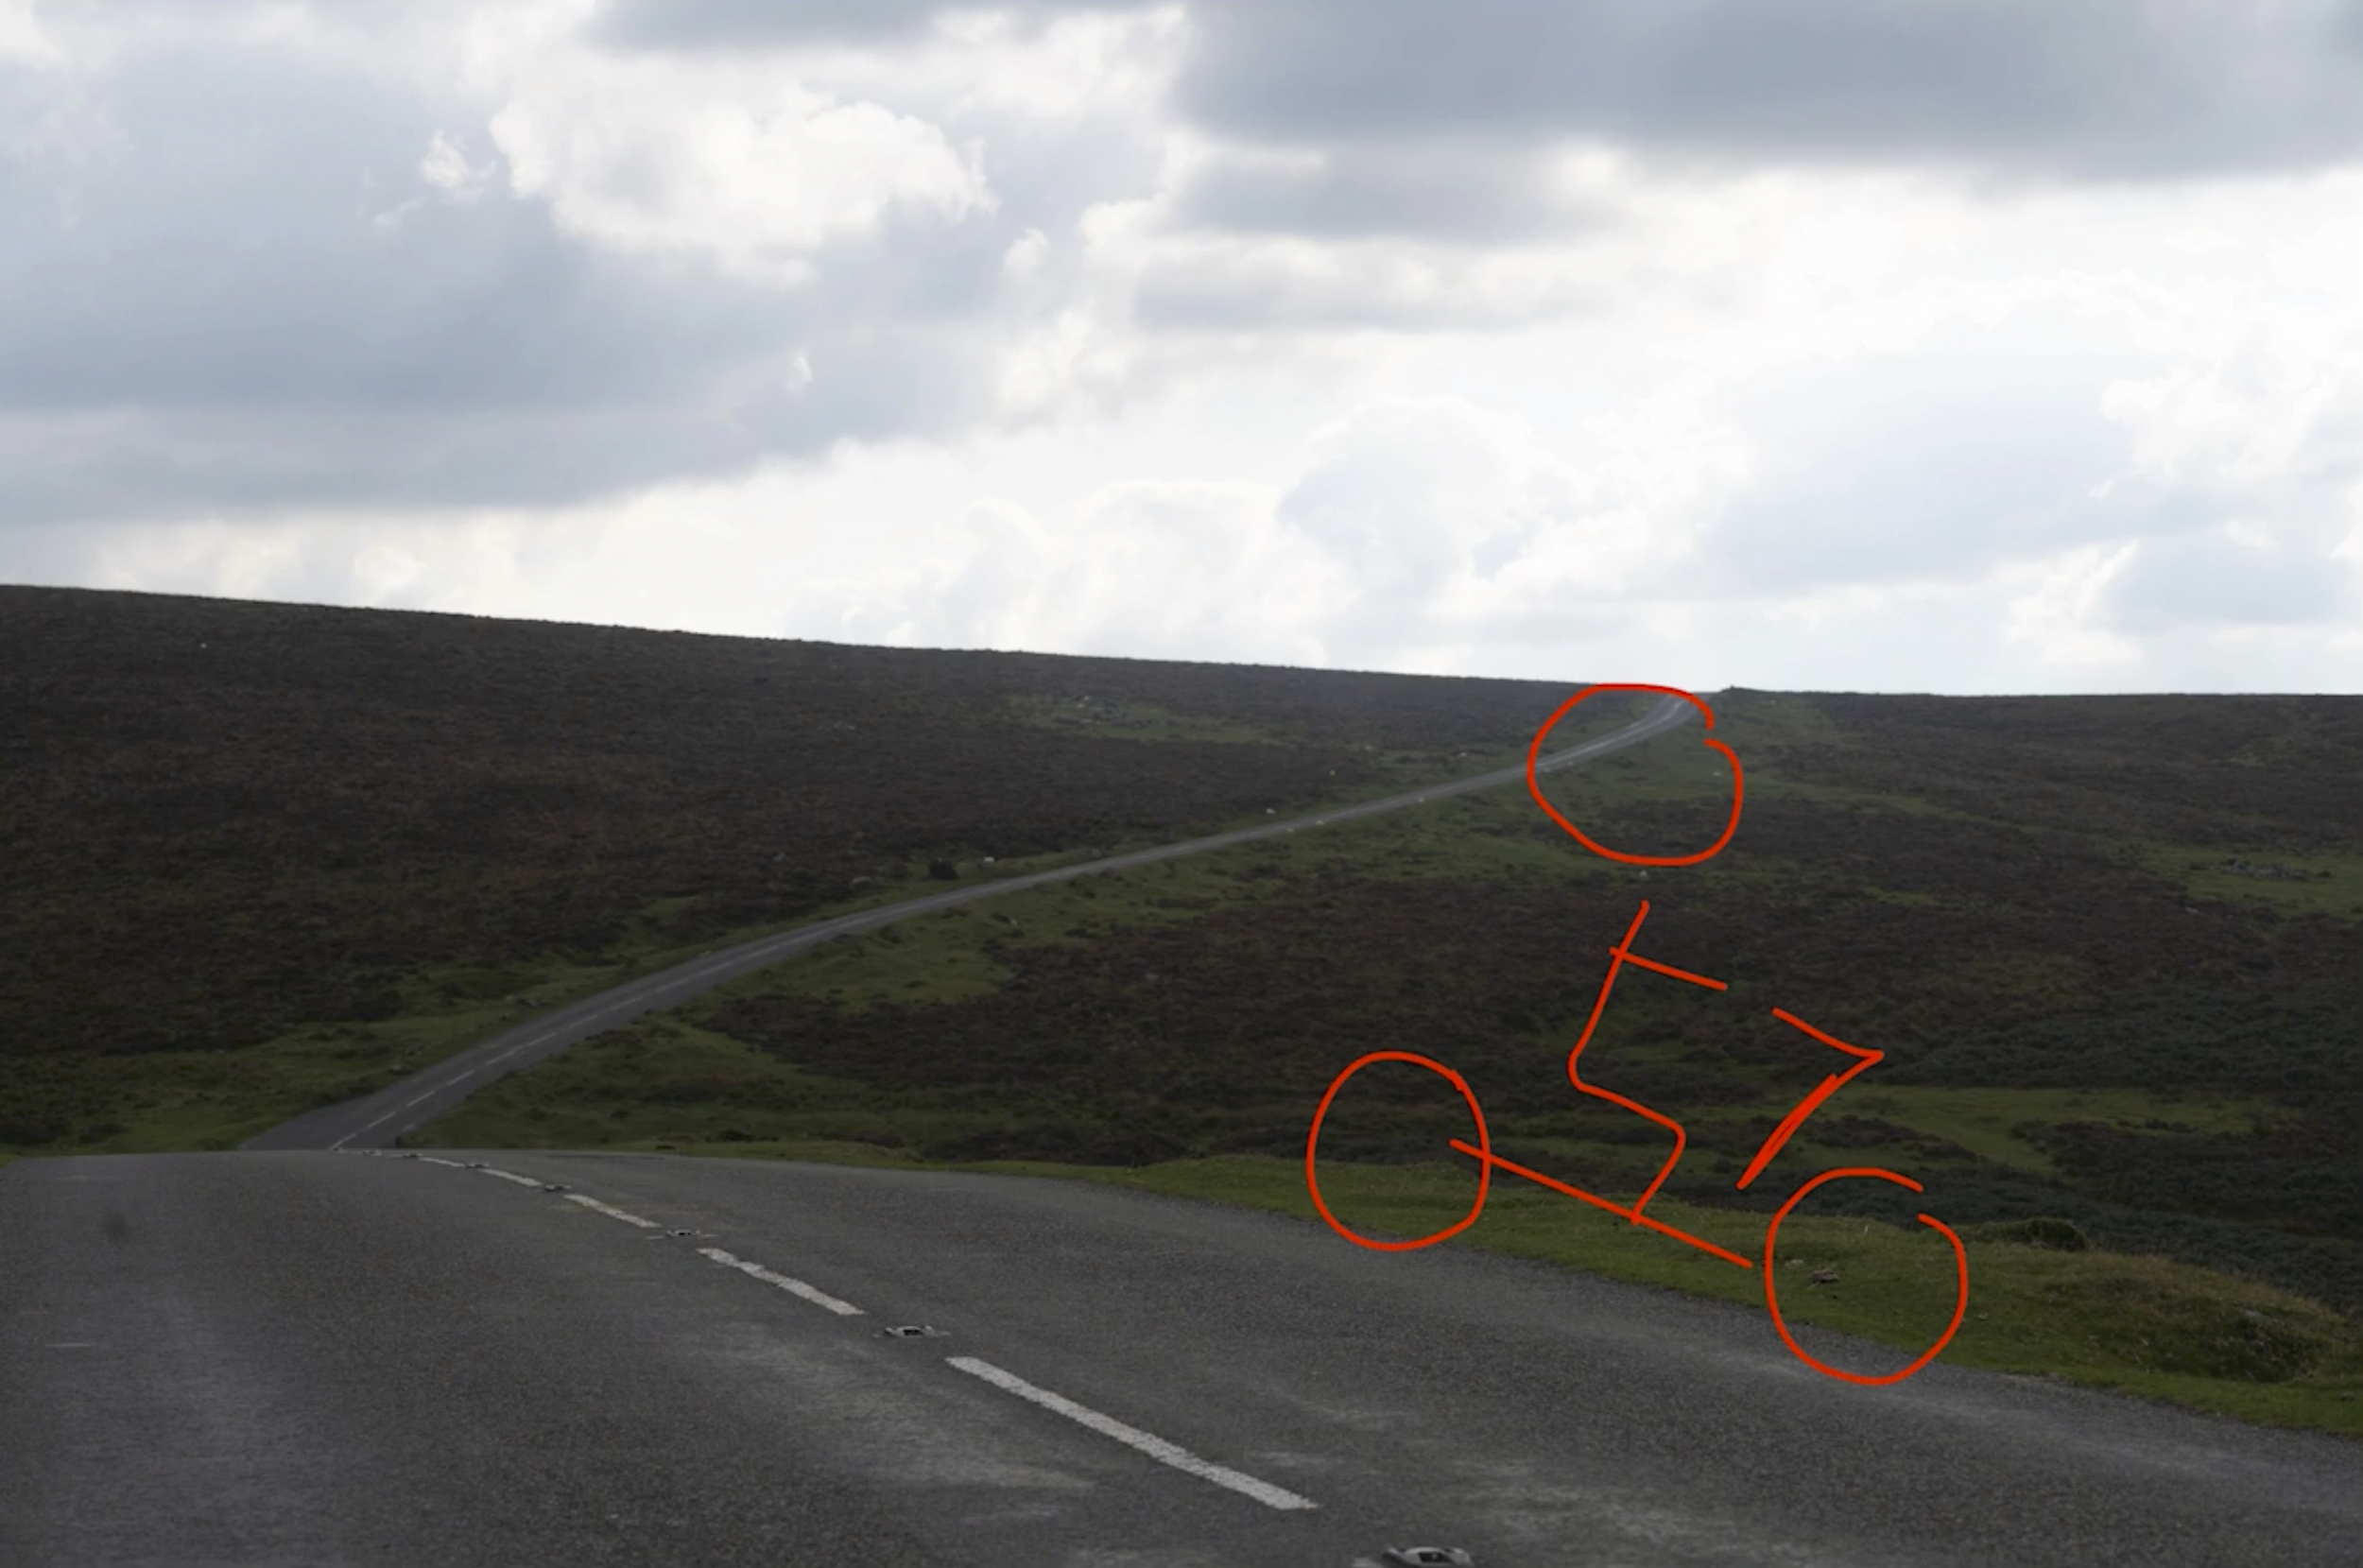
So that didn't work for me.
We tried moving along a little bit and tried some different compositions, some with the camera angle, much lower down so that Matt was above the horizon line to give a bit more of a dramatic feel …

But, the one I was most happy with was the one below, which to me gives a nice balance between the scenery, the road and the biker, and although you don't see the way the road twists off to the left down and then up, you do still know it's the same road that the bike is on, that then goes off into the distance …

LENS CHOICE
Now you'll notice in this behind the scenes pictures that I'm using a telephoto lens, this was a 70 to 200mm f/4 lens, and I used that to compress the background because a telephoto lens will bring those distant areas much closer to form part of the final picture.

You can see what I mean here with this photograph taken with my iPhone from when I was looking for a composition, how the distant road just seems so well, distant …
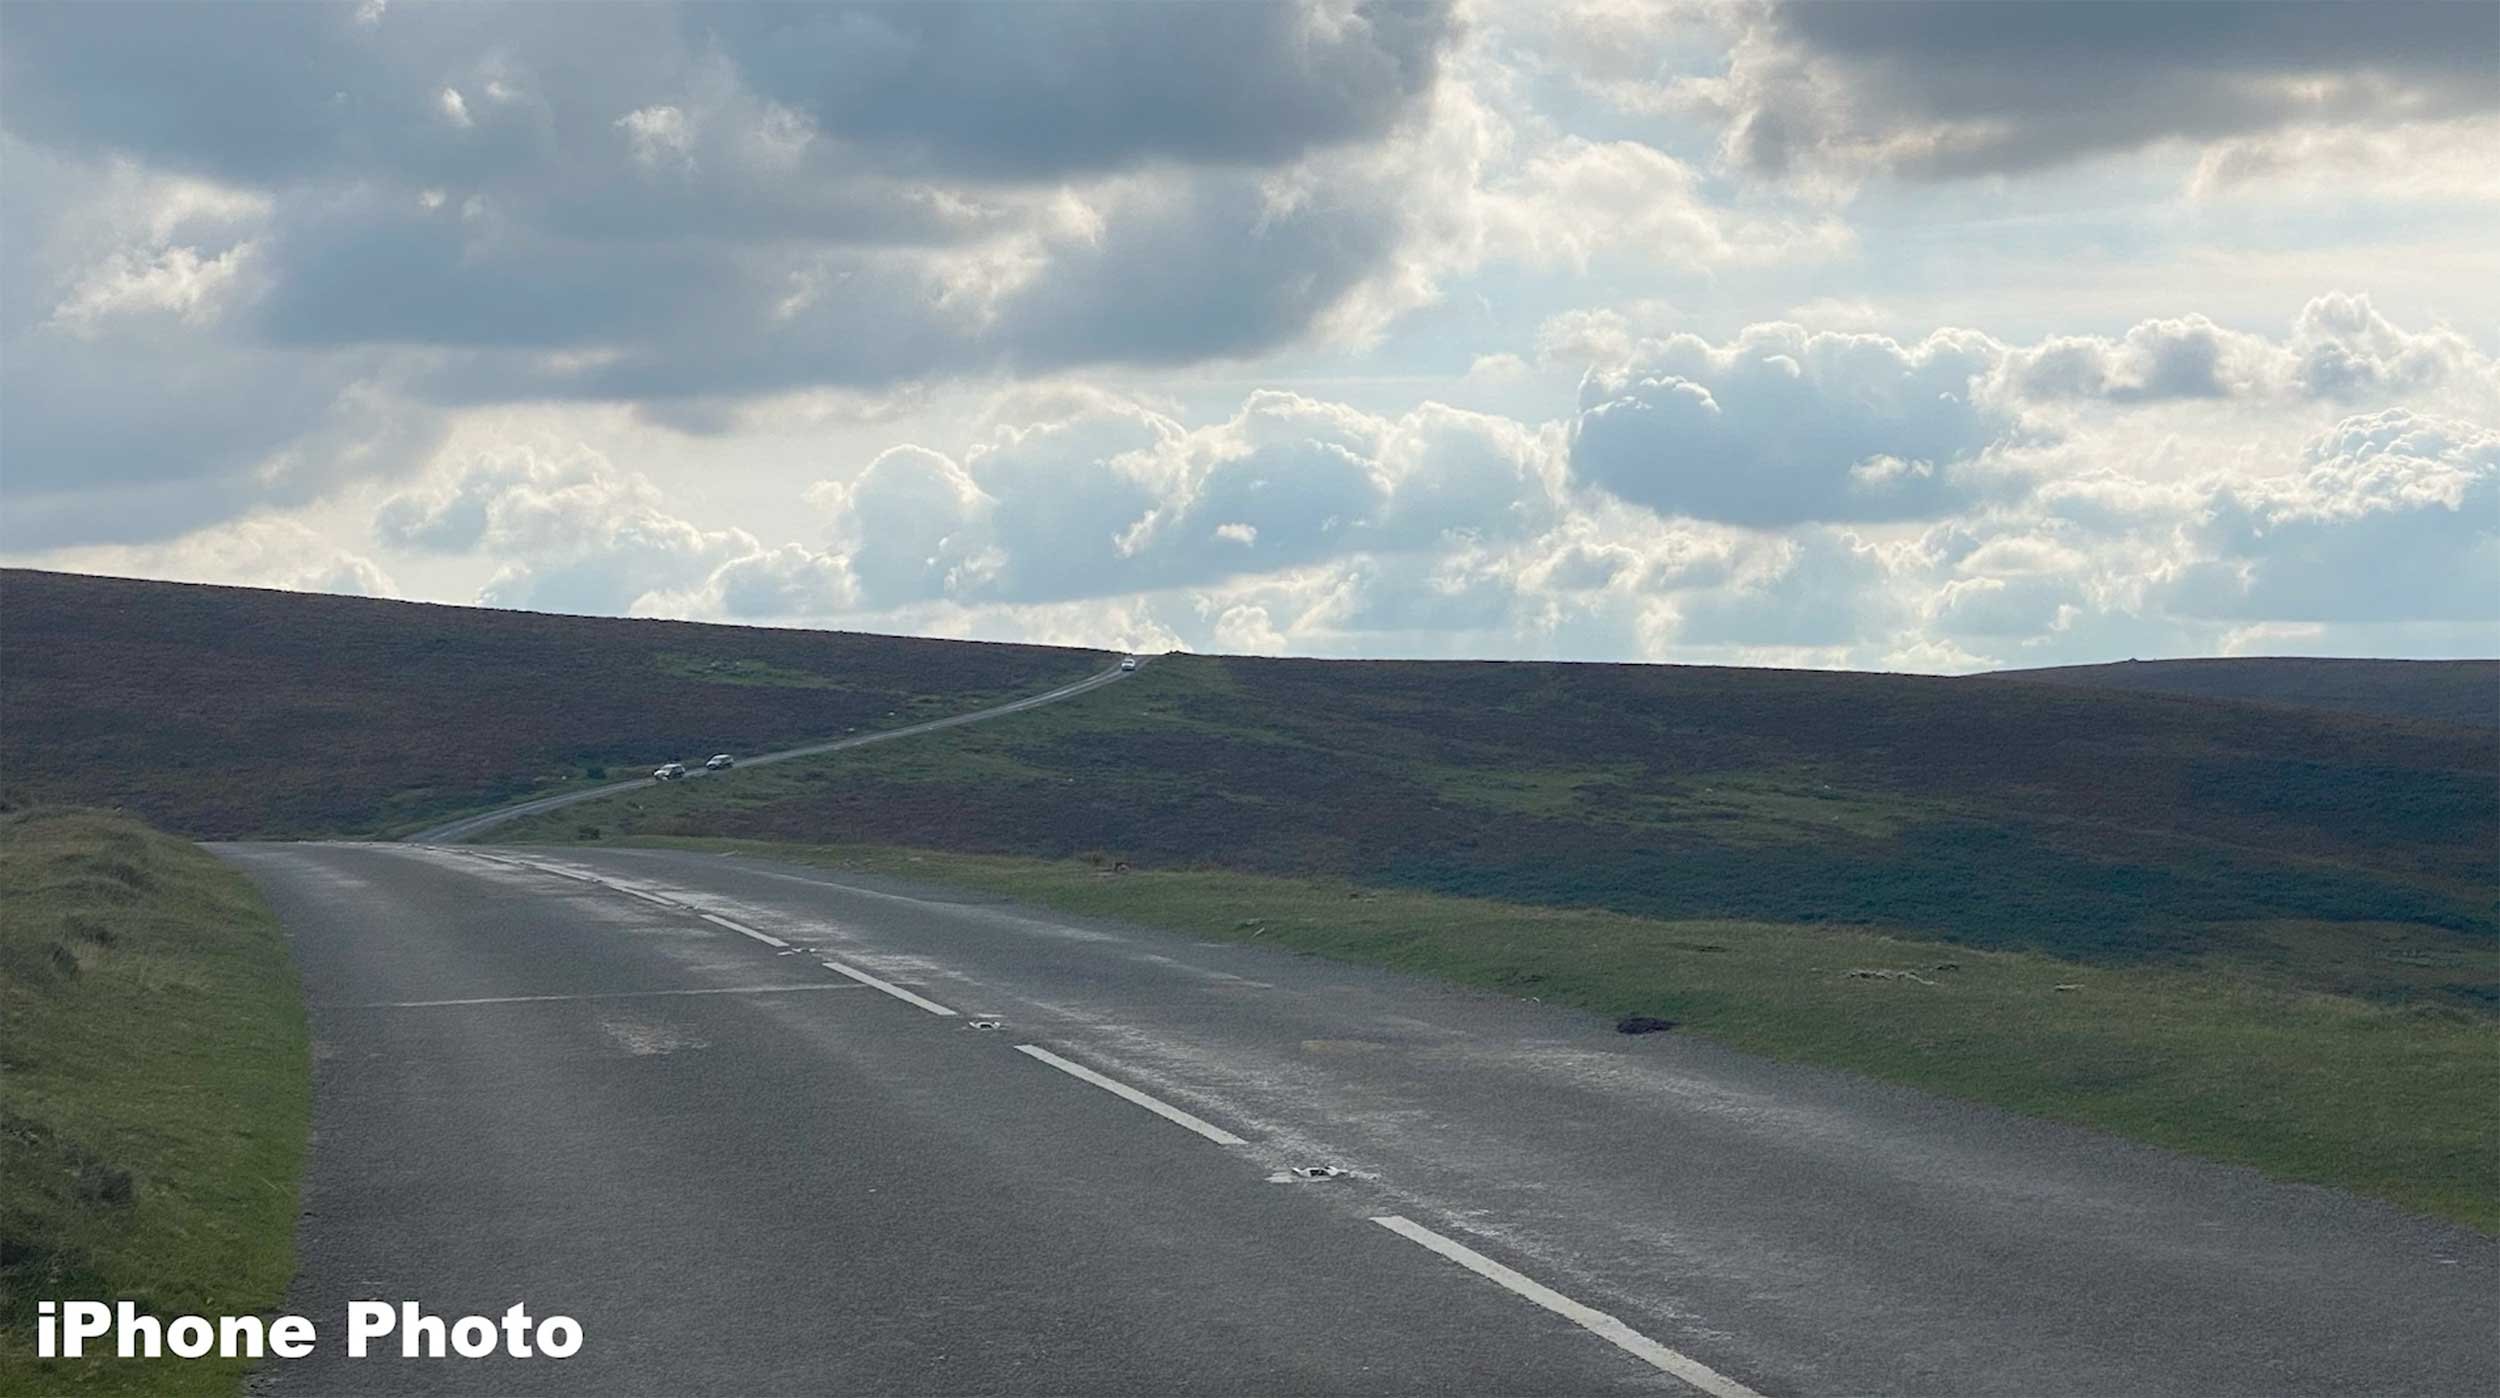
But compare that one to the final retouched image and hopefully you can see how the road in the distance has been brought closer by the using that telephoto lens …

LIGHTING
For the lighting side of things, this was actually quite a challenge because even though the location felt like it was in the middle of nowhere, the road we were on did end up being quite busy.
We had to go back in and out of the road with the lighting (thanks Jacob) , but also the clouds in the sky … one minute they were there, the next minute they were gone. They were moving incredibly fast.
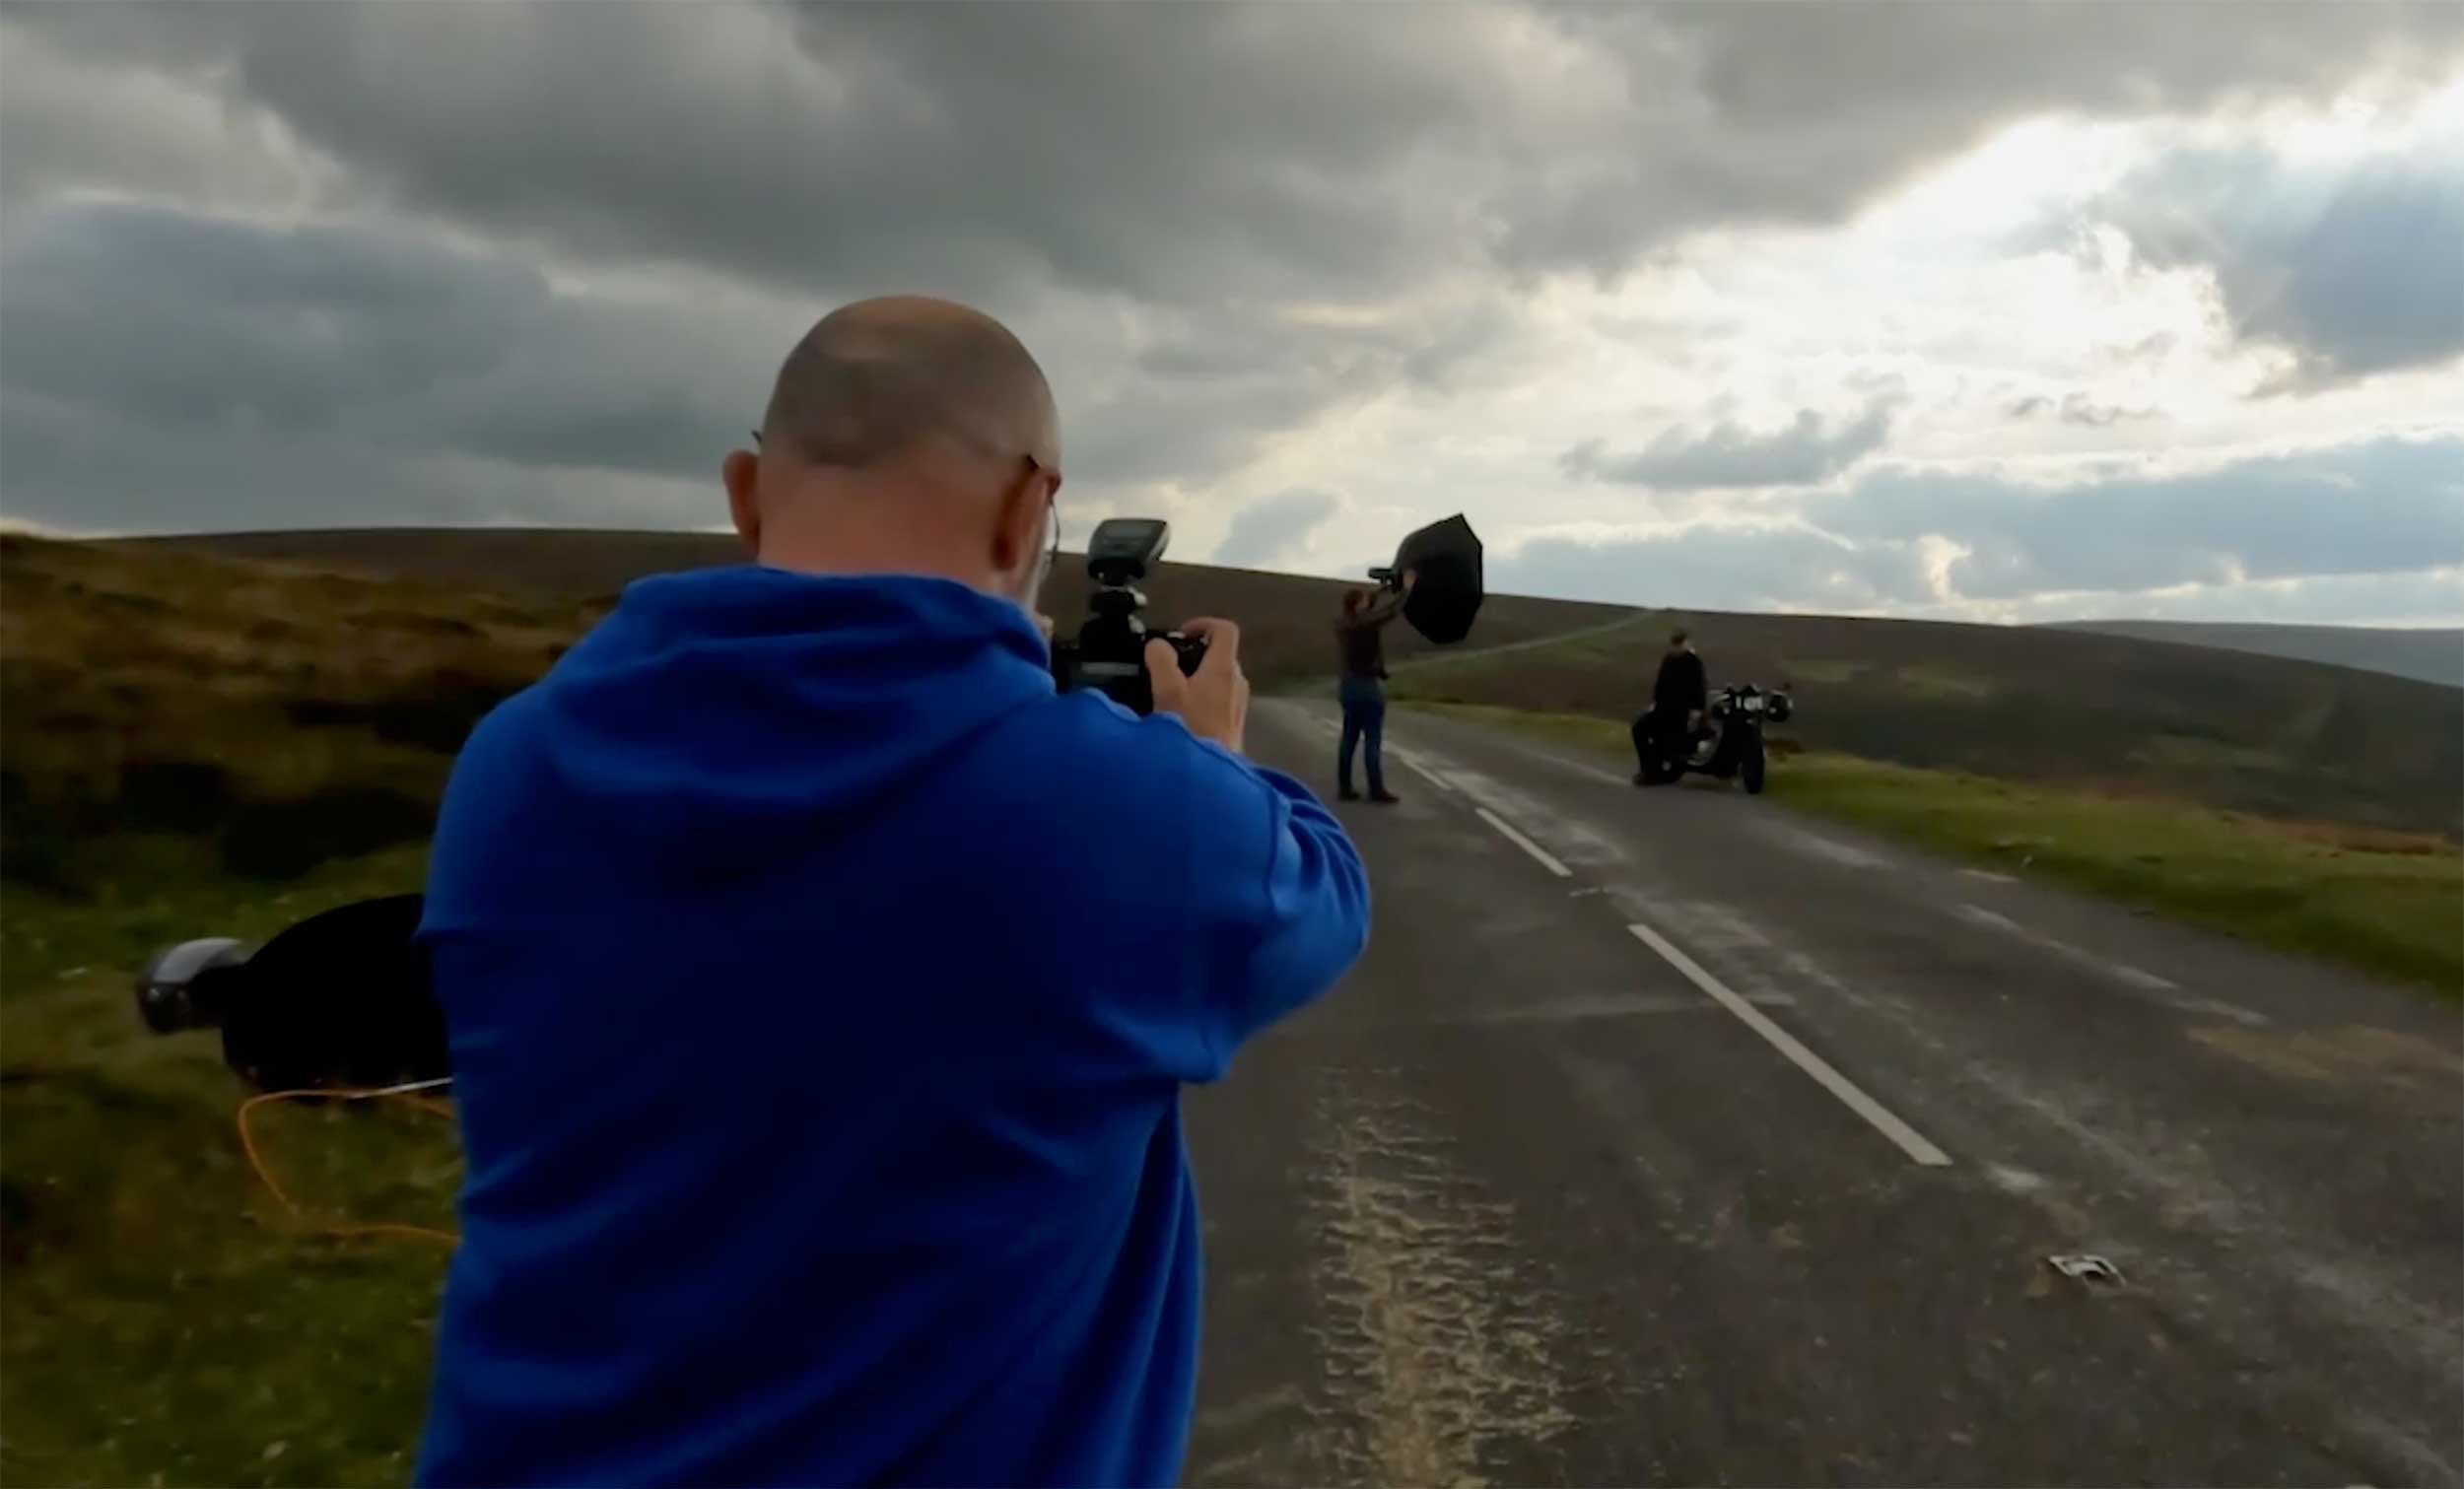
This meant one moment we had nice soft diffuse lighting and the next minute we had quite harsh lighting.
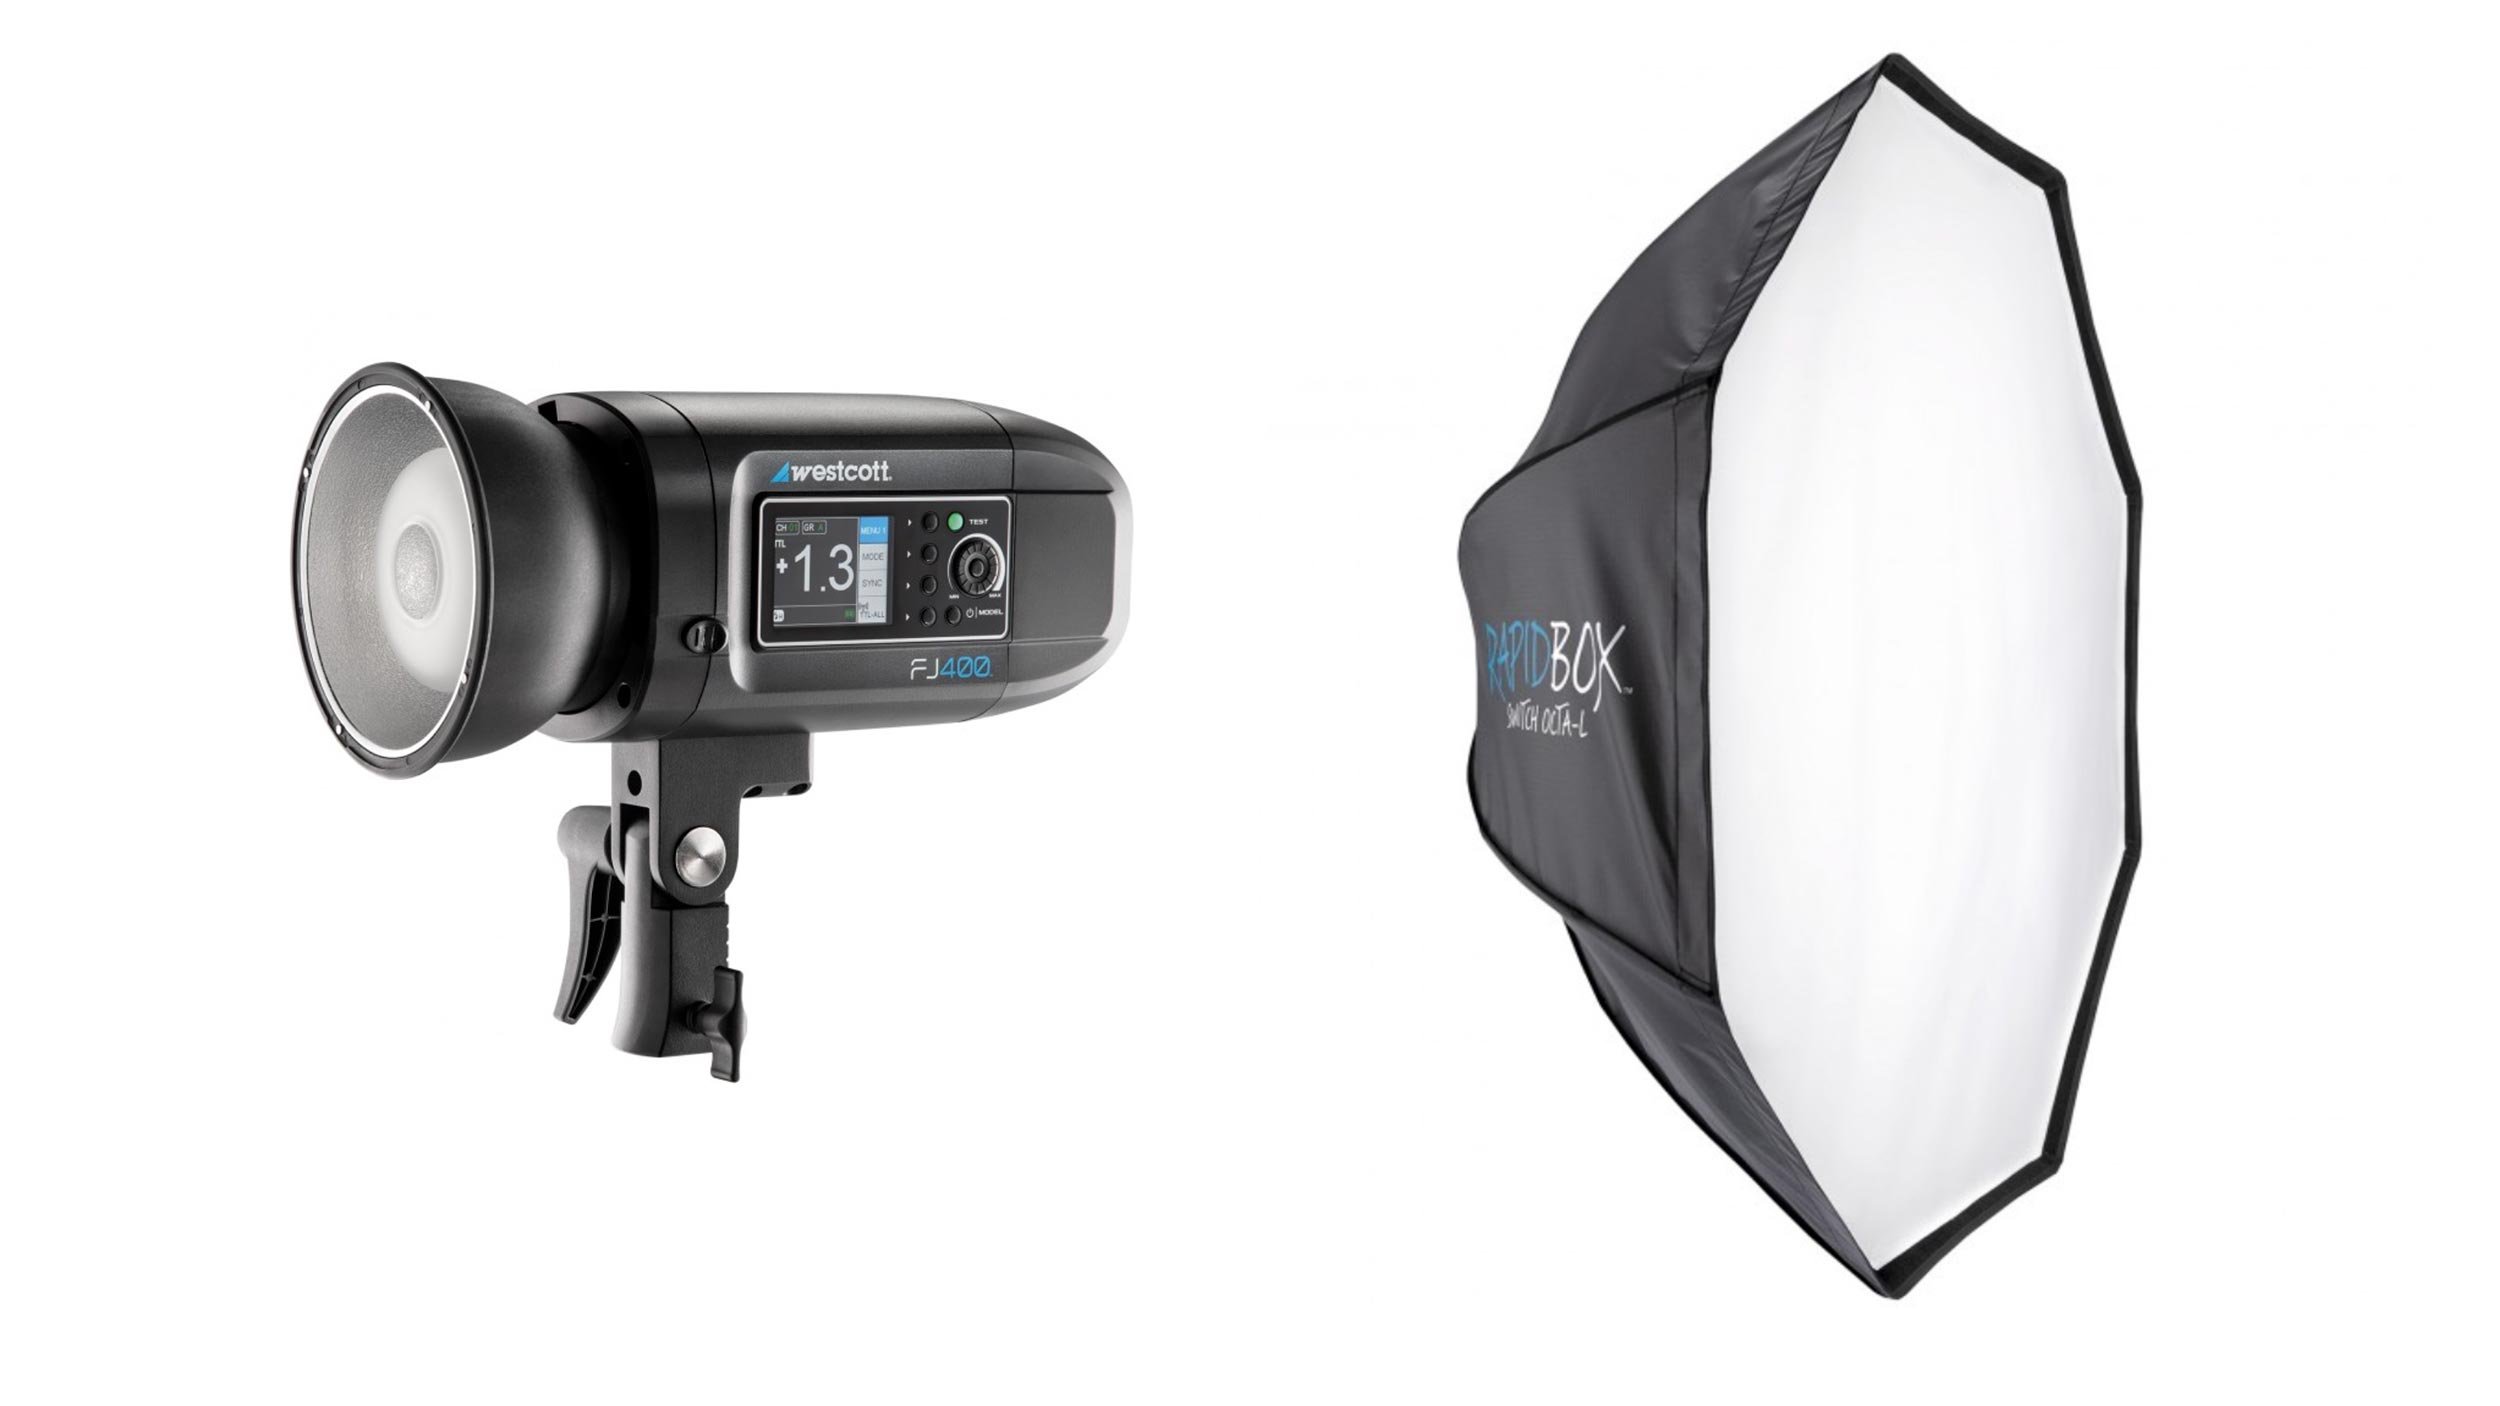
The light I used was a Wescott FJ 400; a 400ws light that has its own battery, and I used that with the Large Octa (Rapid Box Switch) which measures 48 inches; the combination of these made them very portable and easy to move around (thanks again Jacob)
Now because it was a bright day I needed as much power out of the light as possible, but I also needed a soft-ish kind of light to match the lighting in the scene. So to do that, I removed the outer diffusion material of the soft box, meaning there was only one layer of diffusion.

This gave just the right amount of balance between softness and hardness, but also didn't kill too much of the power out of the light (roughly one stop)
Because I was tethering to my laptop I was able to see, on a larger screen, what the images were looking like and check things such as sharpness, composition and so on.
This also really helped with checking out the detail in the sky and although in the out of camera shots there looks to be no detail, there was actually plenty of information there to bring back during post production. No sky replacement needed here 😃

This ultimately meant that I didn’t need to use High Speed Sync (HSS) which although great, because of how it works reduces the output of the flash / strobe so it needs to be in closer. Not using HSS meant I could have the light positioned further away out of the frame.
So there you go, a quick run through of what went on Behind the Scenes.
With the location and the conditions presenting a few challenges, keeping things simple definitely help but also the tethering came in very handy being able to not just see the images that were coming through and REALLY see what was there.
As always, if you have any questions just add them in the section below and I’ll make sure to respond.
Cheers,
Glyn
TRY THIS 👍 ONE button to FIX COLOUR ... FAST !!!
Here's a SUPER FAST technique for removing a Colour Cast from your images that requires no guess work and no keyboard shortcuts to bring up secret menus; just a straight forward one-click fix that works GREAT!
Back Home from The Photography & Video Show 2022
Back home after a wonderful few days in Birmingham at The Photography & Video Show…

So good to catch up with folks (including my cousin Richie) along with book signing with Rocky Nook, on stage for an episode of the He Shoots, He Draws Podcast with Dave and our friend Kaylee AND some GREAT meetings with companies / brands 😃


So good spending time with my best mate Dave Clayton too and just being ‘us’ 😃
