How to FIX SKIN TONE in Lightroom 💥

In this video I show a simply but VERY EFFECTIVE way to Fix Skin Tone in Lightroom.

The video comes in 2 parts with Part 1 being available for everyone to watch where I go through the main technique.

Part 2 is for my Newsletter Subscribers Only and in that I go through things in more detail showing how many of the step srequired can be automated using technology within Lightroom PLUS some additional learning on masking and details of a a Preset Download I have made available.

I have a Print FOR SALE in a local Picture Framers 😃

Now THIS is a BIG DEAL for me because I’m primarily a Portrait Photographer and only started taking photographs of landscapes and seascapes during the Covid Pandemic … because I couldn’t take portraits.

So to now have a print FOR SALE in a local Picture Framers ( West Street Picture Framing in Axminster, Devon ) feels FANTASTIC 😃

This all came about just last week when I was with the owner of the Framers, Trevor Williams, as he very kindly gave up his own time to open on a day when ordinarily he’d be closed so that we could film him for my upcoming HOW TO PRINT course, showing how to put prints onto backing board for display and also how to put prints into a mount.

Now I’ve been very fortunate over the years to have had my images appear in magazines, books and on television but the thrill never decreases and seeing the framed print FOR SALE and on display in the shopfront window was such a good feeling.

I'd never considered selling prints because landscape and seascape is not something I’m known for because like I said I’m primarily a Portrait Photographer, so yeah it feels great that Trevor would suggest doing so; he also took care of everything with regards the printing and framing which unsurprisingly looks wonderful.

Of course the icing on the cake would be seeing it sell, so I’ll keep you posted 😉

*Check out my PORTFOLIO to see other examples of my Landcape / Seascape images

Times Square by Bert Monroy | I'll Treasure this FOREVER!

This I will treasure forever !

Loving having this VERY special print on the wall in my 'temporary' office ; "Times Square, New York" Drawn and Painted using Adobe Photoshop and Illustrator by my friend, the INCREDIBLE Bert Monroy …

It’s hard to put into words how much it means to have this ; an iconic piece of art created by Bert … someone I followed from Day 1 when first I started out using Photoshop. I’ve learned so much from him that I used back when I would do more compositing work but that are techniques I still turn to today when retouching my photography.

Having presented on the same stage as Bert and having travelled to present at different locations around the world with him, I am both honoured and blessed to call him a friend.

LIVE BROADCAST

To see a close up of “Times Square” have a watch of this recording of a LIVE Broadcast I hosted with Bert as my Guest where he zooms in and out showing all of the details and explains some of the techniques used to create the final piece …

TOP 10 TECH TIPS for Photographers to AVOID DISASTER and KEEP YOUR PHOTOS SAFE | Peter Morgan

Watch the recording of this LIVE Broadcast as I chat with Photographer and Tech Expert Peter Morgan as we discuss the TOP 10 TECH TIPS for Photographers including Backup Solutions BEST PRACTICE to AVOID DISASTER and KEEP YOUR PHOTOS SAFE …

links mentioned in the video:

Newsletter Subscriber-Only Video Tutorials

Pretty much every week I host LIVE Broadcasts on my YouTube Channel and I really enjoy doing these; great guests, great interaction and I thrive on the buzz of being LIVE.

I also from time to time add some pre-recorded content onto my YouTube Channel such as short form tutorials, product reviews and so on … as I have done for years.

My new Newsletter seems to be really well received with it going out twice a month, but the one thing that I’ve not been 100% happy with about it, is that the information I include isn’t exclusive … so this I’m changing.

From now on with each Newsletter I am including Newsletter Subscriber-Only video tutorials; video tutorials that won’t be shared on my YouTube Channel or anywhere else for that matter.

I don’t take it for granted that people choose to subscribe and receive my FREE Newsletter especially when our inboxes get enough thrown at them each day anyway, and that there’s so many other people with the own newsletters too.

So I want / need to thank people, make it exclusive and give people a reason to firstly subscribe but secondly and most importantly, continue to do so. THIS is why my focus and how I feel about my YouTube Channel has shifted.

Don’t get me wrong, I love creating and sharing on YouTube, especially the LIVE content, and I will continue to do so, however my priority is that of people who choose to subscribe to my Newsletter and it’s for those people I will be putting all my effort into creating useful, timely, creative content for.

This content will, like I said, be short form Photography, Photoshop and Lightroom based video tutorials and also the occasional Newsletter Subscriber-Only Webinars, and the first one is available NOW …

In the first Newsletter Subscriber-Only video I go through my NEW Lightroom Portrait Retouching Workflow concentrating specifically on how I now do the Dodging (Lightening) and Burning (Darkening) side of things to give portraits much more depth and shape.

Oh and another BIG advantage of them being EXCLUSIVE and not on my YouTube Channel is that there are NO ANNOYING ADS! 😃

So, if you’d like to subscribe to my FREE Twice-Monthly Newsletter, be part of the community, keep updated, receive discounts and get access to subscriber-only tutorials / content, you can do so by simply adding your email address in the pop-up that might have appeared whilst you’ve been here, on the home page OR by clicking on the button below.

Hopefully see you there,
Glyn

CAPTURING the POWER and BEAUTY of the NATURAL WORLD with Nick Page

LIVE Broadcast recording of a I chat with the incredible talent that is Landscape Photographer Nick Page, as we discuss his process for capturing the POWER and BEAUTY of the Natural World including Seascapes, Landscapes and Wildlife …

links mentioned in video:

Nick Page Website: ( LINK )

Nick Page on Instagram: @nickpagephotography ( LINK )

Nick’s Photography ‘Heroes’

How to Print Course - Pre Order ( LINK )

MASTERCLASS in using LAYERS , BRUSHES and LAYER STYLES in PHOTOSHOP with Bert Monroy

Watch the recording of this LIVE Broadcast when, by Popular Demand, we welcome back the INCREDIBLE TALENT that is Bery Monroy as he takes us step by step how to get the MOST out of Layers , Brushes , Layer Styes and more in Photoshop.

Definitely NOT ONE TO MISS!

links mentioned in the video

Bert Monroy’s Website: bertmonroy.com

Bert Monroy’s YouTube Channel: youtube.com/bertmonroy

SERIOUSLY ??? You took that with your MOBILE PHONE ??? - Russell Preston Brown

There’s Mobile Photography … and then there’s Russell Preston Brown 😮

Watch the recording of this LIVE Broadcast as chat with the one and only Russell Preston Brown aka Doctor Brown from Adobe, as he takes us Behind the Scenes sharing Kit, Tips and Techniques for how he captures STUNNINGLY CREATIVE IMAGERY using his mobile phone …

mentioned in the video

Russell Preston Brown on Instagram: @dr_brown

Russell Brown Website: russellbrown.com

Long Exposure / Night Photogrtaphy iPhone Apps:

  • Slow Shutter

  • Even Longer

BEASTGRIP PRO Universal Smartphone Camera Rig: https://geni.us/AYAcEsV

ShiftCam Pro Grip: https://geni.us/qd5f

Portrait using a 55mm Prime and LED Lighting

I’m currently trying out a new portrait style for me using a different lens focal length than what I’ve used for a while now, and also adding in an additonal light to my usual one-light set up.

For some time I’ve used the Sony 85mm G Master lens with my Sony A7RIV and have and still do love it for the quality and sharpness of the files it produces. However I’m now going to be using a 55mm focal length … my Zeiss f/1.8 Prime Lens.

It’s hard to put into words what I’m really liking about the look the lens gives … it’s just different. Some would say that it gives a much more realistic ‘as the eyes see it’ look but I guess that also depends on how close to the subject you position yourself.

I also like how the focal length means you’re much closer to the subject, making the portraits much more intimate and revealing of the person being photographed ... if that makes sense.

I’m also, like I said, using an additional light with this new look I’m working on; both of which are LED Constant lights.

I’ve been using the 60W Westcott L60-B COB LED for a while now but a few days ago I received the new 120W L120-B COB LED; a slightly bigger unit with the advnatage that no adaptor is needed to fit any of my light modifiers.

So the portrait of my friend Anthony above, I took using one of the grey walls in my office as the background; here’s the set up showing the positon of the lights …

LIGHTING

Westcott L60-B COB LED fitted with a square Westcott Pocket Box Softbox rear and camera right and positioned so that it added both a bit of light onto the background but also a hint of light onto the camera right side of Anthony’s head.

Westcott L120-B COB LED fitted with the 24” Rapid Box Switch Softbox

Westcott 2-in-1 Reflector (silver and White) with silver side uppermost

*NOTE: If you’re looking to invest in Westcott Kit, then give me a shout and I’ll pass on a Discount Code

Westcott L120-B COB LED

Westcott 24” Rapid Box Switch Beauty Dish

Westcott Pocket Box Speedlight Softbox Kit

camera settings

  • Aperture: f/5.6

  • Shutter Speed: 1/60sec

  • ISO: 1250

When taking Anthony’s portrait I was experimenting with different apertures to see hat I prefered for this new look; f/2.0 , f,4.0 , f/5.6 and actually liked the look of f/40 as with the 55m lens it gave a great depth of field with the tip of the nose in foucs and then from the ears losing focus.

However, I mistakenly left the camera in f/5.6 so during the retouching in Lightroom I used the Lens Blur to convincingly fake the depth of the field.

retouching in lightroom

The portrait I retouched using only Lightroom and I’ve added it into my Lightroom Community Profile Page

When you go to my Lightroom Community Profile Page, click on the portrait and this will then take you to where you can see all of the retouching steps I did to the ‘out of camera’ file. You can also save the settings as a preset to use on your own images and even click on Remix to get access to a Smart Preview of my original file and have a go at retouching it yourself.

Raising MENTAL HEALTH AWARENESS through Photography - Nigel Thomas

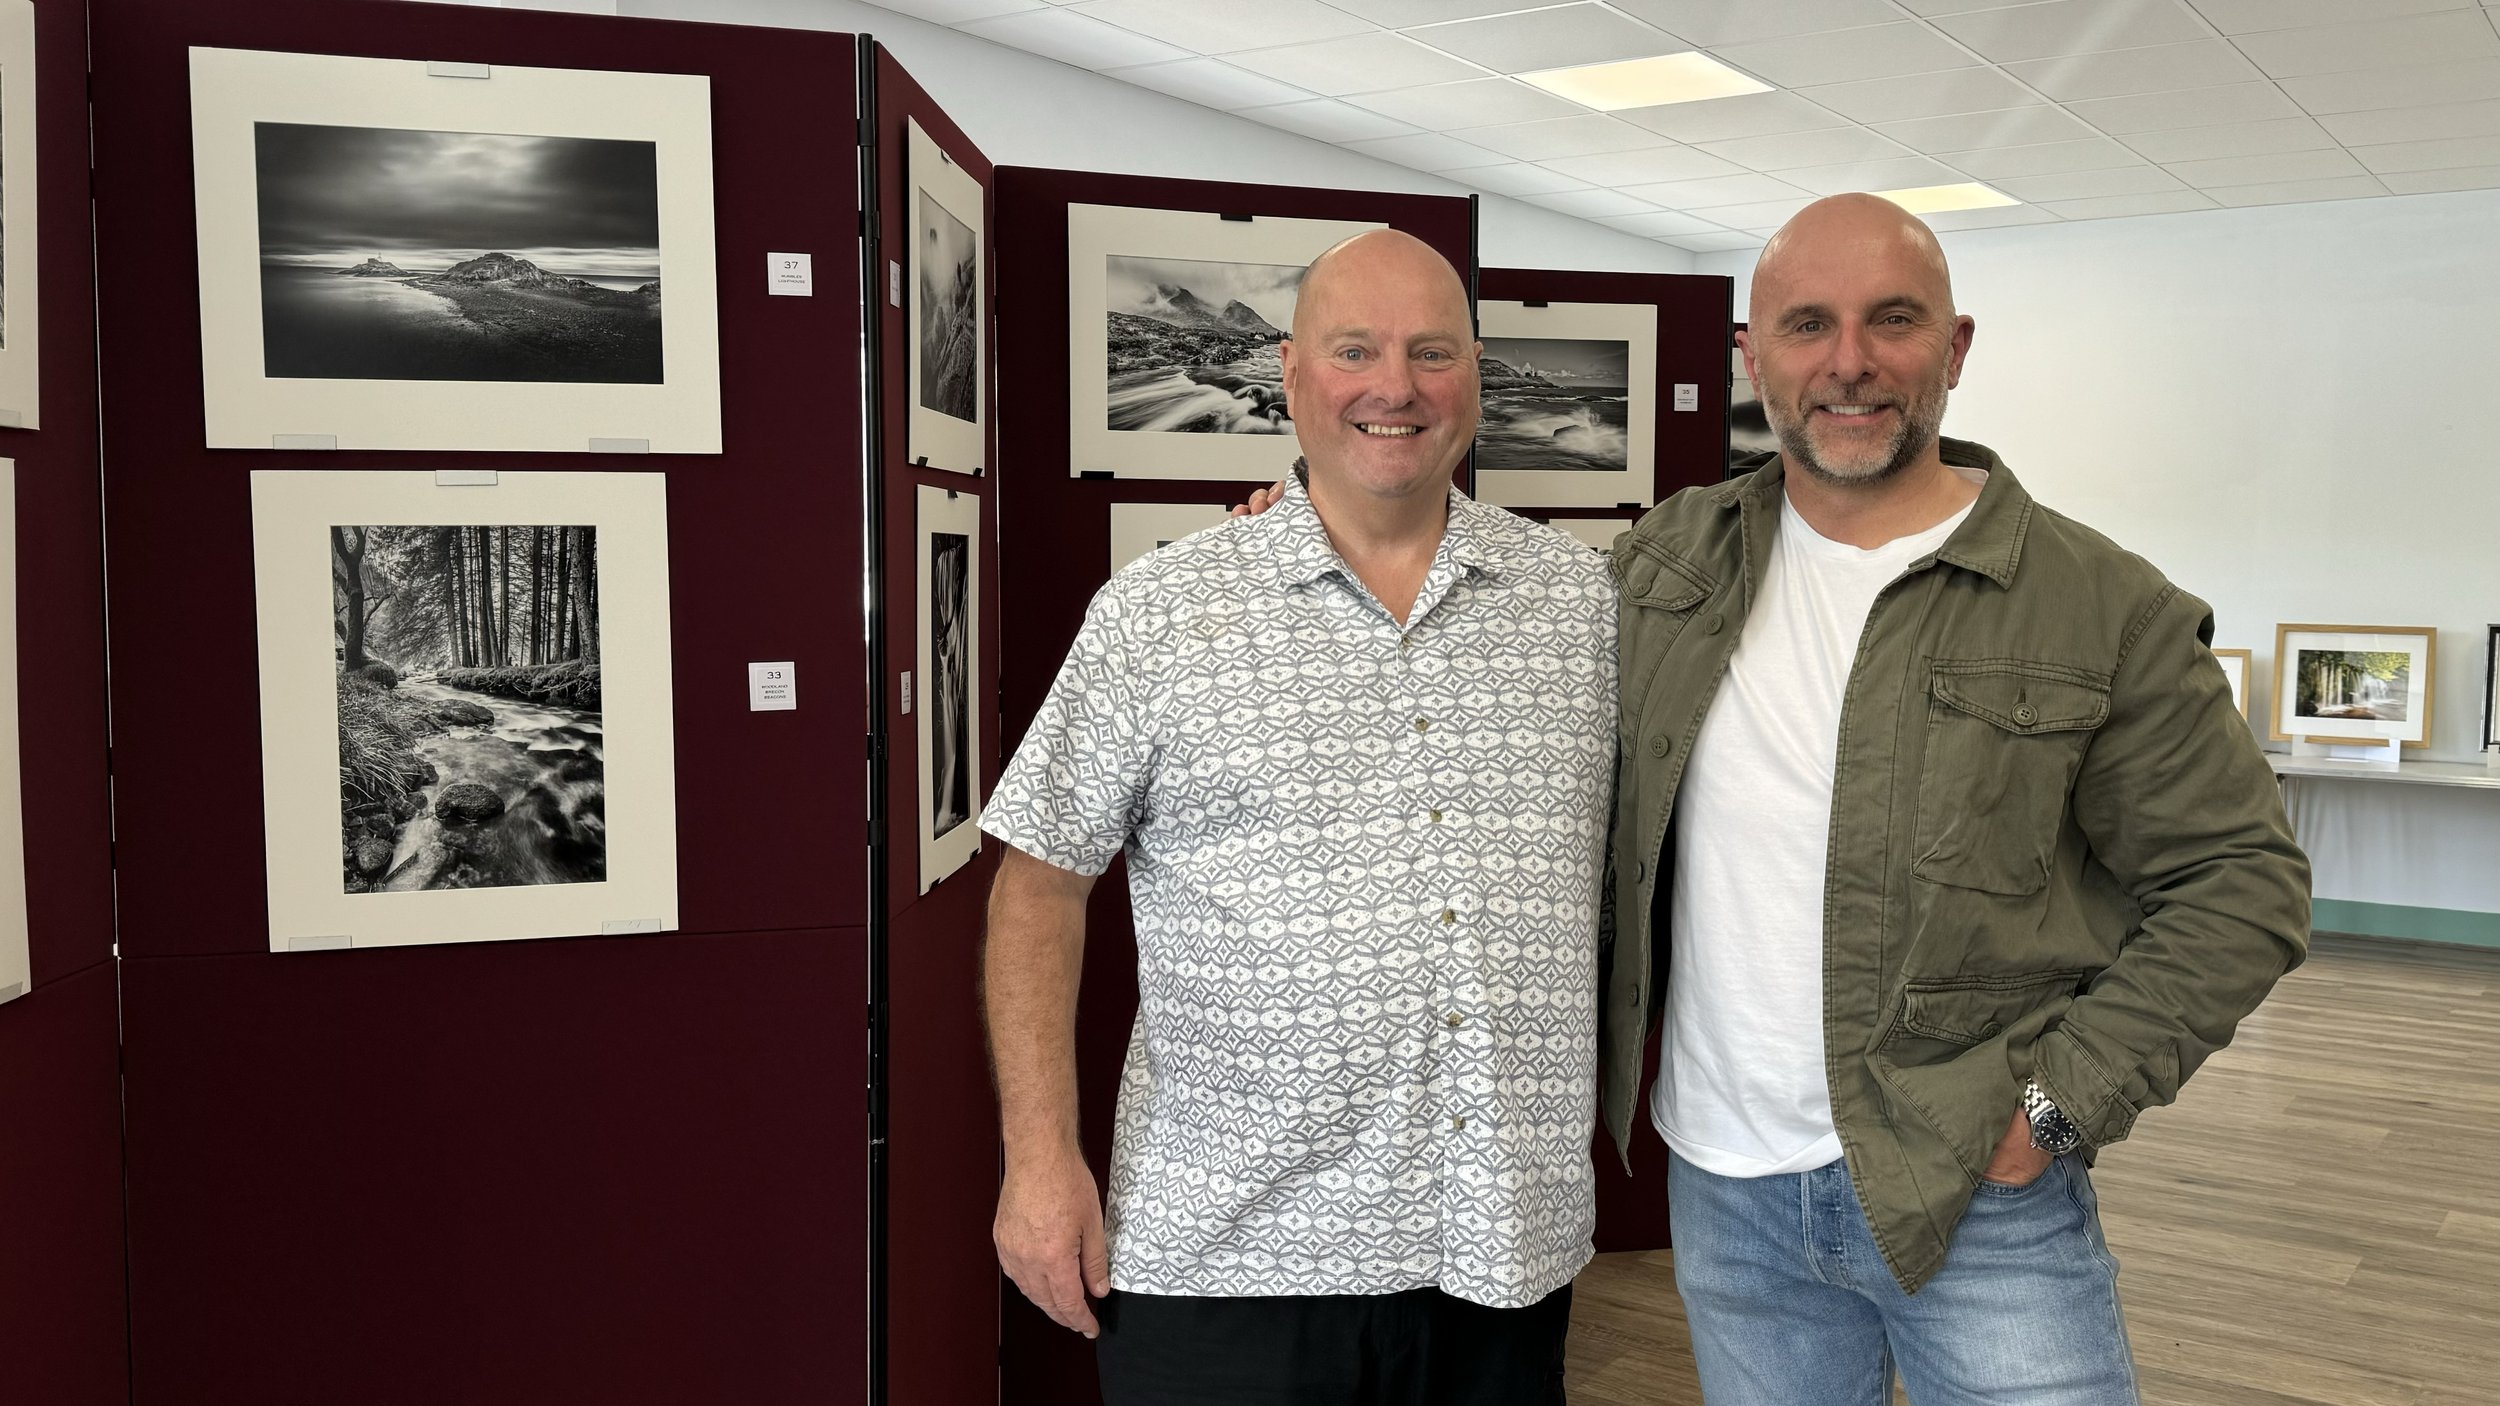
Watch the recording of this very OPEN, HONEST, REVEALING and INSPIRIING, LIVE chat with Military Veteran turned Landscape Photographer Nigel Thomas, as he shares his incredible story and reveals how Landscape Photography has quite literally saved his life! From struggling with the anxiety of going out in public to hosting his first Public Photography Exhibition, Nigel shares with the sole purpose of Raising Awareness of Mental Health and ultimately helping others that may also be suffering.

links mentioned in the video:

Nigel Thomas on Facebook: @nigelthomasphotos ( LINK )

Nigel Thomas on Instagram: @nigelthomas17 ( LINK )

Book: Finding Calm in the Chaos: ( LINK ) (All proceeds to M.I.N.D.)