Lighting a Portrait on a Mountain

This is the other photograph that I took of Dai O’Toole in Pembrokeshire a couple of weeks back ; much simpler than the close up headshot I did ... and a lot less editing ( LINK )

With regards to the kit used …

Sony A7RIV with 70 - 200mm G lens

Lit with the Westcott FJ200 and the Westcott 45 Degree Deep Dish Reflector which ordinarily would produce a hard light , but by aiming it just past Dai the soft outer portion is what lights him up.

This outer area carries less power but was more than enough for this shot from the 200ws FJ200 , and done so as to match the soft light caused by the cloudy sky.

My mate Anthony aiming the light past Dai (camera right)

There were still some hard shadows caused by the light hitting the straps on Dai's rucksack and walking cane but these were very easily taken out using the new Remove Tool in Photoshop.

BIG thanks to my mate Anthony Crothers for holding and positioning the light

YouTube LIVE: Make Movie Poster Portraits using Photoshop and A.I.

Using Lightroom , Photoshop and A.I. to create Movie-Style Portraits covering techniques for Lighting , Selections , Cut Outs and Special Effects.

Here’s a YouTube LIVE Broadcast which aired on Sunday 13th August 2023 , where I go through the lighting and editing involvedin Photoshop to create this portrait of my friend Dai O’Toole …

Movie Inspired Portrait in the Mountains of Wales

So last week I met up with my mate Anthony Crothers just outside of Cardiff, Wales and then we both headed to Newport in Pembrokeshire.

It was there that I’d arranged to meet up with Dai O’Toole ; a friend I’d not seen since my 39-45 Portraits Project Exhibition at the Soldiers of Oxfordshire Museum back in November of 2019.

We’d always kept in touch but this was the first time we’d caught up in person since, and this was all motivated by me having seen Dai mention about a Trek he was soon to be embarking on called the GR54 ; a 120 mile trek in the French Alps which takes in elevation of 12,500ft 😳

Hearing this and his motivation for doing so, I got in touch saying that I’d love to take his portrait on location and record a short chat with him about it all … needless to say , we were ‘Game On’

Meeting up in Newport, Pembrokeshire after some long overdue man-hugs, armed with a small amount of kit we all headed off on what Dai would call a stroll, up nearby Carn Ingli ; a mere 1500ft above sea level 😃

( Left to Right ) Anthony , Dai and Yours Truly

With no need to rush, we took our time making our way to the top whilst chatting , laughing and chatting and laughing some more whilst stopping regularly to take in waht can only be described as spectacular views.

I cannot stress enough how enjoyable and uplifting this was and it didn’t take much to understand why Dai goes out trekking every week.

Once at the top and in between repeated cries of “WOW” , with the help of Anthony on lighting, I took a series of full length portraits of Dai.

The main image from this I’m currently working on but with regards to kit, this is what I used …

Due to the winds on top of Carn Ingli I decided not to take a softbox but as there was a lot of cloud cover and consequently soft light, this I needed to match on Dai.

The solution was to take along the 45 Degree Deep Focus Reflector

This would help to give more control over the light, add an extra stop of power but also by aiming it slightly off Dai, the outer softer area of the light would light him. The result … soft light from a modifier that would ordinarily produce a hard light source.

Of course using the outer area of the light isn’t as powerful / strong but for this combined with the Fj200 and conditions on the day was more than adequate.

I was also shooting tethered into my iPad using a TetherTools USB-C to USB-C cable directly into CaptureOne Mobile; shooting tethered does not get simpler and it works an absolute treat!

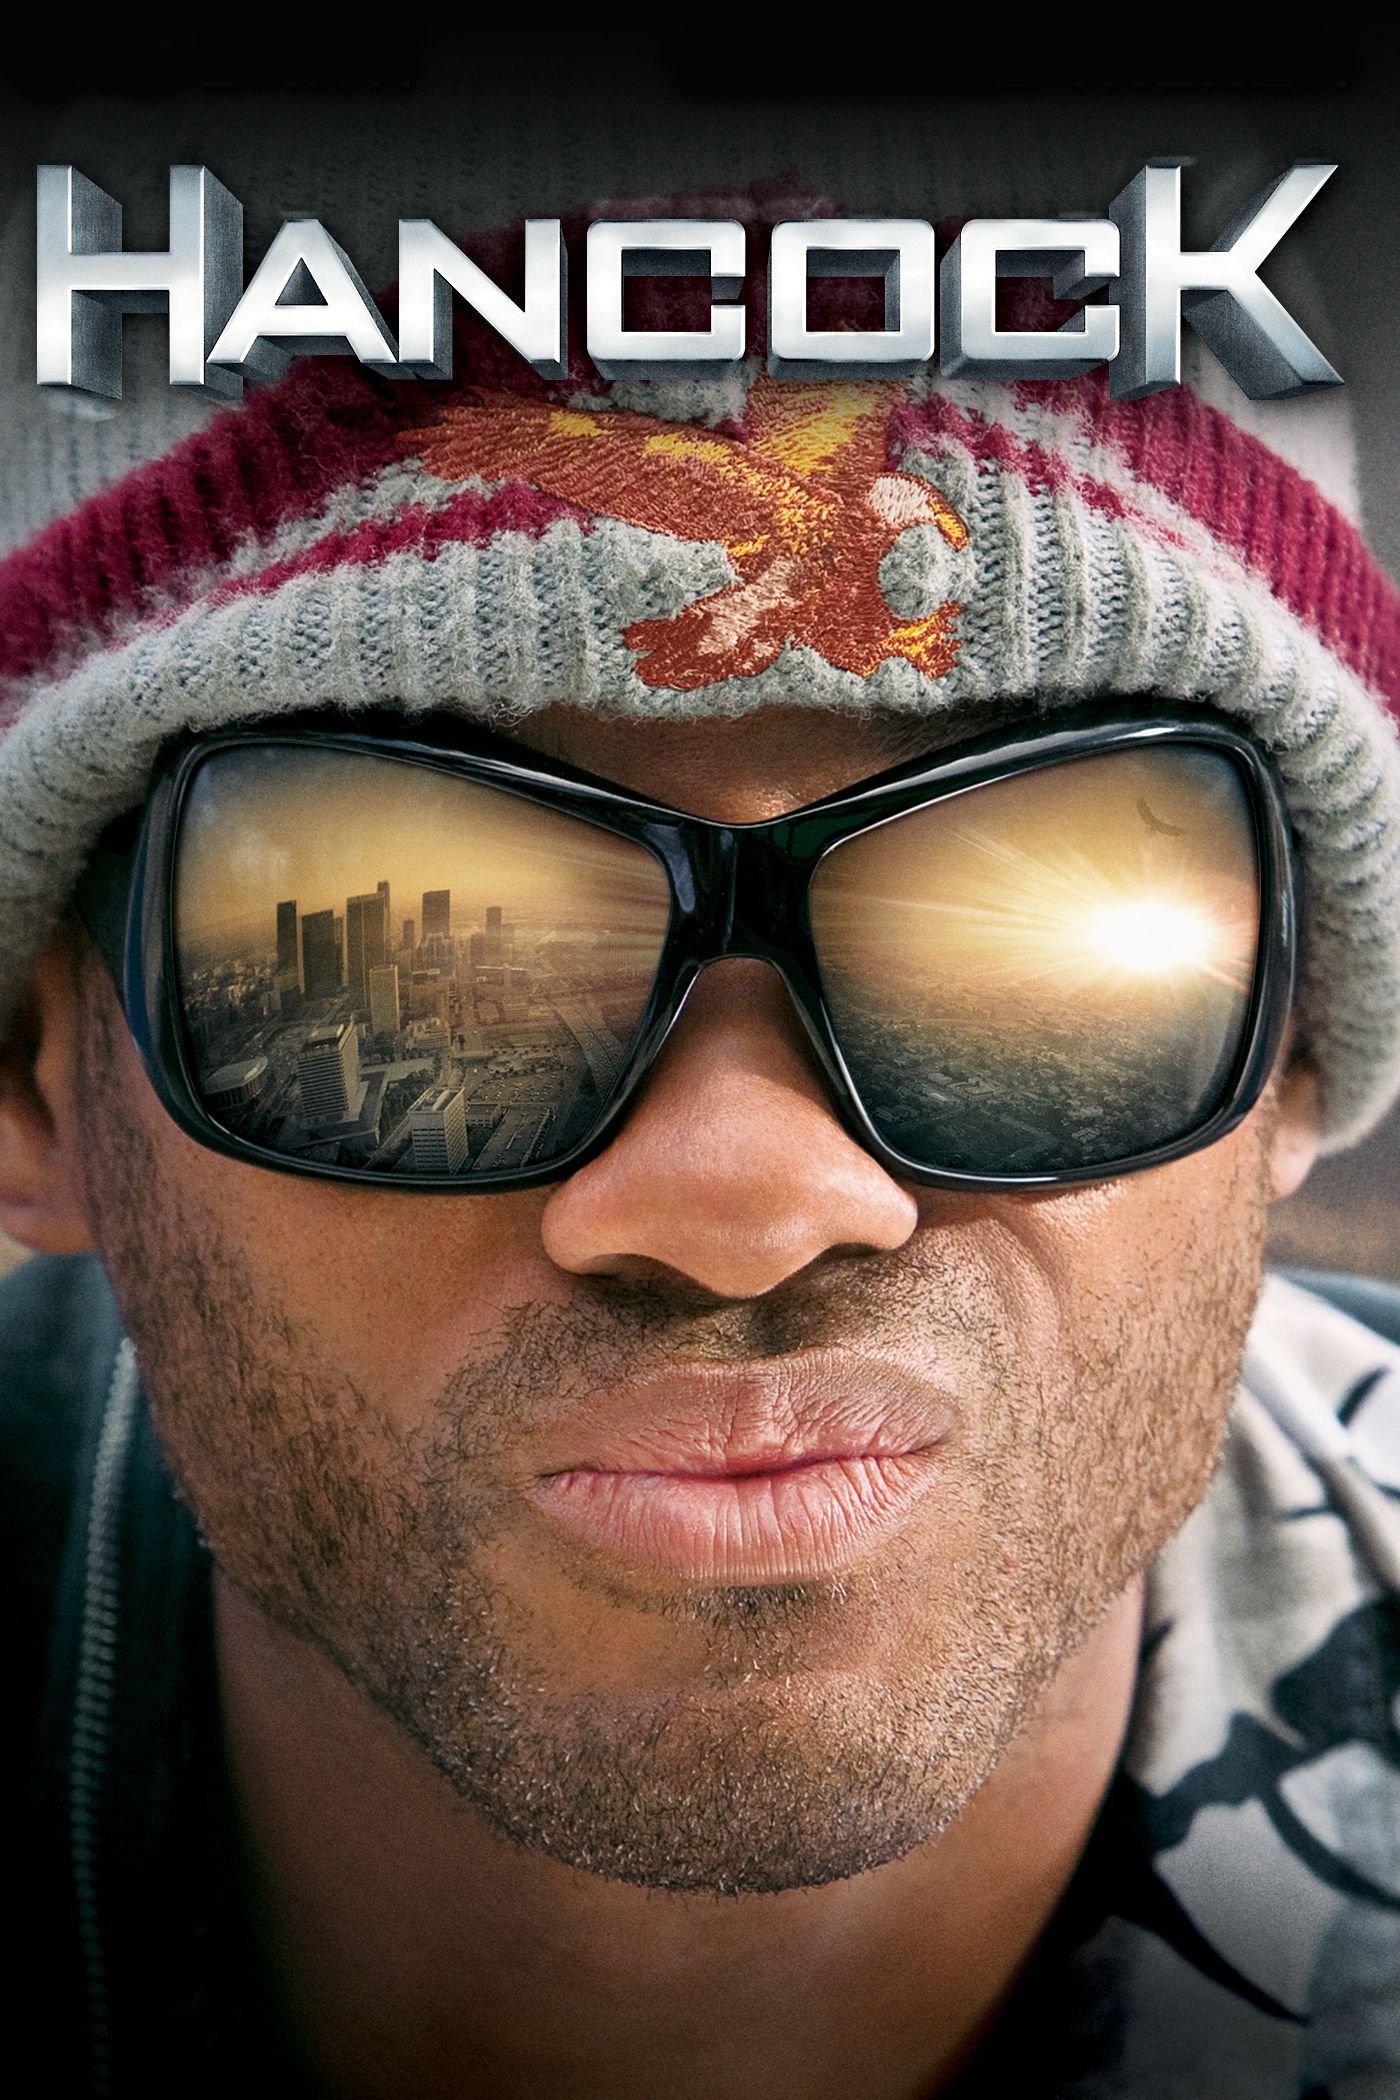
Having finished on ‘the top’ we made our way down ( not quite so direct as the way up mind you 🤣 ) and after grabbing a coffee and chatting more and more, we headed back to the cars which is where I wanted to take a headshot portrait of Dai for an idea I had, inspired by the original ad for the movie Hancock starring Will Smith …

To control the light on Dai I opened the boot of my car and had him sit on the bumper.

Doing this reduced the light from above , behind , and to his right hand side ( camera left ) resulting in an obvious and controlled direction of light rather than his head being evently lit in all directions.

Using my Sony A7RIV on a tripod and my 85mm G-Master lens I took a series of headshots with Dai simply looking straight down the lens but now wearing some fantastic reflective and tinted sunglasses.

I tried a few shots using the FJ200 in the Rapid Box Switch Beauty Dish and bouncing some light onto a reflector which Dai held horizointal to the ground in front of him to bounce some light up onto his chest and beard.

However, I ended up going with the natural light as positioning Dai on the rear bumper under the car boot lid produced superb light with great direction.

These were the dialled in settings:

  • Manual Mode , f/4.0 , 1/125sec , ISO 160

And this is the final retouched portrait …

Genuinely loved every minute of this …

Getting to hang out and have a mini road-trip with my mate Anthony Crothers , catching up with and photographing Dai , working on the edit and to top it all, being out and about in the fresh air surrounded by stunning scenery.

What’s not to love about that?

Cannot wait now for the next adventure!

100 MEGA PIXEL Female Portrait PLUS Retouching in Lightroom and Photoshop (Hasselblad X2D)

Here’s the recording of a recent LIVE Broadcast I hosted over on my YouTube Channel where I went through the lighting and retouchingsteps of a female portrait PLUS likes and dislikes of the cameraa I used … the Hasselbald X2D.

🎬 𝐂𝐎𝐍𝐓𝐄𝐍𝐓𝐒 𝐎𝐅 𝐓𝐇𝐈𝐒 𝐕𝐈𝐃𝐄𝐎

00:00 - Introduction
01:21 - Hasselbald X2D
05:29 - Things I didn't like
11:11 - Lighting the Portrait
15:18 - Lightroom
20:33 - Remove Tool ( Photoshop )
25:10 - Dust & Scratches ( Clean Glasses )
30:42 - Even-Out Skin Tones
36:12 - The 20/10 Technique
39:17 - Dreamy Glow
42:34 - Presets in Lightroom
44:45 - Di Edwards Sees her Portrait
47:19 - Questions

THIS is why I do what I do ❤️

A few weeks back I took the portrait of the wonderful Di Edwards; wife of the late David Edwards ( World War 2 Veteran) and a family that, thanks to my 39-45 Portraits Project I have become very close to.

Well, yesterday ( 31st July 2023 ) I popped over to Abergavenny, Wales to see Di and her son Chris and to take the printed portraits over to them and I simply could noty have wished for a better reaction.

As the title of this post says … THIS is why I do what I do❤️

Here’s the portraits that I took; both of which were using natural light coming in through a large sliding patio door that leads out onto Di’s garden …

Di and her son Chris

When leaving, as always we had a hug but I’ll forever cherish that she said “I’m blessed to have you as a friend”

Ditto that Di ❤️

Di and her late husband, David Edwards … the best of human-kind right there !

WW2 Veteran David Edwards photographed in April 2019

My ULTIMATE Desktop Set Up for Photography, Content and Zoom ( YouTube LIVE )

I'm often asked about the kit / hardware I use every day for photography , content and live streaming so in this video I'll go through the lot; EVERYTHING I use that makes editing (photography& video) and streaming so much easier.

You can see all of the kit I go through over on my GEAR page.

RØDE Wireless GO II ... A small but BIG Improvement

*Note … this article contains Affiliate Links

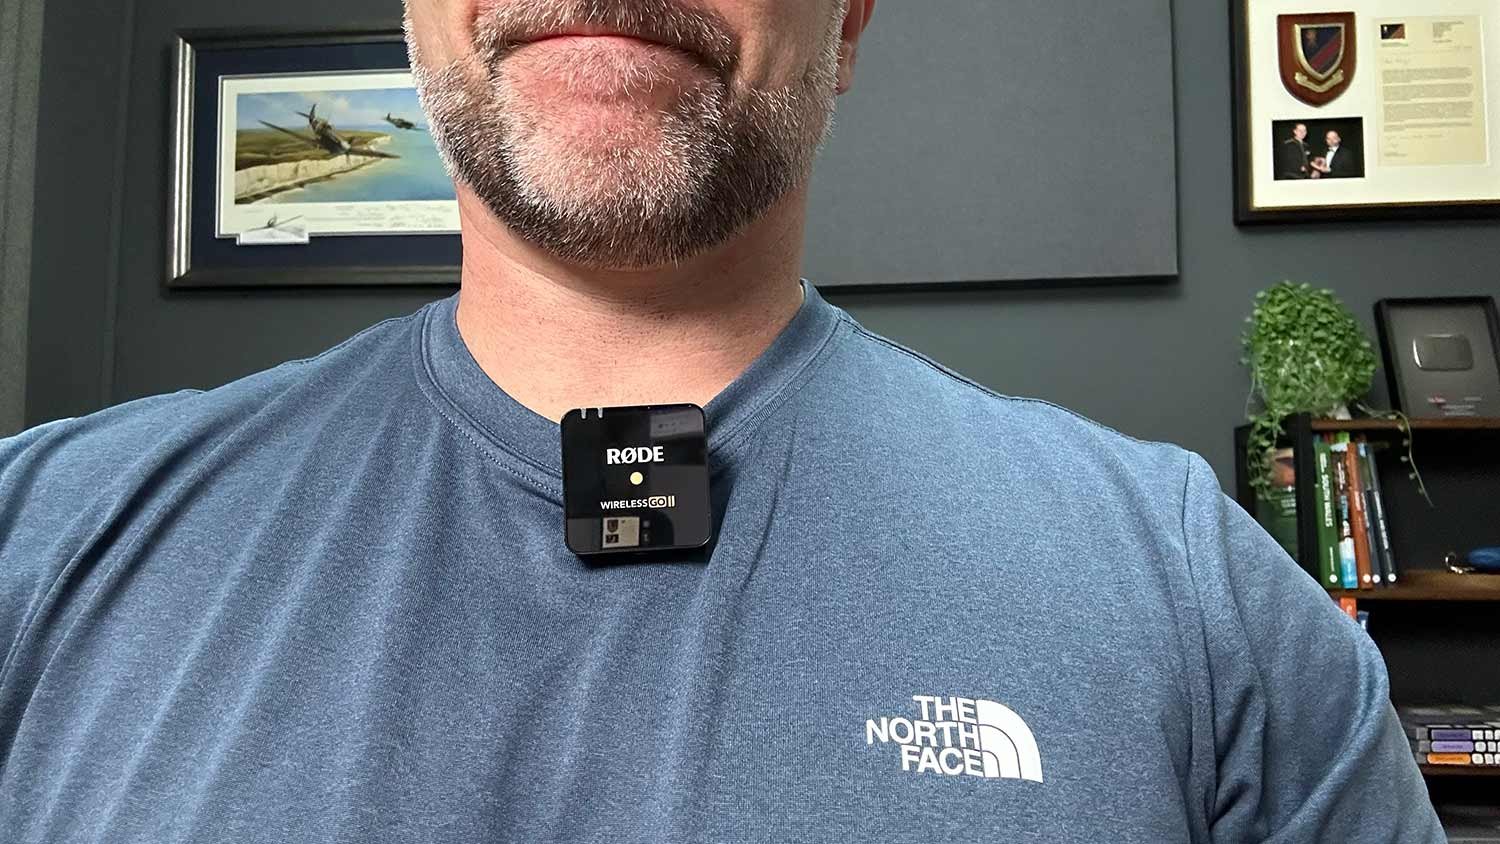
I love my RØDE Wireless GO II microphones but just over a year ago I (temporarily) moved away from using them for 2 main reasons …

  1. The Clip

  2. No Charging Case

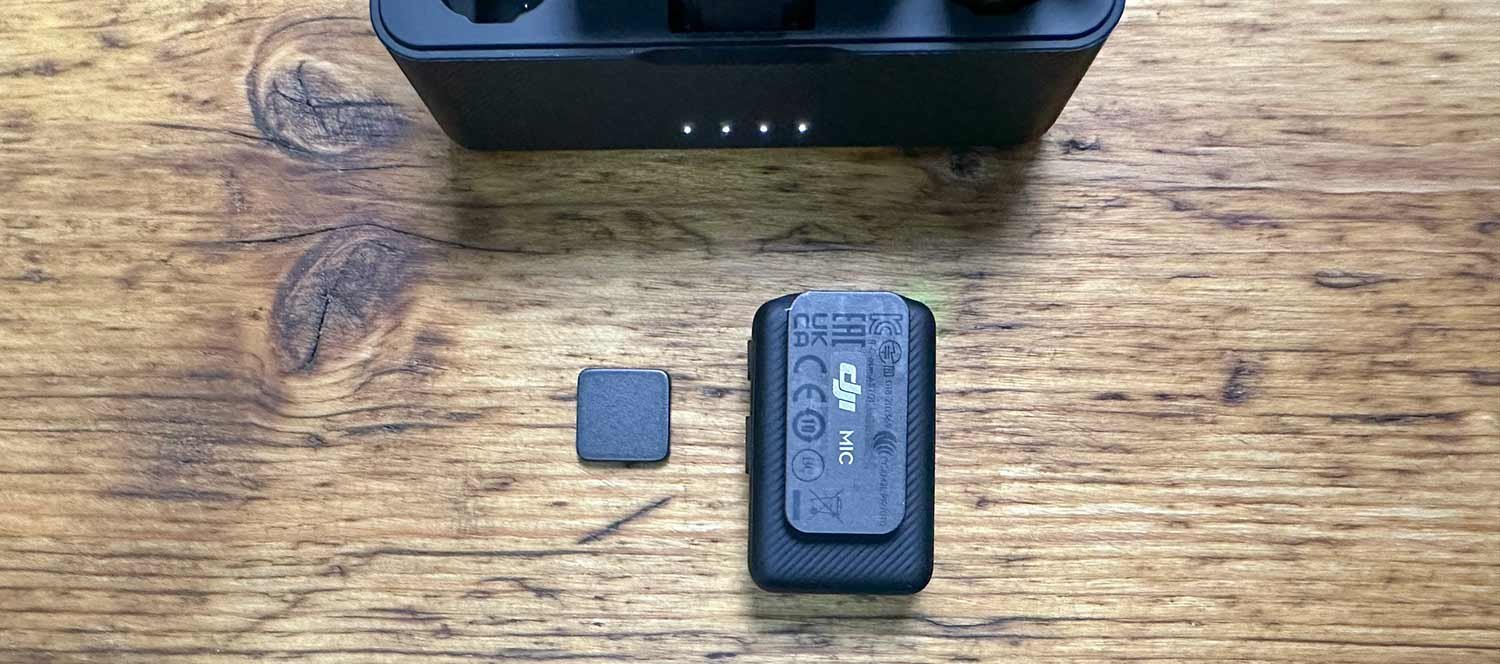
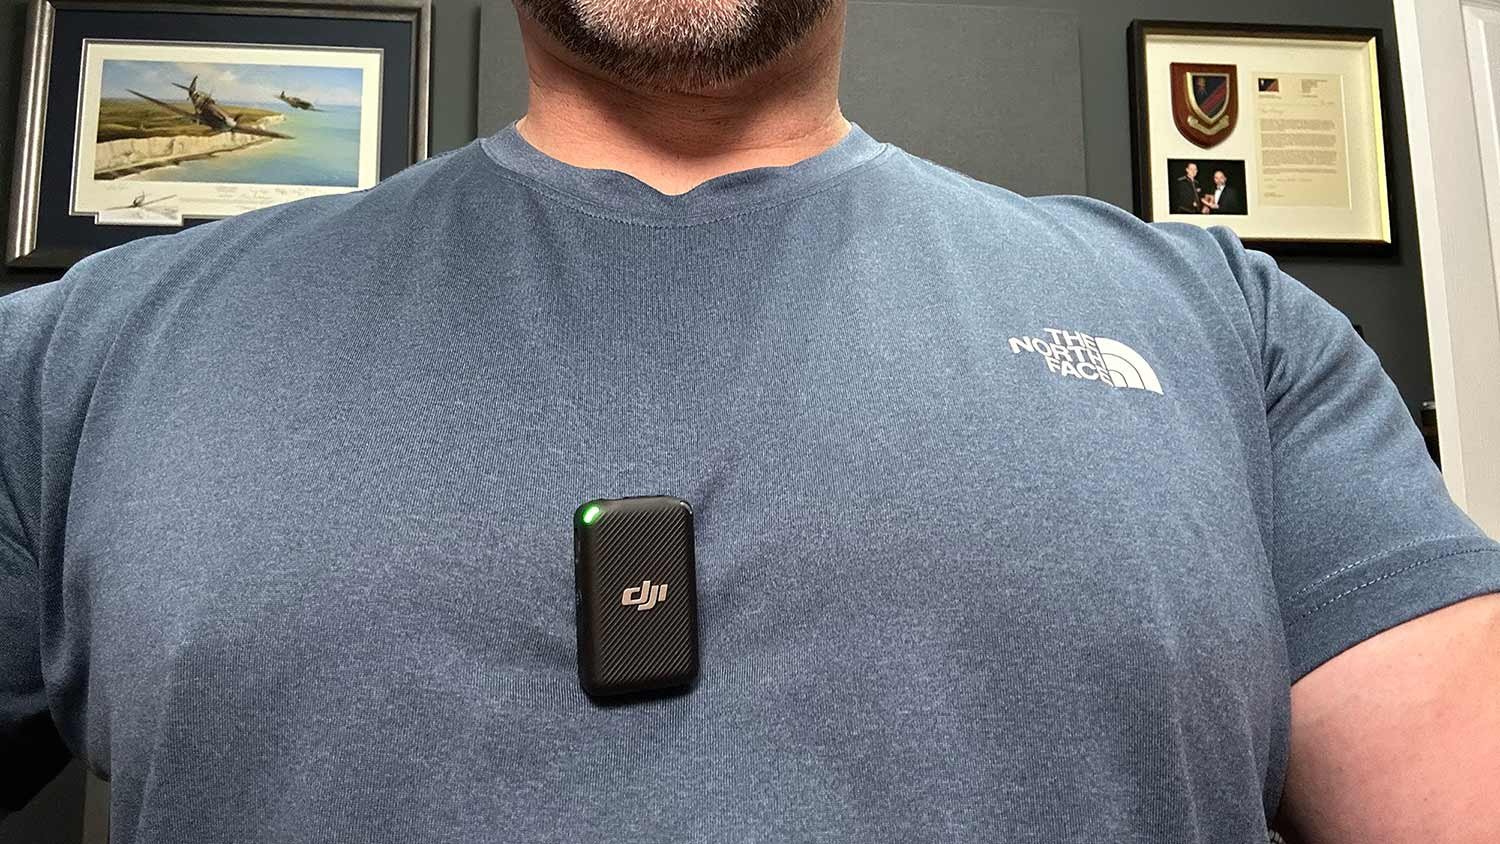
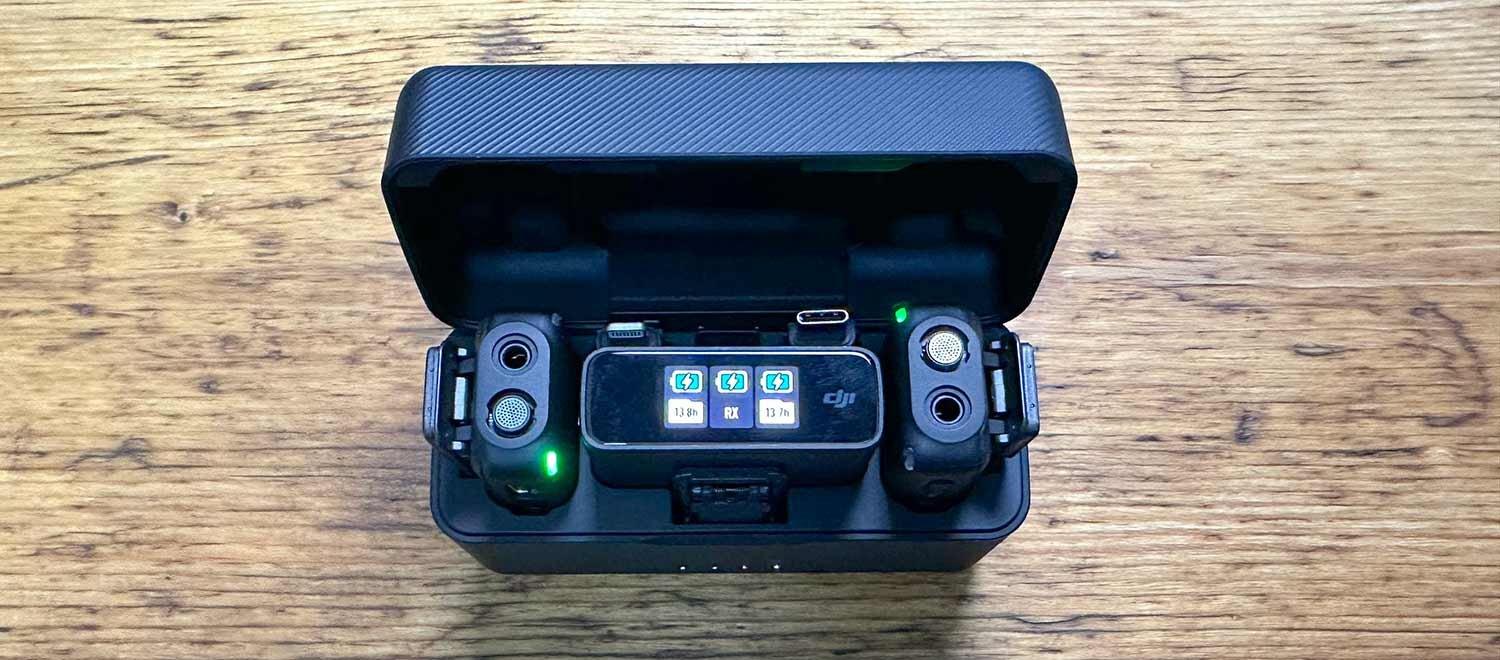
I ended up buying the DJI Wireless Microphone set which like the RØDE comes complete with 2 x Transmitters, 1 x Receiver BUT also a magnetic clip AND a charging / storage case.

So what’s the big deal about a magnetic clip ?

Well, it’s the fact that you can mount the transmitter so much easier onto your clothing.

With a standard clip you need a lapel for it to hold onto which is fine if you have one, otherwise you need to clip it onto your neckline / collar if you’re wearing a T-Shirt.

The problem doing this is that as you move your head a little, your chin / neck can rub against the transmitter.

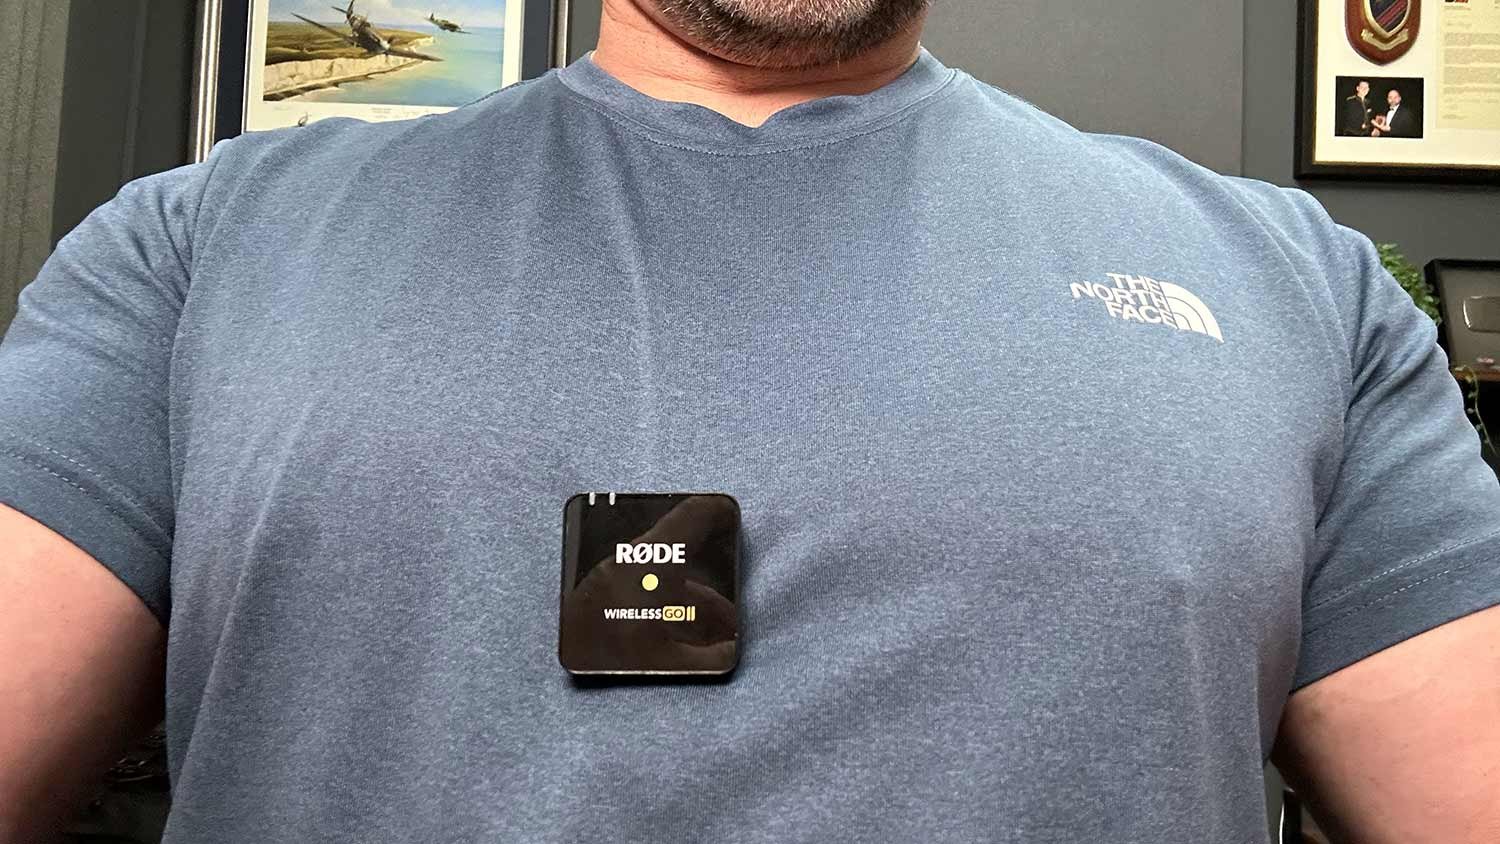
Having a magnetic clip means you can put the magentic block on the inside of your clothing and the transmitter on the outside, attaches to it and you’re good to go.

This along with the charging / storage case you would think would make the DJI Wireless Microphones my go to, however I’ve never been happy with the audio quality from them.

The microphones seem to have quite a bad ‘noise floor’ in my opinion (and others I’ve seen) and this gets even worse when you increase the gain, which you need to do. This ends up with you having to do extra processing on the audio to improve it in Adobe Audition, and even then the audio just never sounds as good as the RØDE.

Happy Accident

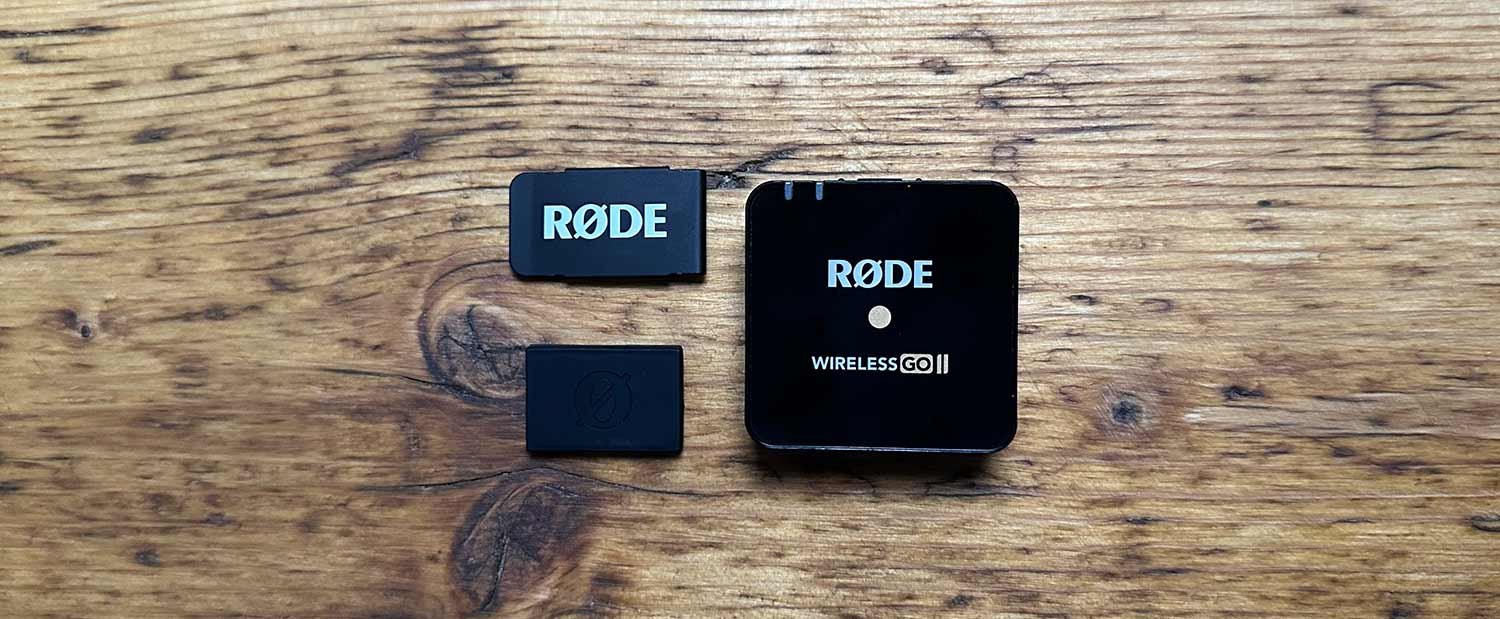
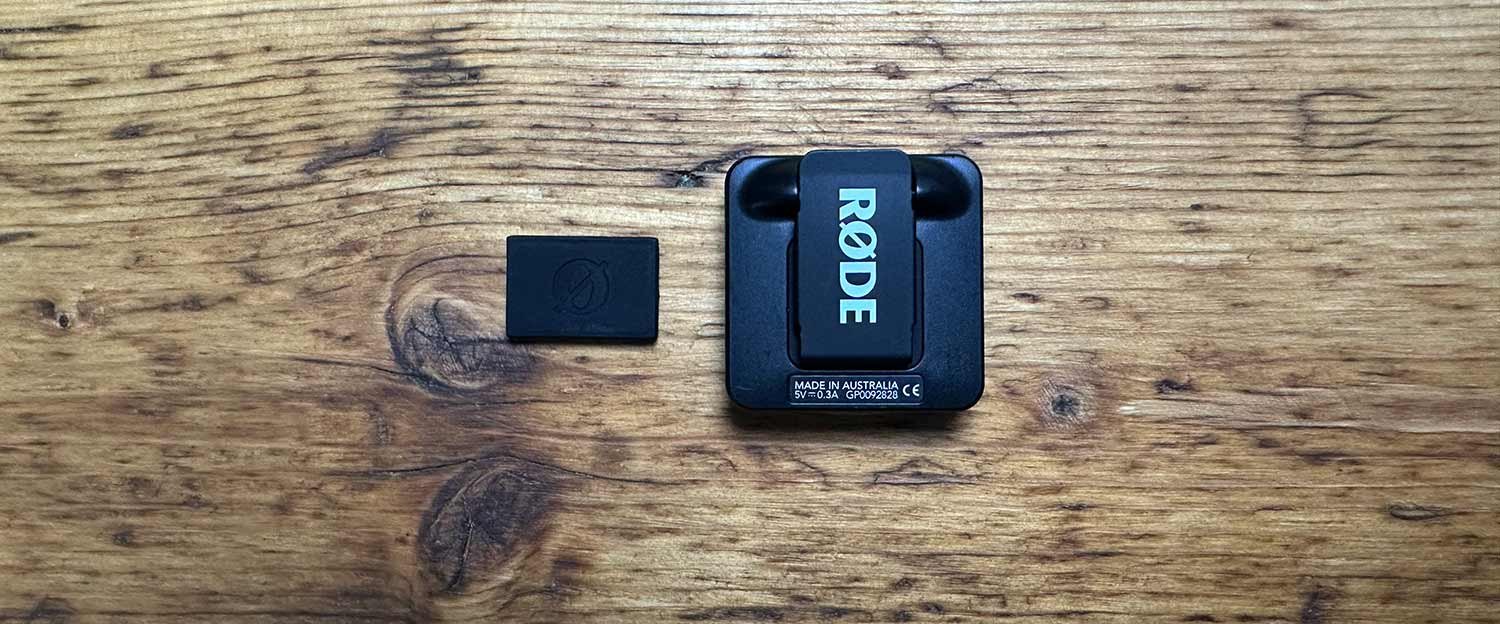
So very recently whilst browsing the RØDE website looking at some new products (RØDE NT1 5th Generation Microphone and the RØDE Caster Duo) purely by chance I ended up scrolling through the Accessories section and that’s when I stumbled upon this … RØDE MagClip GO Magnetic Clip attachment for the RØDE Wireless GO II and Wireless ME …

This is EXACTLY what I’ve been looking for; in fact I’d even drawn up a sketch of the very same and was going to get in touch with RØDE to see if they would make something like it, but it turns out they already have and it works a treat!

All you have to do is to slide the metal sleeve over the clip on the Wireless GO II and then use the the magentic block just as you would with the DJI WIreless Microphones to attach anywhere on your clothing.

Fantastic!

Now you might be thinking … “ Why not just stick the transmitter in your pocket and use a Lav Mic? “

Well there’s a couple of reasons …

  1. Convenience. Having to feed a cable through your clothing so that you can have a Lav Mic, is well, a pain in the a$$. The cable can get caught on clothing as you move, you have to keep taking the transmitter out of your pocket to turn it off and on inbetween recordings and all of this just makes it less user friendly and again being honest, less desire to use them. Just being able to quickly place the transmitter on your clothing and be up and running is so much better!

  2. A decent Lav Mic isn’t cheap. These transmitters are superb. The audio quality is outstanding so I don’t want or need to have to buy an extra Lav Mic to fit into them if I don’t have to. Plus the quality of the transmitters being as good as they are I wouldn’t want to use a cheap Lav Mic; that would be like having a VERY expensive lens and putting a cheap ND filter on the front of it.

The MagClip GO works so well and makes these great little microphones even better, and at around £15 I totally think it’s worth it.

Needless to say, I’m back using my RØDE Wireless GO II’s and VERY happy.

Oh and the charging / storage case … watch this space 😉