
Well, that didn’t take long.
Less than 24 hours after thinking the iPhone Duo could be exactly what I needed, I’ve changed my mind.
On paper, I loved the idea. One device potentially doing the job of two: my phone and my iPad.
The biggest attraction was taking less kit on a shoot. If I could use the Duo for tethering, I could leave the iPad at home. Less to think about, less to charge and less to carry.
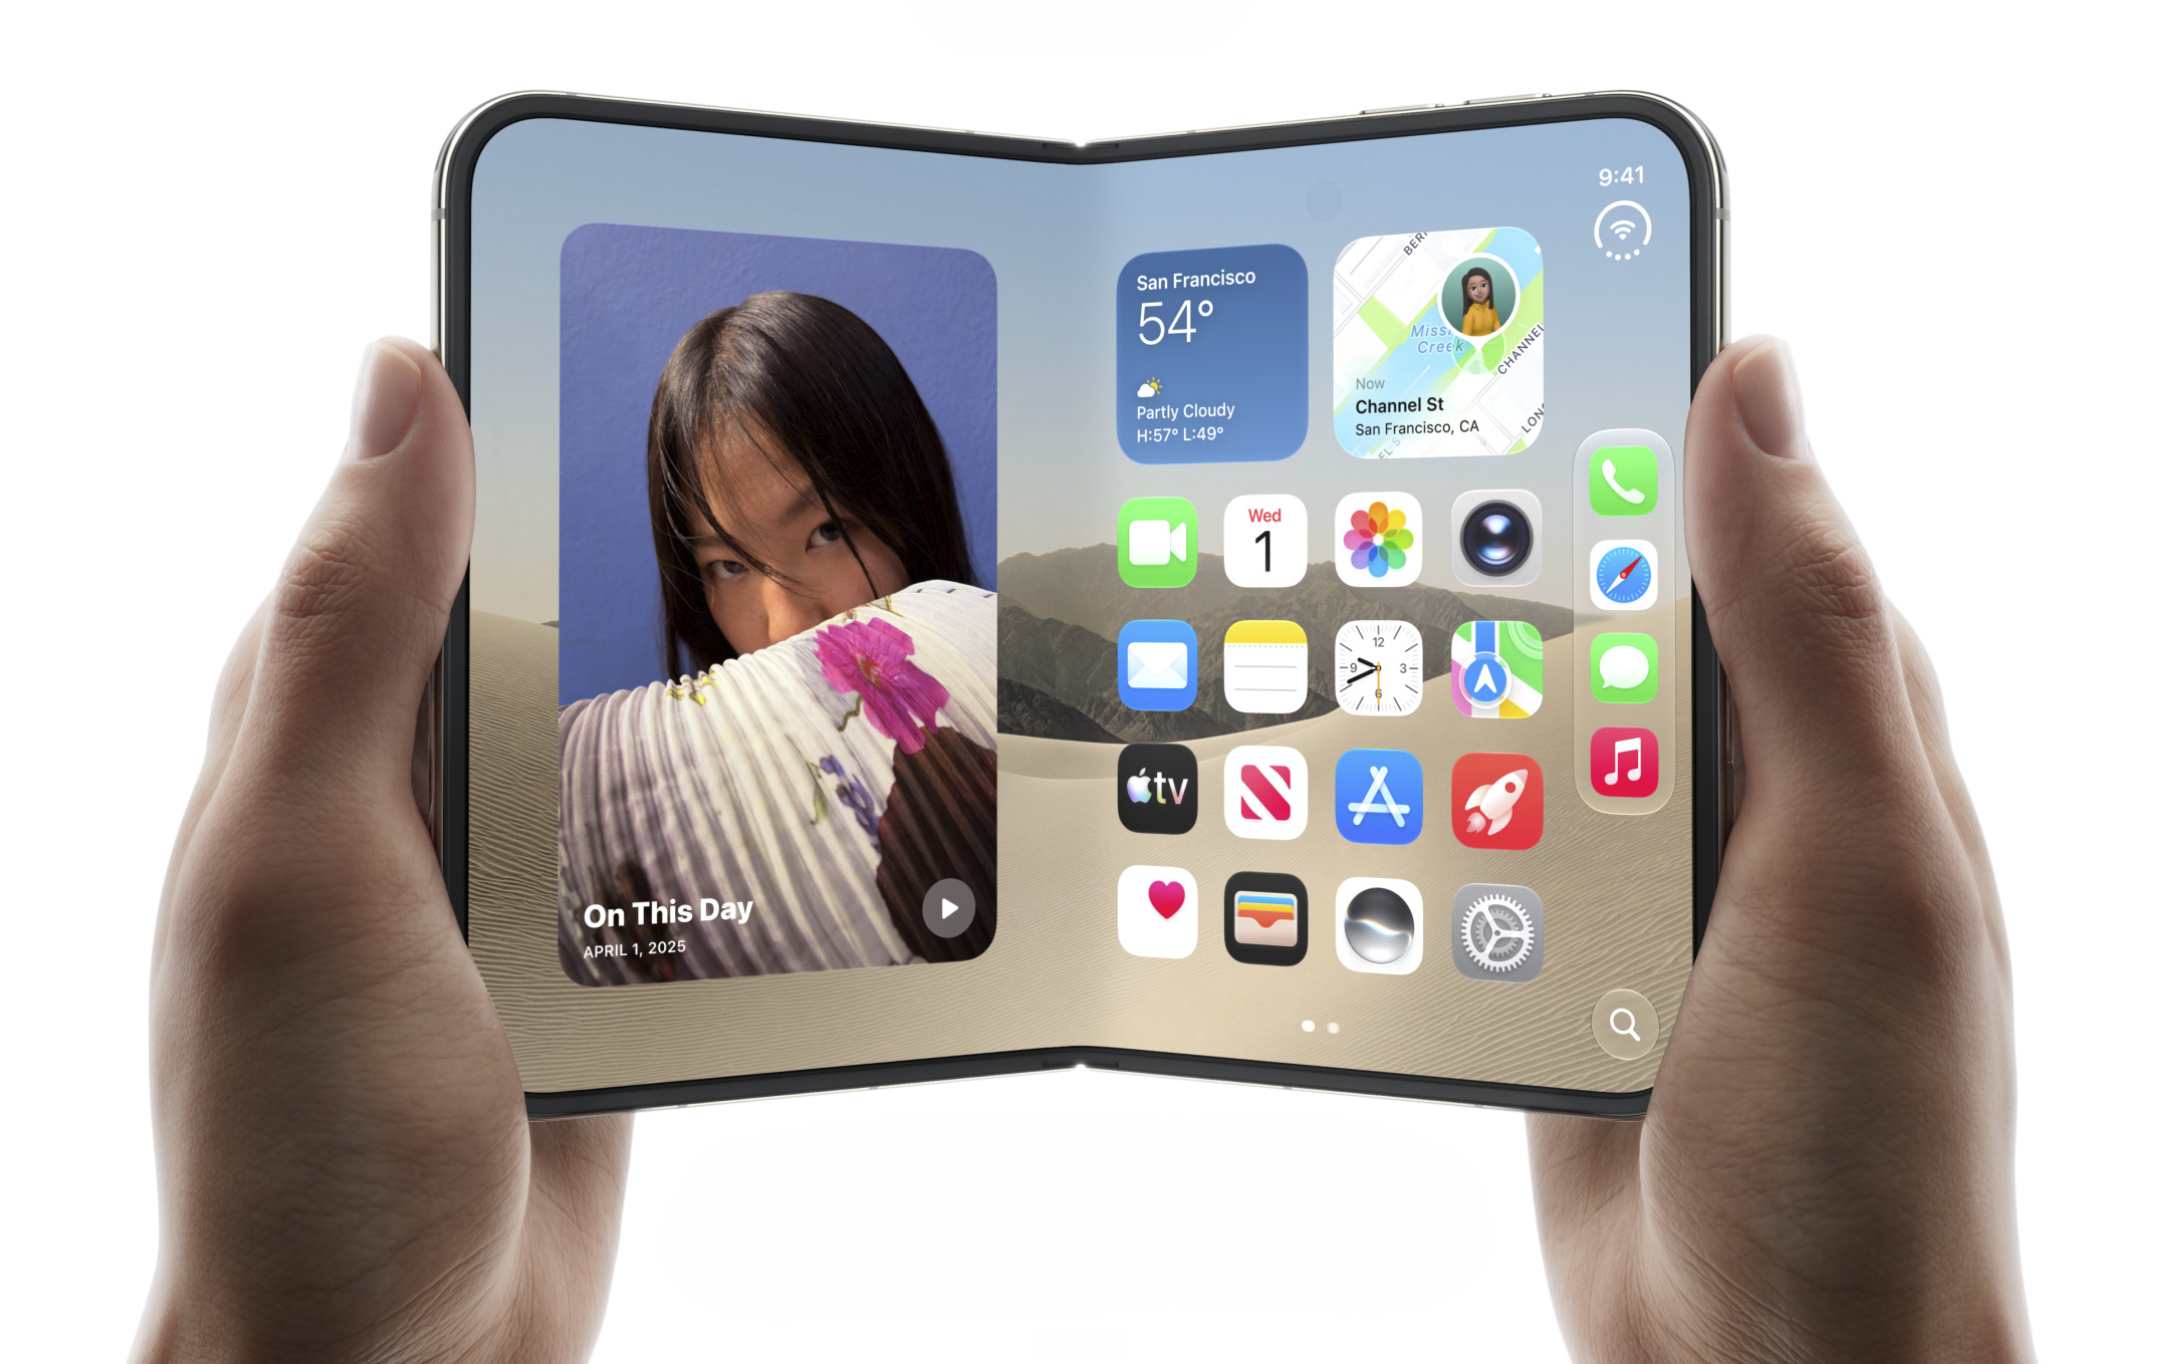
It appealed to me for travelling, too. A larger screen that folds up and fits in my pocket would be much more convenient than carrying my 13-inch iPad Pro.
I could already see how it might fit into what I do.
But then I read the comments in the Photography Community.
Some folks raised points that got me questioning my decision, so I did more digging. That included watching videos from Marques Brownlee and Proper Honest Tech. I subscribe to both channels, but I’d initially missed their videos.
They highlighted the benefits, but also got me thinking properly about what I’d be giving up.
For me, the biggest sticking points are the camera and Face ID.
Looking at Apple’s specifications, here are some of the differences between the Duo and the iPhone 18 Pro models:
No dedicated telephoto camera. The Duo has main and ultra-wide cameras, with a 2x option using the main sensor. The 18 Pro models also have a dedicated 4x telephoto, with an 8x “optical-quality” option.
No Apple ProRAW. The Duo lists HEIF and JPEG capture, while the Pro models also offer ProRAW.
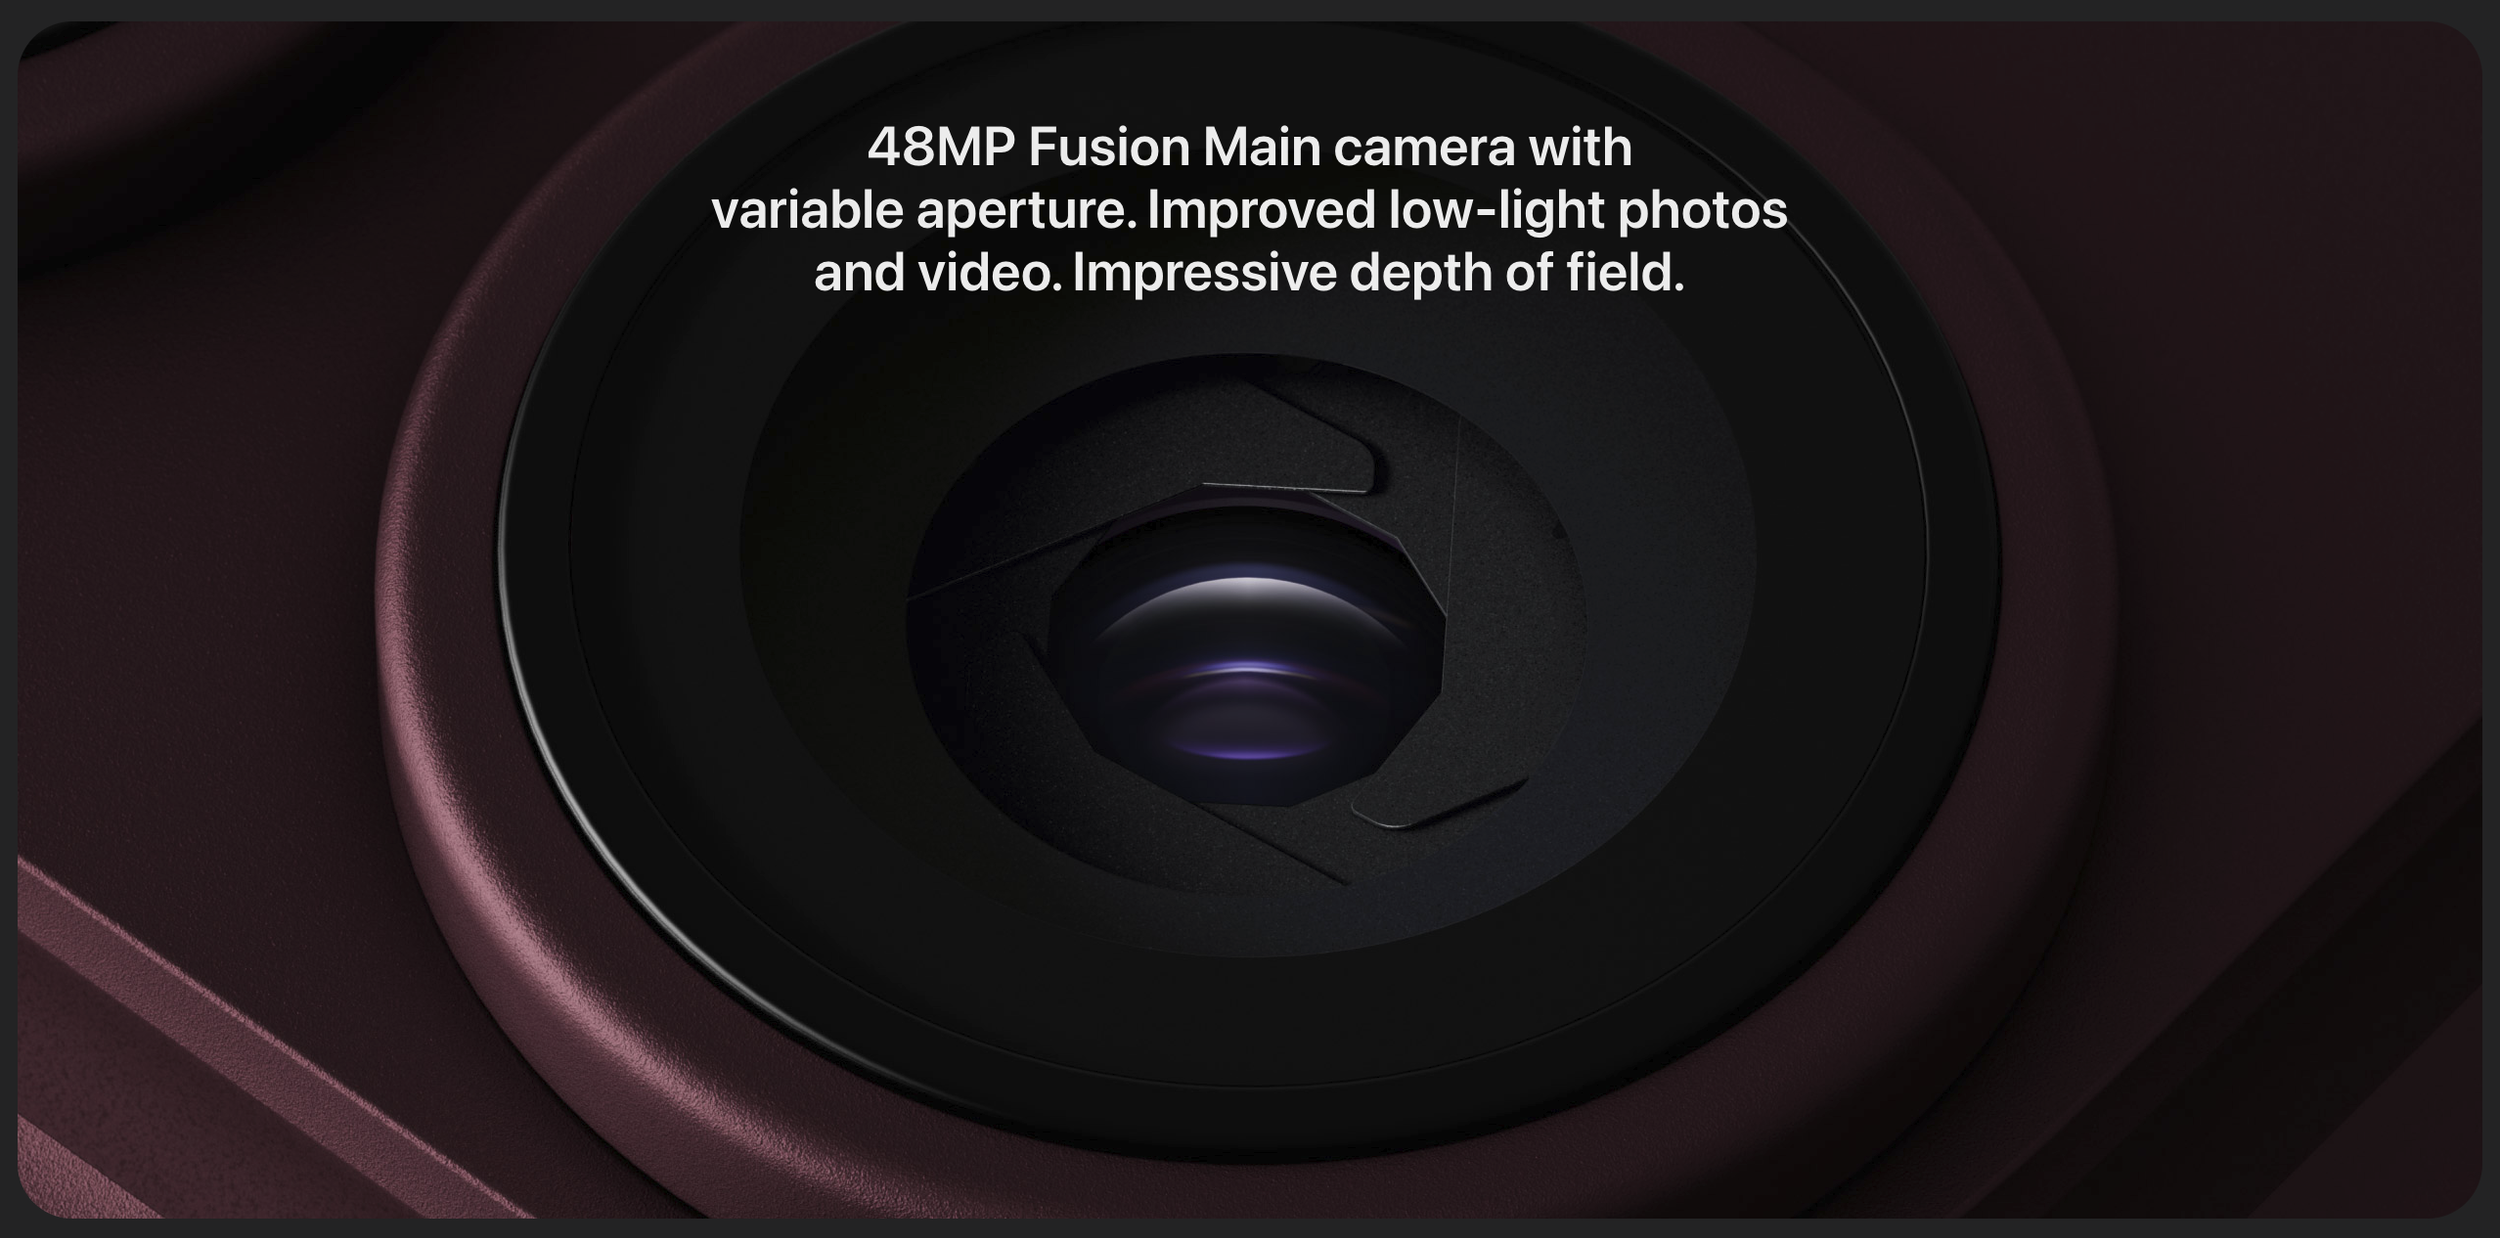
No variable aperture on the main camera. The 18 Pro models have this, while the Duo has a fixed aperture.
Touch ID instead of Face ID. The Duo uses a fingerprint sensor in its side button.
No Action button. Another difference from the Pro models.
The Duo’s main camera is still 48MP, but that doesn’t mean it’s the same camera as the Pro Max. For me, the bigger issue is losing the dedicated telephoto and Apple ProRAW. Those are options I want available, both for my own photography and when I’m teaching.
You can see the full details in Apple’s specifications for the iPhone Duo and iPhone 18 Pro models.
Those comparisons are with the new 18 Pro models, and I’m currently using a 17 Pro Max. So there are two decisions here: whether the Duo would suit me, and whether I need to upgrade my phone at all.
The camera is what really made me reconsider.
I now have the Fujifilm X100VI (thank you, Steve), and I intend to use that more for photography instead of automatically reaching for my iPhone, but that doesn’t mean I’ll stop taking photographs with my phone.
I’ve taken photographs with my iPhone that I’m really proud of.
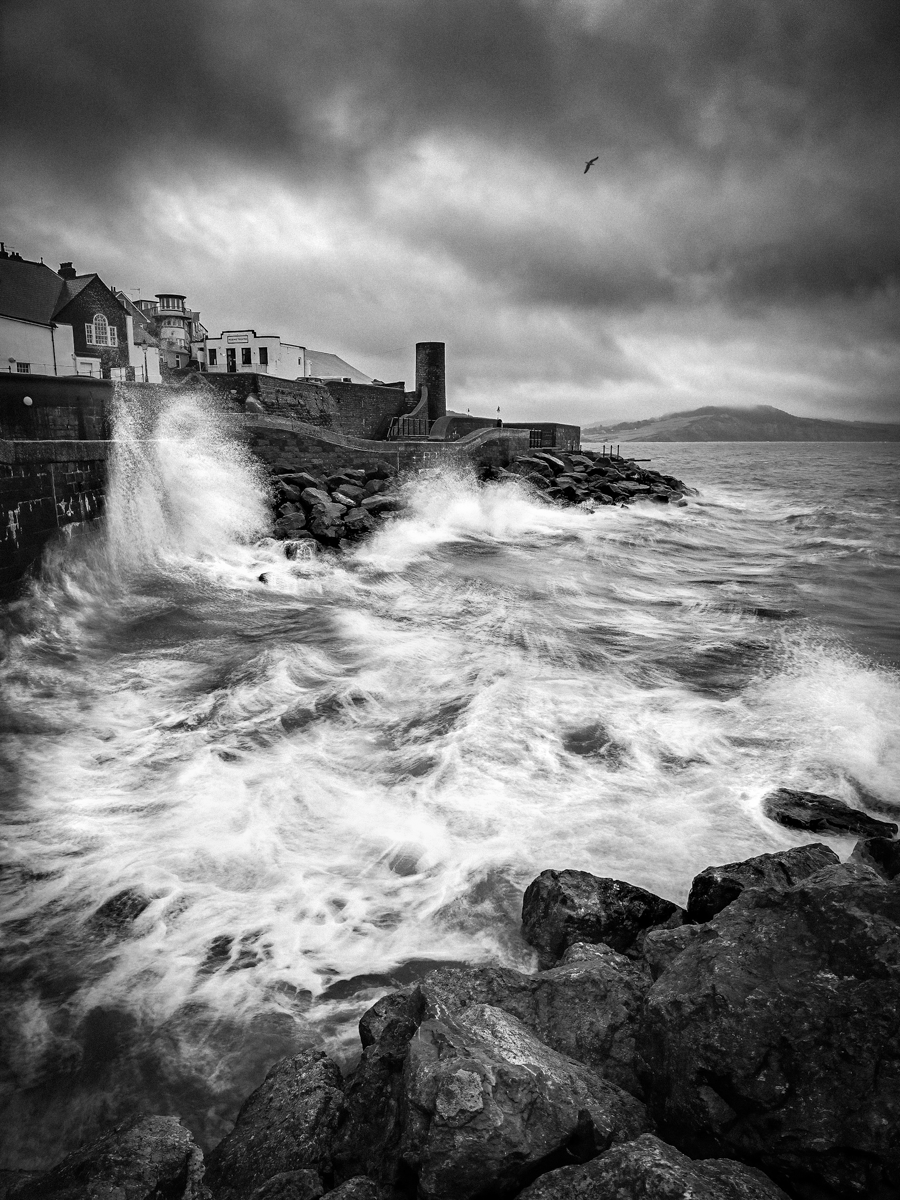
There’ll also be times when I don’t have the Fuji with me, so my phone will be the camera I use, and when that happens, I want the best results I can get, with the flexibility that matters to me as a photographer.
Giving up camera features to gain a folding screen feels like a step backwards for how I work.
There’s the teaching side to consider, too.
I’m starting one-to-one and three-to-one workshops, with half-day and full-day options covering photography, lighting and retouching, as well as iPhone photography.
I want to be able to demonstrate the features and approaches I’m teaching. Moving to a phone without some of those options would limit what I could show, particularly when it comes to the Pro camera features.
Then there’s Face ID.
It works so well that I barely think about it. Unlocking my phone, opening banking apps... it’s something I use throughout the day without giving it a second thought.
I hadn’t realised how much I take it for granted until I considered going back to Touch ID.
For the number of times I open my phone each day, I think I’d find that tedious. It might sound like a small thing, but it’s a small thing I’d notice over and over again.
So, where does that leave me?
Do I need to upgrade from the 17 Pro Max to the 18 Pro Max?
Hmmm... honestly, I don’t know.
But I’m starting to wonder whether changing my iPad would solve more of the problem.
What if I traded in my 13-inch iPad Pro and went for an iPad mini instead?
Something smaller, lighter and easier to carry on shoots and when travelling.
It’s certainly an option I want to explore.
Yes, it’s still two devices; it’s still an iPhone and an iPad to charge and carry, but maybe that’s just how it’s got to be for me.
Do you have an iPad mini? Have you used it for tethering on shoots?
I’d love to hear how you get on with it. Is the screen big enough in practice? If you’ve moved from a larger iPad, do you miss it?
Let me know in the comments.
Your thoughts have already helped me reconsider one decision... they might help me get the next one right.