iPhone

My COLOUR GRADING: THE ESSENTIAL FINISHING TOUCH mini course is NOW AVAILABLE

Really excited to let you know that I have a NEW course NOW AVAILABLE …

Colour Grading: The Essential FiNishing Touch

Just as with my other courses, you can stream / download all of the included video tutorials, download work files to follow along step by step, download a PDF of Class Notes ans have Life Time Access. Plus there’s a knowledge check and certificate of completion.

For more information check out the button link below

See you in class 😃

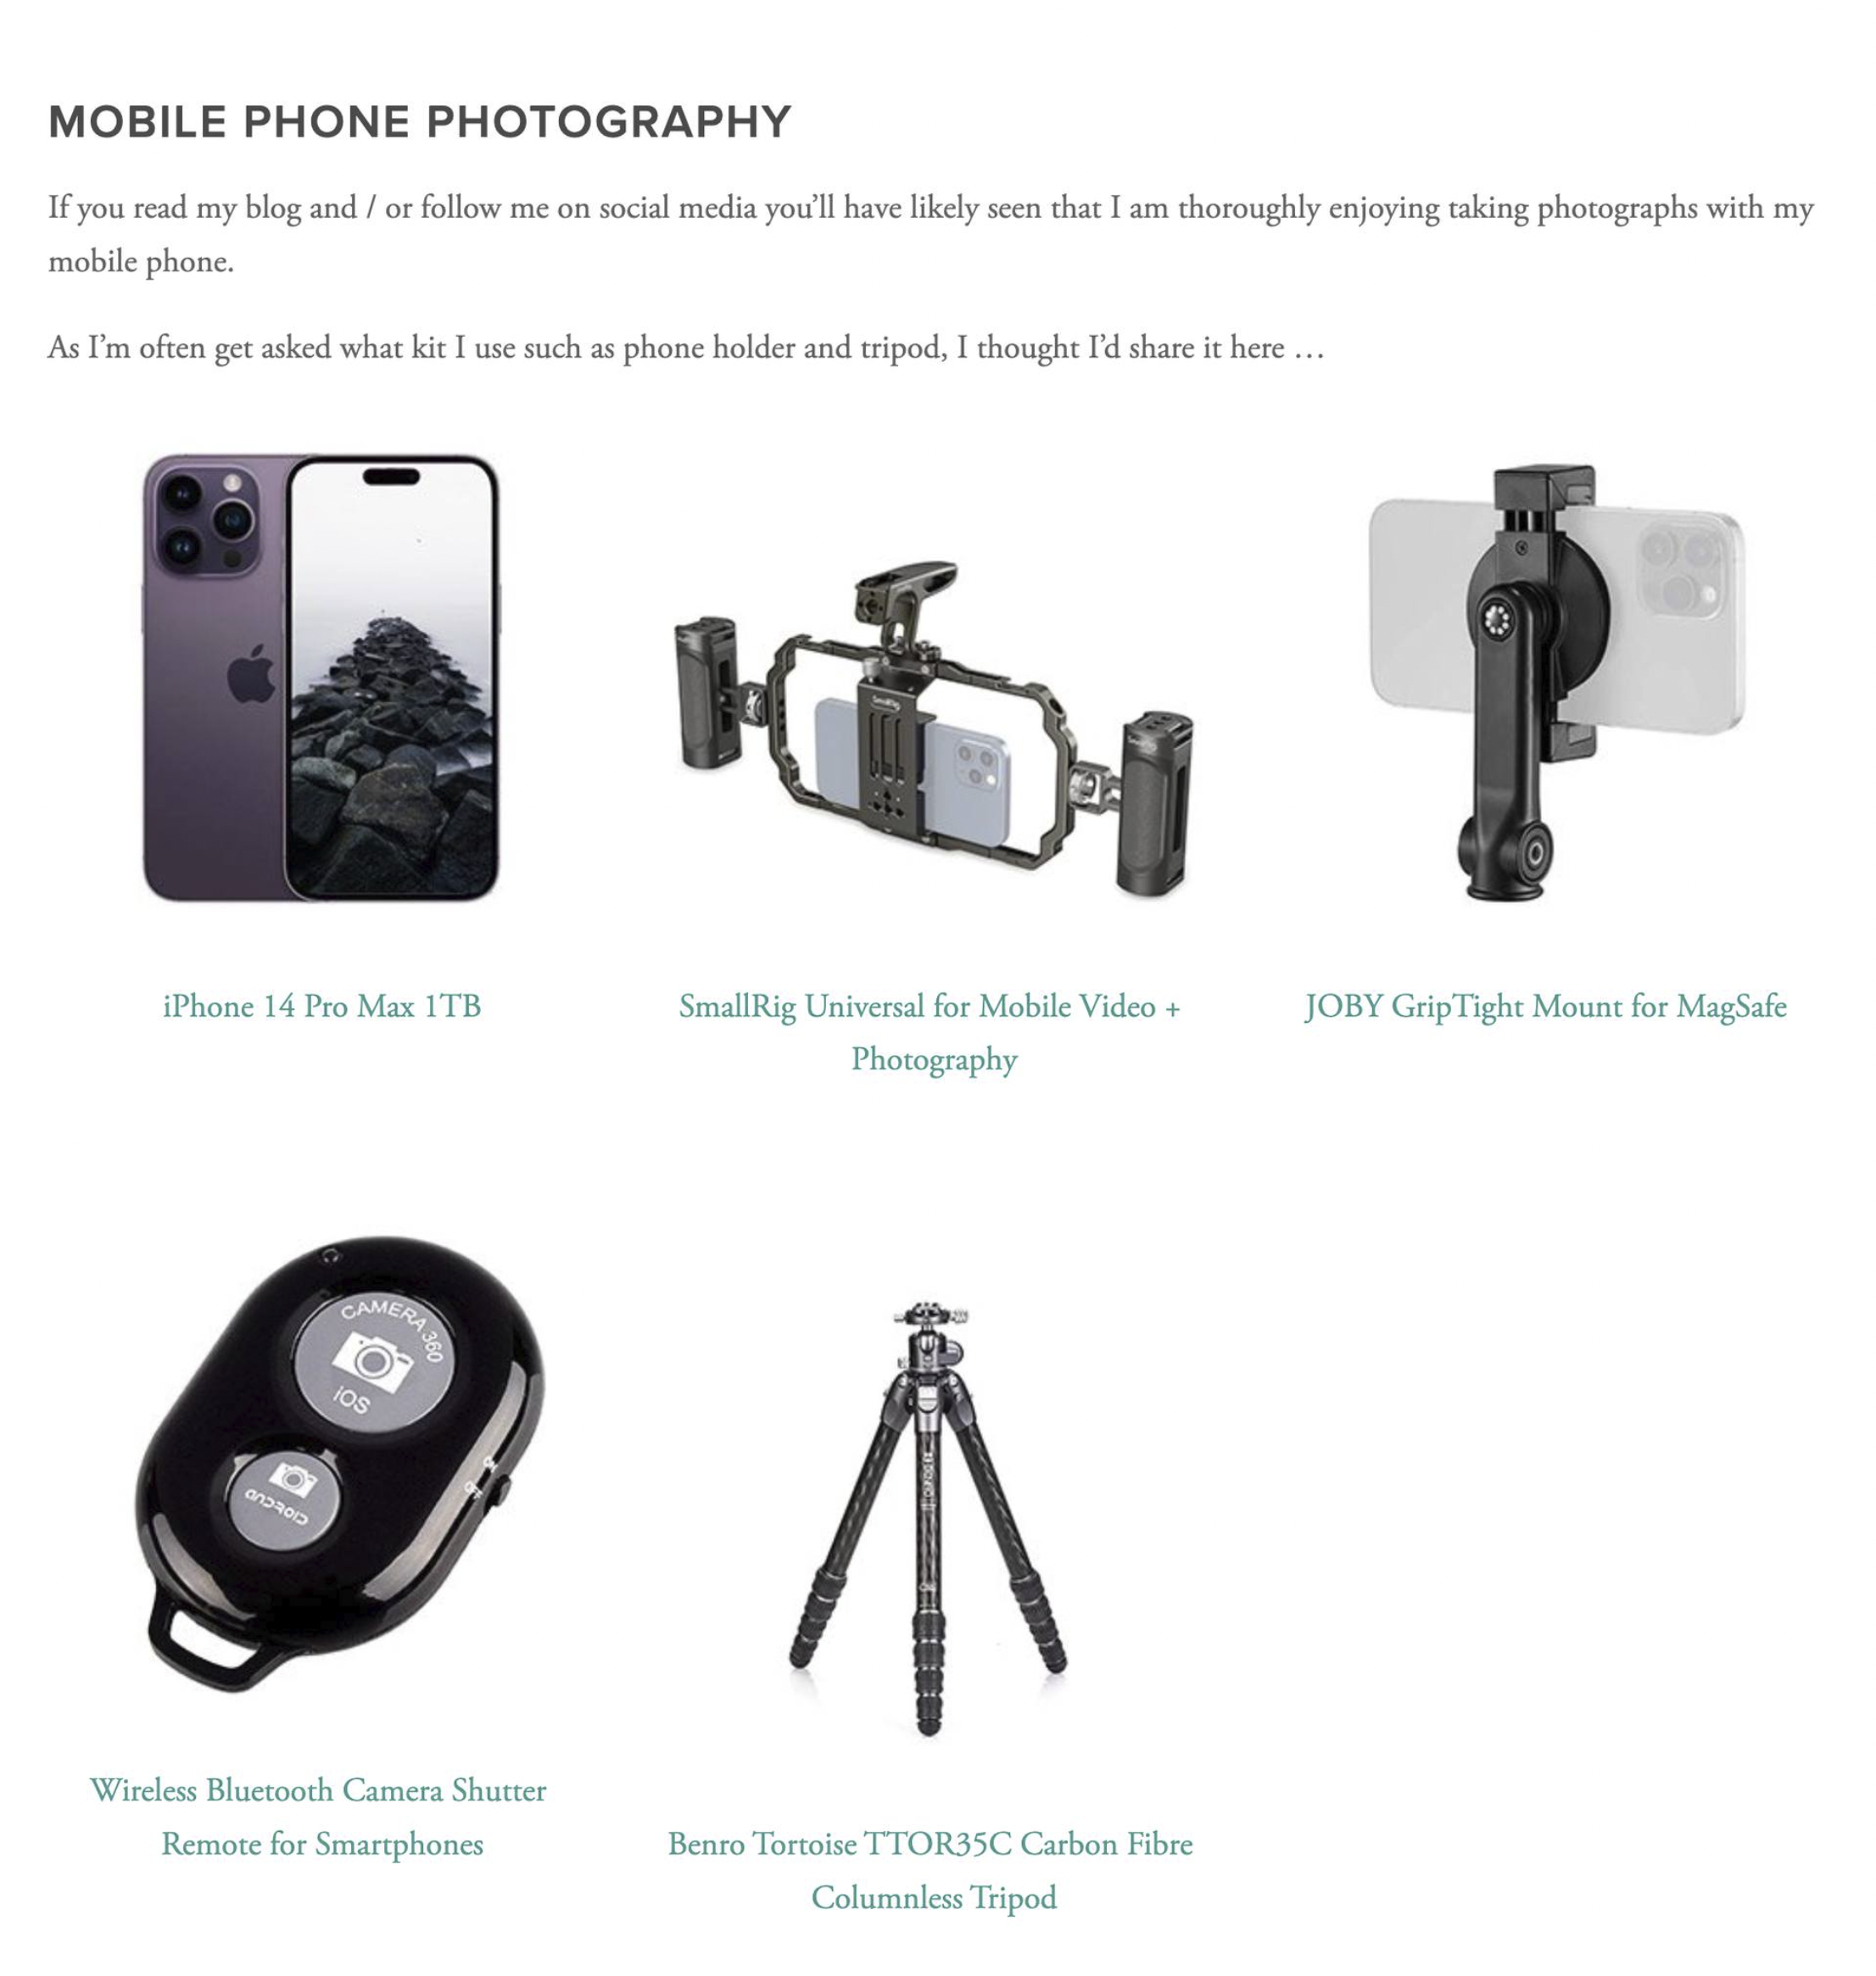
My Mobile Phone / Smartphone Photography Kit

With me doing more and more photography with my Smartphone (iPhone) these days, I often get asked what kit I use with it ... Phone Mount? Tripod? Trigger?

So I thought I’d share it here as well as adding it all into the GEAR Page where you’ll see ALL the kit I use for Photography and Video …

*To use the phone holders on my tripod, I purchased a few extra Arca Plates that screw into them

There’s also various apps I’m using so I’ll make sure to share details of those and any future kit I try out … especially as I intend to be doing some portrits using off-camera lighting triggered by my phone 😃

iPhone Photography: A Misty Morning at Lyme Regis in Dorset

The misty conditions last Wednesday were nothing short of perfect for some minimalist photography, so I popped out early morning and took the short drive to meet up with my friend Steve Healy down at my favourite of all places, Lyme Regis.

True to the weather apps, the conditions were as predicted; a wonderful misty morning, an incoming tide with the surface of the sea as flat as a sheet of glass, hardly a breeze in the air and looking out across the sea, at times it was almost impossible to see the distant horizon line.

Absolutely Perfect!

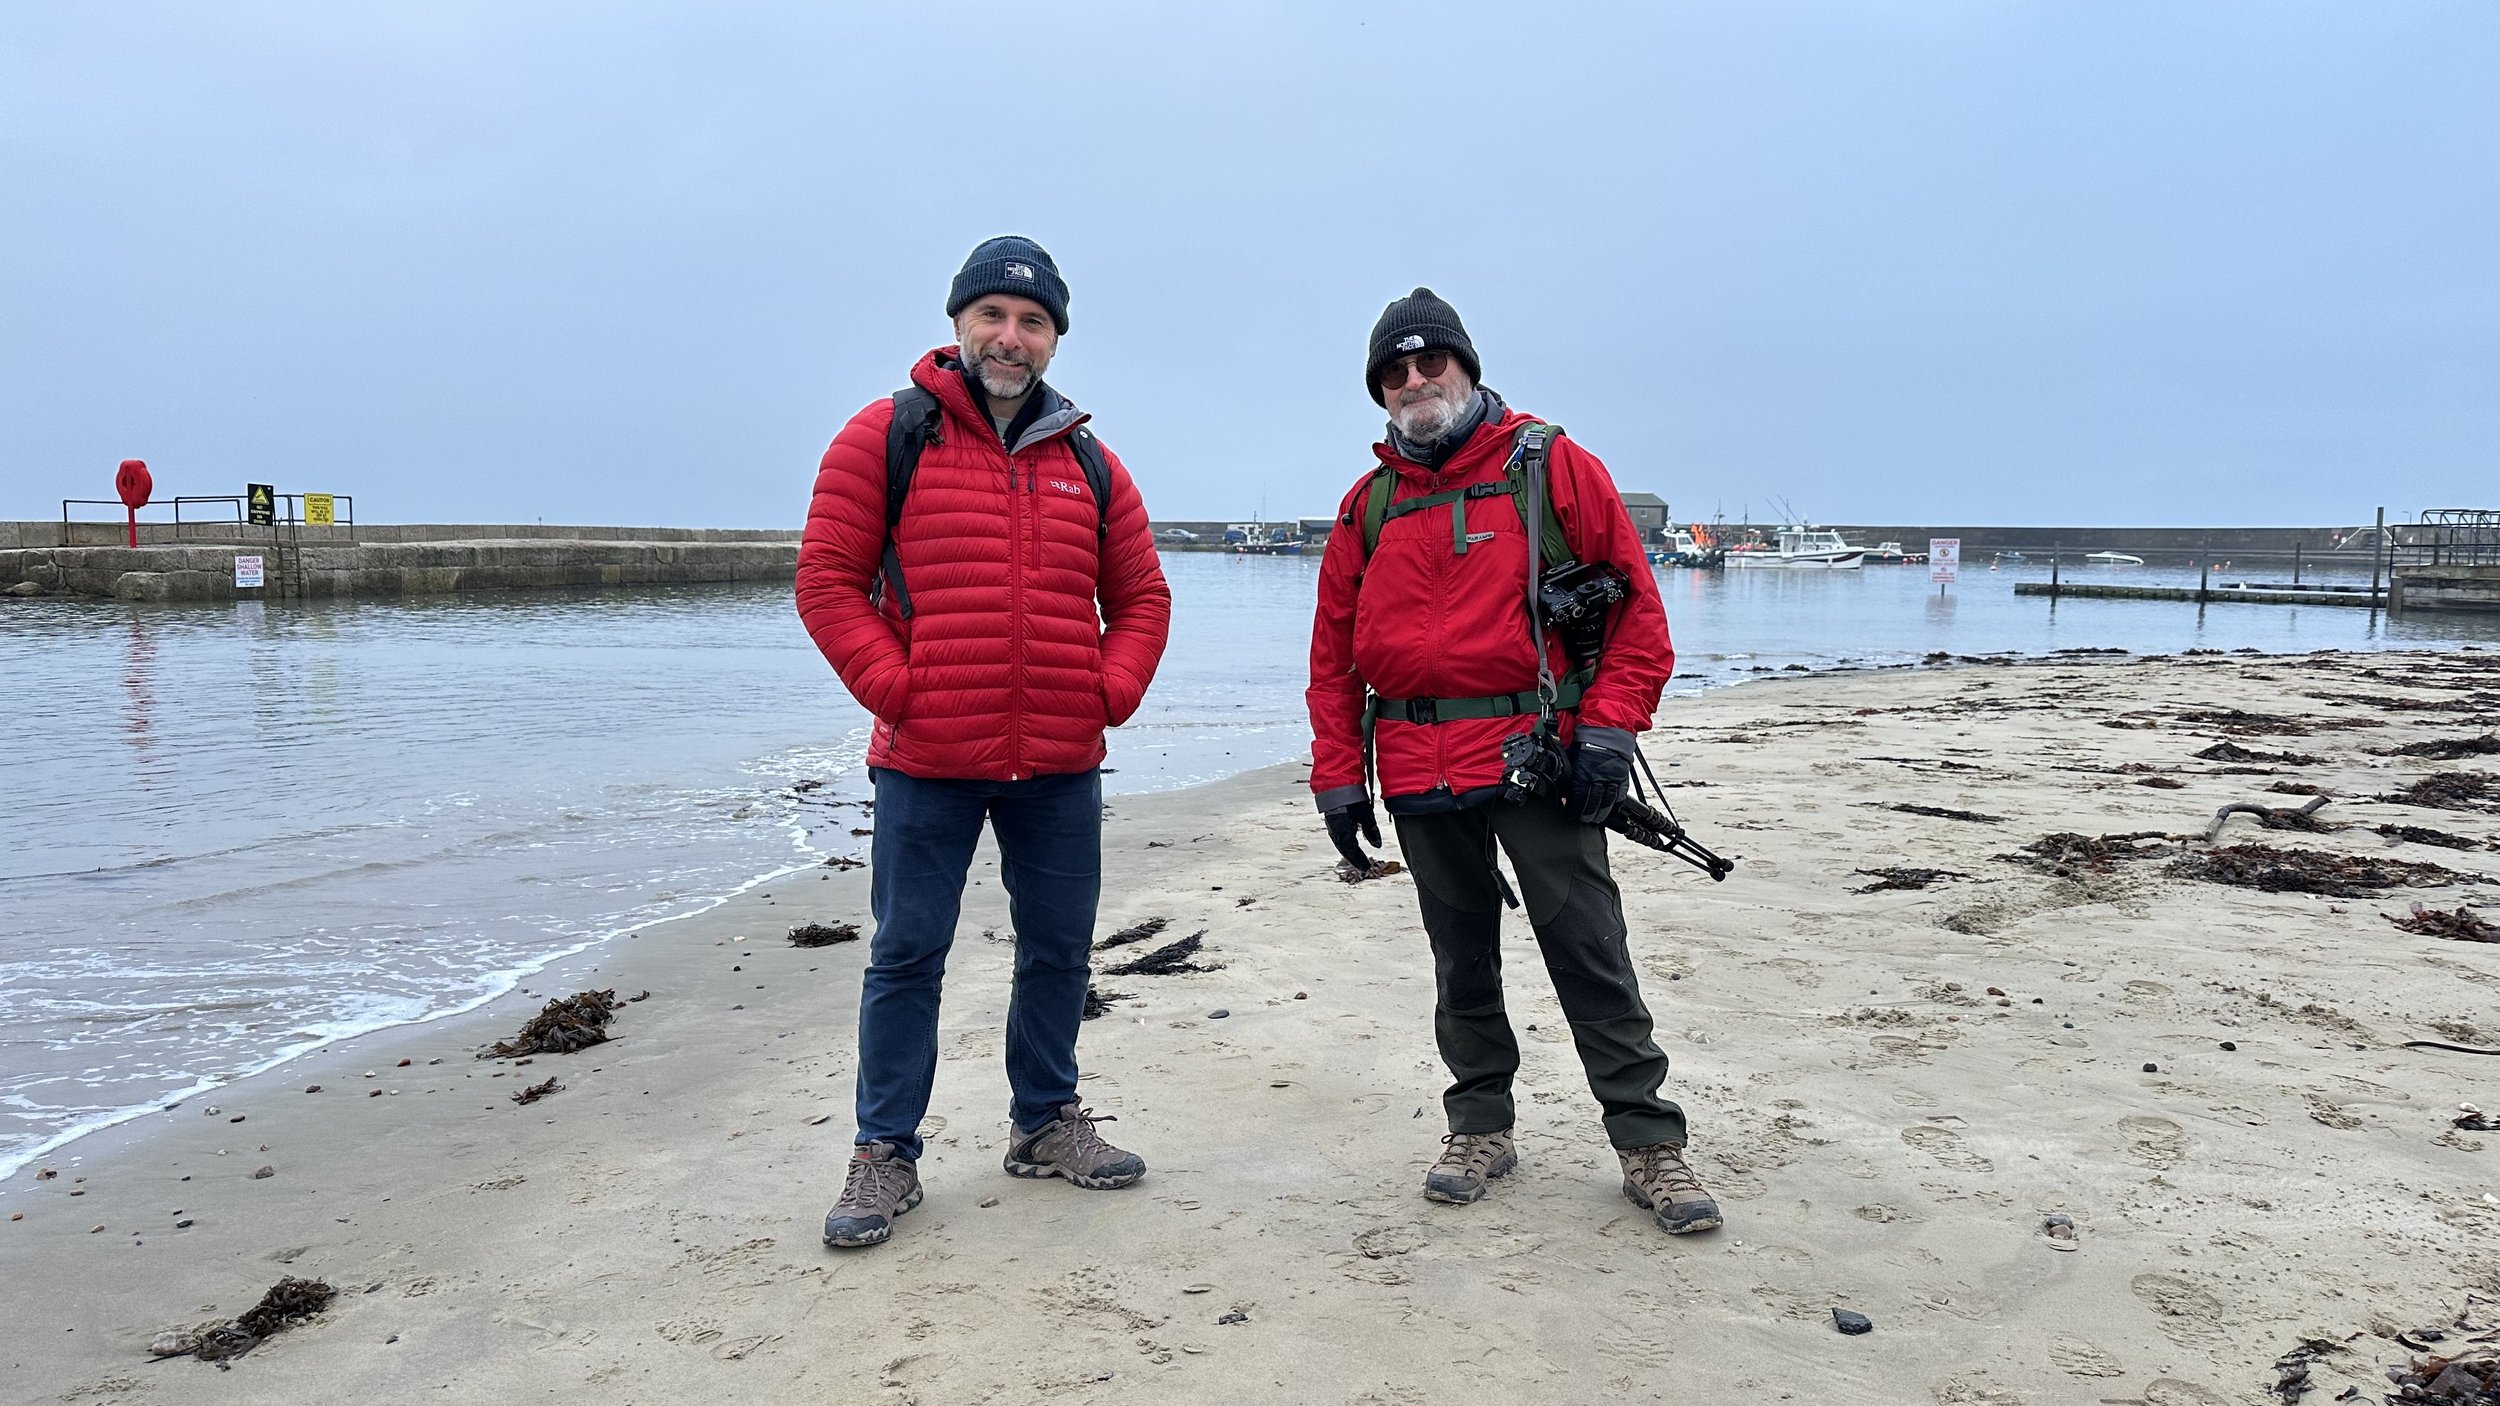
Two men in red and dark jackets standing on a sandy beach at Lyme Regis on a grey morning

I should have sent a memo about dress code 🤣

Taking along minimal kit as I did when photographing the Prince of Wales Bridge a couple of weeks back, I stuck with using my iPhone 14 Pro Max, but this time made use of my new JOBY MagSafe Mount ( LINK )

This worked an absolute treat holding my iPhone rock steady and was so incredibly quick and easy to adjust and rotate from portrait orientation to landscape orientation …

Phone mounted on a tripod with an extended pole on a pebble beach beside misty sea

Long Exposure Photography was definitely order of the day to enhance the calm, relaxing feeling of the light and the mist, and of course smooth out the water surface even more.

I’ve a few long exposure apps installed on my iPhone at the moment that I’m testing out to see which I prefer, but on this morning I opted again to use EvenLonger …

Misty morning view of the Lyme Regis seafront and calm sea with Lyme Regis text and logo

For the image above, I used a 60 second long exposure.

We then moved along to The Cobb, which looked incredible amongst the mist and surrounded by a glass flat high tide …

Curving stone harbour wall disappearing into calm misty water at Lyme Regis

The tide was particularly high this morning, meaning the groin at the far end of The Cobb was much less visible.

In this image and the one above, you can really see how the mist made the horizon barely visible, which when combined with a long exposure worked, I feel, so incredibly well …

Rock groyne leading out into smooth misty sea, iPhone long exposure

In each of these images you will have spotted that there were Gulls flying. To include these, once I had taken the long exposure, I then jumped back to the regular camera on my iPhone and waited for the moment when Gulls flew through the frame.

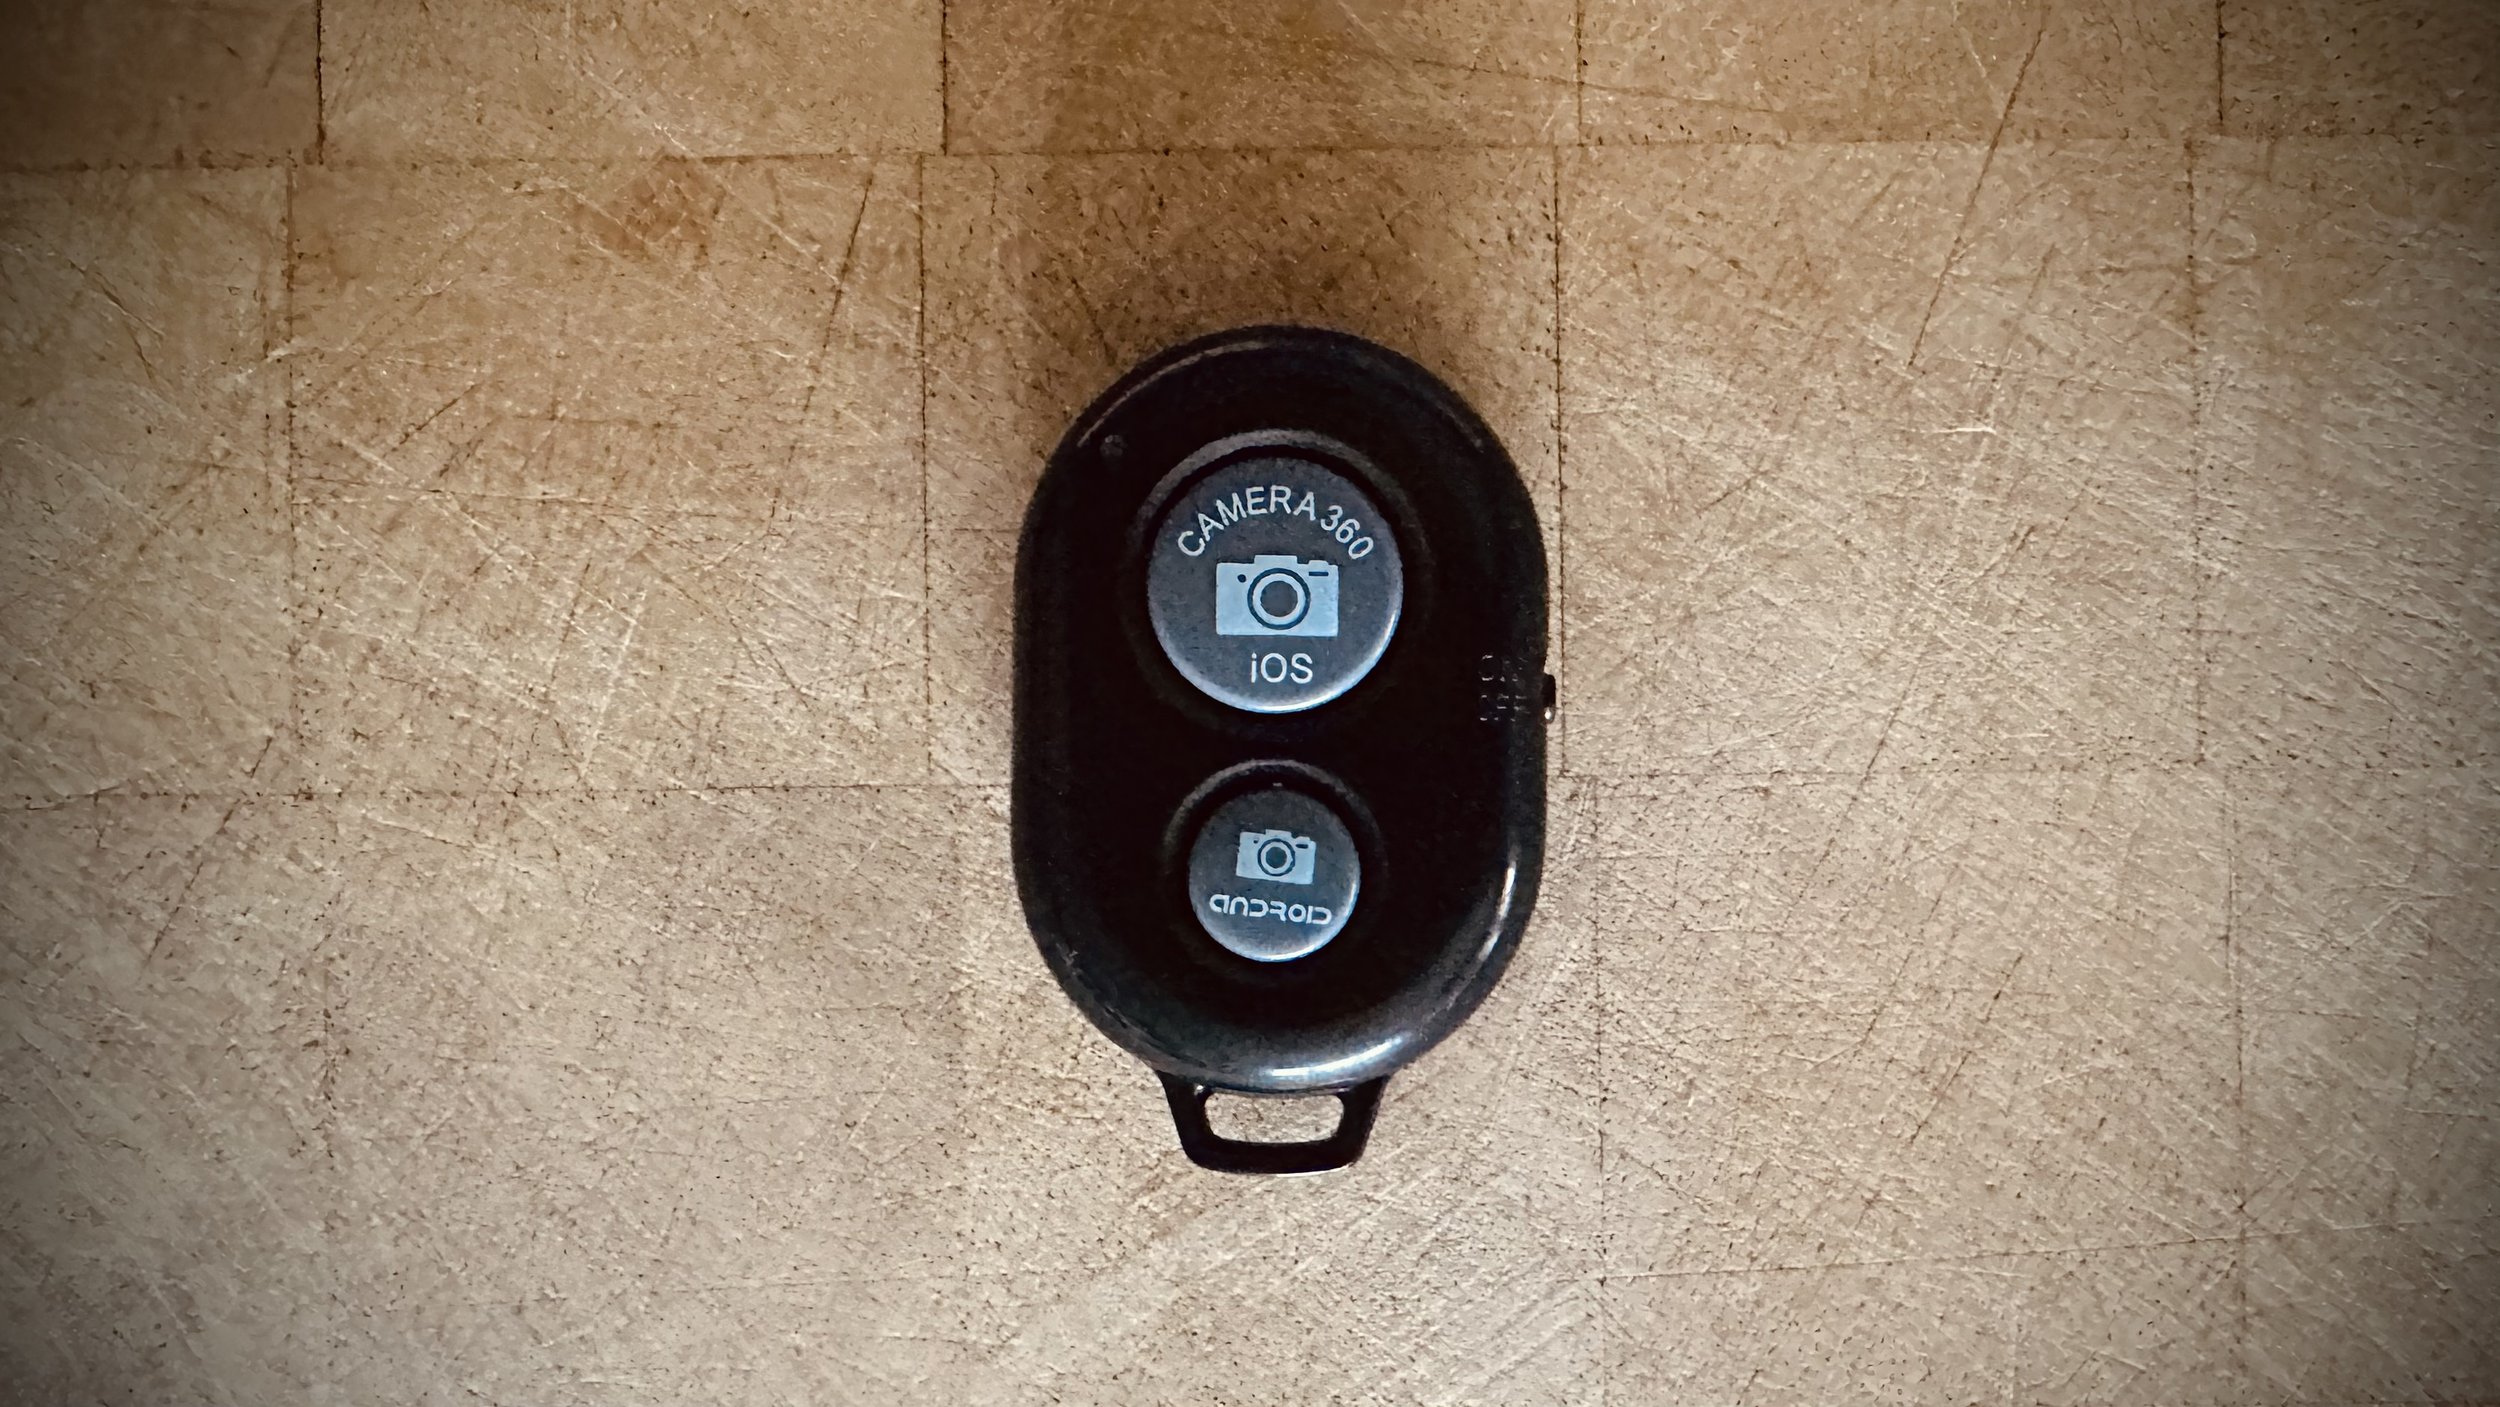
When they did I pressed the shutter a number of times using a Bluetooth Shutter Release which works a treat and only cost £3.99 off Amazon ( LINK )

Small black Bluetooth camera remote shutter on a wooden surface

99% of these images I edited in Lightroom Mobile and Photoshop on my iPad, but to add the Gulls I used Photoshop CC on my desktop as I needed to use a filter and (at the moment) that filter isn’t available in the mobile version of Photoshop.

That said though, the process was so incredibly easy editing on my iPad, and then because everything I do syncs automatically with every device I have Lightroom installed, I could then finish off on my desktop without having to export anything or import from memory cards.

Everything I do on any device be it my iPhone, iPad or Desktop, syncs across each other making it instantly available everywhere.

Oh and the text and graphics were added using Adobe Express …

Phone editing app screen showing a misty photograph of the Lyme Regis seafront

So another incredibly relaxing morning out taking photographs with my iPhone.

Minimal kit. No swapping out lenses. No attaching filters. No cables.

All of this for me makes for such a wonderful experience, enabling me to relax and just enjoy being where I am and absorb the sights and sounds.

The experience of taking photographs just doesn’t get better!

How to ADD SHARPENING in LIGHTROOM MOBILE 🔪

Here's how to add sharpening in Lightroom Mobile, quickly and easily. As well as showing where to find the sharpening controls and how to use them, I show how to get the black and white preview, which lets you see exactly where the sharpening is being applied in your photograph. It's a really useful way to make sure you're sharpening the parts of the image that need it without overdoing it everywhere else.

iPhone outline with the Lightroom logo on a black background

How I PHOTOGRAPH and EDIT an ICONIC LANDSCAPE using my iPhone and iPad (LIGHTROOM MOBILE)

How I PHOTOGRAPH and EDIT an ICONIC LANDSCAPE using my iPhone and iPad (LIGHTROOM MOBILE)

Here's a COMPLETE MOBILE WORKFLOW showing how I photographed and Edited the iconic Prince of Wales Bridge using just my iPhone and my iPad. I am BLOWN AWAY by the qulity of the file produced and the print which could easily be A2!!! Exciting times in Photography!

Photographing the Iconic Prince of Wales Bridge with my iPhone

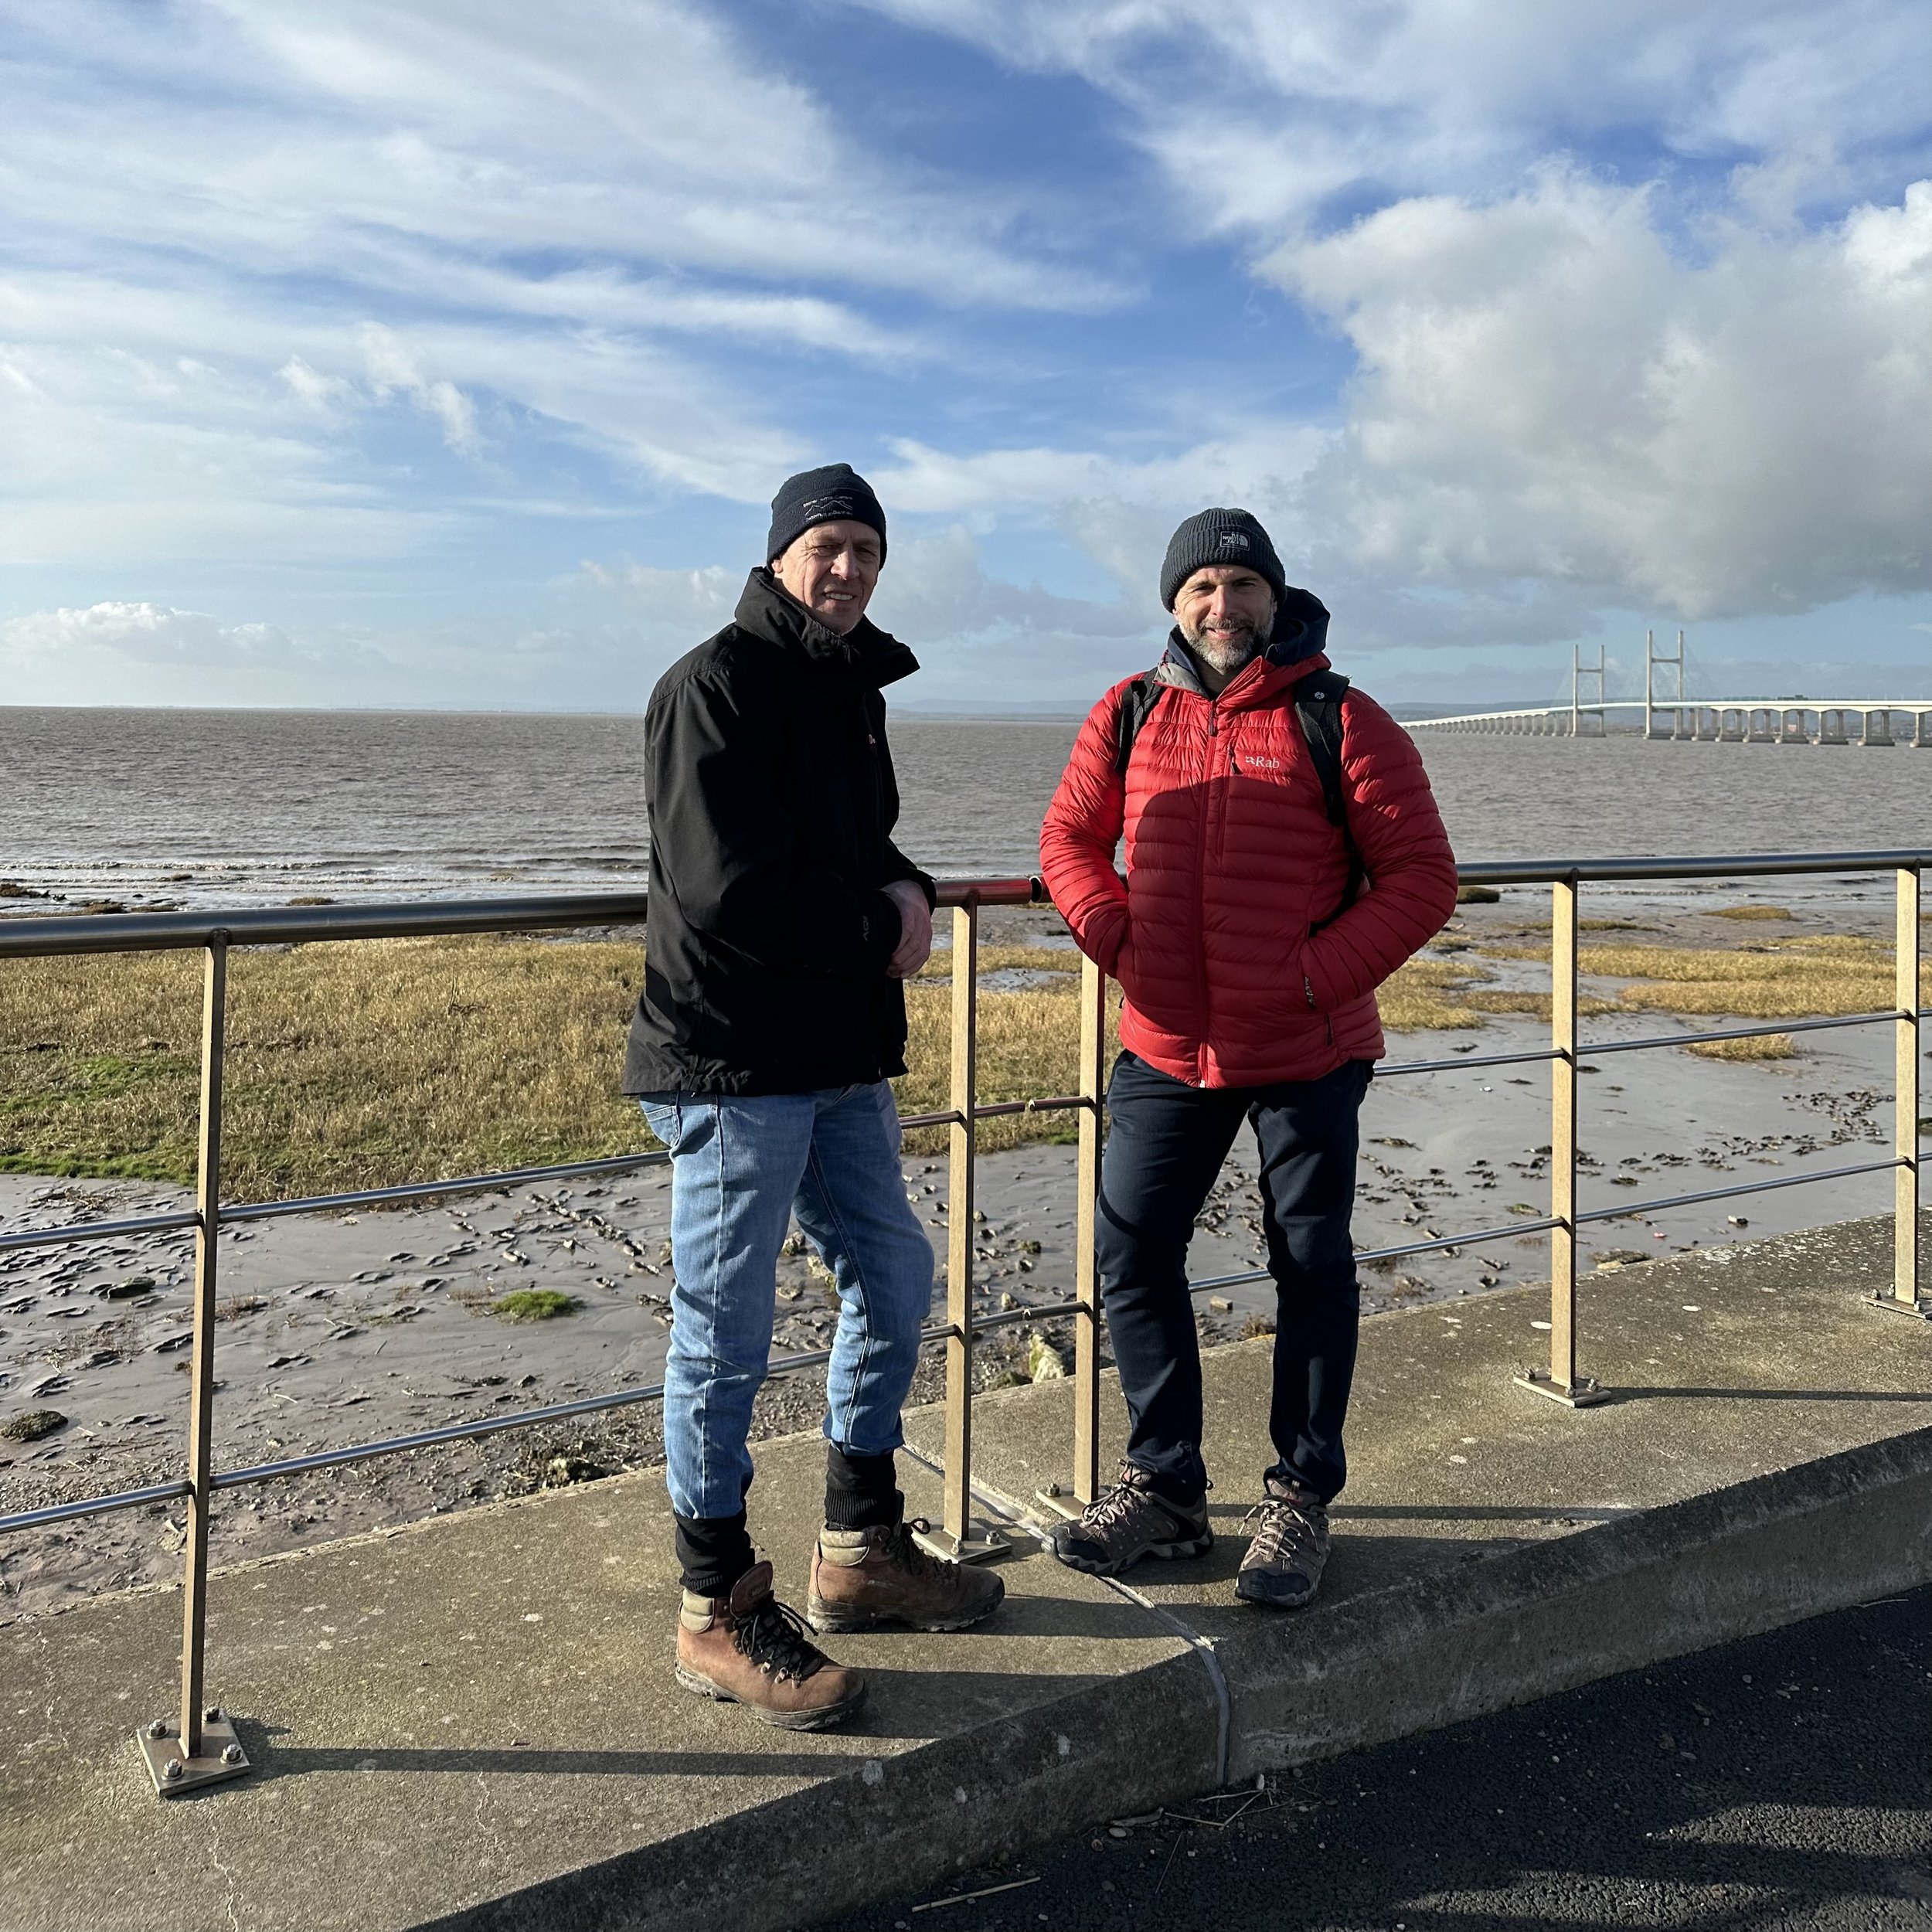
A few days ago I met up with my great friend Anthony Crothers at a Café in Bristol to spend some quality time together and also to try photographing the Prince of Wales Bridge that spans 3.2 miles from the South West of England, across the River Severn, to the South East of Wales …

Two men standing at a railing on the shore with the Prince of Wales Bridge in the distance

Having seen some photographs of it in a photography book I own, I thought it would be both interesting and a challenge to see what I could capture using just my iPhone 14 Pro Max.

Open magazine showing black and white photographs of the Prince of Wales Bridge on a wooden desk

Conditions following a recent storm were perfect with great light and a sky full of clouds, although it was a little on the chilly side and once under the bridge, the wind blowing around caused some initial challenges keeping the phone perfectly still on the tripod.

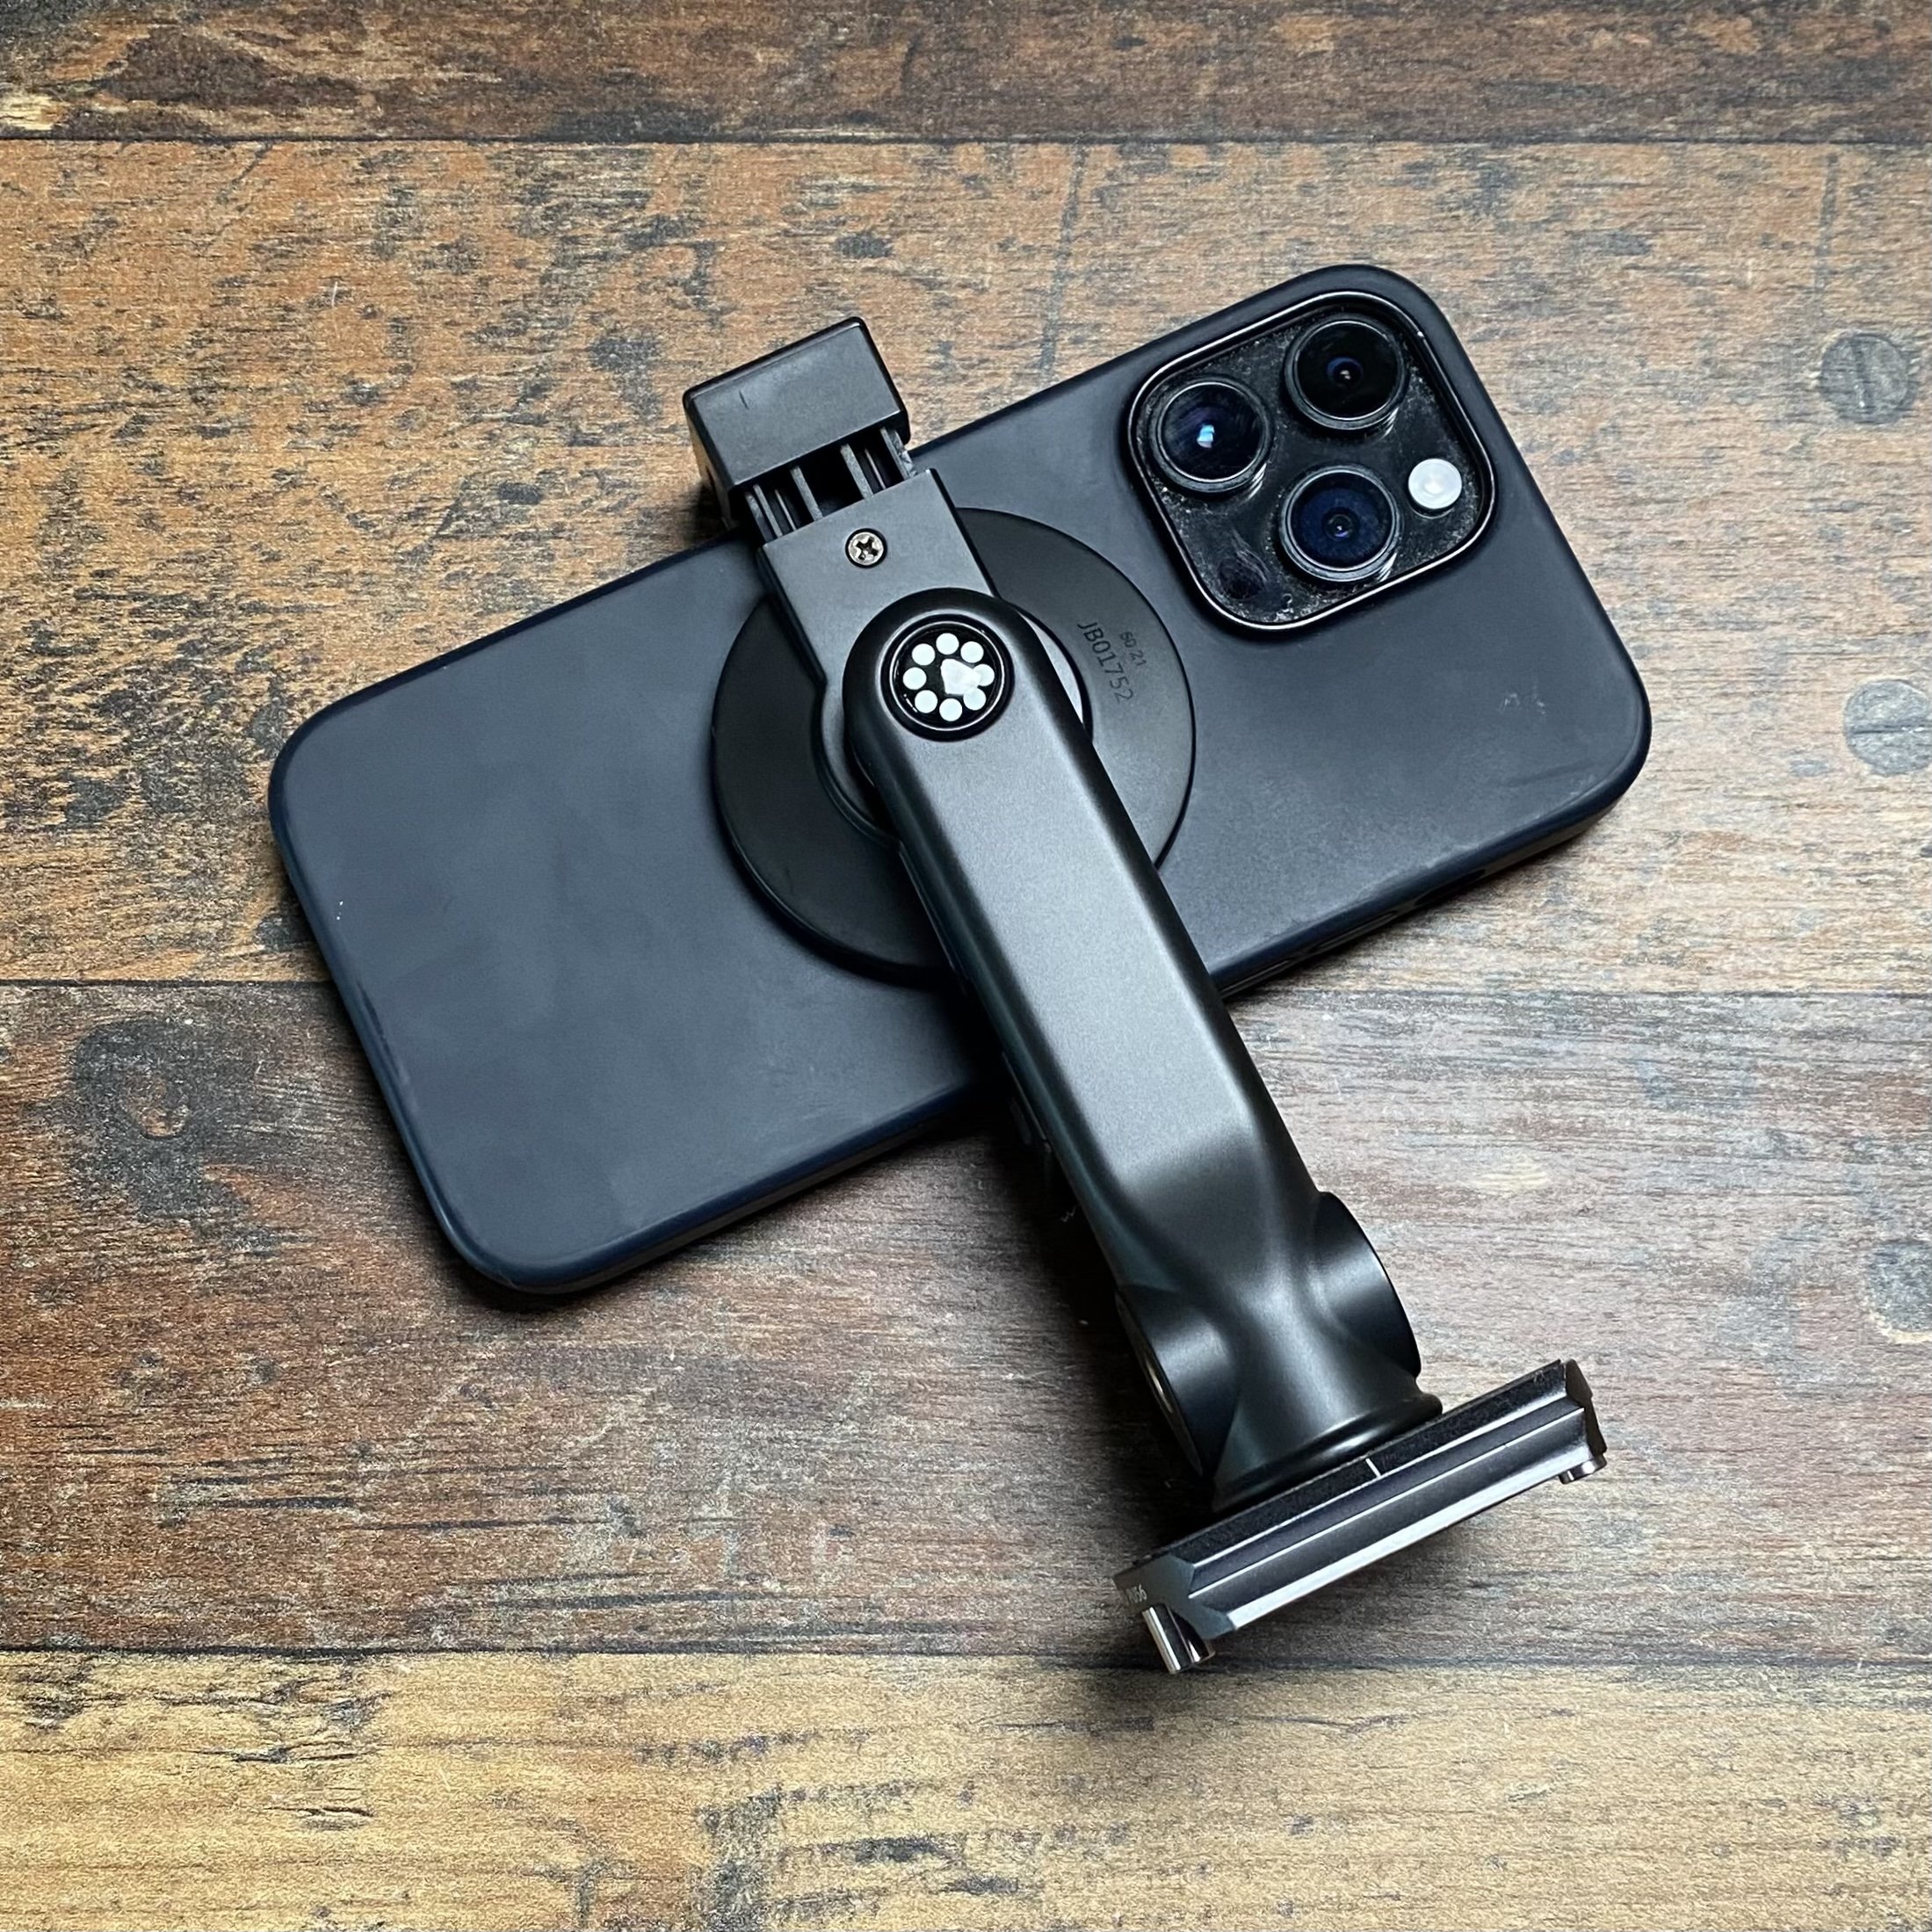
I’d taken along my new Joby MagSafe Phone Holder which is so incredibly well made, however ended up not being suitable because of the wind causing a little bit of movement …

iPhone attached to a small magnetic tripod mount on a wooden table

Instead I resorted to my trusty SmallRig Mobile Phone Cage that locked everything down and held it rock steady …

Man in a red jacket holding an iPhone on a mount to photograph beneath a bridge over the shore

Lately I’ve been using the Lightroom Mobile App for creating Long Exposures, however that is restricted to a maximum of 5 second long exposures, so instead opted for another App I have on my phone called Even Longer.

This is an incredibly easy app to use with a clean interface and a menu system that is simple and very intuitive.

iPhone screen showing a long exposure camera app framing the underside of a bridge

The set up couldn’t have been easier: dial in the exposure I wanted, choose the length of the long exposure and press the shutter button which then kicked into action after a 3 second delay to ensure no movement.

There’s so many composition opportunities at this location, but my favourite was when I was directly under the bridge to capture all the structure underneath and then the view as the bridge disappears across the River Severn …

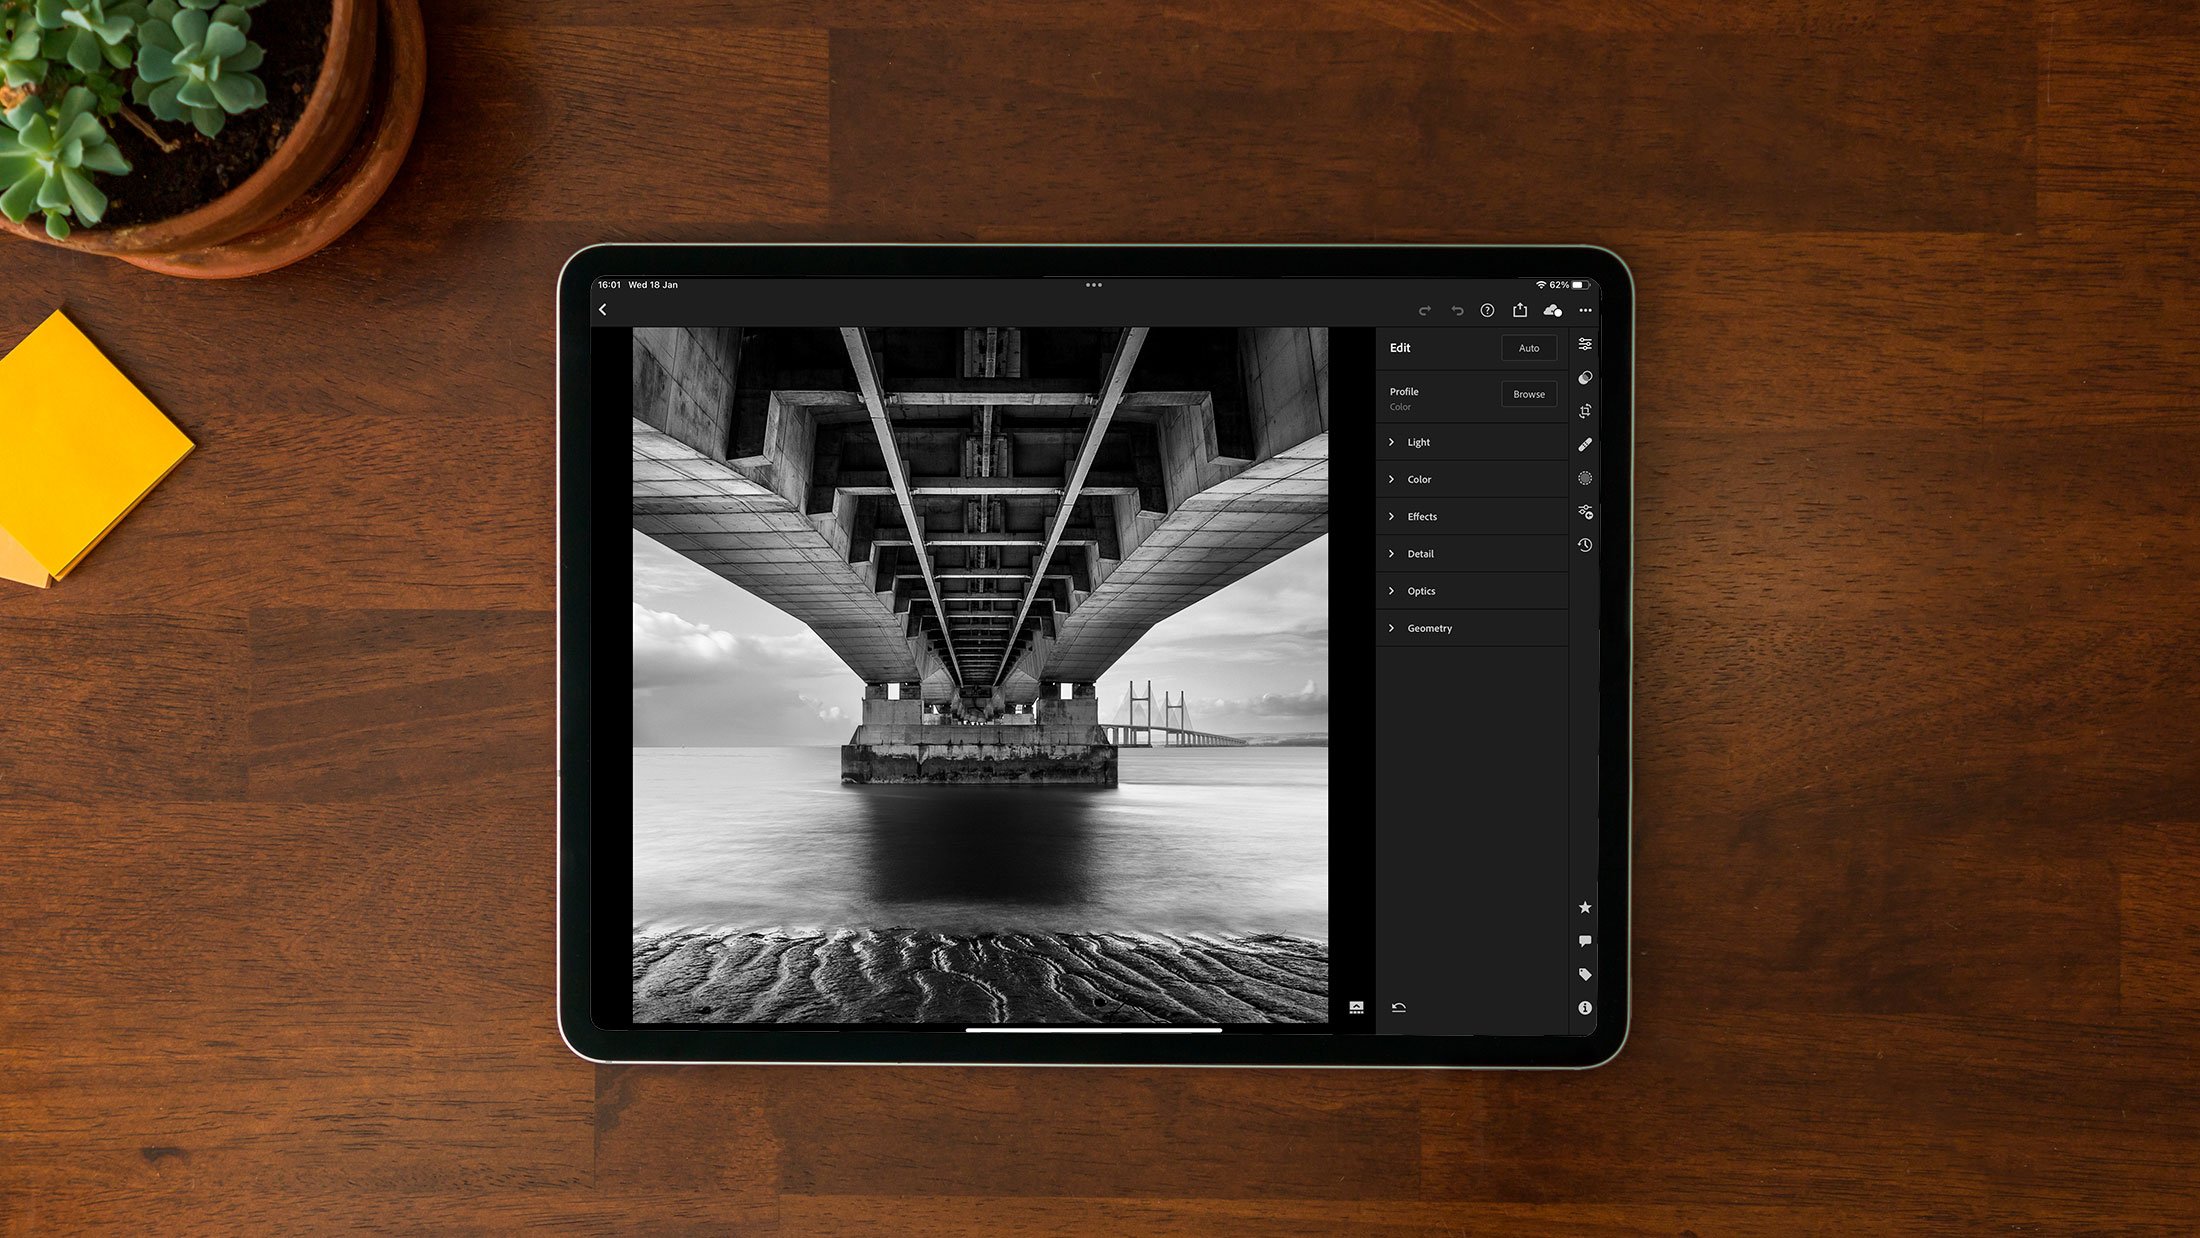
To edit the image I intentionally limited myself to using my iPad and the Lightroom Mobile and Photoshop Apps which worked an absolute treat. In fact they made the editing process a joy!

iPad on a wooden desk showing a black and white bridge photograph in an editing app

I’m loving the mobile workflow where I can take photographs with my mobile phone and without having to involve memory cards, the images I take are automatically synced to my iPad so that in the comfort of the nearby café I can look through and start editing.

Black and white long exposure from beneath the Prince of Wales Bridge over rippled sand

Final Image edited in Lightroom Mobile on my iPad

Once back home, the photographs I’ve taken, along with any images I’ve started editing (and all of the edits) automatically appear on my desktop computer so that I can then check them over on a Colour Calibrated Screen, and then confidently print them out knowing that what I see, is what I get. Such an incredibly portable and convenient workflow … that also gives peace of mind knowing that photographs you take are instantly backed up.

My video this week on my YouTube Channel, will be going Behind the Scenes from this photo shoot, as I show all of the steps involved from taking the photographs, editing in Lightroom Mobile on my iPad, and the final print …

Hand holding a black and white print of the underside of the Prince of Wales Bridge

MIND BLOWN 😲 Mobile Phone Photography + LIGHTROOM MOBILE and PHOTOSHOP on the iPad

Taking photographs and editing them on a mobile device makes for a fantastic workflow, and here I show the whole process from start to finish. I capture a set of long exposure photographs with my iPhone, then edit them in Lightroom Mobile before taking them into Photoshop on the iPad for the rest of the work. From there it goes all the way through to a finished print, and the print I ended up with is fantastic.

iPhone Photography of the iconic Portland Bill Lighthouse

Despite temperatures going down to -8, I couldn’t resist heading down to Portland Bill Lighthouse again to catch the incoming tide and hopefully some better light at sunrise.

My GoPro Hero 10 wasn’t having any of it with the batteries immediately losing all power but thankfully my Insta 360 X3 was having no problems, so I did manage to get some Behind the Scenes footage (below)

Here though is my favourite shot from the morning; captured using my iPhone 14 Pro Max and the Lightroom Mobile App camera, and then edited in Lightroom Mobile and Photoshop on my iPad …

Black and white iPhone photograph of waves crashing on rocks below Portland Bill Lighthouse

I’m absolutely LOVING the mobile workflow.

Being able to take a photograph with my iPhone and then moments later be sat in a nearby café editing the photographs I’ve just taken on my iPad because they’ve automatically synced across, just blows me away.

BUT to then edit in Lightroom and jump back and forth to Photoshop on my iPad too is just so much fun.

It doesn’t stop there though, because when I get home and sit in front of main computer, the images and all of the edits I’ve done are there waiting for me to tweak and finish off if needed.

Incredible!

To add to this, IF I was using my main camera I could have an equally easy and joyful editing experience by simply loading the images off the memory card onto my iPad Pro and into Lightroom Mobile whilst sat in the café … or wherever 😃

Seeing how this has progressed since Lightroom Mobile and Photoshop on the iPad were introduced, genuinely excites the heck out of me! Sure, Lightroom Mobile and especially Photoshop on the iPad don’t have the exact same functionality as the desktop version (yet) … but it’s coming and to be honest, the workarounds aren’t much to figure out anyway.

I’ll be putting a video together for my YouTube Channel showing this soon.

In the mean time though, here’s a 44 second YouTube Short I put together giving a look ‘Behind the Scenes’ of this Portland Bill Lighthouse Photo Shoot …

iPhone Long Exposure at Durdle Door, Dorset

Headed down to Durdle Door in Dorset the other week; just over an hour away so not a long drive, but wow … what a great place.

I met up with my friend Steve Healey with the intention of photographing the sunrise but lack of local knowledge put a stop to that. Little did we know that there’s a gate preventing access that doesn’t open until 9am BUT you can take a short coastalwalk from nearby Lulworth Cove to access the beach and the famous arch … didn’t know that until later in the day though.

Still, we drove off for a while to grab a coffee and came back an hour or so later and got down to take some photographs; Steve with his Fuji and me with my iPhone and SmallRig combo.

Here’s my favourite; a 5 second long expsoure that was taken using the Lightroom Mobile App camera and a quick edit in Lightroom CC and Photoshop …

Black and white long exposure of Durdle Door rock arch with streaking clouds and smooth sea

iPhone Long Exposure at Portland Bill

Since getting the new iPhone 14 Pro Max I’ve been getting out and about as much as possible taking photographs, and this was another of those ventures…

Portland Bill in Dorset; an iconic location with the famous Portland Bill Lighthouse …

Red and white lighthouse beyond rocks under a dark, cloudy sky at Portland Bill

I’m using the Lightroom Mobile App more and more. It has a great camera built into it that has both automatic and manual functions as well as a great Long Exposure function. In addition to this any photograph I take with it, is automatically synced with Lightroom CC which means it’s immediately available for me to edit on my desktop or my iPad.

Here’s a long exposure I made of the coastline at Portland with the Lighthouse behind me …

Long exposure of misty sea flowing around rocks at Portland Bill under a warm sky

This is actually made up of a series of images that I took one after the other; a one second long exposure but with the waves in different places and each image blended in Photoshop after making the initial edits in Lightroom CC.