photography

Explained: HSS (High Speed Sync) versus ND when using Flash

High-Speed Sync, or HSS, is a flash mode that lets you use flash at shutter speeds faster than your camera's normal flash sync speed.

For most cameras, normal flash sync speed sits around:

1/160 sec, 1/200 sec or 1/250 sec

Go faster than that and HSS becomes essential.

What High-Speed Sync Actually Does

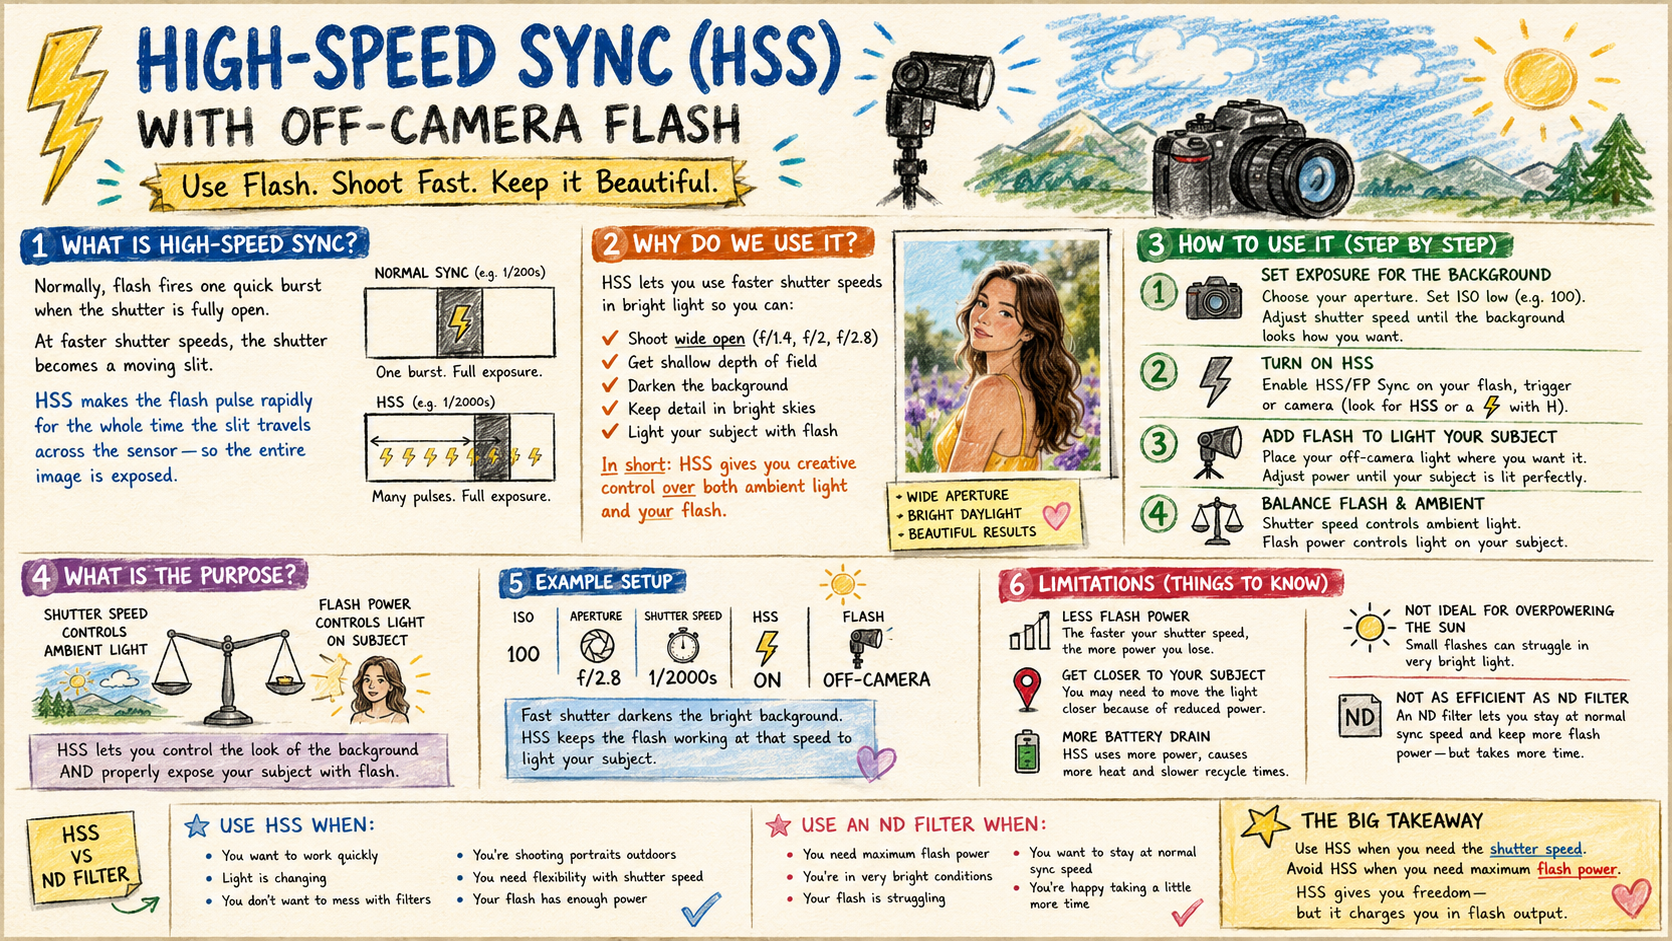
Normally, when you take a flash photo, the flash fires one quick burst of light while the shutter is fully open. At normal sync speeds, that works perfectly.

But push past your camera's sync speed and the shutter is no longer fully open at any single moment. Instead, a narrow slit travels across the sensor. If the flash fired just one burst at that point, only part of the frame would be lit, leaving you with a dark band across the image.

HSS solves this by making the flash pulse rapidly for the entire time that slit is travelling across the sensor. So instead of one big pop, you get lots of tiny rapid pulses instead.
Why I Use It

The main reason is simple: it lets you shoot with wider apertures in bright light.

Say you're outside on a sunny day and you want to shoot a portrait at f/2.8, f/2, or even f/1.4. That gives you shallow depth of field, a blurred background, nice separation, and that more polished portrait look.

The problem is, in bright daylight, a wide aperture often forces your shutter speed up to something like 1/1000 sec, 1/2000 sec, or even 1/4000 sec. Without HSS, your flash simply won't sync properly at those speeds. With it switched on, you can keep that wide-aperture look and still use off-camera flash.

What It's Really For

Here's where a lot of photographers get it wrong: HSS isn't really there to freeze action. That's a common misunderstanding.

Its real purpose is to give you control over ambient light while still using flash. It frees up your shutter speed, which means you can darken the background, hold onto detail in a bright sky, shoot wide open, and still light your subject properly with flash.

Put simply: HSS lets you make daylight behave itself.

How I Use It in Practice

A typical off-camera flash setup with HSS goes something like this.

1. Set your exposure for the background first

Start without flash. Choose your aperture, for example f/2.8, and set your ISO low, around ISO 100. Then adjust your shutter speed until the background looks the way you want it. In bright daylight, that might mean 1/1000 sec or faster.

At this point your subject is probably too dark. That's where the flash comes in.

2. Turn on HSS

You'll usually need to enable HSS on the flash trigger, the flash head, the camera's flash menu, or sometimes all three, depending on the system. With Westcott, Godox, Profoto, Canon, Nikon, Sony and so on, the exact menu or button differs, but the principle is the same. Look out for HSS, High-Speed Sync, FP Sync, or a lightning bolt with an H next to it.

3. Add flash to light your subject

Position your off-camera light where you want it. For portraits, I'll usually go for around 45 degrees to the subject, slightly above eye level, using a softbox, beauty dish or umbrella, and close enough to keep the light soft and powerful. Then adjust your flash power until your subject looks right.

4. Balance flash and ambient

Think of it this way: shutter speed controls the ambient light, flash power controls the light on your subject. In HSS, that's mostly true, but there's one important catch. Because HSS reduces flash power, very fast shutter speeds will also make your flash work a lot harder.

A Simple Example

You're photographing someone outdoors at golden hour, or in bright sun. You want a blurred background, a dramatic sky, and your subject nicely lit.

Settings might look like this:

  • ISO 100

  • f/2.8

  • 1/2000 sec

  • HSS turned on

  • Flash in a softbox, off-camera

The shutter speed brings the bright background down. The flash brings your subject back up. That's HSS doing its job.

Why Not Just Use Normal Flash Sync?

At normal sync speed, say 1/200 sec, bright daylight might force you to use f/8, f/11 or even f/16. That gives you more depth of field, so the background is sharper.

That can work fine for some shots, but if you're after that more cinematic, shallow-depth portrait look, it becomes limiting fast. HSS removes that restriction entirely.

The Limitations of High-Speed Sync

HSS is brilliant, but it's not without trade-offs.

1. You lose flash power

This is the big one. Because the flash is pulsing rapidly rather than firing one full burst, the available power drops significantly. The faster your shutter speed, the more power you lose. At 1/4000 sec, your flash has nowhere near the effective reach it has at 1/200 sec.

2. You may need the flash closer

With less power available, you'll often need to bring the light in closer to your subject. That's not necessarily a bad thing, closer light is usually softer, but it can be a problem if you need to light someone from further away.

3. Battery drain is higher

HSS makes the flash work harder, which means more battery use, slower recycle times, more heat, and fewer shots per charge. Fine for a quick portrait session. Worth thinking about for fast-paced shoots, events, or long days.

4. It's not ideal for overpowering the sun

You can use HSS in bright sunlight, but if your goal is to completely overpower harsh midday sun, you need a genuinely powerful light. Small speedlights tend to struggle here. Something like a Westcott FJ400, or similar, is much better suited to the job.

5. It can be less efficient than an ND filter

An ND filter lets you keep your shutter speed at normal sync speed while still shooting wide open. For example:

  • ISO 100

  • f/2.8

  • 1/200 sec

  • ND filter fitted

  • Flash at normal sync

This keeps far more flash power in reserve. So the real choice often comes down to this:

HSS is faster and simpler, with no filter needed. An ND filter gives you more flash power, but it's slower to work with.

HSS vs ND Filter

Use HSS when:

  • you want to work quickly

  • the light is changing

  • you don't want to mess about with filters

  • you're shooting portraits outdoors

  • you need flexibility with shutter speed

  • your flash has enough power to spare

Use an ND filter when:

  • you need maximum flash power

  • you're working in very bright conditions

  • your flash is struggling to keep up

  • you want to stay at normal sync speed

  • you're happy taking a little more time

Neither is better than the other. They're just different tools for different jobs.

The Big Thing to Remember

High-Speed Sync is mainly about creative control. It lets you shoot with flash at fast shutter speeds so you can use wide apertures, darken the ambient light, hold onto detail in bright backgrounds, create separation, and light your subject properly outdoors.

The price you pay is reduced flash power. So the practical rule I stick to is this:

Use HSS when you need the shutter speed. Avoid it when you need maximum flash power.

That's HSS in a nutshell. It gives you freedom, but it charges you for it in flash output.
Photographing Falklands War Veterans

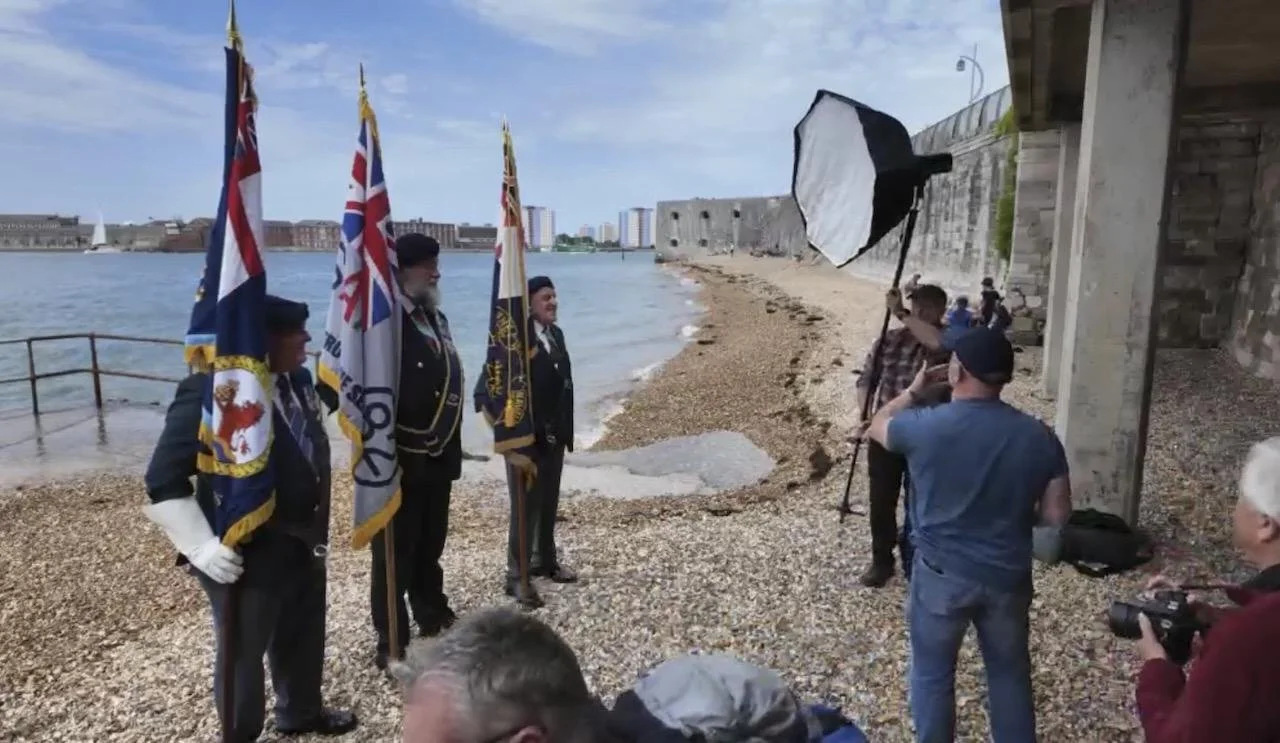
This past weekend when heading to Portsmouth for the Community Photo Walk, I also packed an off camera flash, soft-box and monopod just incase an opportunity arose to take a portrait, and boy ... am I glad I did!


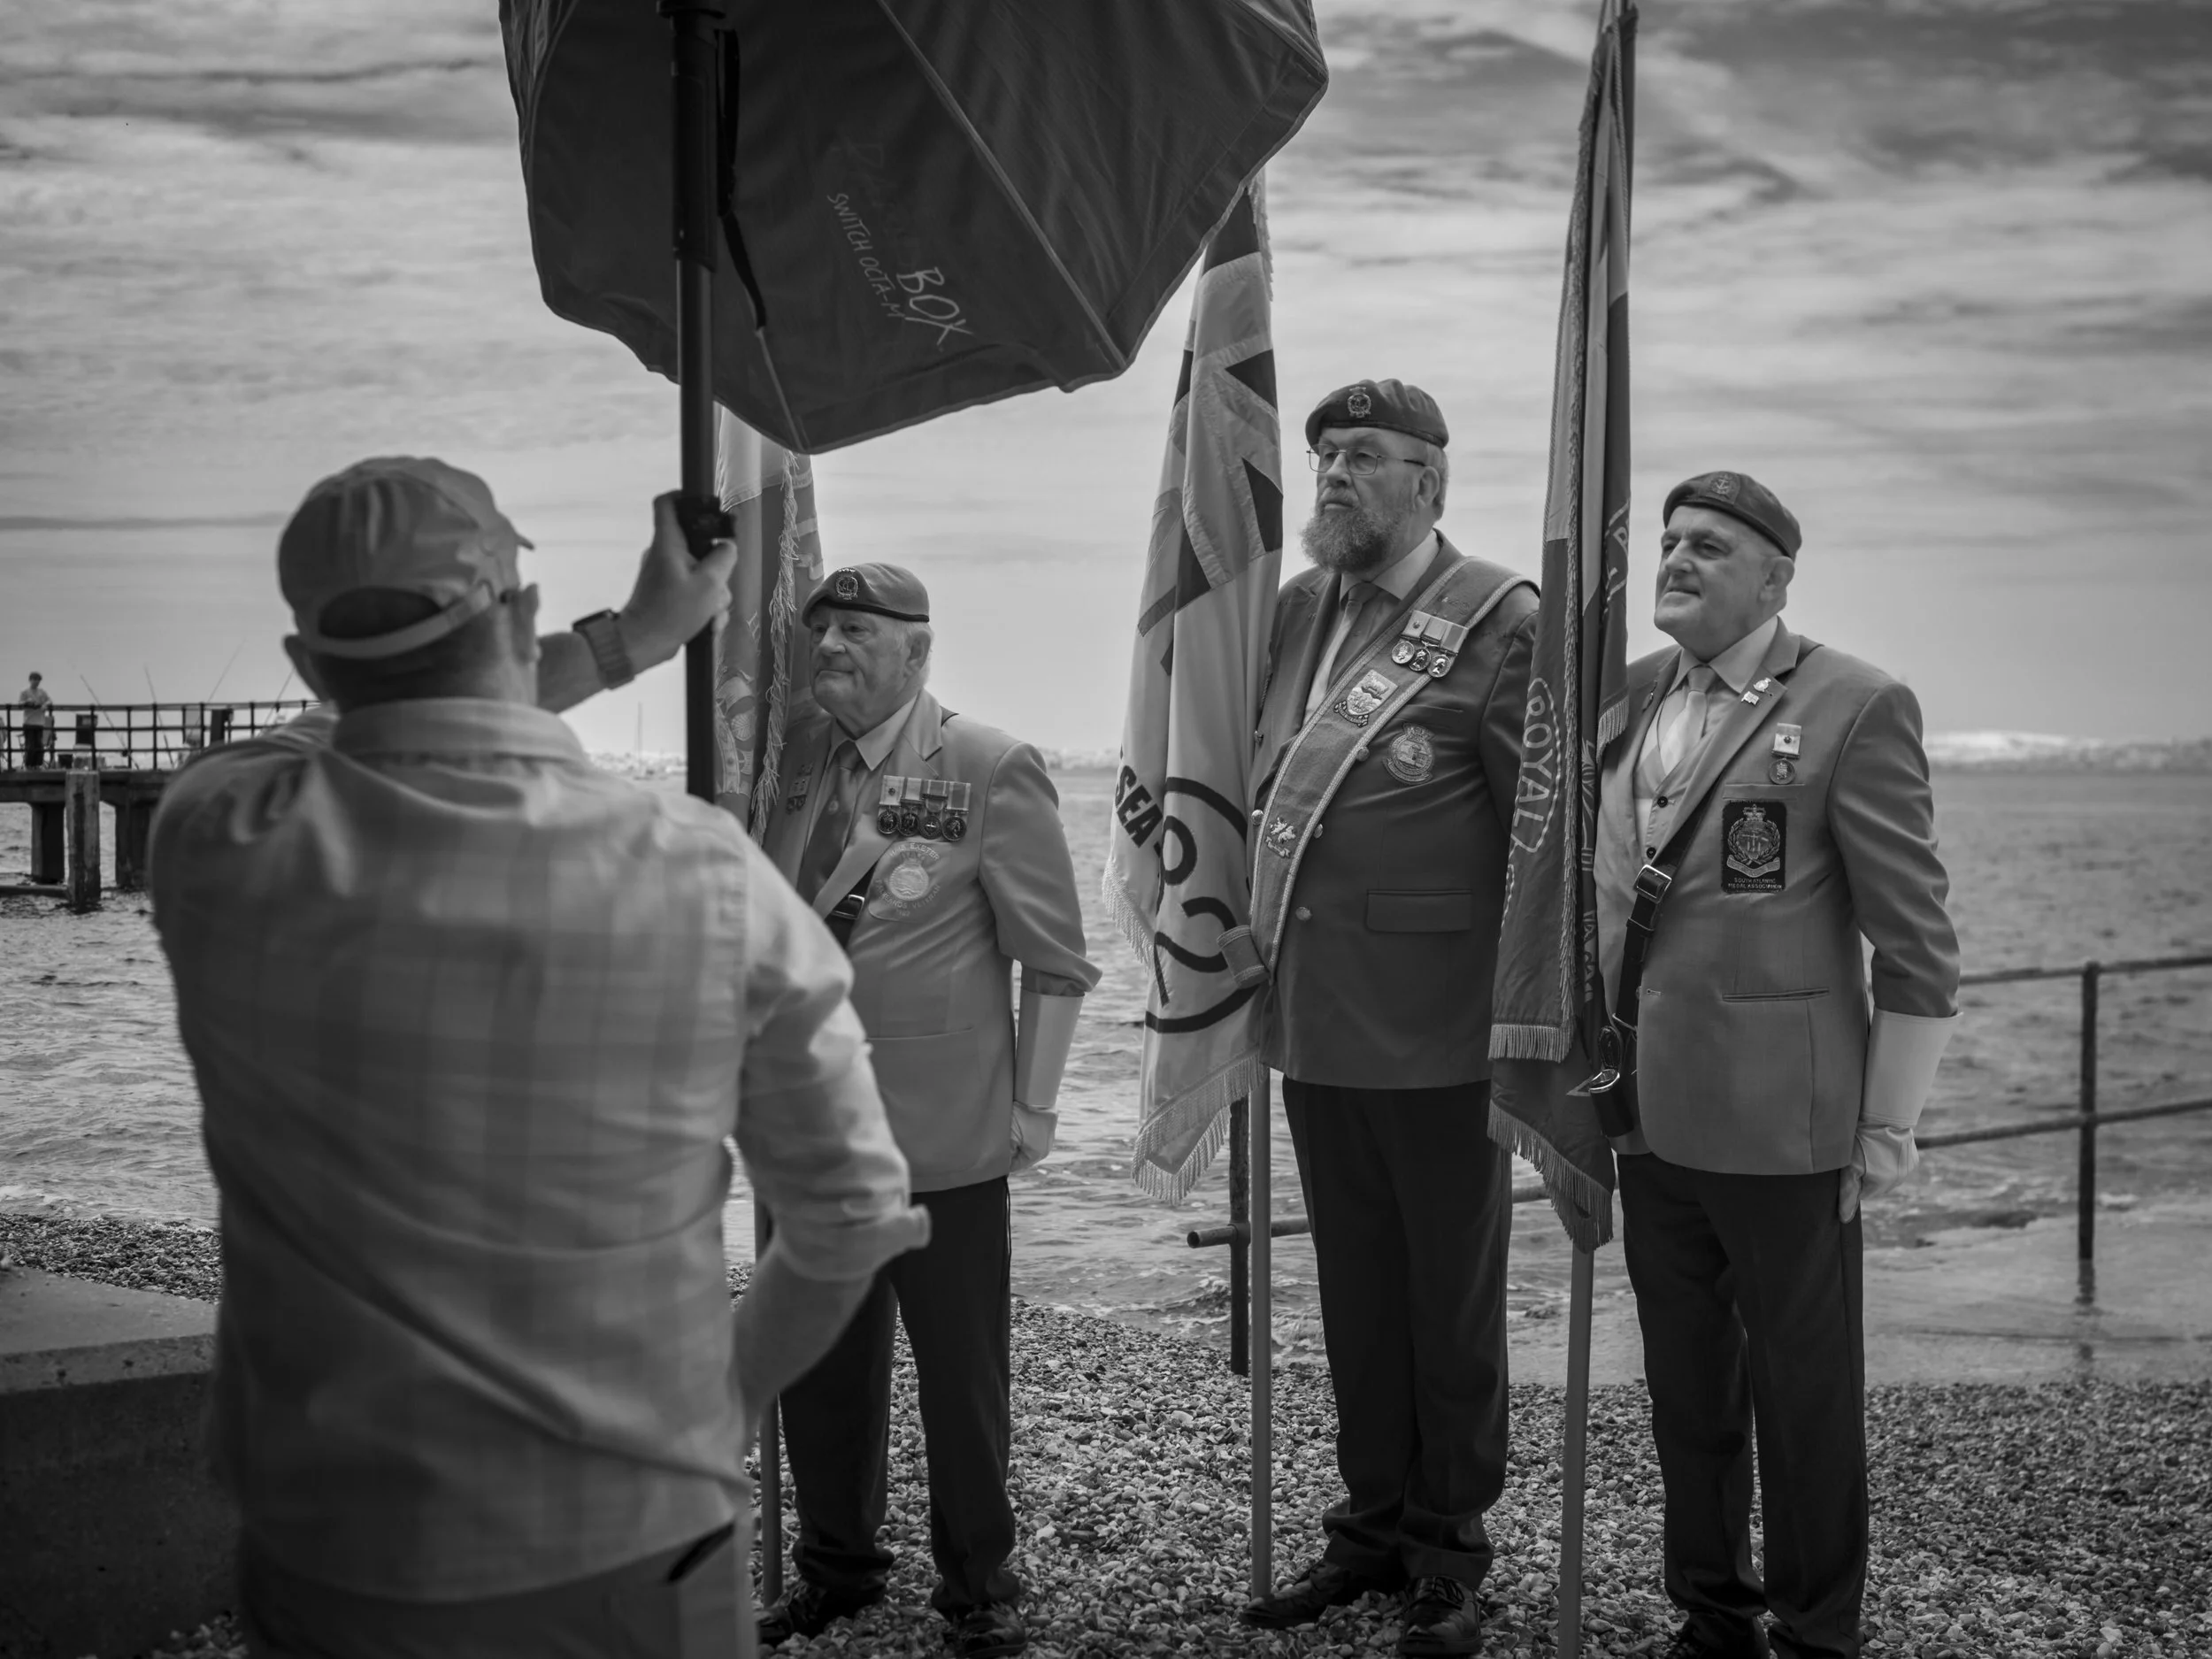
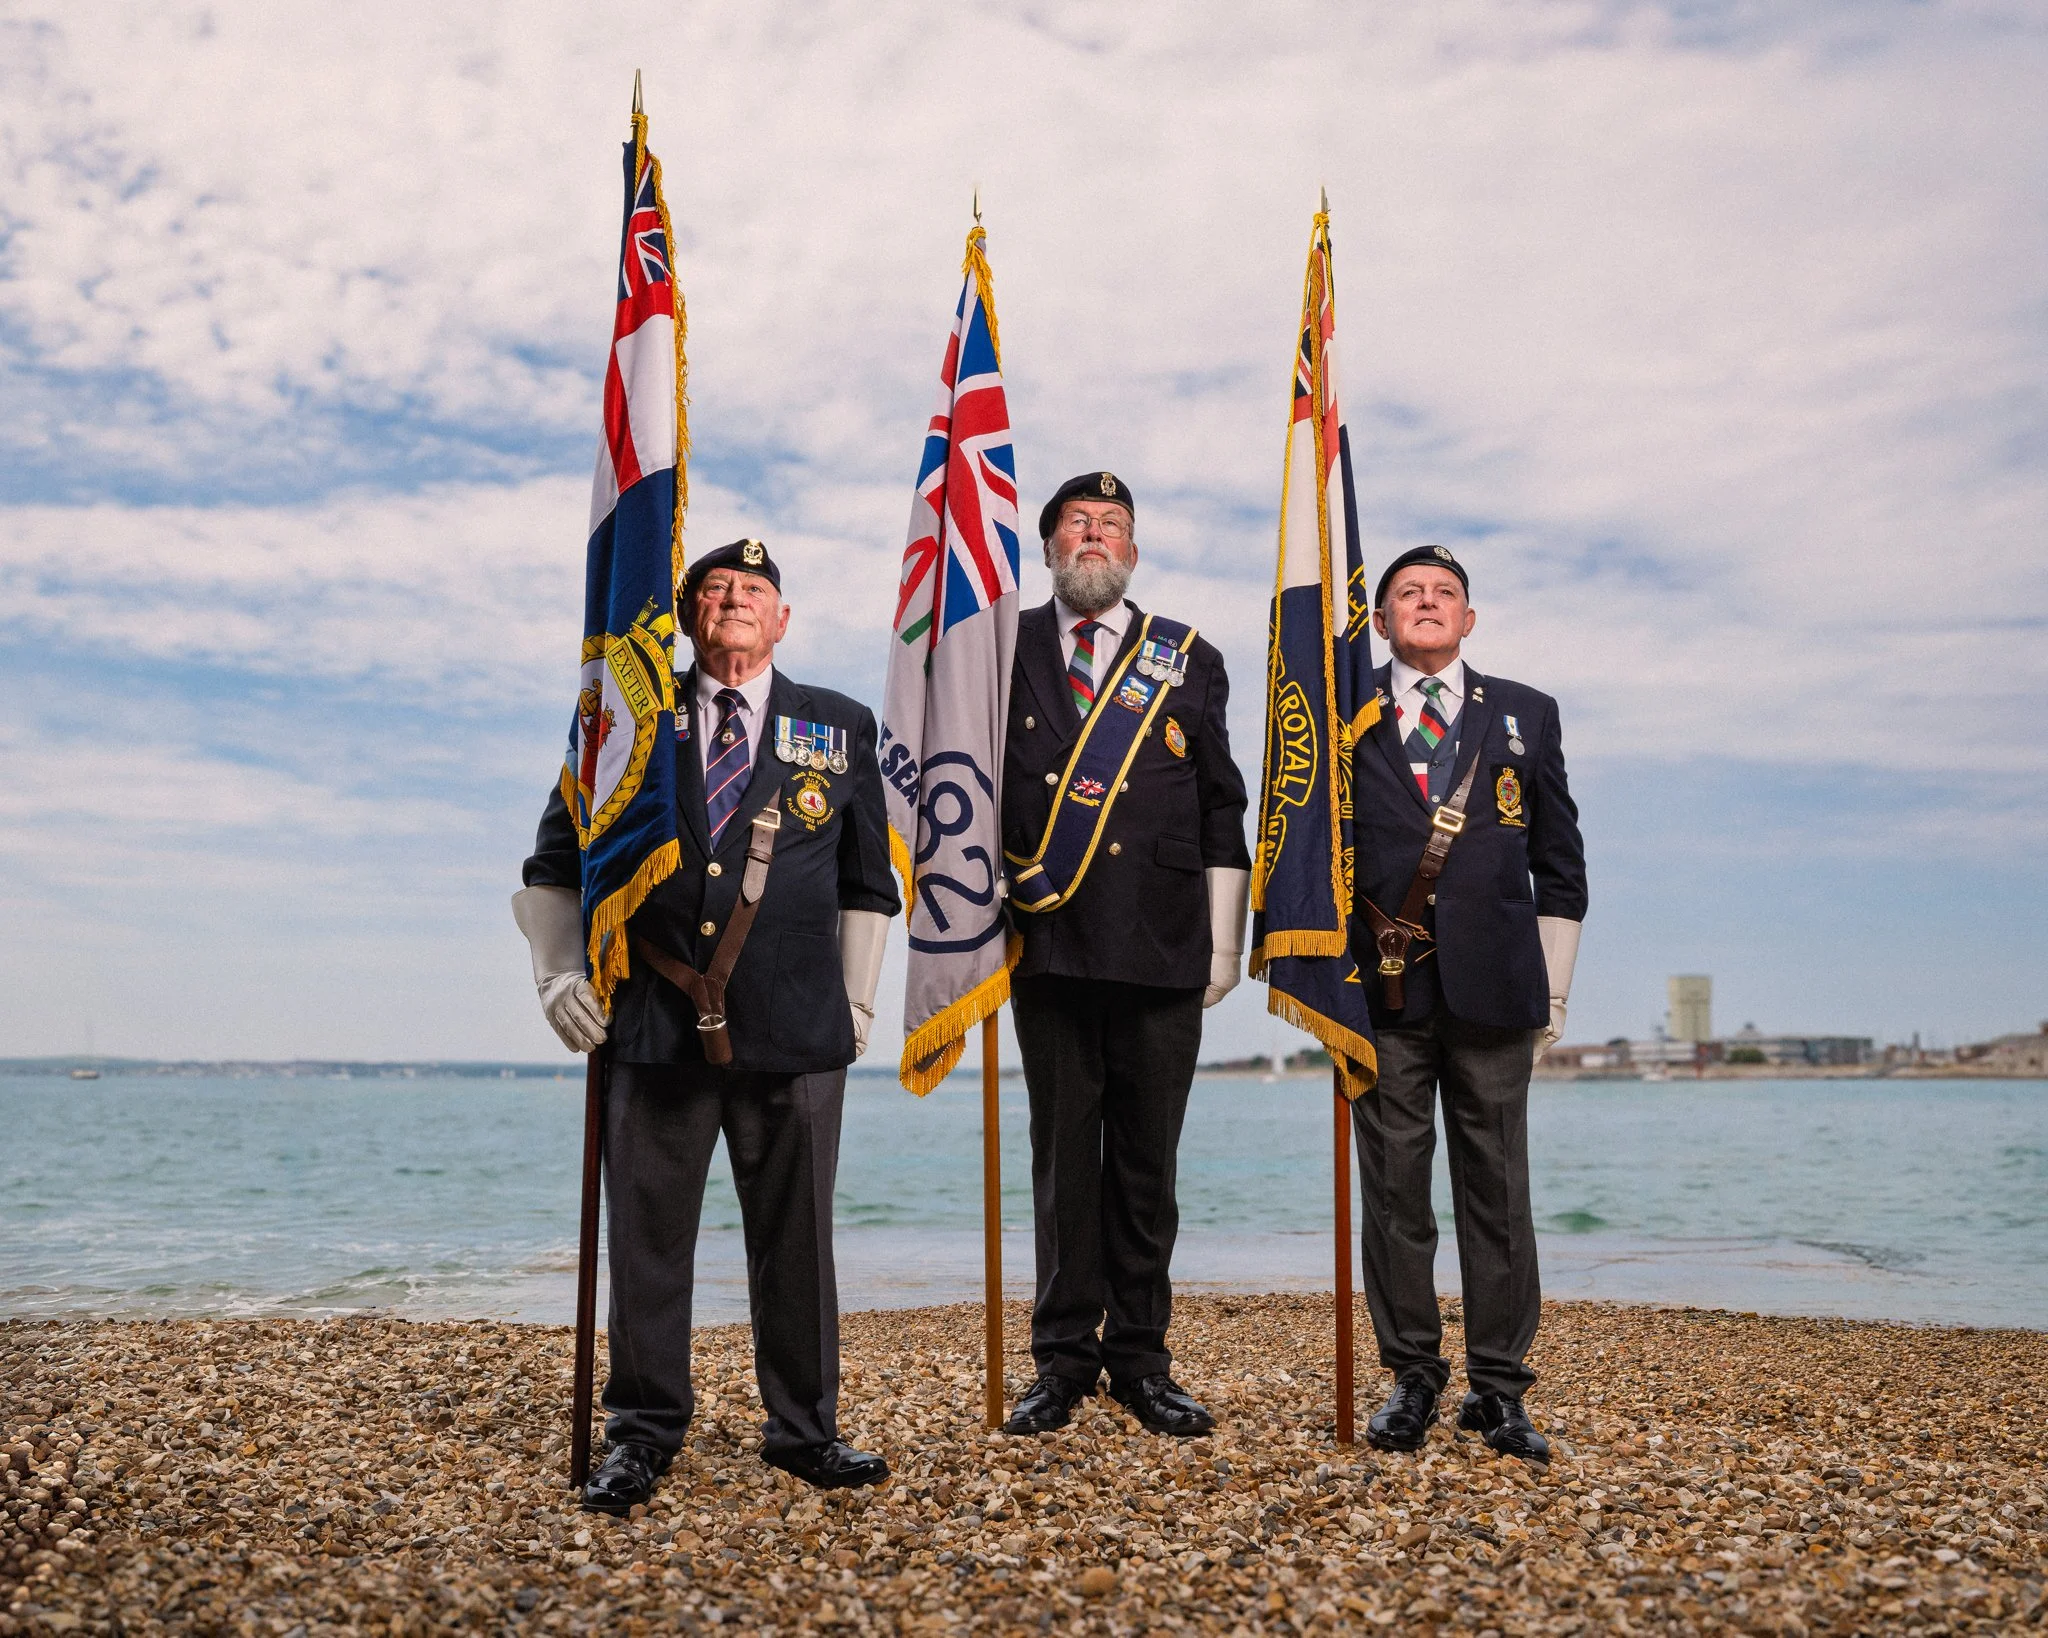
Chris Taylor; (parading The Waterlooville RNA Branch Standard)

Served on HMS Invincible in 1982

Richard Shenton; (parading today, the South Atlantic Medal 82 Association Standard)

Deputy RNA National Standard Bearer 

Area and Branch Standard Bearer and HMS Bristol Standard Bearer

Served on HMS Bristol in 1982

Dean Deakins; (parading today, HMS Exeter Standard)

HMS Exeter Association Standard Bearer and Royal Naval Association (RNA) Area 3 Ceremonial Adviser

Served on HMS Exeter in 1982

All are proud holders of The South Atlantic Medal (with Rosette), Falklands Veterans and members of the RNA.


With it just so happening to be Liberation Day on the day of the Photo Walk, there were lots of Royal Navy Falklands War Veterans present for the morning service, who there then congregating near an area called "Hotwalls".

I was stood with Geoff Sargeant at the time, both of us watching with me at one point spotting a gent that would be so good to photograph. I pointed him out to Geoff and the decision was made ... let's go for it!

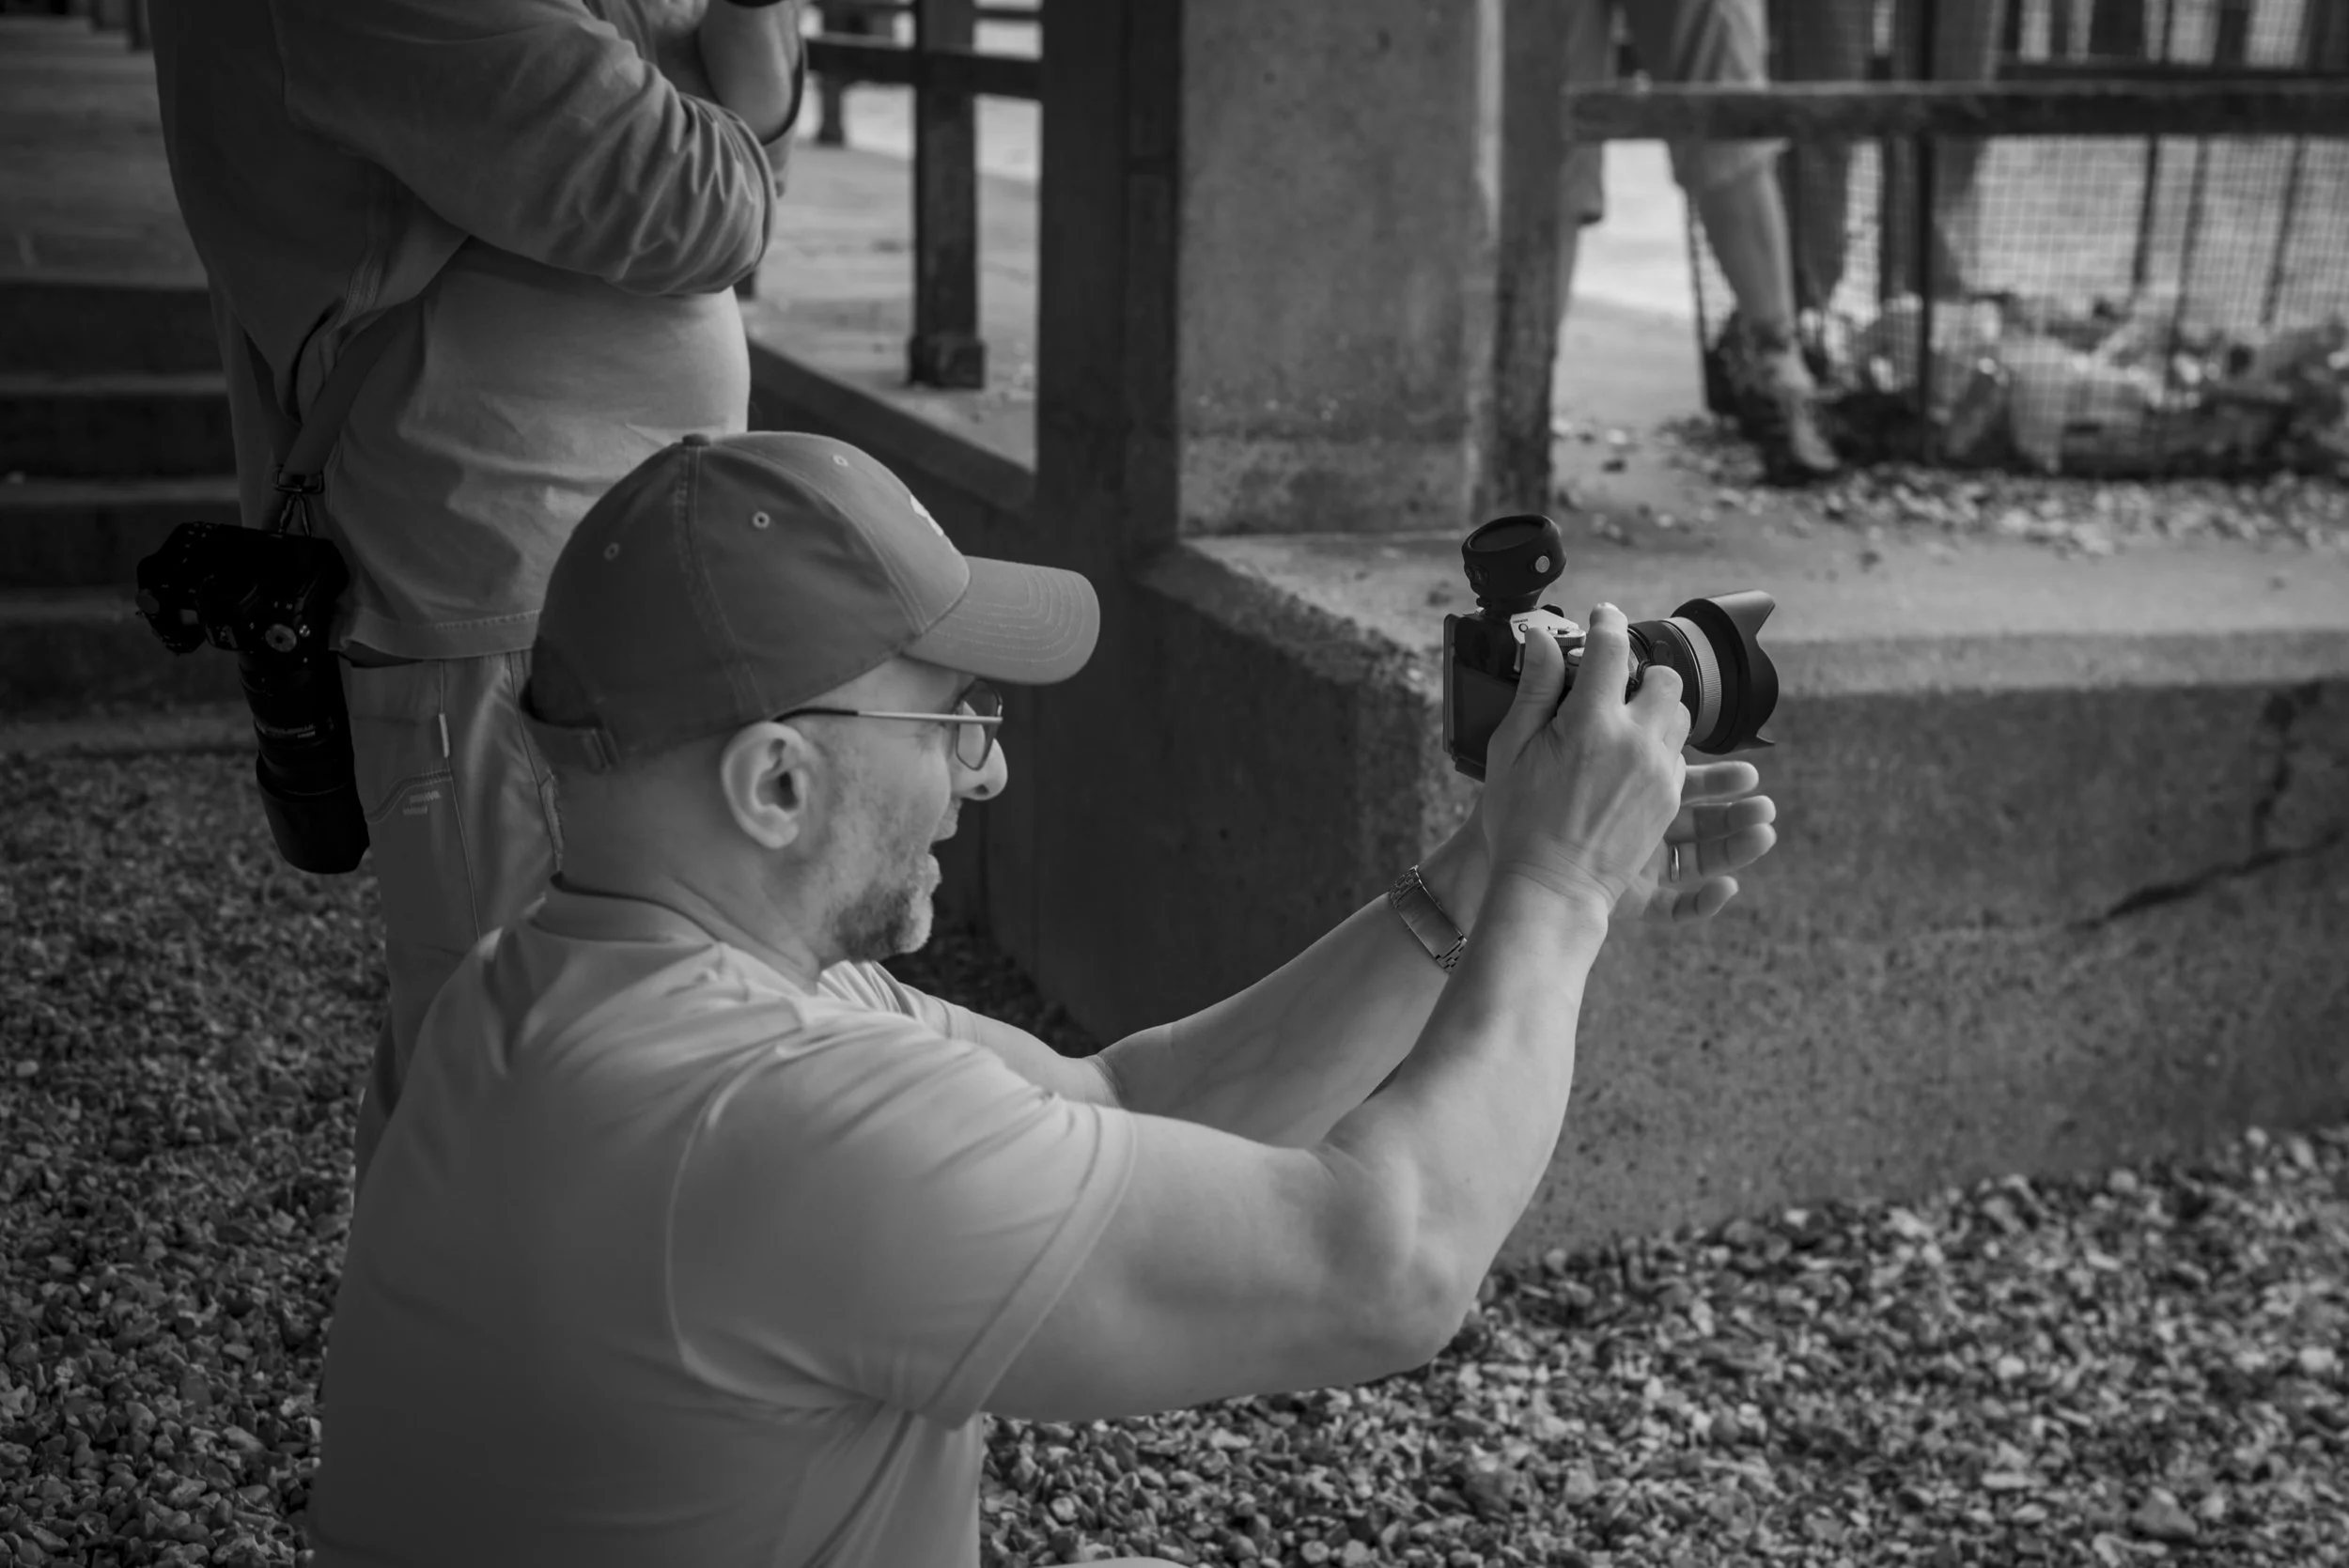
I grabbed the kit from my car with the help of my mate, Andy Hughes, and by the time I'd headed back to Geoff, I could see he was in conversation with the very man (and his colleagues) that I wanted to photograph.

Still taken from video filmed by Lee Churchill

Thanks to Geoff, after a quick introduction and explantion of what I had in mind, all 3 were "Game On" ... although asking them to walk on the stoney beach in their brightly bulled parade shoes took a little convincing. But, "Game On" they were.

I'd only brought along my Medium Westcott Octa as I'd only imagined taking individual portraits on the day if the opportunity arose, but with the weather conditions as they were, this worked out great. Having Andy hold the lighting ( Westcott FJ400II ) a little further back meant I was able to get even light across all 3 Veterans, but also create the same light and shadows being created by the sun.

Photograph by Brian Lee

Having the camera in Manual, I dialled in the necessary camera settings to give me the "scene" I wanted with detail in the sky, I then decided to use the Flash in TTL as the lighting conditions were constant i.e. no fast moving clouds to change the light as they covered then reveal the sun)

Kit + Settings
Fuji X-T5
Fuji 16-55mm f/2.8 R LM WR II
16mm
1/200sec

f/9.0
ISO 80

Lighting
Westcott FJ400II
Westcott Rapid Box Switch Medium Octa

TTL with no + or - compensation

Photograph by Brian Lee

*In 'Post' the metal railings and concrete platform have been removed to give a clear backdrop of Portsmouth Harbour from where the 1982 Falklands Task Force: the Royal Navy’s carriers HMS Hermes and HMS Invincible sailed from, heading for the South Atlantic on 5 April 1982, at the start of the Falklands War.

Final image has already been sent over to each of the Veterans with the offer to also send over a print should they wish to have one.

Consequently after this, a Falklands War Veterans Project has been born!

How to Edit and Export True HDR Photos in Lightroom

Mention HDR to most photographers, and they immediately picture the overprocessed, crunchy trend from 2010 or complex, multi-exposure bracketing. True HDR is different. It uses a single image to unlock the actual brightness and tonal capabilities of modern screens.

This step-by-step guide covers how to edit, export, and share true HDR images using Lightroom Mobile, Desktop, or Classic.

Step 1: Check Your Screen Compatibility

Before editing, you need to know if your device can actually display high dynamic range.

  • Many modern screens (like iPhones, iPads, and MacBook Pros) support it, but standard monitors do not.

  • If you view an HDR compatibility test page and see two distinct versions of the comparison images, your screen is ready for HDR editing.

Step 2: Edit Your Base Image (SDR)

Start by editing your photo exactly how you normally would. Tweak the exposure, contrast, and colours until you are completely happy with the standard dynamic range (SDR) version. Photos with naturally high contrast and bright highlight areas work best for this process.

Step 3: Enable the HDR Panel

  • Locate and toggle the HDR button in the Lightroom edit panel.

  • The image will instantly become brighter, and your histogram will expand to the right, showing extra sections. These sections represent the additional stops of light available exclusively for HDR displays.

Step 4: Control Your Highlights

To keep the image looking natural and intentional, you need to manage the extra brightness.

  • Stick to the limit: Adobe sets a default HDR limit of around 2.3 stops. Keeping it here ensures your image translates well across different devices.

  • Check for clipping: Hold your finger down on the screen while adjusting the exposure slider (or hold Alt/Option on desktop). The screen will turn yellow to show safe HDR highlights, and red if you push them too far.

  • Visualize HDR: Toggle this feature on to see a colour-coded map of your highlights, helping you stay within safe tonal boundaries.

Step 5: Export with the Right Settings

To ensure Instagram and web browsers can read your HDR data, use these specific export settings:

  • File Type: Select AVIF (or JXL).

  • Color Space: Choose Display P3 (or HDR P3 on desktop).

  • HDR Output: Ensure this toggle is turned ON.

Step 6: Post to Instagram Safely

When sharing your final image to social media, keep these two rules in mind to avoid rendering glitches:

  • No stickers or text: Adding music to your post is fine, but do not overlay native Instagram text or stickers onto the image, as it breaks the HDR rendering.

  • Use the Carousel Trick: Share both the standard SDR version and the new HDR version in a single carousel post. Allowing users to swipe between the two creates a massive, undeniable visual impact.

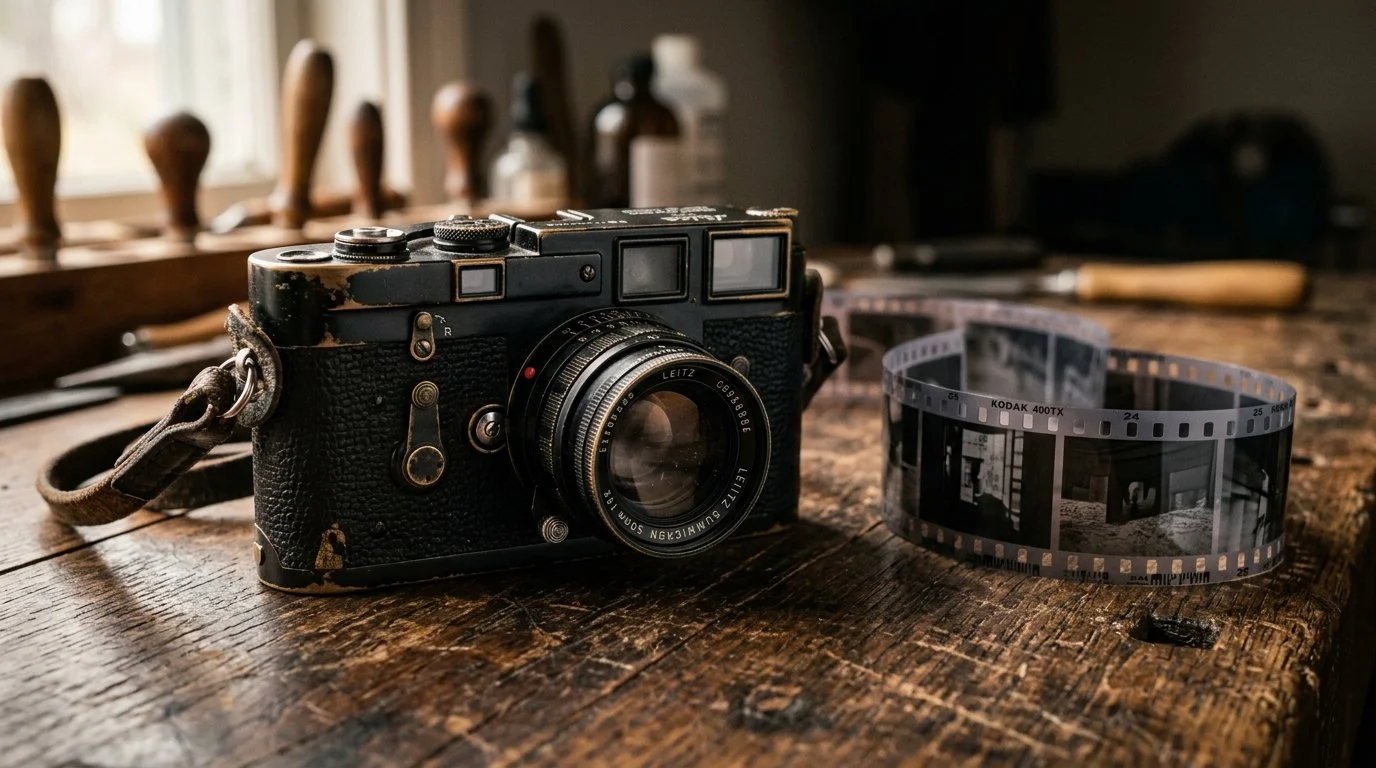
Film Photography Comeback: Fad or Future?

Sales are up 127% since 2020. A new generation is choosing 36 frames over 36 megapixels, but with film prices rising sharply and AI reshaping everything around it, is film photography here to stay, or is this just nostalgia with a time limit?

I'm not a film photographer. My entire experience with film amounts to a cartridge of 24 exposures as a kid, handed over at Boots and collected an hour later, hoping two of them were worth keeping. I've never used a darkroom, never bulk loaded a canister, and I've only ever really known digital.

As someone who prints their images though, and has written a book and produced a course on the subject, I'm no stranger to hearing "but isn't printing expensive?" , so to discover that a growing number of photographers are actively choosing a medium where every single frame costs real money before you've even seen the result, that's not just interesting to me, it's genuinely intriguing.

The data behind it is hard to ignore, and as someone who spends a lot of time thinking about where photography is heading, I think it's worth talking about regardless of whether you shoot film or not.

Film photography was supposed to be dead. For most of the 2000s and 2010s, that narrative seemed pretty airtight, with labs closing, film stocks being discontinued, and manufacturers retreating. Yet here we are in 2026, and something remarkable is happening. Wholesale film order volumes have increased 127% since 2020, with annual growth rates not slowing but accelerating. In 2025 alone, 312 new film labs opened globally. The question isn't whether film is making a comeback, it clearly is. The real question is: why? More interestingly, is this genuinely different from the nostalgia blip we've seen before?

The Numbers Don't Lie

Let's start with the data, because the scale of this is worth appreciating. The global photographic film market is estimated at USD 613 million in 2026, projected to reach USD 724 million by 2035. Over 25 million rolls of film are consumed annually, with film usage up 35% since 2021. More than 2.5 million film cameras were sold globally in 2024, up from around 1.8 million in 2020.

This isn't a niche blip. It's a sustained, multi-year market trend with real commercial momentum behind it.

So Who's Actually Buying Film?

But here's where it gets interesting … it's not the photographers who grew up with it.

Nearly 48% of film camera purchases are now made by people aged 18 to 34, a demographic that largely grew up in the digital era. Gen Z spends an average of 9 hours a day on screens, and many appear to be consciously pushing back against that.

The appeal is partly cultural. We're seeing the same pattern play out across multiple creative disciplines: vinyl records replacing playlists, book clubs filling up, vintage clothing surging. January 2026 was even dubbed "Janalogue" by some lifestyle commentators, an analogue digital detox for the new year.

It's more than trend-following, though. There's a genuine psychological draw to the medium. With only 36 frames per roll and a real cost attached to every shutter click, film forces intentionality in a way that digital simply doesn't. You've no option to machine-gun your way through a scene and pick the best shot in Lightroom afterwards. You slow down. You observe. You choose.

As wildlife photographer Paul Williams put it: "Analogue is going to explode. It's imperfect, and it has soul. That's why it resonates."

The AI Factor: This Time It Really Is Different

Every previous wave of analogue interest has been nostalgic: photographers who grew up with film returning to it for old time's sake. What's happening in 2026 feels structurally different, and the AI boom is a big reason why.

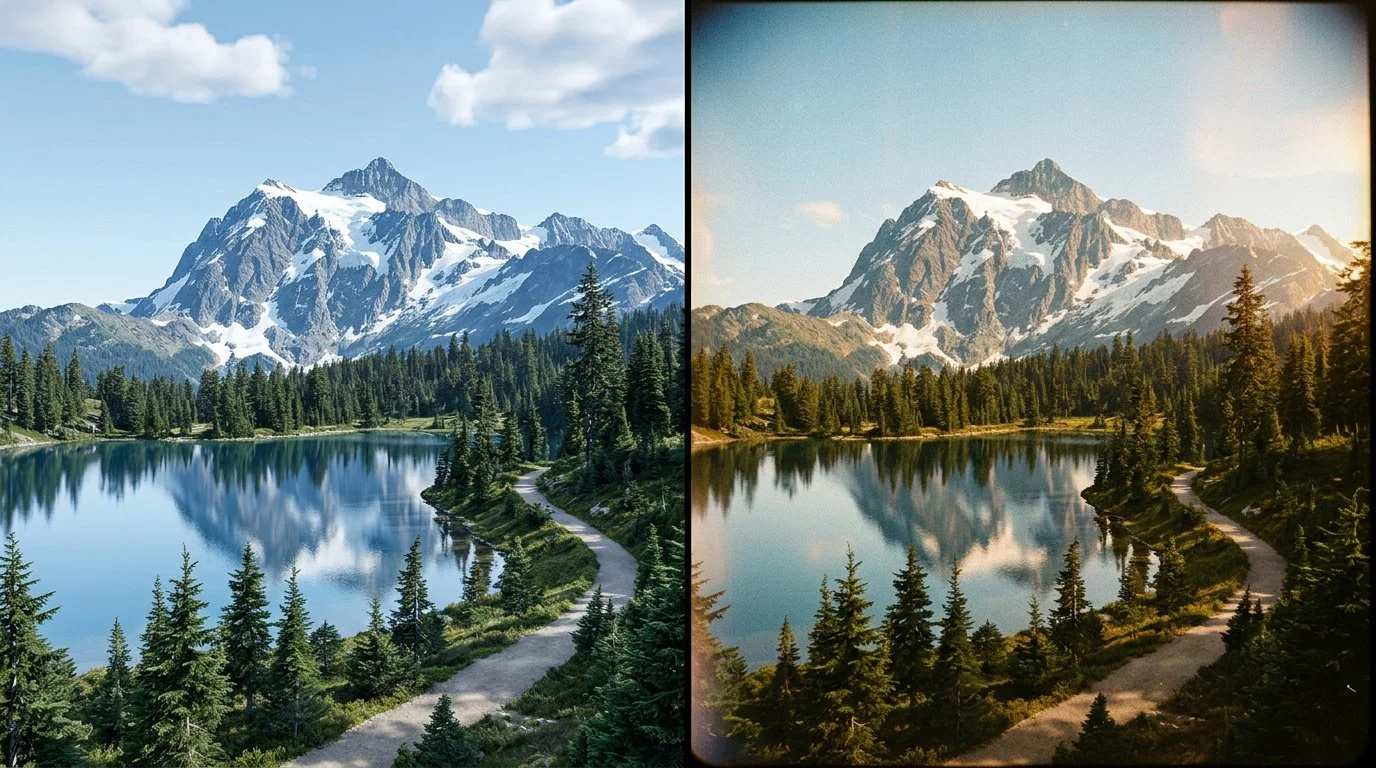
As AI-generated imagery floods every corner of the internet, flawlessly composed, mathematically perfect, technically faultless, there's a growing hunger for photographs that are demonstrably, visibly made by a human being. Film grain, light leaks, slightly off exposures, the warmth of silver halide: these aren't flaws anymore. They're proof.

Survey data from AI editing company Aftershoot found that photographers and clients are increasingly favouring images with raw emotion and imperfection over technically perfect shots. The irony isn't lost that an AI company is reporting this, but it reinforces the point. Even the tools built on AI can see the cultural correction happening.

In short: the more digital becomes automated and "perfect," the more value attaches to the authentically imperfect.

The Cost Problem: Film's Inconvenient Truth

It would be dishonest to write about the film revival without addressing the elephant in the room … it's expensive, and getting more so.

A roll of professional colour negative film now runs approximately £12 to £18 before you've taken a single shot. Add lab development and scanning, and you're looking at £28 to £35 to see 36 images on a screen. At around 40 to 80p per photograph, casual shooting adds up fast.

2026 has brought more bad news on pricing too. Kodak Alaris announced increases of £1 to £3 per roll effective February 2026. Both Kodak and Fujifilm have flagged further increases across some stocks, with some emulsions seeing 20 to 50% rises compared to 2025. Medium format shooters have been hit hardest, with Kodak 120 format stocks seeing price hikes of 14 to 19%.

The silver shortage driving these rises isn't going away, and this is creating a real tension at the heart of the revival: a medium that's growing in popularity is simultaneously becoming less accessible to the very people most interested in it.

Fad or Here to Stay?

The vintage camera market, including collectible film equipment, is projected to grow from USD 1.19 billion in 2025 to USD 1.68 billion by 2031. That's a trajectory backed by institutional investment, not just Instagram aesthetics.

The strongest argument that this is different from previous analogue revivals: it's being driven by people who have no nostalgia for film. Gen Z photographers never shot on film in their formative years. They're choosing it as a deliberate creative act, not a sentimental return. That's a fundamentally different kind of demand.

The strongest argument for scepticism: cost. At £12 to £18 per roll before processing, film photography is becoming a luxury hobby. If price increases continue at current rates, it risks pricing out exactly the demographic driving its growth.

The answer is probably somewhere in the middle. Film won't displace digital, it never will, but it has carved out a permanent, growing niche as the antidote to digital perfection: slower, more intentional, more human. In an era when AI can generate a technically perfect image in seconds, there's real and lasting value in a photograph that carries the fingerprints of its maker.

Over to You

I'm genuinely curious on this one, partly because it's not my world. Have you shot film recently, or are you thinking about giving it a go? Do you think the slower, more deliberate nature of film has had any influence on how you approach your digital work? With prices rising the way they are, at what point does it become too expensive to justify?

Drop your thoughts in the comments below, I'd love to hear from people who actually have the film experience I don't.

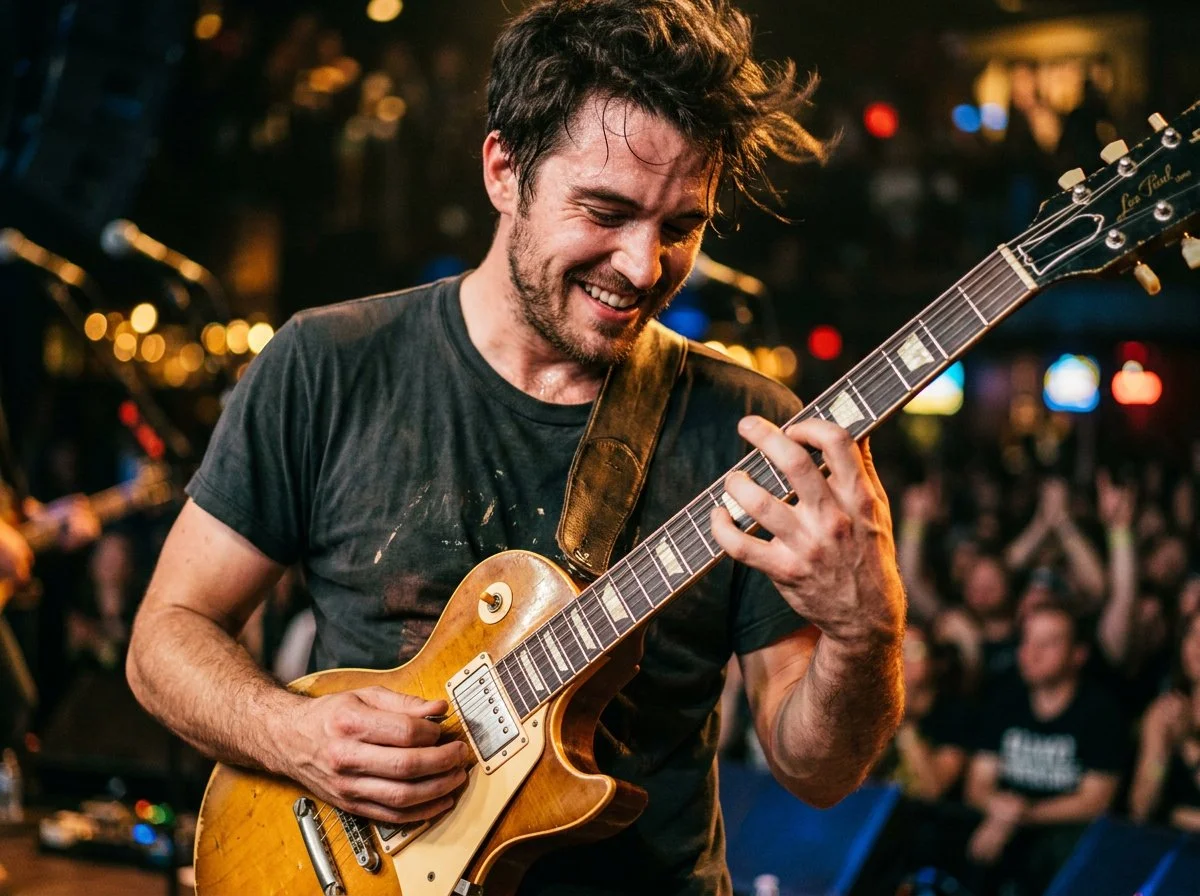
Concert Photography: What You Need to Know Before You Shoot Your First Gig

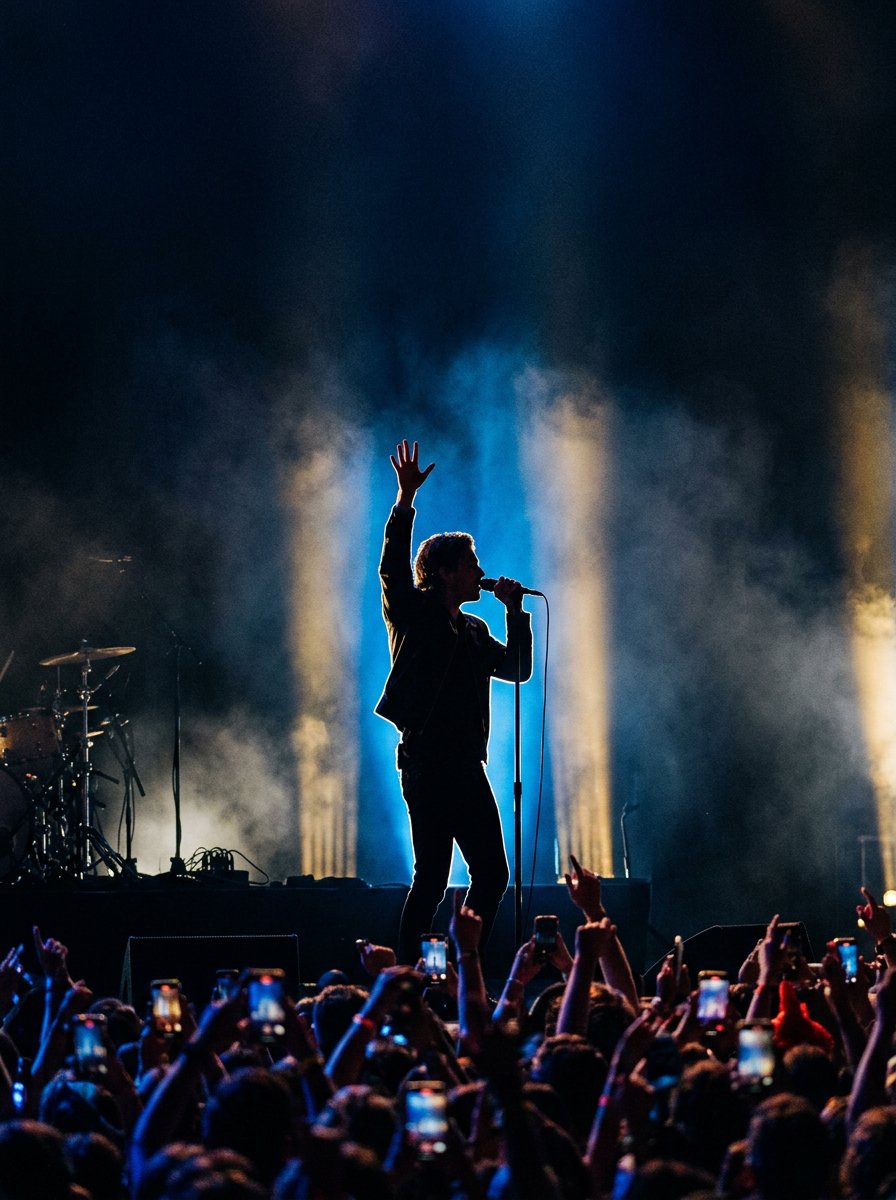
Concert photography is one of the most challenging and rewarding genres you can get into. Fast light, loud rooms, no second chances. But if you're willing to put in the work, it's also one of the most exciting. This guide, put together by community member Scott Diussa, covers the essentials to get you started.

Gear

You don't need a massive kit to begin. A DSLR or mirrorless body with a decent zoom will get you a long way. A 24-70mm or 24-105mm is your workhorse. Add a 70-200mm when you need reach (drummers, especially), and a wide option for tight spaces or dramatic environmental shots. In terms of aperture, f/2.8 or f/4 as a maximum gives you the best chance in low light, but don't let gear anxiety hold you back. Start with what you have.

Camera Settings

Stage lighting shifts constantly, and if you leave the camera in any kind of auto exposure mode it'll fight the light show rather than work with it. Manual mode is the way to go. Shoot RAW, always. The colour temperature at a gig is rarely flattering by default, and RAW gives you the latitude to fix it properly in post.

A solid starting point: 1/500s shutter speed, widest aperture available, and push the ISO until the exposure looks right. Don't underexpose to keep ISO low. Lifting shadows in Lightroom also lifts noise, and it's far messier than noise from a correctly exposed high-ISO file.

Getting Access

The most common question people ask is how to get into shows with a camera. The answer is straightforward: start small. Local venues, local bands. In most cases you don't need formal permission to photograph a smaller act, and small venues are actually harder to shoot than big ones. Bad light, cramped spaces, limited movement. Master those conditions and the bigger shows feel straightforward by comparison.

For larger shows you'll need a media pass, which means having a publication or media outlet to shoot for. That's a longer game, built on portfolio and relationships. Get the shots right at the small shows first and those conversations open up naturally.

Shooting Each Instrument

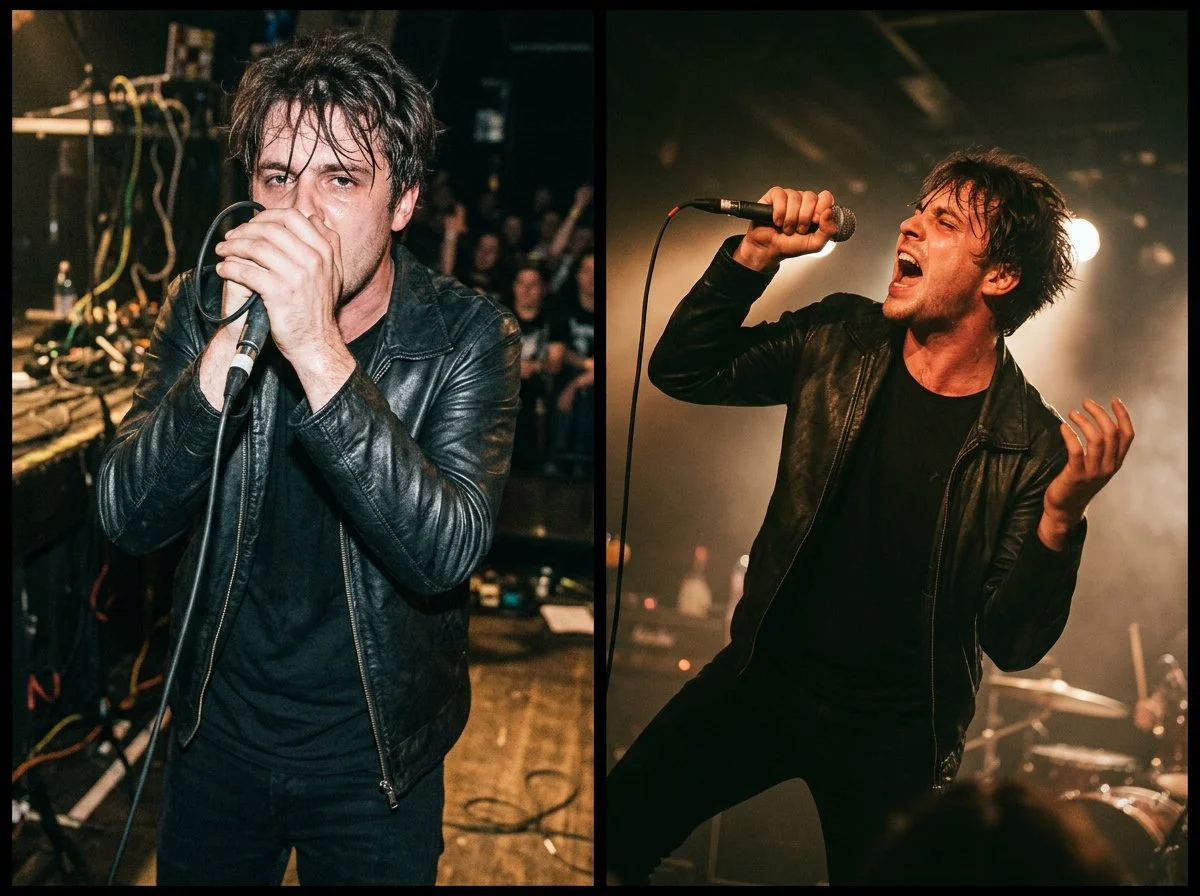
Every member of the band presents a different challenge. With singers, timing is everything. The best moments tend to come when they step back slightly from the microphone on a held note, which also naturally avoids the microphone shadow falling across their face. If you can learn the setlist beforehand, do it.

For guitar and bass, try not to cut off the headstock of the instrument. Think of it like cropping a wrist out of a portrait. Angles help a lot here. A lower shooting position or a slight tilt adds energy to what would otherwise be a flat frame.

Drummers are the hardest subject in the genre, full stop. You're usually shooting through cymbals, hardware, and kit stands. A 70-200mm helps you reach through the gaps. Use Eye Detection AF if your camera has it, shoot continuously, and keep that 1/500s shutter speed to freeze stick movement.

Editing and Sharing

You'll come back from a gig with a lot of files. Cull before you edit; go through everything and mark your picks before you touch a single slider. Be ruthless. The instinct is always to keep too many.

In post, focus on two things: face colour and exposure balance. Export full-resolution files for your archive, and 2000px watermarked versions for social.

When you share with the band or a PR contact, send your best 20 images. Not everything you shot. Twenty strong images that make the band look great. Tag the artist when you share on social media too; it builds the relationship and extends the reach of your work at the same time.

Enjoyed this? The full version of Scott's concert photography guide is available inside The Photography Creative Circle on Skool, where community members share knowledge, tips, and guides like this one across every area of photography. It's free to join.

Join The Photography Creative Circle

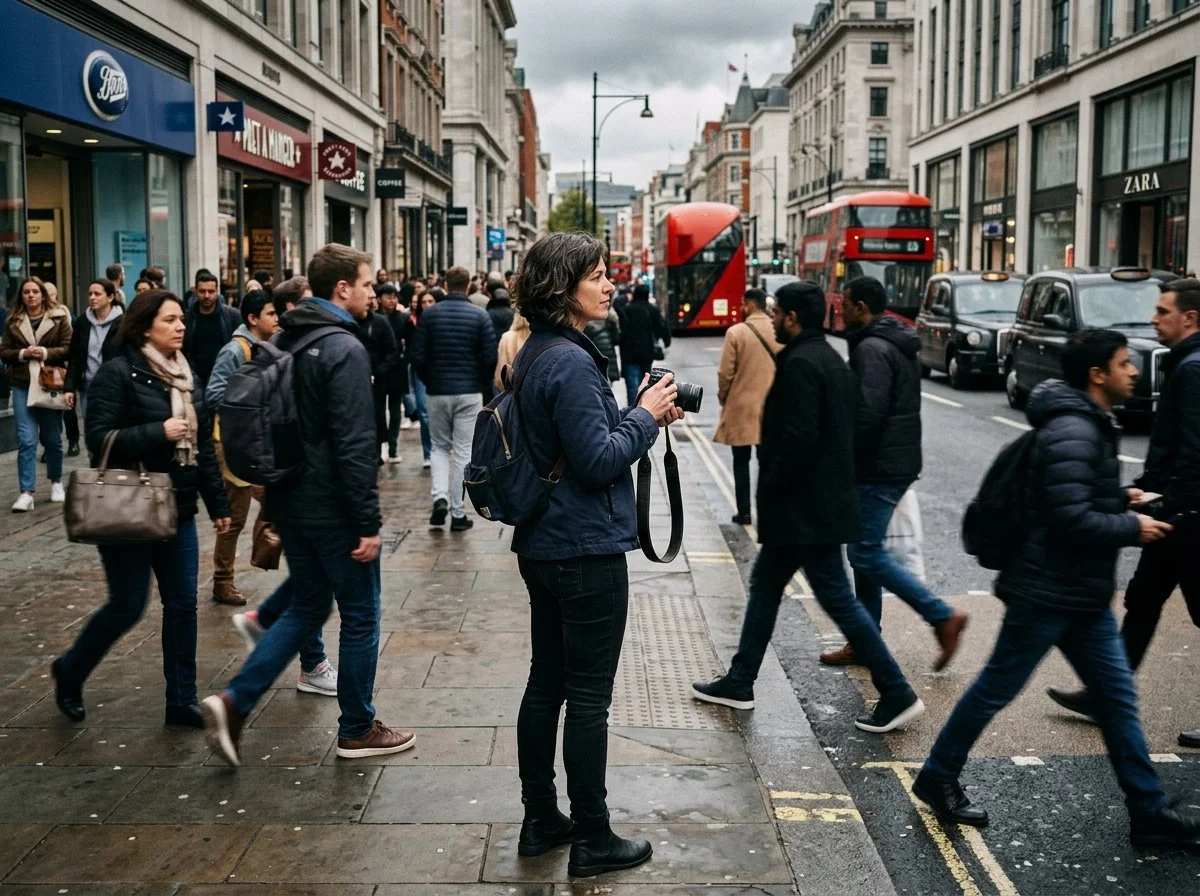
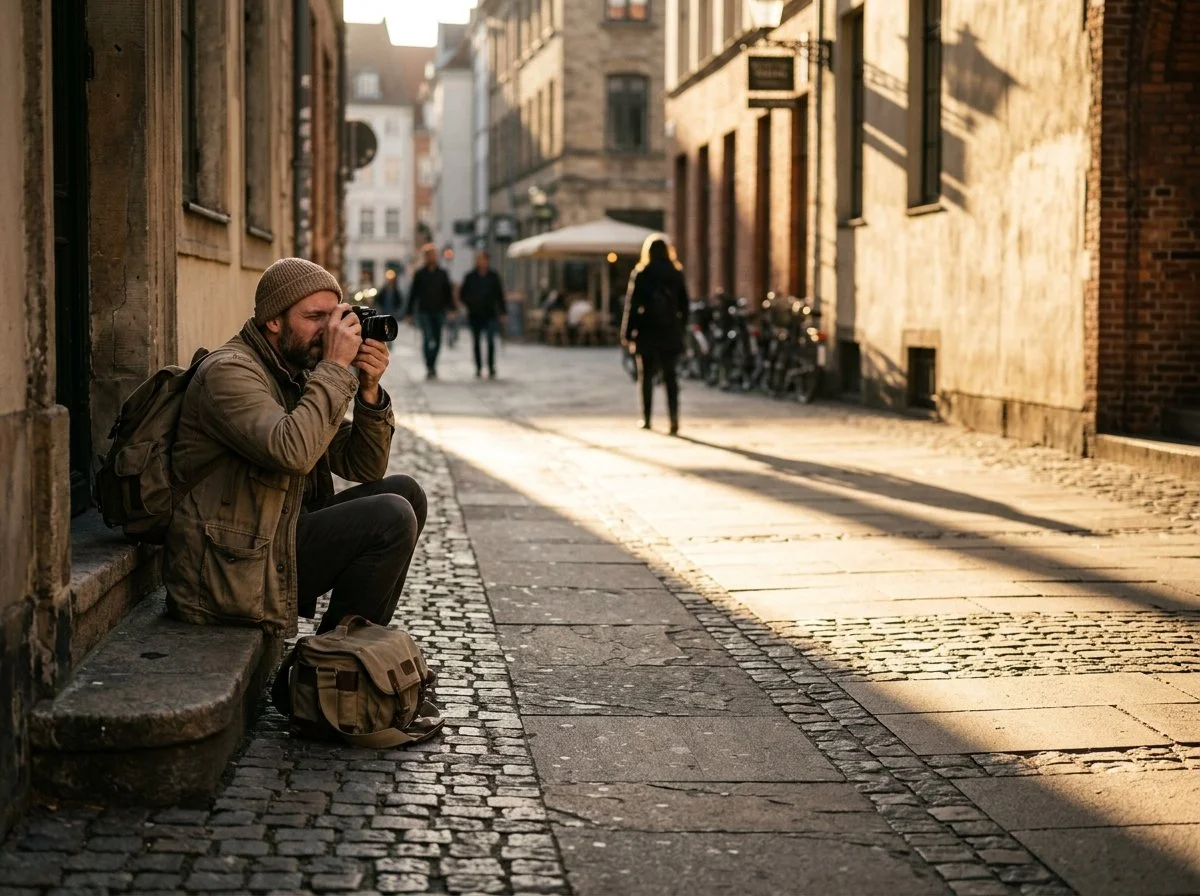
Getting Started with Street Photography: What You Actually Need to Know

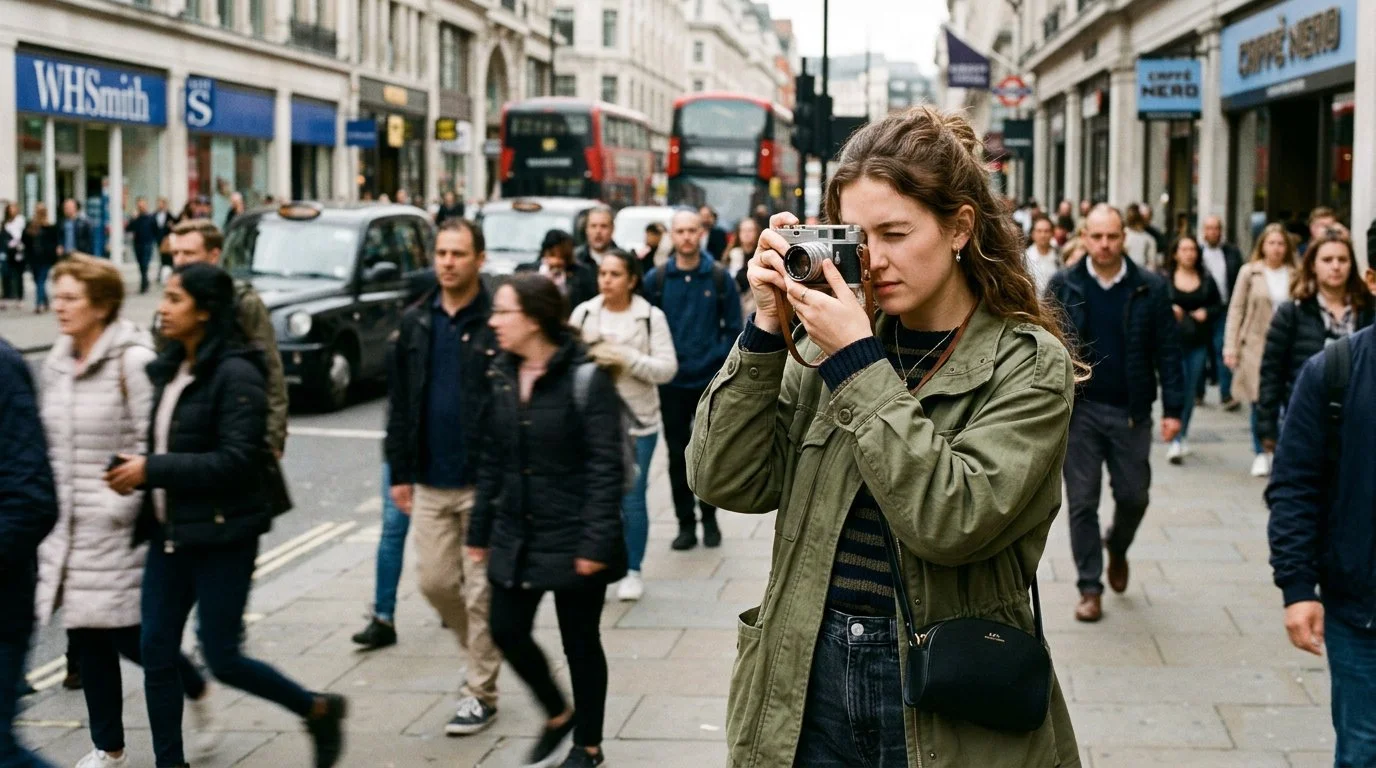
Street photography is one of the most rewarding types of photography you can do, and also one of the most misunderstood. A lot of people assume it requires a big city, a specific camera, or nerves of steel. It doesn't. It mostly requires the right mindset, and that's something you can develop from day one.

Here are the key things that will make a real difference when you head out.

Get your head right first

Before you even think about camera settings, think about how you're going to carry yourself. You have every right to be in a public space with a camera. Move at a normal pace, act like you belong, and don't hover. Most awkward moments in street photography come from how you behave before and after the shot, not from pressing the shutter.

If someone questions you, have a simple honest answer ready. "I loved the contrast of colours," or "I'm working on a project about everyday life" goes a long way. Some photographers carry a small business card. It can turn a wary stranger into a willing subject.

Three ways to work the street

There are really three approaches, and knowing which one you're using keeps you focused:

Hunting means walking and actively looking for moments. Keep your head up and your eyes moving. Start small; a funny sign or someone's reaction to something is often more interesting than a dramatic scene.

Fishing means finding a spot with great light or an interesting background and waiting for life to walk into it. Strong shadows, reflections, colourful walls. Set yourself up and be patient. It's also brilliant if you're shy, because you're not chasing anyone.

Street portraits are a different thing entirely. You approach someone, have a brief chat, then ask. Keep the conversation going while you shoot. People are usually more than happy to help if they can see you're genuinely trying to make a good image.

Light and composition

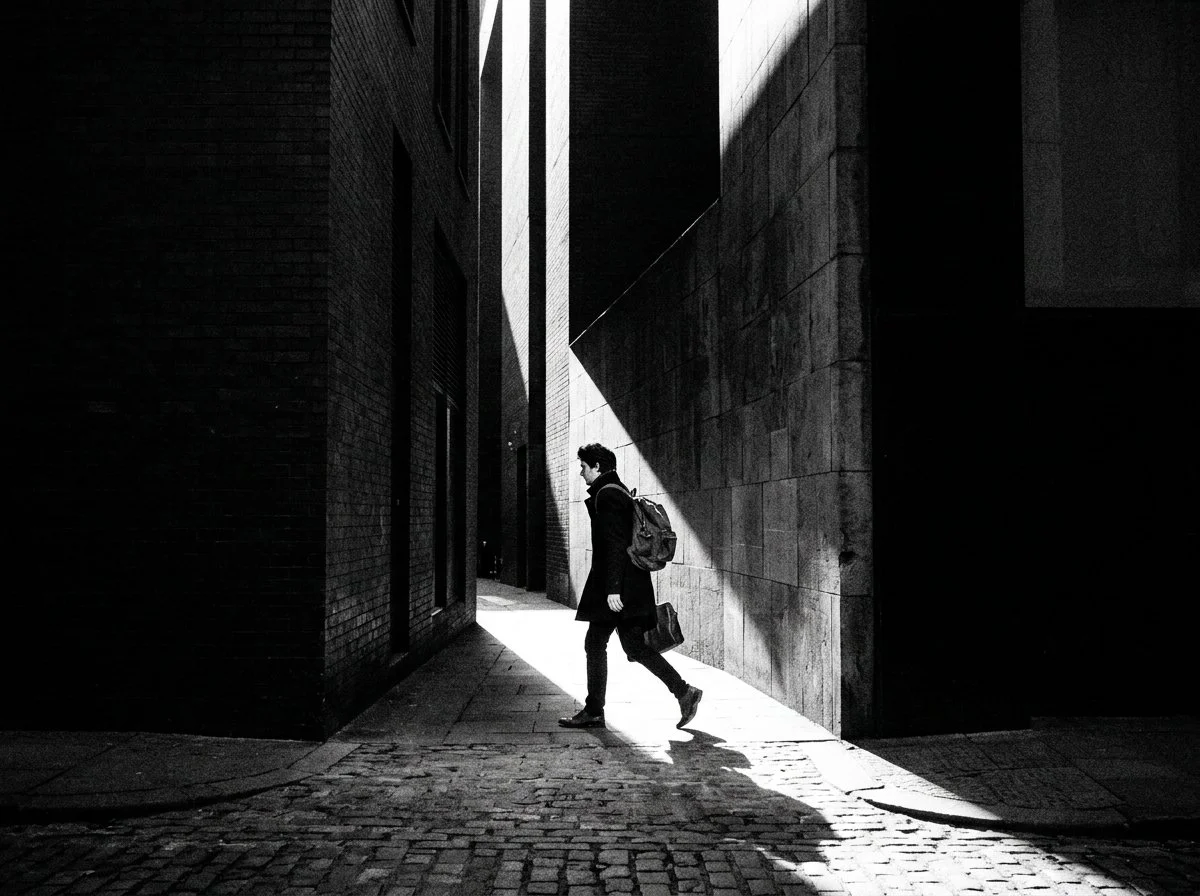
Find the light before you find the subject. Shafts of sunlight, deep shadows, silhouettes; light shapes everything. Once you've found good light, think about the whole frame: what's in the background, what's at the edges, what's pulling the eye away from where you want it to go.

One tip worth remembering: give yourself a theme for the day. Hats. Dogs. Reflections. The colour red. It sharpens your eye dramatically.

Gear and settings

Any camera works, including your phone. What matters is being ready. Most experienced street photographers use aperture priority or manual with auto ISO so they're not constantly adjusting. A starting point that works well: 1/500s shutter speed, f/5.6 to f/8, auto ISO. Push the shutter to 1/1000s if there's faster movement. Don't be afraid of grain; it often suits street photography well.

Keep your camera out and ready, not buried in a bag. By the time you've got it out, the moment's gone. A silent shutter, if your camera has one, makes a big difference too.

You don't need a big city

This one catches a lot of people out. Street photography isn't only for London or New York. Market squares, bus stops, seafronts, quiet high streets; interesting moments happen everywhere. If you're nervous about photographing faces, start with people from behind, silhouettes, or detail shots: hands, shadows, dogs, bags. You're still telling a story.

The best thing you can do is head out and start. Everything else comes with time.

This post is drawn from The Community Guide to Street Photography, a full beginner's resource put together by members of The Photography Creative Circle on Skool. It covers everything in much more depth, including camera setups, focusing techniques, how to handle conversations on the street, and practical exercises to push your skills forward.

If you want to read the full guide and be part of the conversations that created it, come and join us over at the community …

Join The FREE Photography Creative Circle

A Community Guide to Bird Photography

Bird photography is one of those genres that quietly takes over. It's challenging, unpredictable, sometimes maddening – and completely addictive when it all comes together. You need patience, good fieldcraft, solid camera technique and the ability to make quick decisions, all at the same time.

This post pulls together some of the core ideas from a full guide I've put together for members of my Photography Community on Skool.

Think of this as a taster of what's waiting in the classroom ( LINK )

It's Not About the Gear (Not Really)

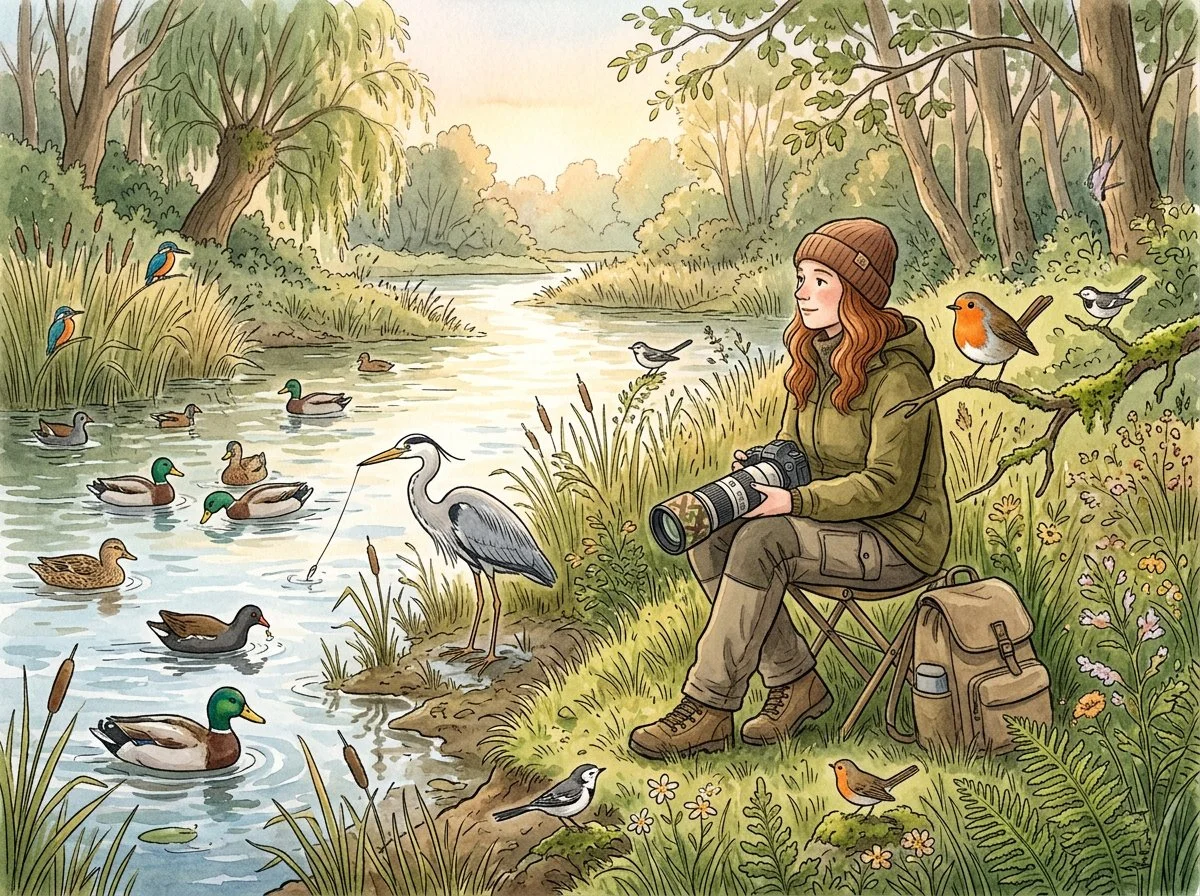
One of the strongest themes that comes up again and again is simple: bird photography is less about kit and more about understanding birds. Long lenses help, of course, but timing, fieldcraft, and awareness are what actually make the photograph.

Work with the gear you already have and learn to use it well. Focus on reading behaviour, light, and opportunities rather than chasing the "perfect" setup. And be realistic about what you can comfortably carry for a full outing – staying fresh and present matters more than hauling the biggest lens available.

Your Behaviour Matters More Than You Think

How you move and behave around birds will make or break your images. Rush in, move suddenly, or push too close and the bird will tell you it's uncomfortable long before it flies. Stay calm, move slowly, and respect its space and everything changes.

Learn to recognise a bird's comfort zone and stay on the right side of it. Sit and watch first – you'll start to see patterns in perches, feeding routines, and pre-flight behaviour. Patience isn't passive; it's an active technique that gives you better light, cleaner backgrounds, and more meaningful moments.

Start Close to Home

You don't need an exotic destination to make strong bird photographs. Your garden, local park, or the green space at the end of the road are perfect training grounds.

Regular access to familiar birds beats occasional trips to impressive locations. Repetition sharpens your reactions, improves camera handling, and helps you truly learn both the species and the location. Familiar spots let you predict where birds will appear, how the light falls, and when something is likely to happen – and that groundwork pays off when you do travel further afield.

The One Setting to Protect First

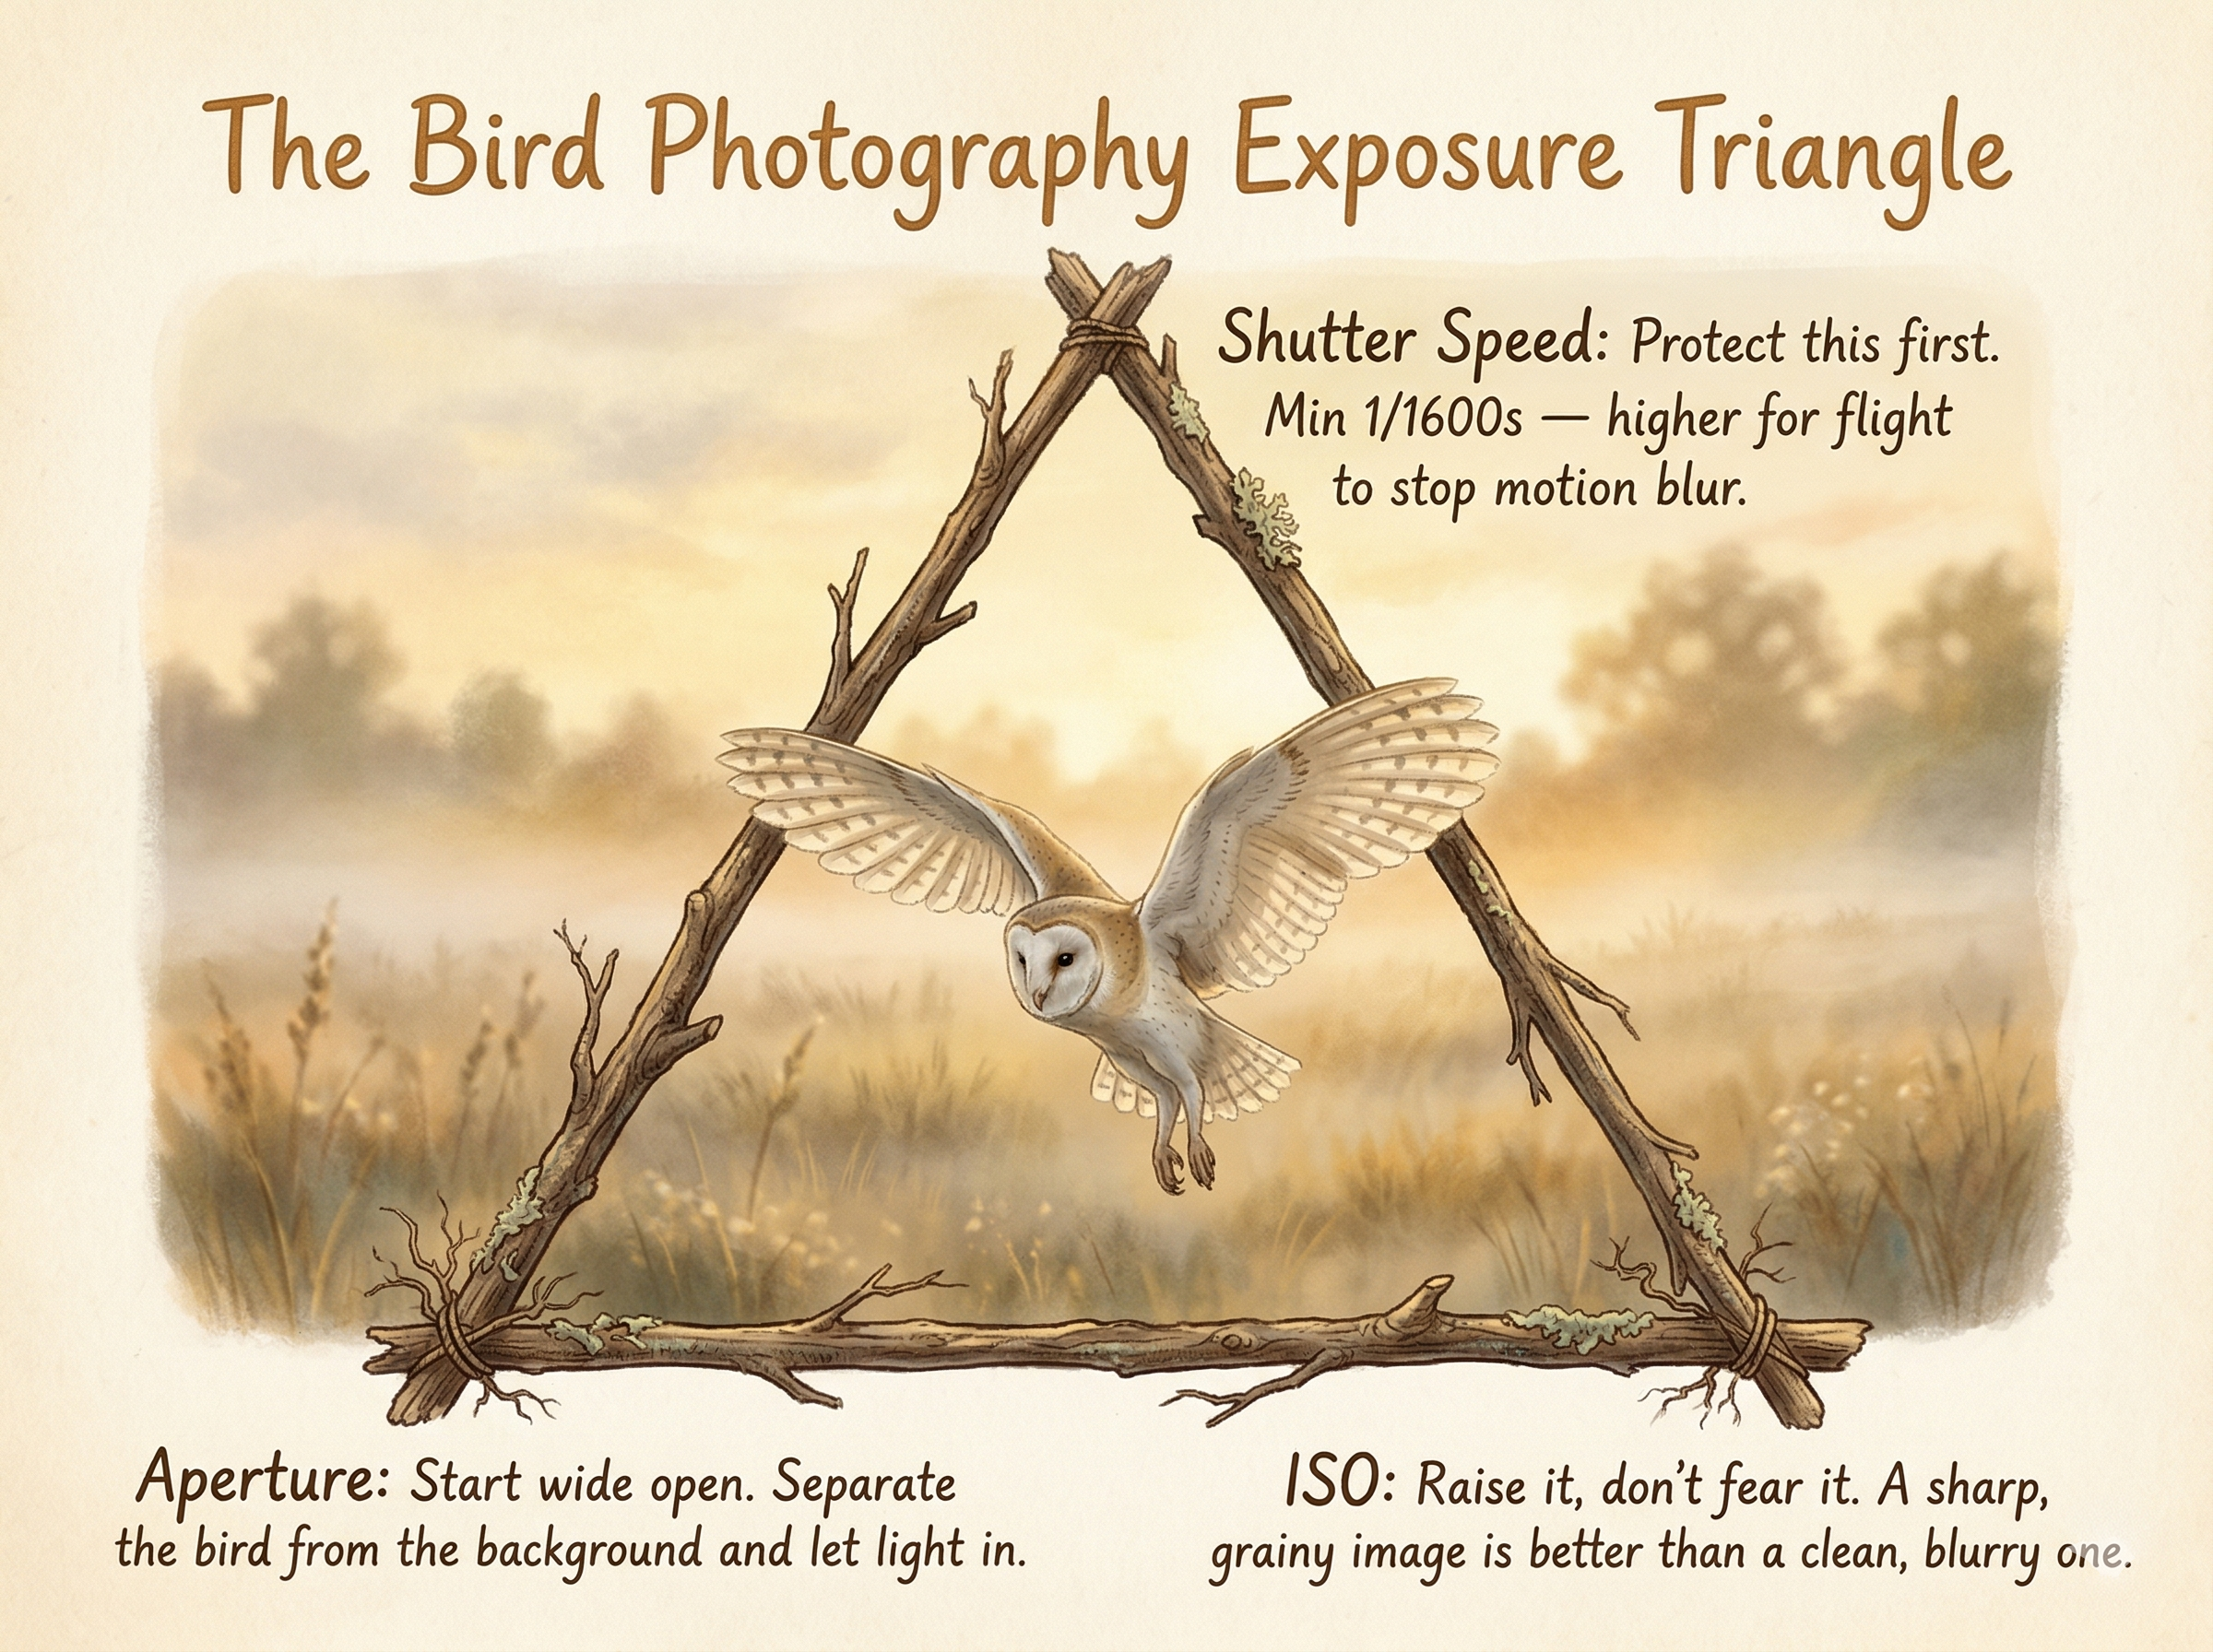
If there's a single technical priority in bird photography, it's shutter speed. Birds rarely stay still, long lenses magnify every movement, and softness from motion blur can't be rescued later.

A simple working approach: aim for around 1/1600 sec as a starting point, higher for small, fast birds or birds in flight. Let ISO rise to protect that shutter speed rather than sacrificing sharpness, and use your widest useful aperture to support both speed and subject separation from the background.

Autofocus, Flight, and the Hard Stuff

Birds in flight can feel like a different discipline altogether – and in many ways, they are. Fast shutter speeds, accurate tracking, and clean framing all need to come together in fractions of a second.

Use continuous AF and subject tracking, and take the time to learn how your specific system actually behaves. Start with larger, slower, more predictable birds to build confidence before tackling the fast, erratic ones. And use burst mode thoughtfully – fire it when something is actually happening, rather than spraying at everything that moves.

Light, Background, and Story

Good bird photographs aren't just about the bird – they're about light, background, and what's actually happening in the frame.

Early and late light give softer contrast, warmer tones, and better feather detail, often when birds are most active too. Your shooting position has a huge impact on how connected the final image feels – getting down to eye level with the bird changes everything. And clean, sympathetic backgrounds combined with considered use of habitat can turn a simple record shot into a photograph with real story and mood.

Where to Begin: A Simple Starting Plan

If you're getting serious about bird photography, here's a straightforward framework to work from:

Start in your garden or local park and visit often. Spend time watching before you shoot – look for perches, patterns, and pre-flight behaviour. Work with the gear you already own, using as much focal length as is comfortable. Keep shutter speed high, let ISO do its job, and begin at a wide aperture. Use continuous AF and subject tracking if your camera supports it. Pay attention to the bird's comfort, the quality of light, your background, and your shooting angle. And wait for behaviour and gesture – not just a "bird on a stick" confirmation shot.

Want the Full Guide?

This post just scratches the surface of what's inside A Community Guide to Bird Photography, which lives in the classroom inside my Photography Community on Skool.

In there you'll find the complete written guide laid out step by step, diagrams and example images with breakdowns from real shoots, and practical starting setups, checklists, and exercises you can take straight into the field.

If you'd like to dive deeper and join a group of photographers actively working on this together, come and join us.

Why Photography in 2026 Feels Less Perfect and More Human

Something really encouraging is happening in photography right now, and if you have been feeling quietly frustrated with the pressure to make everything look flawless, I think you are going to love it.

Industry reports from Aftershoot, Stills, and other creative sources are all pointing in the same direction: audiences are turning away from over-polished, over-processed imagery and responding much more warmly to photographs that feel honest, immediate, and genuinely human. After years of chasing technical perfection, it seems the tide is finally turning, and I find that genuinely exciting.

Why the shift is happening now

It makes a lot of sense when you think about it. We are living in a visual landscape absolutely saturated with AI-generated content, heavily filtered social media imagery, and endlessly refined visuals.

In that context, a photograph that carries real emotion, a little texture, or a fleeting spontaneous moment stands out precisely because it feels true. Audiences can sense the difference, even if they cannot always articulate it.

What "more human" actually looks like

What the trend reports describe as "more human" photography comes down to a handful of connected ideas: natural expressions rather than rigid poses, visible texture rather than smoothed-out skin, and editing choices that preserve the character of the original moment rather than ironing everything into a generic finish.

In practice that might mean embracing grain, direct flash, looser framing, or a more documentary approach to light and movement. None of that requires you to abandon your craft; it just asks you to use it in service of feeling rather than control.

Your personality is the point

The most encouraging thing I take from all of this is that technical quality still matters, it just is not the whole story anymore. The photographers who are really connecting with people right now are the ones combining solid skills with a genuine point of view and a willingness to let a little life into the frame.

That is something worth celebrating, because it means your personality and your way of seeing the world are actually an asset, not something to sand away in post.

The bigger picture

There is also a broader context worth keeping in mind. Adobe's recent updates to Photoshop and Express are a good reminder that automated, AI-assisted production is only going to become more common across the creative industry. That is not something to fear; it is actually an opportunity. The more synthetic visual content floods our screens, the more a real photograph, one made with intention and feeling, can cut through simply by being authentic.

The question worth asking yourself

So the question worth sitting with as you work in 2026 is not whether your images are perfect. It is whether they are meaningful. Can the photograph still do its job if it keeps a bit of roughness, a bit of risk, or a bit of life? According to everything being written about where the industry is heading, that roughness might be exactly what makes it memorable.

That feels like a genuinely good moment for photography, and for the people who make it.

AI and Photography: It's Not the End of the World

There is a conversation happening in photography right now, and chances are you’ve heard it. Whether it is in comment sections, Facebook groups, or at events, the same question keeps coming up: is AI going to kill photography?

I get it. When generative AI started producing photorealistic images from a text prompt, the alarm bells rang, and not entirely without reason. If a computer can conjure a dramatic seascape or a perfectly lit portrait from a few typed words, where does that leave those of us who actually pick up a camera?

So here’s what I believe: I don’t think it’s the threat people fear it is. Of course for some areas of Professional / Paid Photography but certainly not for enthusiasts; not for anyone who shoots because they genuinely love it.

We’ve Been Here Before

Photography has always had to adapt. Digital replaced film, and people said it would ruin photography. Smartphones put a camera in everyone's pocket, and people said that would ruin it too. It didn’t. If anything, more people are shooting now than ever before. Accoridng to CIPA shipment data with 2025 market reports, the hobbyist camera market made up well over two thirds of all digital camera sales, and the number of photography workshops and online courses has grown by more than 30 percent in recent years. People are not falling out of love with photography. They are falling deeper into it.

AI is the latest chapter in that same story. It’s a new tool arriving in an industry that has always evolved alongside new tools.

What AI Actually Is, and Is Not

Here’s the thing that often gets lost in the noise. AI, in the context of most photographers' day-to-day lives, is not generating fake images to replace yours; it’s quietly working inside the software you are already using.

Take Lightroom and Photoshop. Both are packed with AI-powered features now. Masking that would have taken me the best part of an hour a few years ago takes seconds. Removing a distracting element from the background of a portrait, reducing noise in a high ISO shot, selecting a subject with precision. These are the kinds of tasks that used to eat into your editing time without giving anything creative back. They were just tedious.

That is where I have found AI genuinely useful. Not as something that replaces my decisions, but as something that handles the mechanical stuff so I can focus on what I actually enjoy, developing the image, getting the look I had in my head when I pressed the shutter, making it feel the way I want it to feel. The creative part is still mine. AI just means I am not spending forty minutes (and more) doing fiddly selections to get there.

Yes, There Will Be Casualties

It would be dishonest to say AI has no impact on photography as a profession, because it does. Certain areas are already feeling it. Product photography is one. Generic stock imagery is another, and headshot photography is shifting too, with a growing number of AI applications now capable of producing professional-looking results at a fraction of the cost of hiring a photographer.

Will some people choose those options? Of course. But then, every industry has customers who will always gravitate towards the cheapest available option. Photography is not immune to that, and it never has been. There have always been clients who want results without paying for expertise. AI simply gives that segment of the market a new way to do what they were always going to do.

The clients worth having though, tend to think differently. They understand the difference between a generated image and a photograph made by someone who knows what they are doing. They value the professionalism, the experience of working with a skilled photographer, and ultimately an image that could not have come from a prompt box. That market is not shrinking. If anything, as AI imagery becomes more widespread, it is becoming more discerning.

The Authenticity Factor

There is something interesting happening on the other side of the AI conversation. As AI-generated imagery has flooded the internet, audiences have started to crave the opposite. The photography trends emerging in 2026 are centred around authenticity, real moments, real imperfections, real emotion. The slightly overcooked, hyperpolished aesthetic is losing its appeal. People want to see images that feel genuinely human.

That is actually great news for photographers, because the one thing AI cannot do, no matter how sophisticated it becomes, is be there. It cannot stand on a cold beach at six in the morning, read the light, time the wave, feel the composition before it happens. It cannot build a relationship with a portrait subject and find the moment where they forget the camera is there. It can produce images that look impressive on a screen, but impressive and meaningful are not the same thing.

Photography Is Not Just About the End Product

This is the point that gets missed entirely in the AI debate. When people talk about whether AI can replace photography, they tend to focus on the output. Can it produce a decent image? In some cases, yes. But photography has never really been just about the image at the end of it.

It is about being out in the world with a camera. It is the discipline of learning your craft, understanding light, making decisions in the moment. It is the feeling of nailing a shot you had been visualising for weeks. It is the connection you build with a subject during a portrait session. It is standing somewhere beautiful and choosing how to see it.

No AI can replicate that experience. And for the vast majority of photographers, enthusiast or professional, that experience is the whole point.

So Where Does That Leave You?

If you shoot because you enjoy it, AI changes very little about that. It might make some parts of the process quicker and easier, and used well, that is no bad thing. But it is not going to make the experience of making a photograph redundant.

Yes, the industry will keep changing. Some corners of it will shrink. But photography itself, the act of it, the craft of it, the joy of it, is not going anywhere. Do not be scared of AI; just don’t hand it the wheel either.

Photography is not dying. If anything, the conversation AI has started might just remind people why real photographs matter.

STOP using 10 Apps to Plan your Photography! (Do this instead)

The Problem with "Too Much" Information

We have an incredible amount of data at our fingertips these days. If you are planning a landscape or seascape trip, there are hundreds, maybe thousands of apps available. Honestly, that is part of the issue for me. There is just too much choice, and every day there seems to be a new app hitting the store. I never quite know which one to use for what.

While I still use a dedicated app to check the position of the sun, I have moved everything else over to AI.

How I Use AI as a Location Scout

It doesn't really matter which platform you prefer. I use Google Gemini, but you can do the exact same thing with ChatGPT, Claude, or Perplexity. The goal is to move away from checking ten different websites and instead have one single place that "scouts" the location for you.

I have set up something called a "Gem" in Gemini (or a Custom GPT if you use ChatGPT). I call it my Seascape Photography Planner. All I have to do is tell it where I am going and when, and it does the rest.

For example, if I tell it I am heading to Godrevy Lighthouse this coming Saturday, within seconds it populates the screen with:

  • Weather conditions: Temperature, precipitation, and wind speeds.

  • Lighting: Sunrise, sunset, and golden hour times.

  • The Ocean: Tide times and tide heights.

  • Logistics: Where to park, how to pay (cash or app), and where to find food or fuel nearby.

  • Safety: The nearest hospital and contact details for the police.

  • Drone Info: Nearest airfield and air traffic control contacts, just in case a drone goes rogue.

Setting It Up Yourself

The process is incredibly simple. You start by asking the AI to find this information for a specific trip. I often use a dictation app called Whisper to just speak my request into the text box.

Once the AI gives you a great result, you ask it one simple question: "Can you now create a system prompt from this so that the next time you can give me all of this information, but all I need to tell you is where I'm going and when?"

The AI will then write a "formula" for itself. It might say something like, "You are an expert photography location scout. Your goal is to provide a comprehensive, data-driven briefing."

You simply copy that text, go into your settings to create a new "Gem" or "Custom GPT," and paste those instructions in. Give it a name, save it, and you are done.

The Real-World Benefit

The best part about this is that it syncs to your phone. On the morning of a shoot, I can quickly check the latest updates while I'm having my coffee. I have even added "road conditions" to my prompt lately so I know if there are any last-minute diversions or roadblocks before I set off.

It is a massive time-saver. Instead of bouncing between weather apps, tide tables, and Google Maps, I get a tailored briefing in one go. It has definitely increased my success rate, but more than that, it has made the whole experience of being out in the field much more relaxed.