Lightroom

I PRINTED a 72" iPhone Photo and you WON'T BELIEVE THE RESULT !!!
Yes, you read that right: a 72 inch print of an iPhone photograph. Here I not only show the print itself but also take you through the kit I used, along with my favourite iPhone app for creating long exposure photographs. I also show what I used to upscale the original image more than four times to reach the final 72 inches, and I honestly couldn't believe how good the quality of the print turned out to be. It made me very excited about where mobile photography is heading.

How to add REALISTIC LIGHT using LIGHTROOM's INTELLIGENT PRESETS

Here's a great way to use the Masking section in Lightroom, or Camera Raw, to add realistic light into your pictures. I go through the masking step by step so you can see how the light is built up, and then show how to create an Intelligent Preset from it. Once that's done, you can add the same realistic light to any picture with just one click, which saves a lot of time when you want a consistent look across your images.

The iPhone Photography Conference

It's all GO!!! ... πŸ˜ƒ

For the first time ever I'm one of the instructors presenting a class for the upcoming iPhone Photography Conference on the 28th and 29th March 2023.

For my class I'm heading somewhere special that I've never been before and will be going through everything I do to capture photographs on location, editing using the mobile workflow and then printing.

For more information and tickets use this LINK

I'm hosting a Printing Workshop with Carmarthen Cameras, BenQ and Permajet

On Friday 24th February 2023 I’m excited to be hosting a Printing Workshop in partnership with Carmarthen Cameras, BenQ and Permajet.

A 2 hour evening at the Carmarthen Cameras, Zion Chapel Store running from 7pm - 9pm, I’ll be taking folks through such topics as …

  • Display Calibration

  • Colour Space

  • Printing Software Options

  • Paper Profiles

  • Paper / Media Options

… and of course producing some final prints.

An often over-complicated process, I’ll make it not so, and show how an understanding of each part of the process can produce not just great prints, but prints that match what you see on your display again and again.

No more wasted paper, no more wasted ink … just complete confidence that when you press print, you know you will get exactly what you would want / expect.

Tickets are priced at just Β£20 but spaces are limited due to space.

For more information and to grab a ticket, check out the link below.

Hope to see you there,
Glyn

πŸ’₯ How LIGHTROOM can make your PHOTOS BETTER...FAST!

Lightroom had become more and more powerful, and yet despite everything that's possible, the controls and functions are incredibly easy to use once you know how to get the very best out of them. Here I show, step by step, the complete workflow for taking a flat image and making it pop. I use Masking, including the Intersect option, along with the Colour Grading panel, which is a fantastic way to add the finishing touch, and by the end you'll see just how much difference a few well chosen adjustments can make.

My COLOUR GRADING: THE ESSENTIAL FINISHING TOUCH mini course is NOW AVAILABLE

Really excited to let you know that I have a NEW course NOW AVAILABLE …

Colour Grading: The Essential FiNishing Touch

Just as with my other courses, you can stream / download all of the included video tutorials, download work files to follow along step by step, download a PDF of Class Notes ans have Life Time Access. Plus there’s a knowledge check and certificate of completion.

For more information check out the button link below

See you in class πŸ˜ƒ

iPhone Photography: A Misty Morning at Lyme Regis in Dorset

The misty conditions last Wednesday were nothing short of perfect for some minimalist photography, so I popped out early morning and took the short drive to meet up with my friend Steve Healy down at my favourite of all places, Lyme Regis.

True to the weather apps, the conditions were as predicted; a wonderful misty morning, an incoming tide with the surface of the sea as flat as a sheet of glass, hardly a breeze in the air and looking out across the sea, at times it was almost impossible to see the distant horizon line.

Absolutely Perfect!

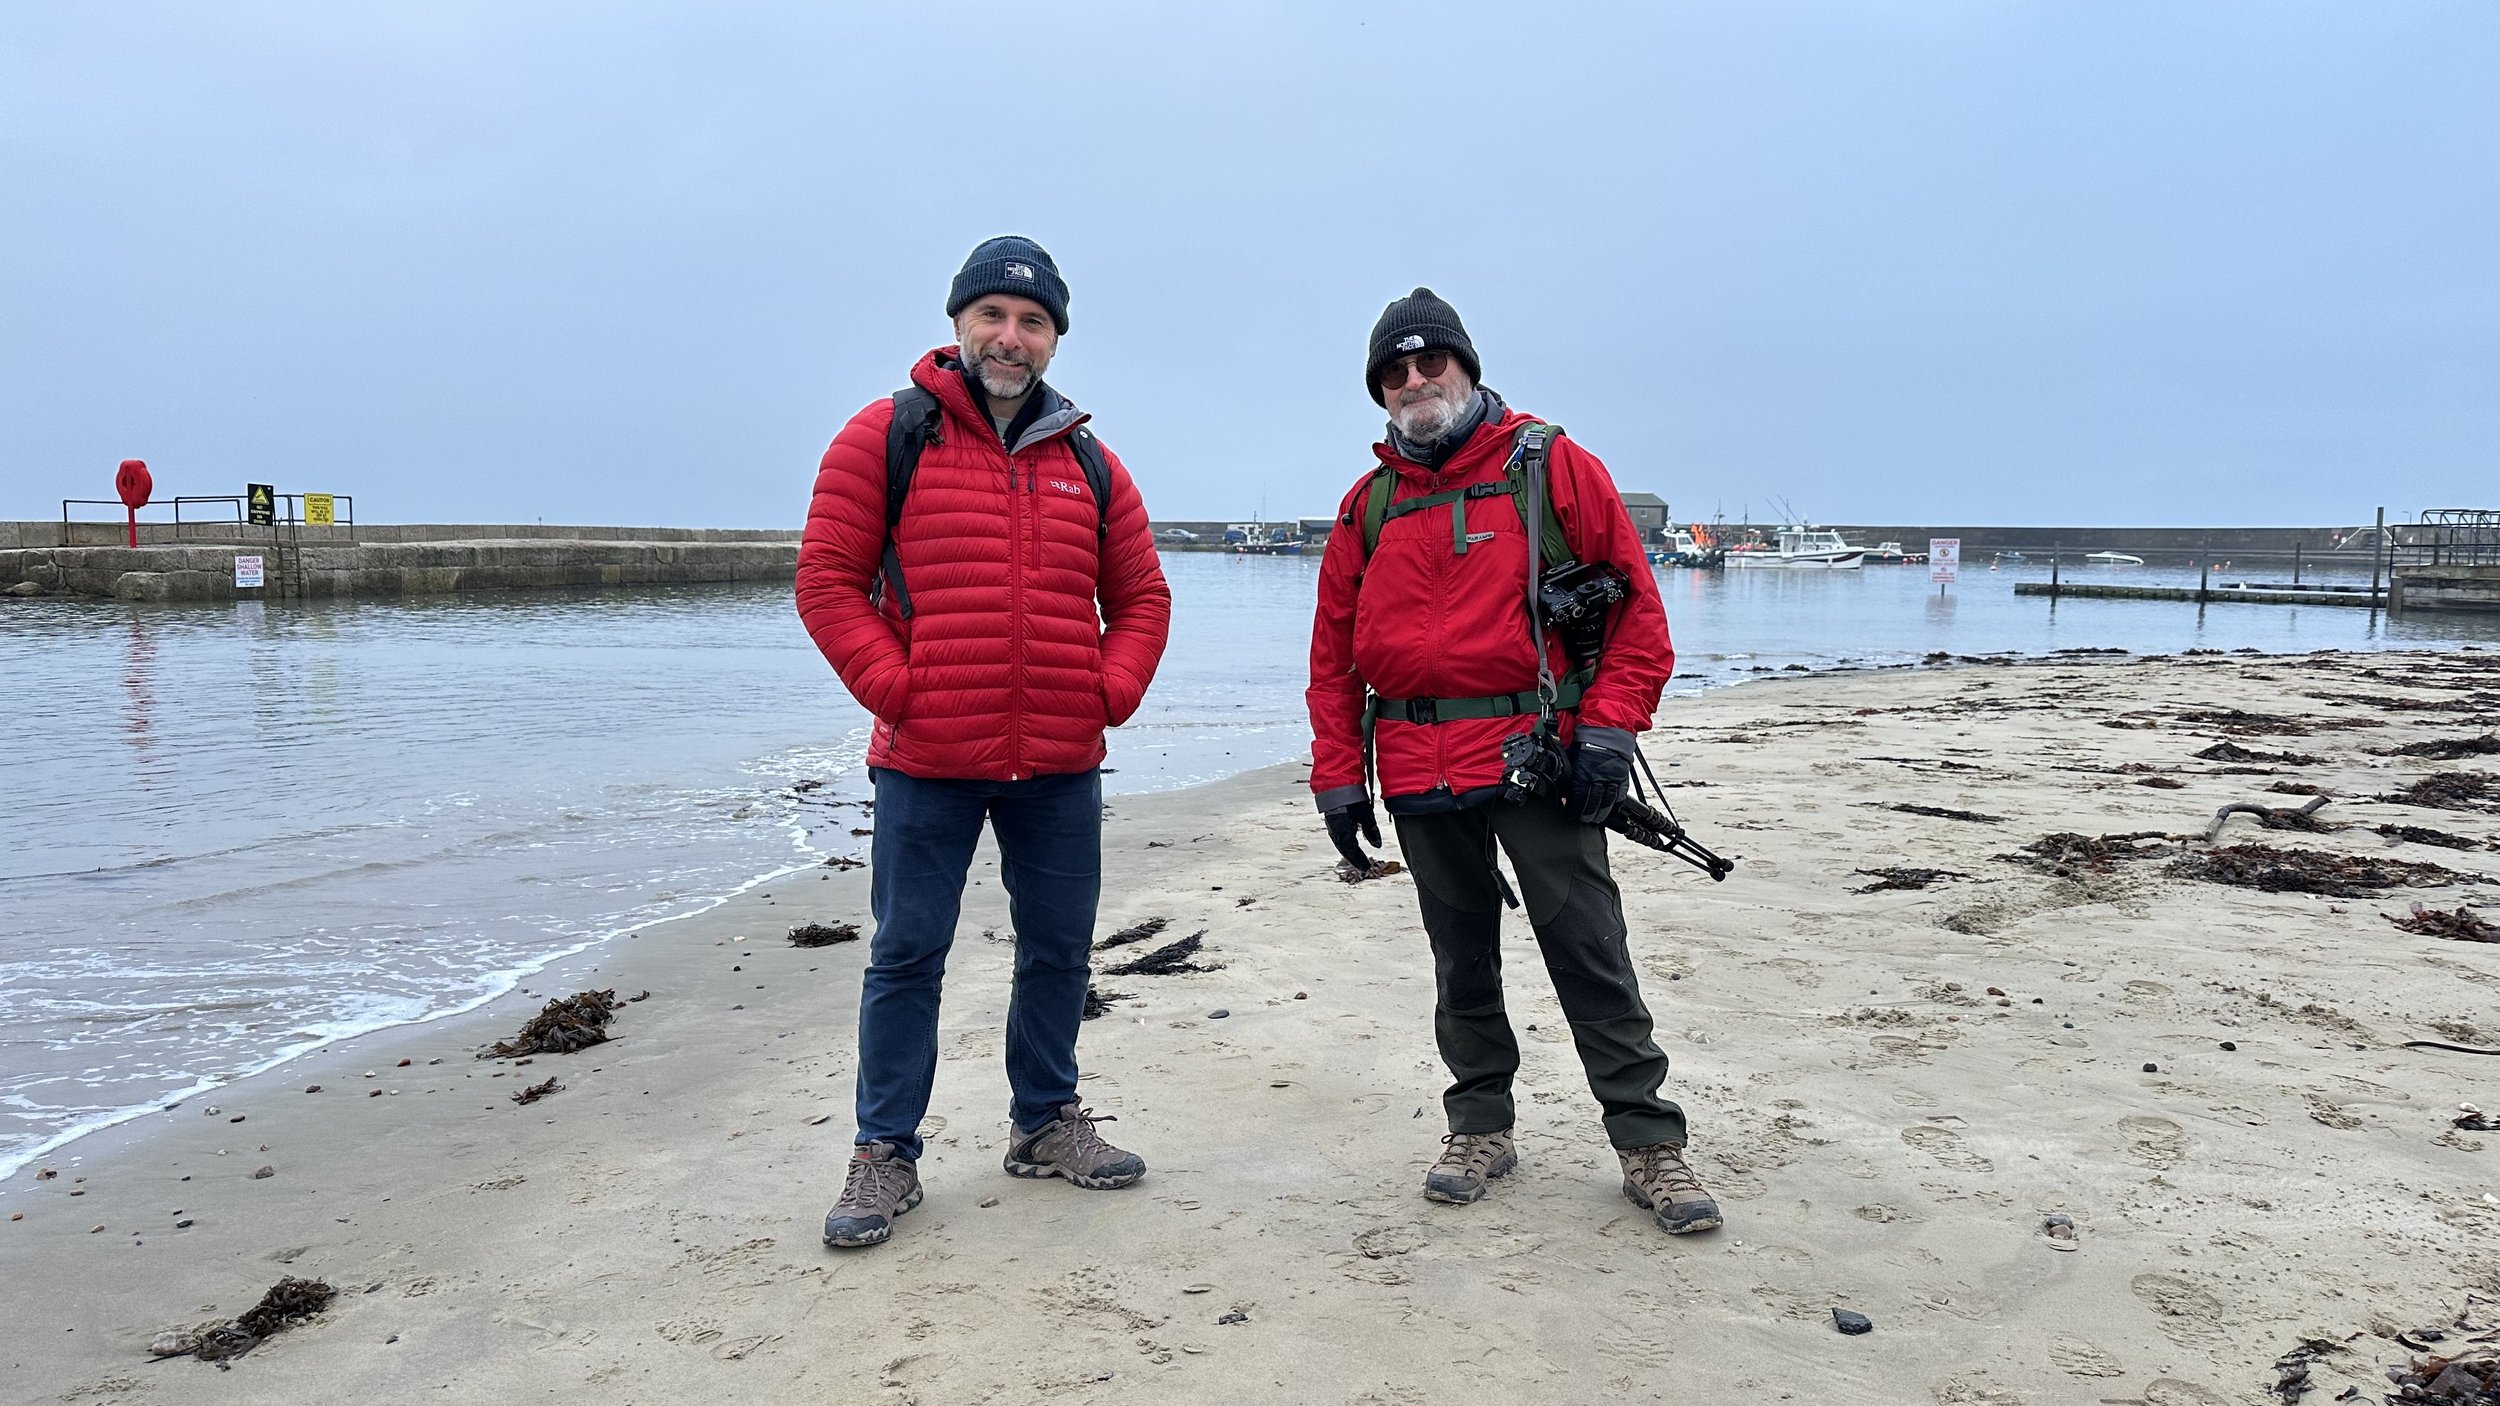
Two men in red and dark jackets standing on a sandy beach at Lyme Regis on a grey morning

I should have sent a memo about dress code 🀣

Taking along minimal kit as I did when photographing the Prince of Wales Bridge a couple of weeks back, I stuck with using my iPhone 14 Pro Max, but this time made use of my new JOBY MagSafe Mount ( LINK )

This worked an absolute treat holding my iPhone rock steady and was so incredibly quick and easy to adjust and rotate from portrait orientation to landscape orientation …

Phone mounted on a tripod with an extended pole on a pebble beach beside misty sea

Long Exposure Photography was definitely order of the day to enhance the calm, relaxing feeling of the light and the mist, and of course smooth out the water surface even more.

I’ve a few long exposure apps installed on my iPhone at the moment that I’m testing out to see which I prefer, but on this morning I opted again to use EvenLonger …

Misty morning view of the Lyme Regis seafront and calm sea with Lyme Regis text and logo

For the image above, I used a 60 second long exposure.

We then moved along to The Cobb, which looked incredible amongst the mist and surrounded by a glass flat high tide …

Curving stone harbour wall disappearing into calm misty water at Lyme Regis

The tide was particularly high this morning, meaning the groin at the far end of The Cobb was much less visible.

In this image and the one above, you can really see how the mist made the horizon barely visible, which when combined with a long exposure worked, I feel, so incredibly well …

Rock groyne leading out into smooth misty sea, iPhone long exposure

In each of these images you will have spotted that there were Gulls flying. To include these, once I had taken the long exposure, I then jumped back to the regular camera on my iPhone and waited for the moment when Gulls flew through the frame.

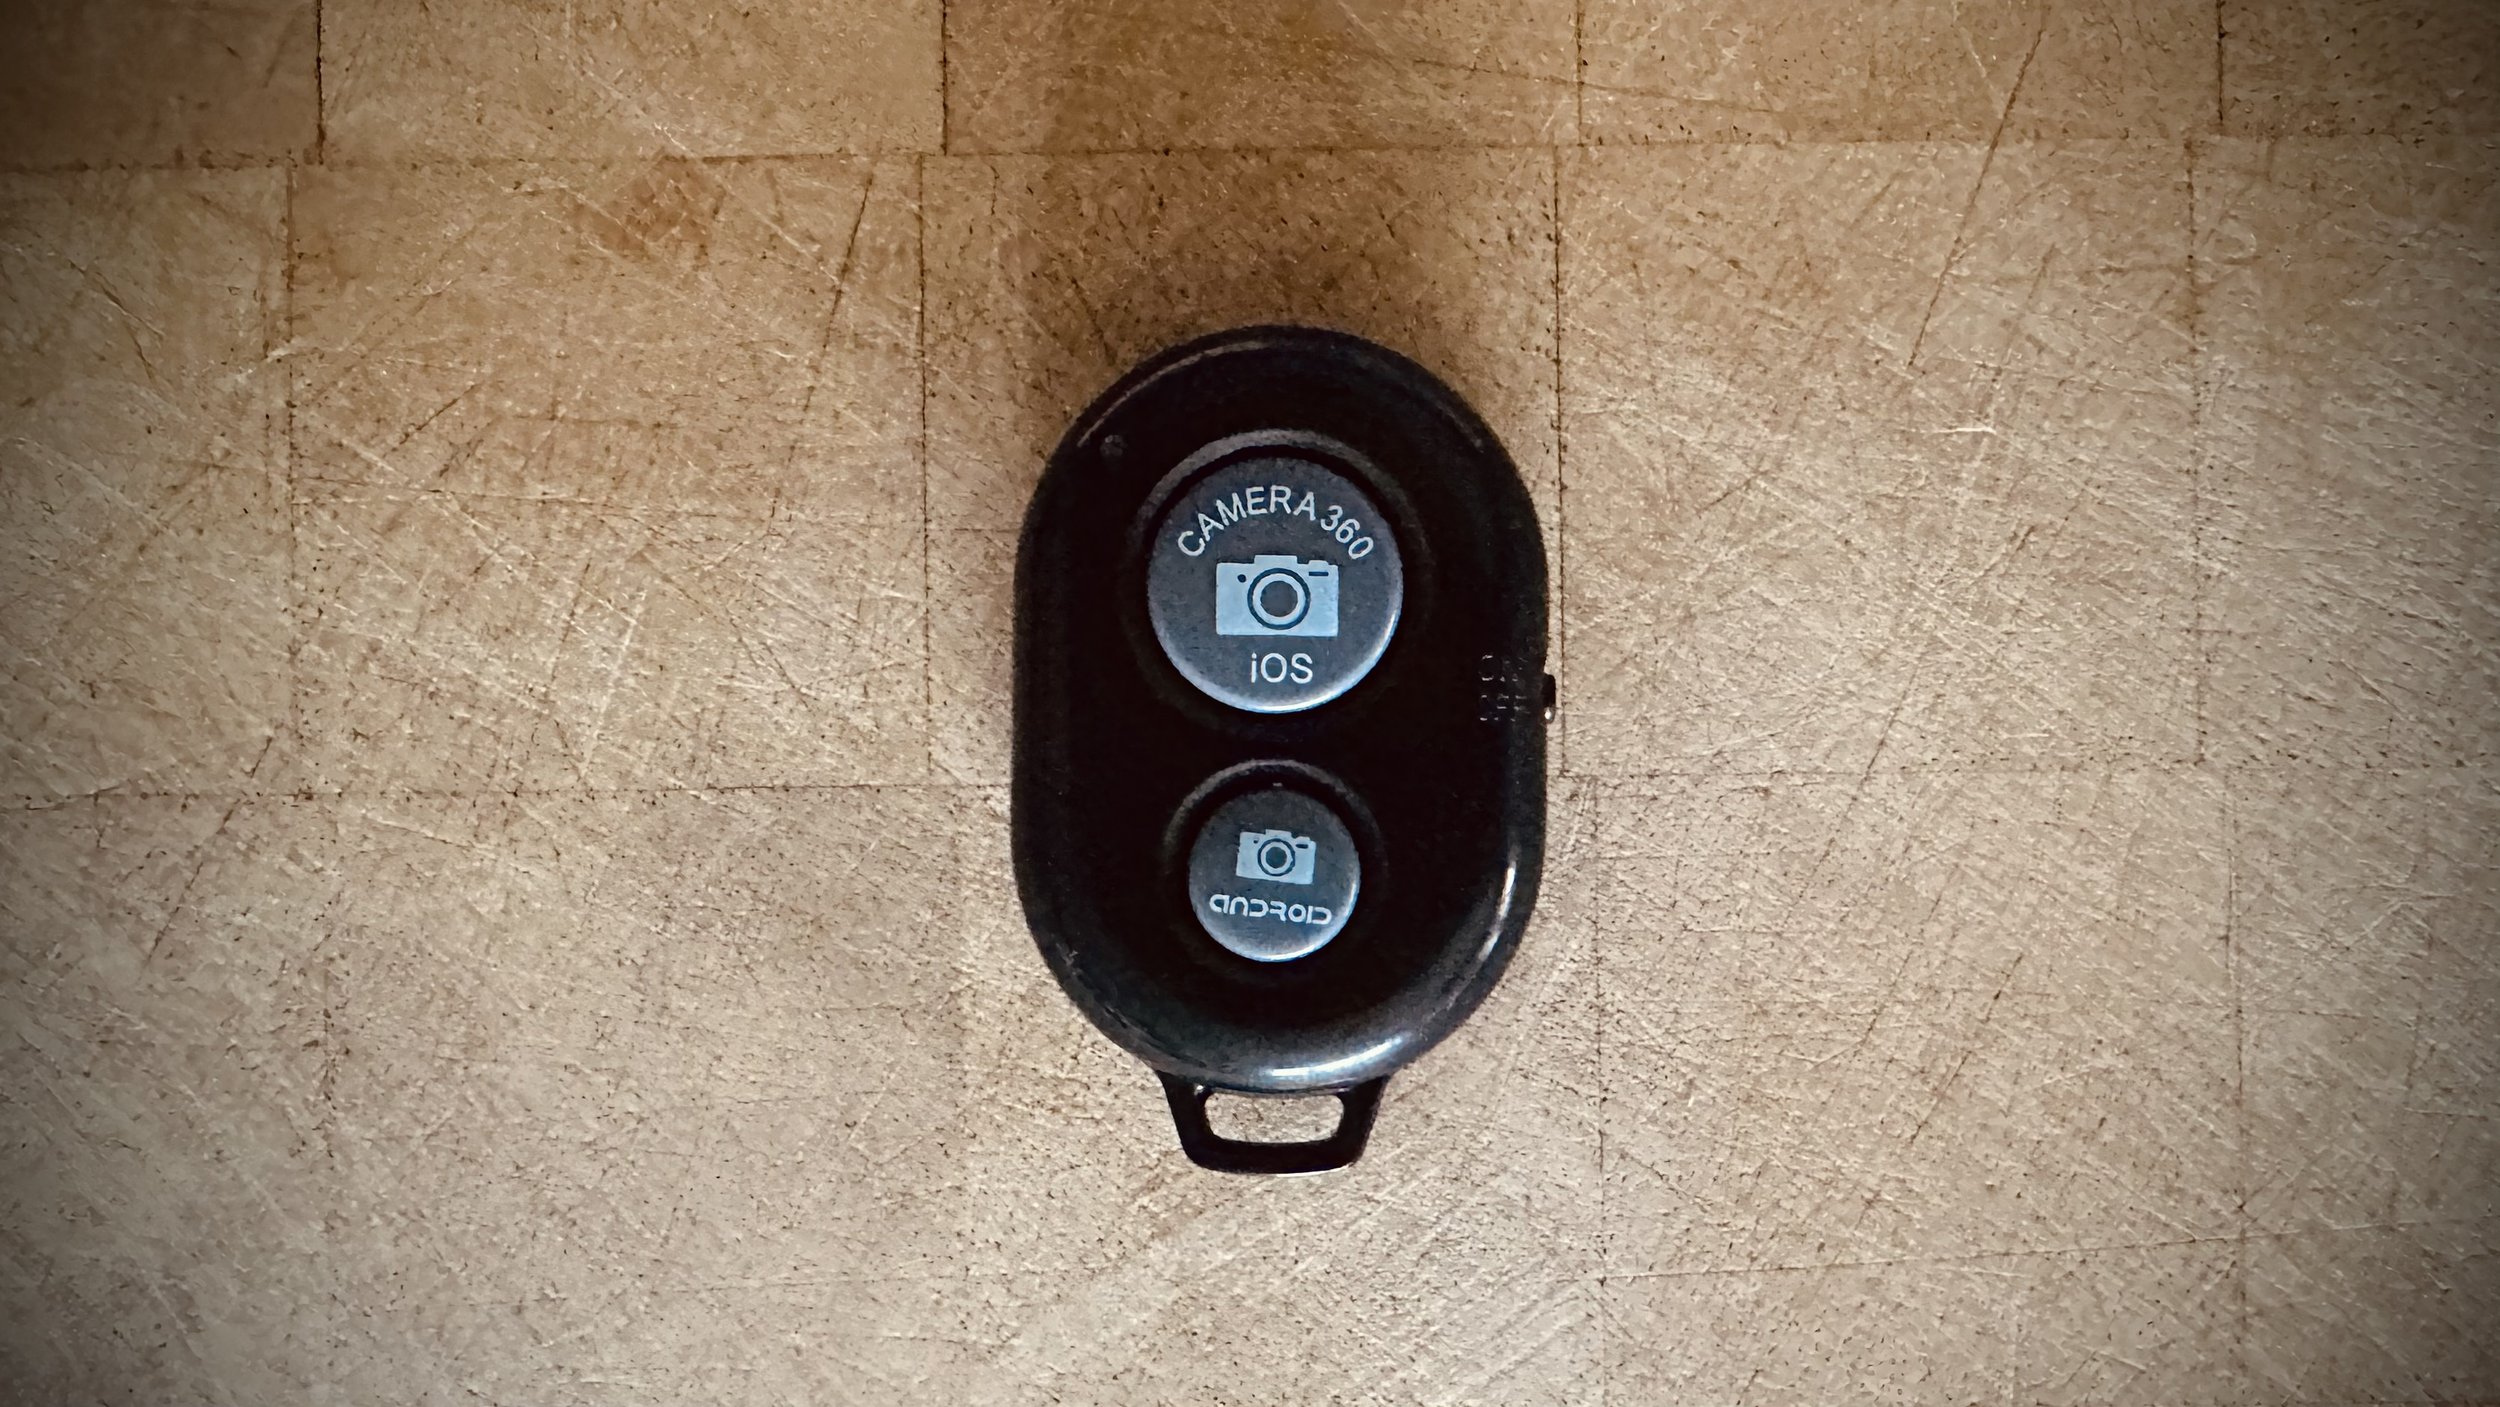
When they did I pressed the shutter a number of times using a Bluetooth Shutter Release which works a treat and only cost Β£3.99 off Amazon ( LINK )

Small black Bluetooth camera remote shutter on a wooden surface

99% of these images I edited in Lightroom Mobile and Photoshop on my iPad, but to add the Gulls I used Photoshop CC on my desktop as I needed to use a filter and (at the moment) that filter isn’t available in the mobile version of Photoshop.

That said though, the process was so incredibly easy editing on my iPad, and then because everything I do syncs automatically with every device I have Lightroom installed, I could then finish off on my desktop without having to export anything or import from memory cards.

Everything I do on any device be it my iPhone, iPad or Desktop, syncs across each other making it instantly available everywhere.

Oh and the text and graphics were added using Adobe Express …

Phone editing app screen showing a misty photograph of the Lyme Regis seafront

So another incredibly relaxing morning out taking photographs with my iPhone.

Minimal kit. No swapping out lenses. No attaching filters. No cables.

All of this for me makes for such a wonderful experience, enabling me to relax and just enjoy being where I am and absorb the sights and sounds.

The experience of taking photographs just doesn’t get better!

How to ADD SHARPENING in LIGHTROOM MOBILE πŸ”ͺ

Here's how to add sharpening in Lightroom Mobile, quickly and easily. As well as showing where to find the sharpening controls and how to use them, I show how to get the black and white preview, which lets you see exactly where the sharpening is being applied in your photograph. It's a really useful way to make sure you're sharpening the parts of the image that need it without overdoing it everywhere else.

iPhone outline with the Lightroom logo on a black background

FINALLY ... Lightroom for Left-Handed People πŸ‘πŸ»

Using Lightroom on a tablet device with a screen can be a real pain, having to reach over the image every time you want to make an adjustment. Thankfully Adobe added a left handed editing option to Lightroom Mobile and Lightroom Classic, so that's no longer the case. Here I show how to turn on left handed editing on devices like the iPad, so the controls sit where they're easier to reach. If you're left handed, it makes editing on a tablet a much more comfortable experience.

How I PHOTOGRAPH and EDIT an ICONIC LANDSCAPE using my iPhone and iPad (LIGHTROOM MOBILE)

How I PHOTOGRAPH and EDIT an ICONIC LANDSCAPE using my iPhone and iPad (LIGHTROOM MOBILE)

Here's a COMPLETE MOBILE WORKFLOW showing how I photographed and Edited the iconic Prince of Wales Bridge using just my iPhone and my iPad. I am BLOWN AWAY by the qulity of the file produced and the print which could easily be A2!!! Exciting times in Photography!