photography

How I Lit and Photographed this Portrait of a Female Attendee

A couple of weeks back I was in Stoke on Trent presenting at the Guild of Photographers Event on behalf of Sony.

Kicking off first thing I hosted a workshop for a limited number of 10 people ( although 11 were there 🤣 ) and went through how I set up and light portraits but more importantly how I interact and help subjects in front of the camera to relax.

I love sharing this kind of stuff; stuff that I learned mainly from when I was full-on photographing World War 2 Veterans for my 39-45 Portraits Project. These portraits were of people who maybe weren’t so keen initially on being photographed or felt self conscious in front of the camera as opposed to me photographing models. 

No eye tracking, sharpness, dynamic range or whatever will help with this.

Anyway the reason for this was mainly to share one of the portraits I took when showing a lighting set up that is incredibly simple but so incredibly effective.

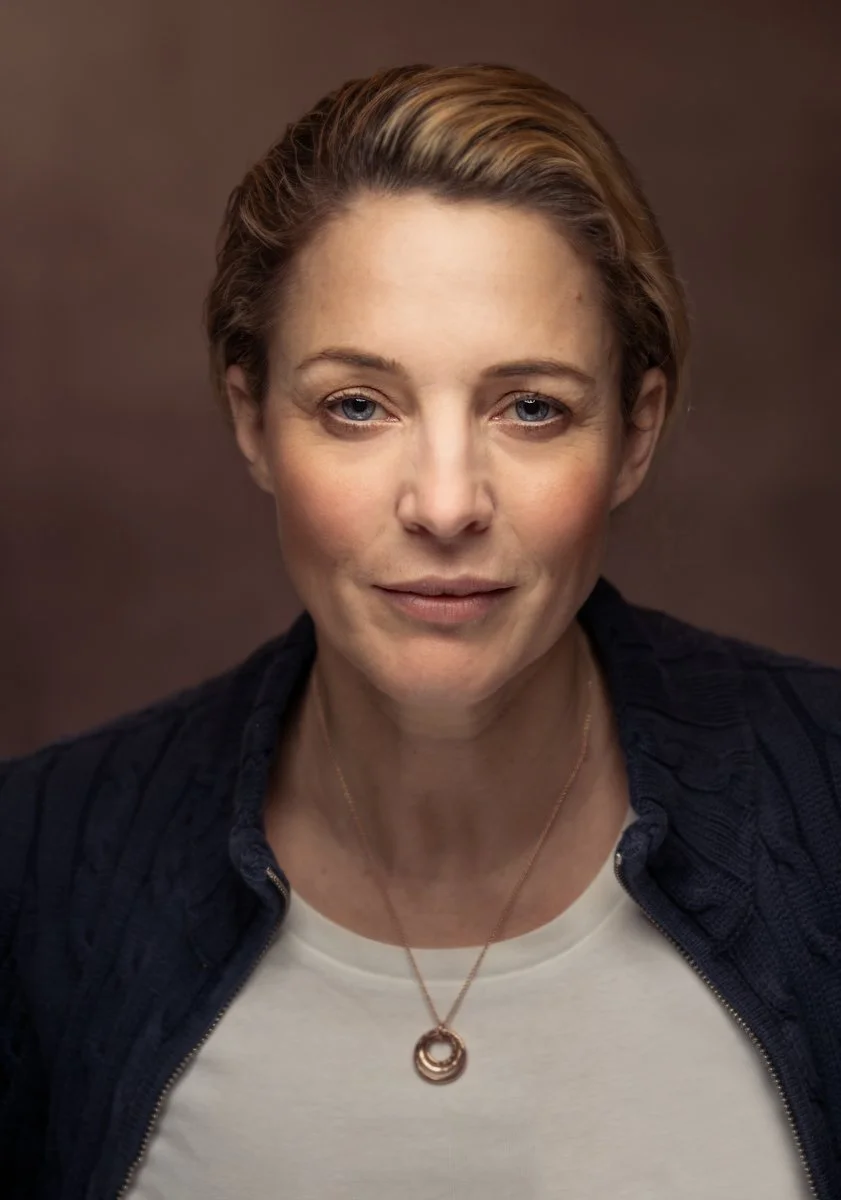
I only took one photograph but this is the result; a portrait of workshop attendee & Photographer Jo Bullas …

And here’s a Behind the Scenes photograph showing the set up I used however in this one I’m now holding the light for one of the attendees…

KIT USED

Aside from my camera ( Sony A7RIV with the 85mm G-Master Lens) , this is all the kit I used for this portrait …

If you saw an earlier post you’ll recognise the set up as being the same as when I photographed my friends Ian Munro, Anthony Crothers, Dave Clayton, Brian Dukes and Gerwyn Williams; I even jumped in front of the camera too …

The difference this time was simply down to a camera setting using a wider aperture and a slightly slower shutter speed to allow more ambient ‘ natural light into the shot.

Anyway if you didn’t see the original video I shared on my YouTube Channel going through exactly how I do this, I’ve shared it below.

Enjoy,
Glyn

TRY THIS 💥 The INVISIBLE BLACK BACKGROUND (Photography Technique ... UPDATED)

Here's a SIMPLE and VERY EFFECTIVE technique for creating a Black Background behind your subject when you don't have one ... indoors or outdoors using just your camera and one flash!

This is my UPDATED Invisible Black Background Technique v2.0 😃 📷

🎬 𝐂𝐎𝐍𝐓𝐄𝐍𝐓𝐒 𝐎𝐅 𝐓𝐇𝐈𝐒 𝐕𝐈𝐃𝐄𝐎

  • 00:00 - Introduction

  • 00:40 - Kit Needed

  • 00:55 - Shutter Speed Flash

  • 01:31 - High Speed Sync

  • 01:52 - Camera Settings

  • 02:50 - Aperture + Flash

  • 03:37 - Turn on HSS

  • 04:12 - Turn on the Flash

  • 04:46 - Options

  • 05:25 - Recap

  • 06:05 - The Problem with HSS

  • 06:29 - Why not use a Neutral Density (ND) Filter?

  • 07:46 - Dealing with Reflections

iPhone Photography: A Misty Morning at Lyme Regis in Dorset

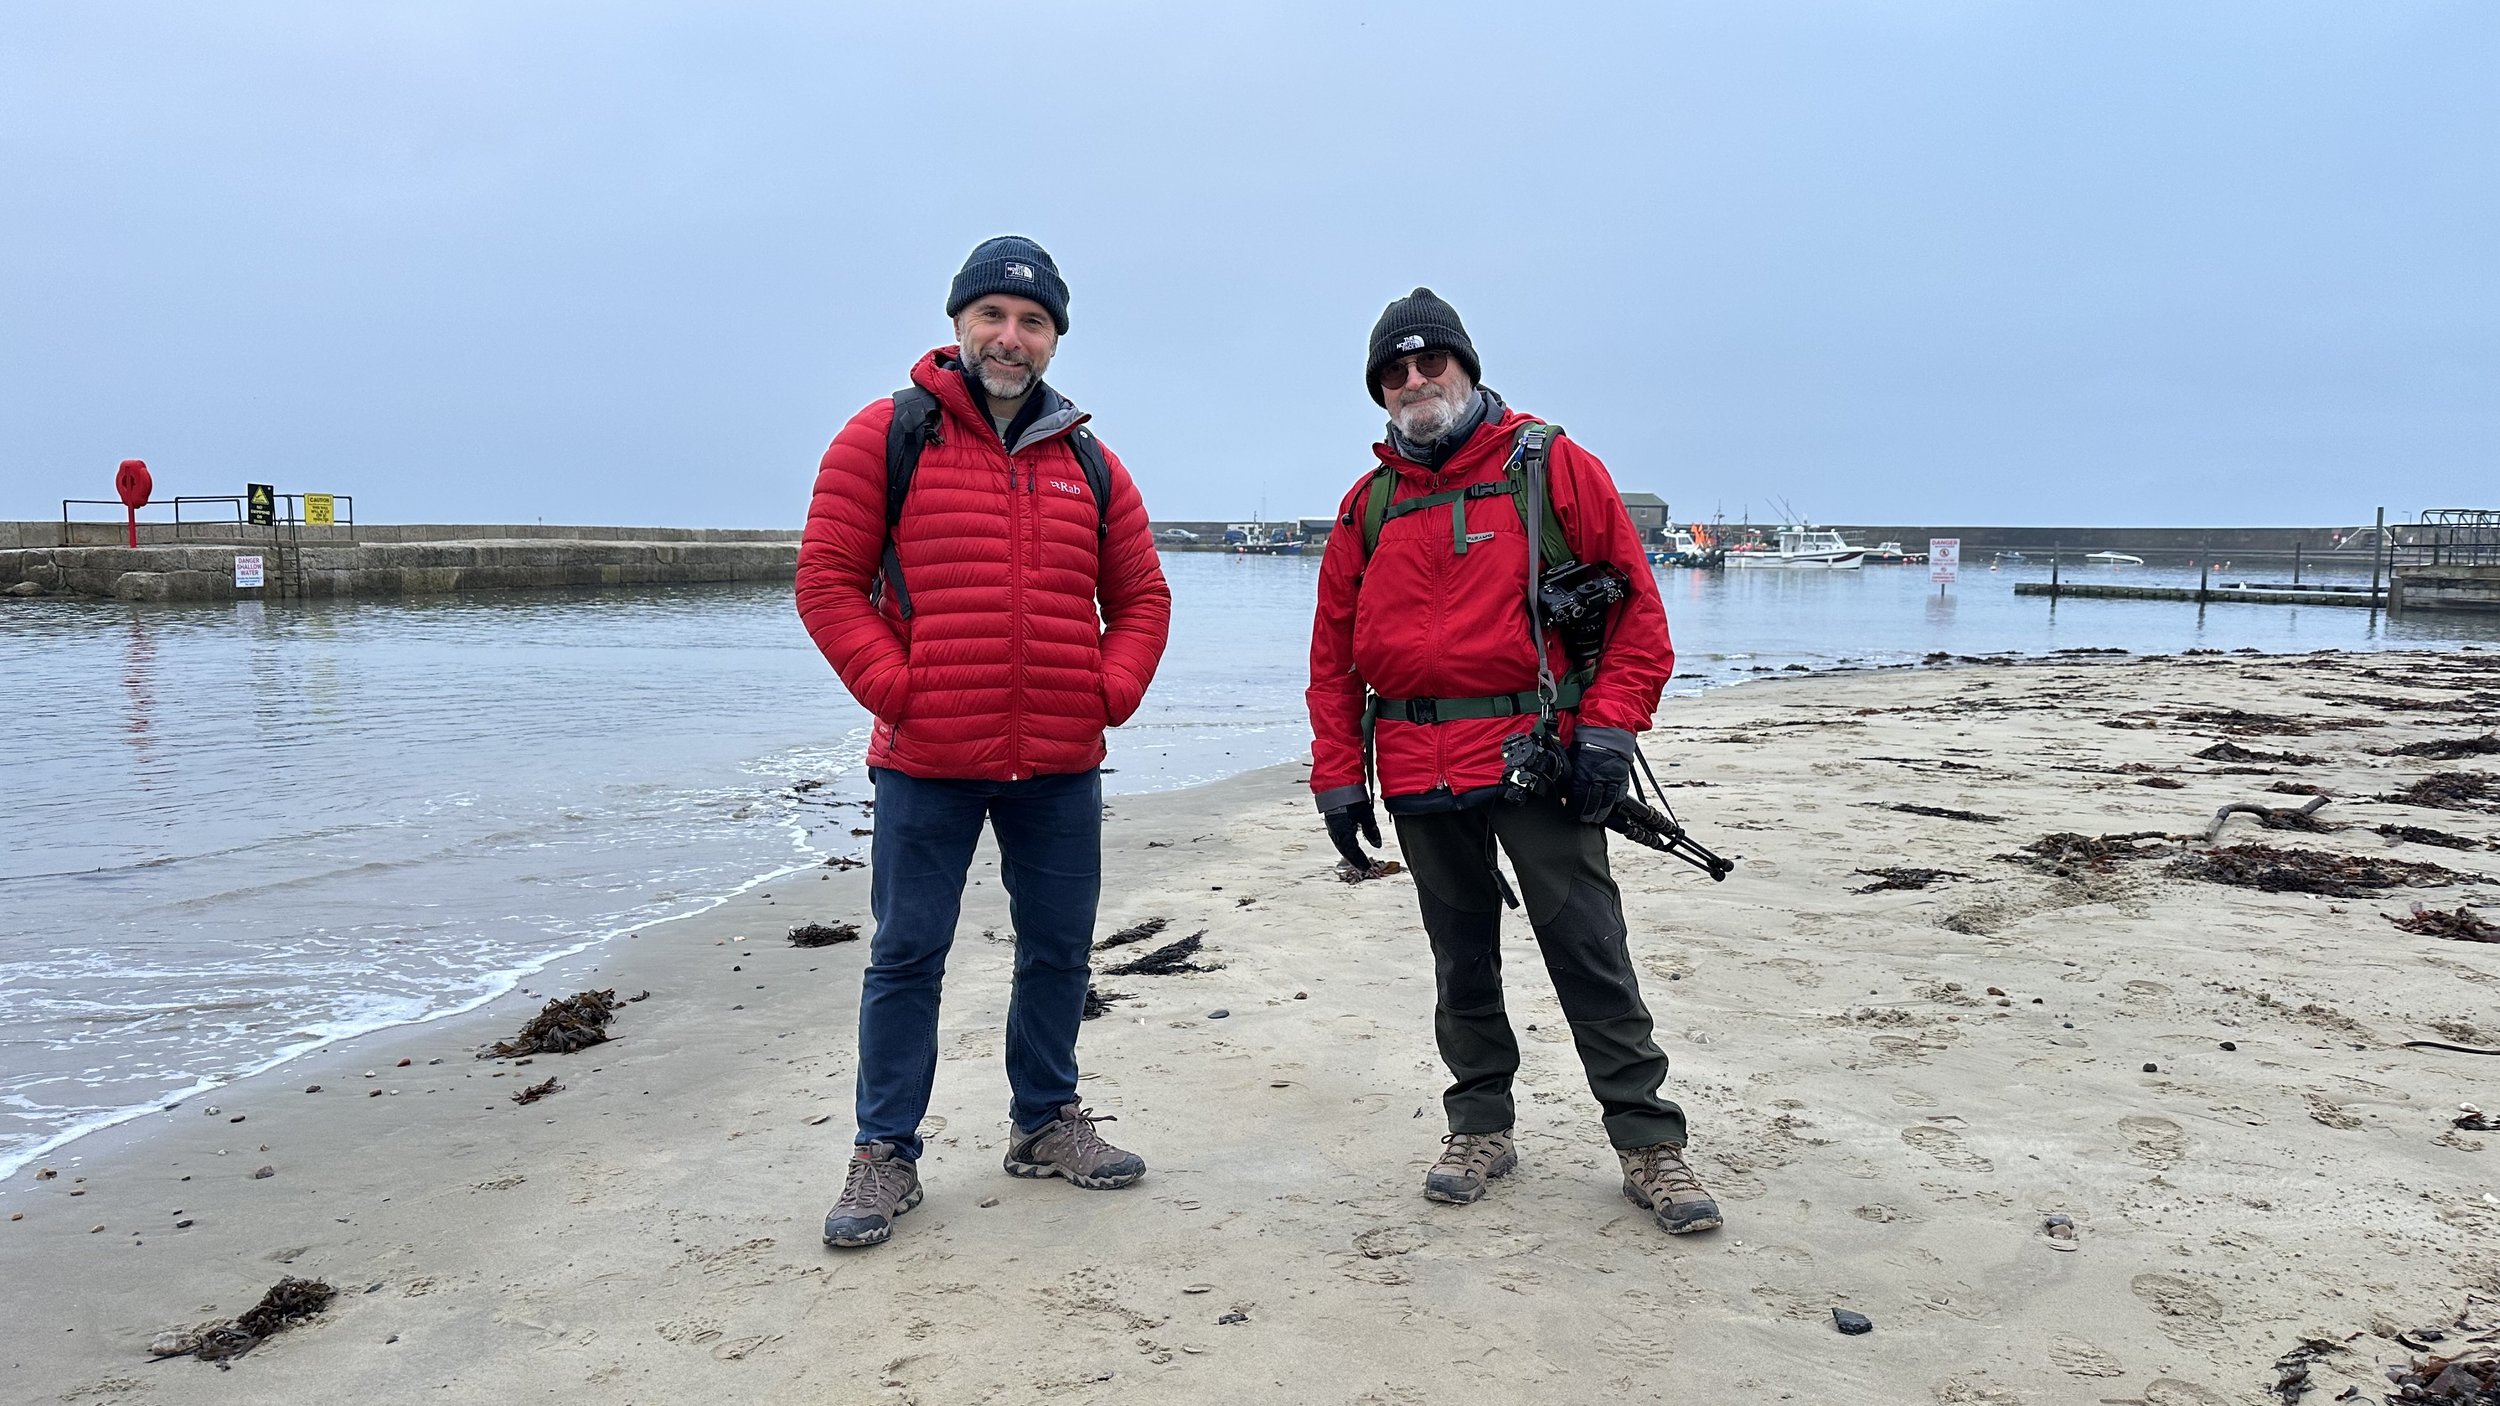
The misty conditions last Wednesday were nothing short of perfect for some minimalist photography, so I popped out early morning and took the short drive to meet up with my friend Steve Healy down at my favourite of all places, Lyme Regis.

True to the weather apps, the conditions were as predicted; a wonderful misty morning, an incoming tide with the surface of the sea as flat as a sheet of glass, hardly a breeze in the air and looking out across the sea, at times it was almost impossible to see the distant horizon line.

Absolutely Perfect!

I should have sent a memo about dress code 🤣

Taking along minimal kit as I did when photographing the Prince of Wales Bridge a couple of weeks back, I stuck with using my iPhone 14 Pro Max, but this time made use of my new JOBY MagSafe Mount ( LINK )

This worked an absolute treat holding my iPhone rock steady and was so incredibly quick and easy to adjust and rotate from portrait orientation to landscape orientation …

Long Exposure Photography was definitely order of the day to enhance the calm, relaxing feeling of the light and the mist, and of course smooth out the water surface even more.

I’ve a few long exposure apps installed on my iPhone at the moment that I’m testing out to see which I prefer, but on this morning I opted again to use EvenLonger …

For the image above, I used a 60 second long exposure.

We then moved along to The Cobb, which looked incredible amongst the mist and surrounded by a glass flat high tide …

The tide was particularly high this morning, meaning the groin at the far end of The Cobb was much less visible.

In this image and the one above, you can really see how the mist made the horizon barely visible, which when combined with a long exposure worked, I feel, so incredibly well …

In each of these images you will have spotted that there were Gulls flying. To include these, once I had taken the long exposure, I then jumped back to the regular camera on my iPhone and waited for the moment when Gulls flew through the frame.

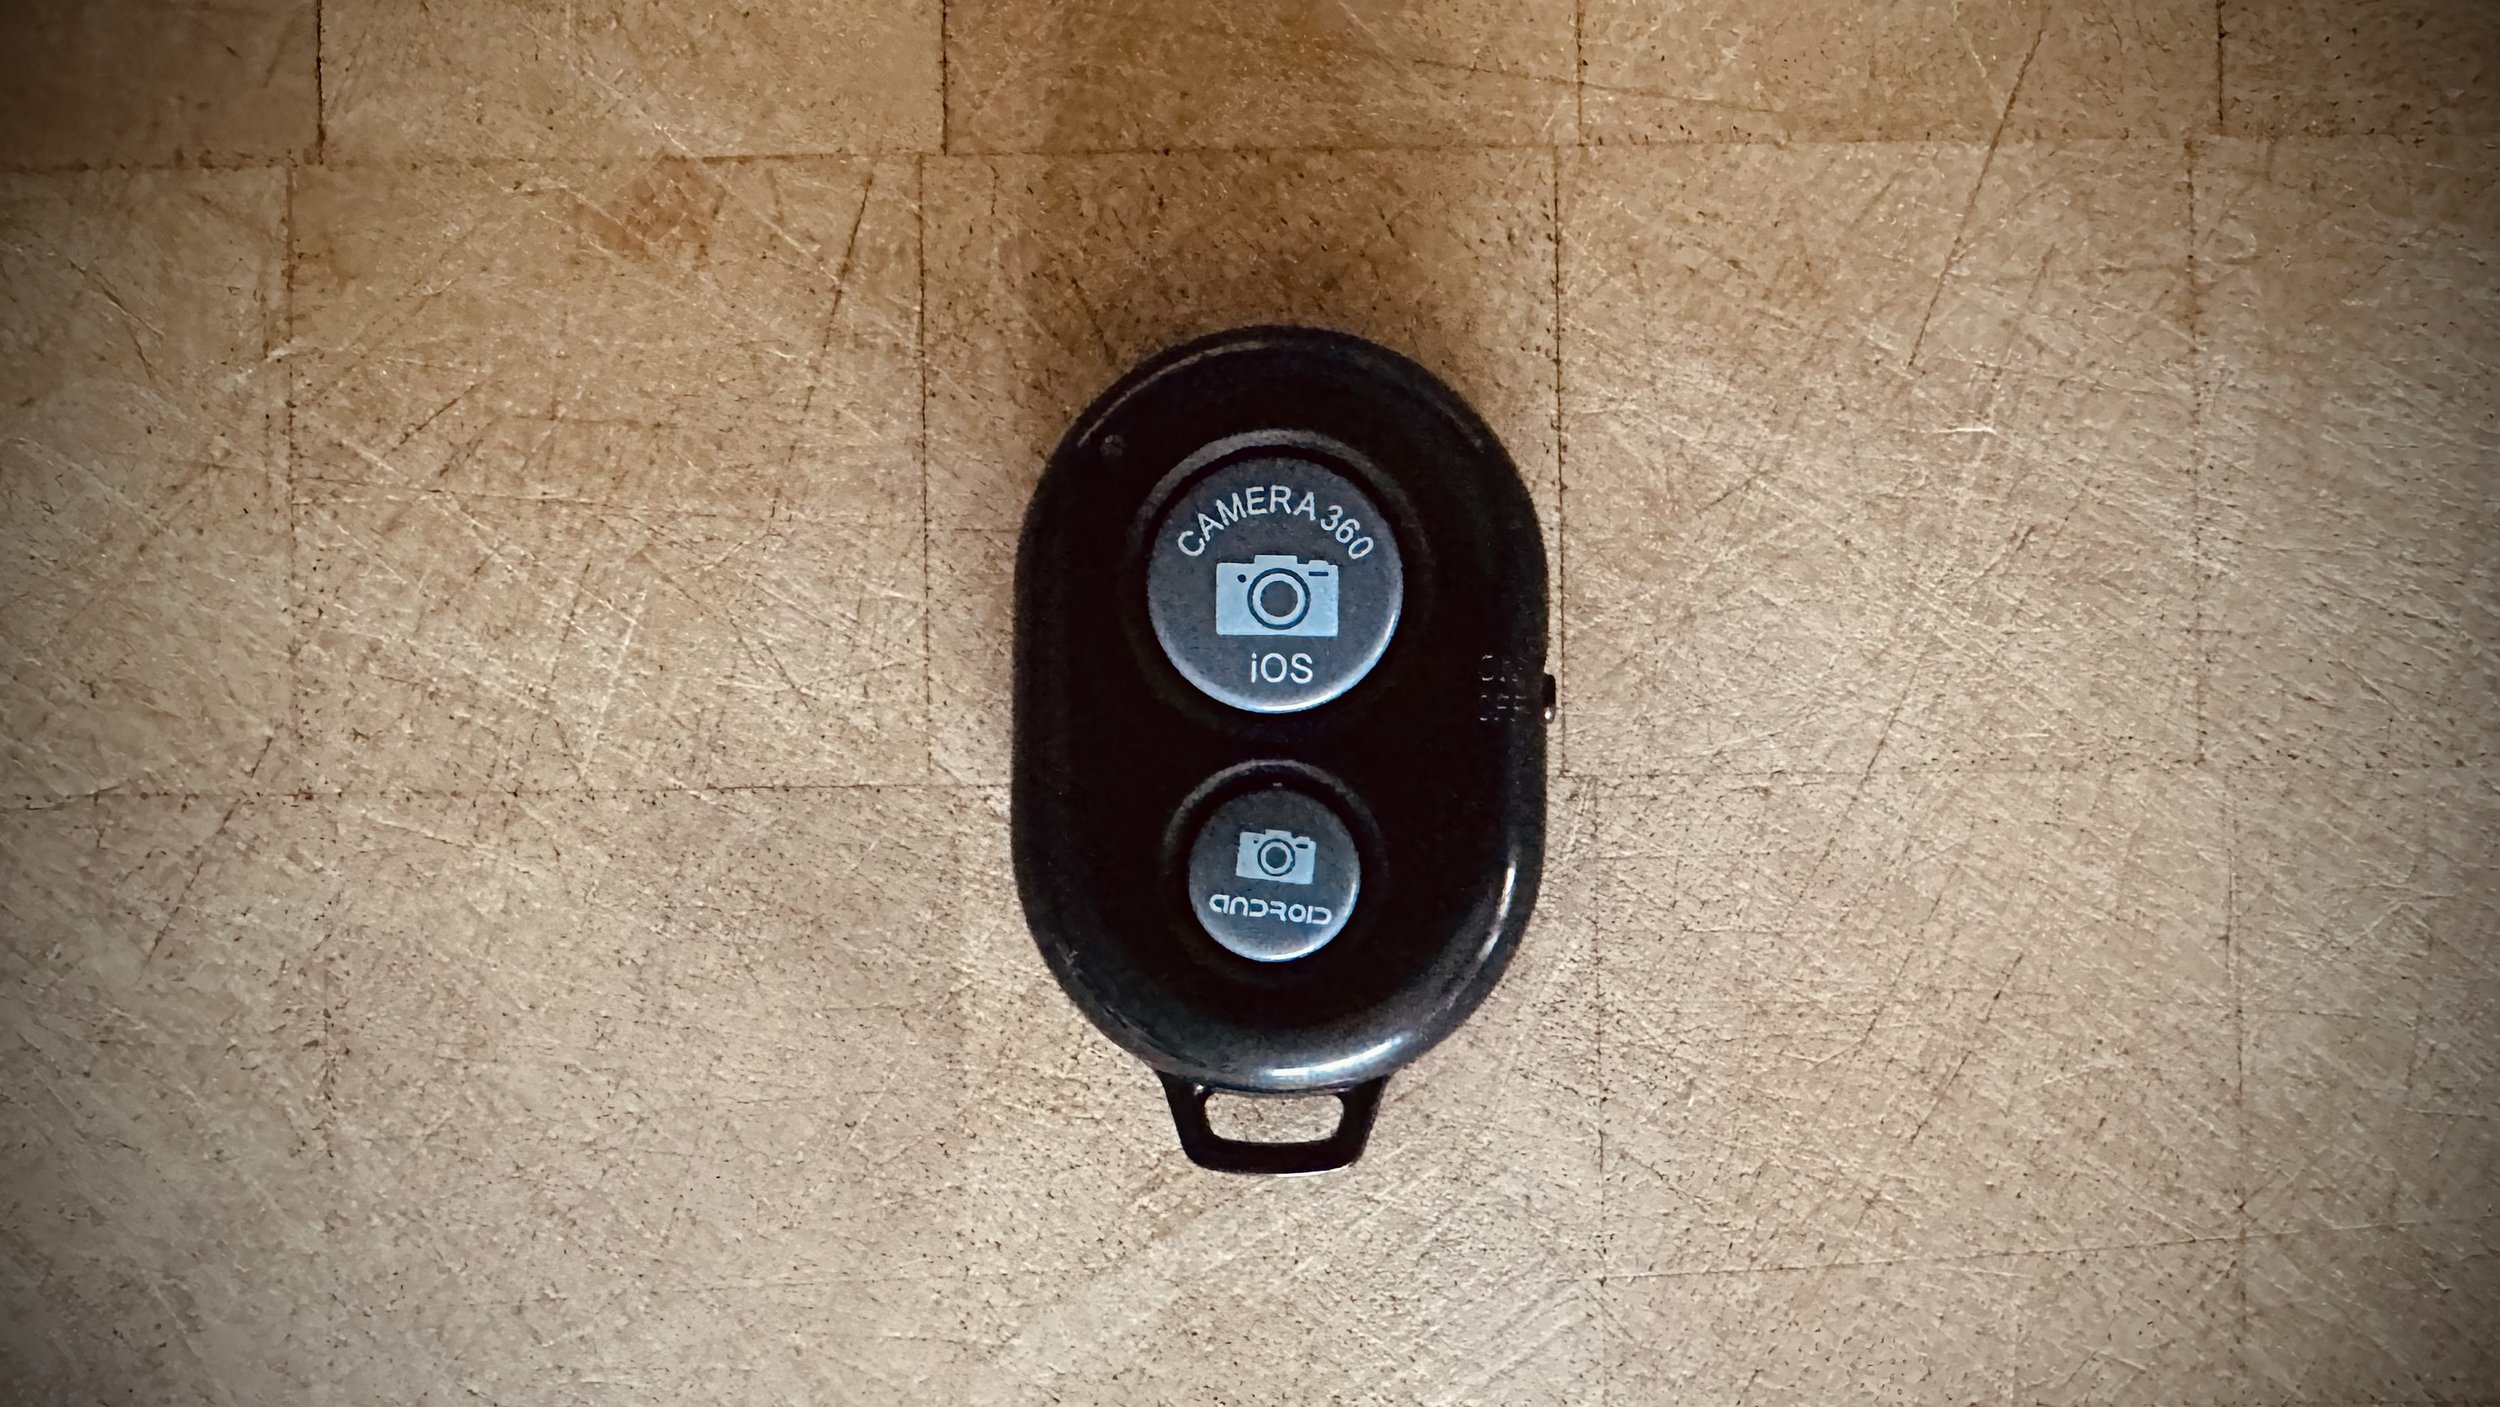
When they did I pressed the shutter a number of times using a Bluetooth Shutter Release which works a treat and only cost £3.99 off Amazon ( LINK )

99% of these images I edited in Lightroom Mobile and Photoshop on my iPad, but to add the Gulls I used Photoshop CC on my desktop as I needed to use a filter and (at the moment) that filter isn’t available in the mobile version of Photoshop.

That said though, the process was so incredibly easy editing on my iPad, and then because everything I do syncs automatically with every device I have Lightroom installed, I could then finish off on my desktop without having to export anything or import from memory cards.

Everything I do on any device be it my iPhone, iPad or Desktop, syncs across each other making it instantly available everywhere.

Oh and the text and graphics were added using Adobe Express …

So another incredibly relaxing morning out taking photographs with my iPhone.

Minimal kit. No swapping out lenses. No attaching filters. No cables.

All of this for me makes for such a wonderful experience, enabling me to relax and just enjoy being where I am and absorb the sights and sounds.

The experience of taking photographs just doesn’t get better!

The Backgrounds I use when Capturing Portraits

I’m often asked what backgrounds I use when taking portraits, and then when I say, I’m then asked which of the material choices I opt for.

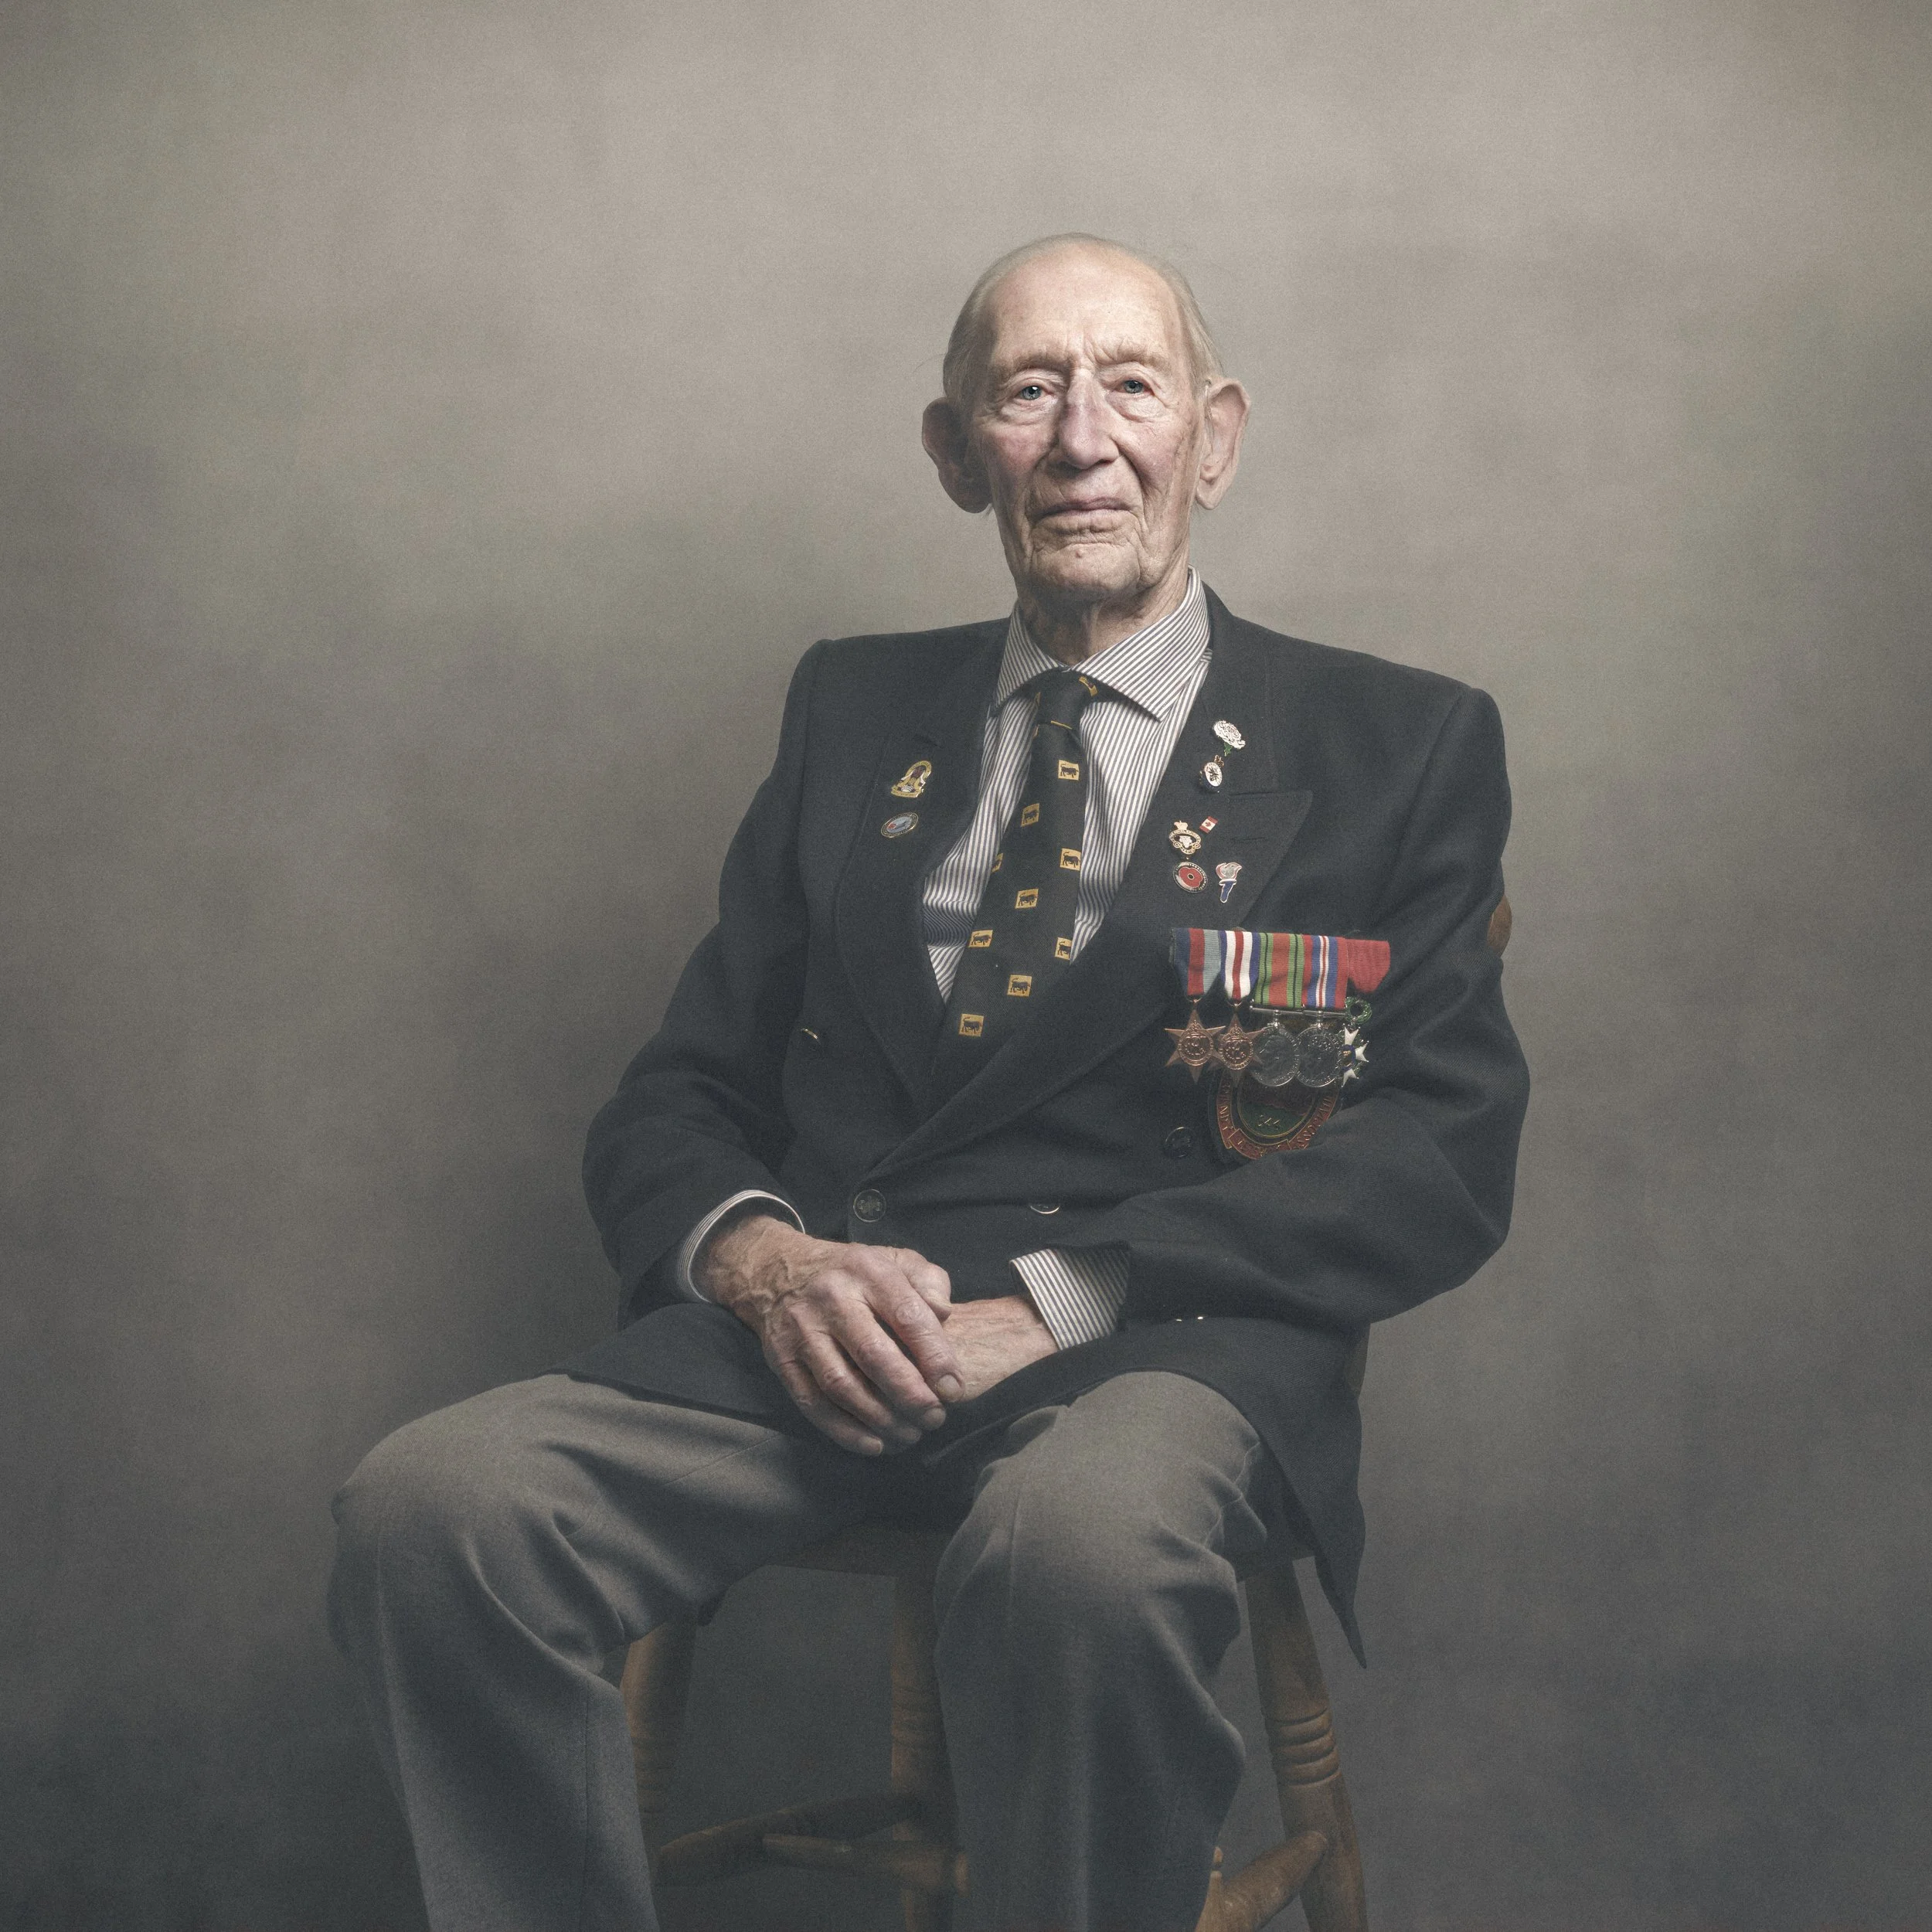
WW2 Veteran Geoffrey Pulzer ( 29th Armoured Brigade , 11th Armoured Division )

Up until recently when Westcott released the Pro version of X-Drop Background Support System, there was just the choice of Canvas or Vinyl, and I ALWAYS opted for the Canvas.

Although not actually canvas, but rather a canvas effect, the material choice is way better as it doesn’t have any shine to the surface at all so you don’t suffer with hot spots when using lights.

So, Canvas was and is always the choice I go for.

Now though, with the introduction of the X-Drop Pro things have defintiely upgraded.

The X-Drop has always been a VERY portable system however if you opted for a background other than the washable material, the backgrounds themselves came in a long cardboard tube and that’s how they had to be transported.

Not now though with the X-Drop Pro as this also introuduces a new material background; the same VERY popular backgrounds but now in a machine washable material meaning you can fold it down making it very small, and like the X-Drop Pro Support Stand, VERY portable.

The new X-Drop Pro Backgrounds also come in a larger size so as well as the 5’ x 7’ , there’s also 8’ x 8’ … and you can use the X-Drop Pro Support Stand for both!

So, 5’ x 7’ is the one I use the most becuase it’s a great size forusing when not in a studio, and I use the new X-Drop Pro material version because it makes the whole background so incredibly portable.

Here’s Brnadon from Westcott showing the X-Drop Pro and how to easily fit the new foldable and washable X-Drop Pro Backgrounds …

Hope that helps,
Glyn

Note:
For folks in the UK,
Carmarthen Cameras are the Offiical Westcott Stockist / Supplier, so if you give them a shout, ask for Krish … a great guy and a great friend!

How I PHOTOGRAPH and EDIT an ICONIC LANDSCAPE using my iPhone and iPad (LIGHTROOM MOBILE)

How I PHOTOGRAPH and EDIT an ICONIC LANDSCAPE using my iPhone and iPad (LIGHTROOM MOBILE)

Here's a COMPLETE MOBILE WORKFLOW showing how I photographed and Edited the iconic Prince of Wales Bridge using just my iPhone and my iPad. I am BLOWN AWAY by the qulity of the file produced and the print which could easily be A2!!! Exciting times in Photography!

Sony A7RV - I WAS WRONG !!! 😳 User Review + RECOMMENDED SETTINGS for BIRD PHOTOGRAPHY 🦅

I was WRONG!

Here's the correct review of the NEW Sony A7RV along with recommended settings for photographing Birds that made a BIG DIFFERENCE! Plus the camera finally has Focus Bracketing, a Flip / Tilt Screen AND Artifiical Intelligence!

But would I buy it? 🤔

MIND BLOWN 😲 Mobile Phone Photography + LIGHTROOM MOBILE and PHOTOSHOP on the iPad

Taking photographs and editing on a mobile device is incredibly exciting and such a fantastic workflow.

In this video I show you the whole process from capture the long exposurephotographs with my iPhone, to then editing in Lightroom Mobile and Photoshop on the iPad and ending up with a FANTASTIC print.

iPhone Long Exposure at Durdle Door, Dorset

Headed down to Durdle Door in Dorset the other week; just over an hour away so not a long drive, but wow … what a great place.

I met up with my friend Steve Healey with the intention of photographing the sunrise but lack of local knowledge put a stop to that. Little did we know that there’s a gate preventing access that doesn’t open until 9am BUT you can take a short coastalwalk from nearby Lulworth Cove to access the beach and the famous arch … didn’t know that until later in the day though.

Still, we drove off for a while to grab a coffee and came back an hour or so later and got down to take some photographs; Steve with his Fuji and me with my iPhone and SmallRig combo.

Here’s my favourite; a 5 second long expsoure that was taken using the Lightroom Mobile App camera and a quick edit in Lightroom CC and Photoshop …

HOW I made these PORTRAITS: Complete Workflow including PHOTOGRAPHY, LIGHTROOM and PHOTOSHOP

In this video I cover EVERYTHING that I did to create these Portraits including: KIT , SET UP and RETOUCHING in Photoshop and Lightroom …

Here’s a list of all the kit I used to take the portraits, which you’ll also find on my GEAR Page …

  • Westcott FJ80 II Speedlite

  • Westcott FJ-X3 Remote Trigger

  • Westcott Rapid Box Switch Beauty Dish

  • Westcott 32” 2-in-1 Reflector

  • Westcott X-Drop Poro Background Support

  • Glyn Dewis Vintage Grey Canvas (for X-Drop Pro)