TRANSFORMING a CAR PHOTOGRAPH in LIGHTROOM Mobile STEP by STEP 💥
This car photograph was taken on location, and in this video I show how I retouched it step by step using Lightroom on an iPad. The whole edit relies on masking, which is incredibly powerful and useful for isolating certain areas of the image so you can work on them on their own. By building up adjustments area by area, you can transform the photograph and really make the car pop.

Photographing Cars with my iPhone 15 Pro Max

Now primariy I’m a Portrait Photographer however this past few weeks, for the fun of it, I’ve been experimenting with my iPhone to see how it would fare when taking pictures of my car … both still and moving.

So a few weekends back I met up with friends in South Wales and headed to Crickhowell; an area I’ve photographed in before when working on this Harley image …

Man in a red checked shirt on a motorbike beside a winding road

kit used

For these car photographs I was using my iPhone 15 Pro Max along with …

  • Polar Pro iPhone Case

  • 67mm Filter Adaptor + 67mm Circular Polarising Filter

  • ReeFlex Pro Camera App

Black smartphone case with a filter mount for iPhone photography
Magnetic filter adapter ring for an iPhone camera
ReeFlex camera app logo

The circular polariser is the car photographers secret weapon because of how effective it is in reducing / removing reflections in the car windows and on the bodywork …

Blue hatchback photographed with and without a circular polarising filter, side by side

I used the ReeFlex Pro Camera App purely so that I could use shutter speed and ISO to lock in the exposure that I wanted.

Here’s the ‘out of camera’ result …

Blue hatchback parked by a road in open moorland under a cloudy sky

Here’s the final retouched image which was done using Lightroom Desktop.

I also added a long exposure effect to the clouds using a technique in Photoshop which works really well however now I want to do the shoot again and capture it all ‘in camera’ using a long exposure app like ReeXpose or EvenLonger 😃

Blue hatchback on a moorland road under a dramatic, moody sky

I also tried some panning shots and did get some results, however the ratio of keepers to rejects was very low.

I was trying to do this using the ReeFlex App and a Neutral Density Filter on the front of the iPhone so that I could lock in an exposed photographed at 1/30 second. However, the ReeFlex app at the time I did this did NOT have burst mode. This meant I was having to try to capture a single frame as I panned with the car passing at no more than 30 mph.

Here’s an edited result of what I managed to capture …

Blue hatchback on a road through golden moorland

Later having shared this image online I spoke with a friend of mine who is a Professional Car Photographer. It was great to hear that he was impressed with the results expecially considering they were from an iPhone but he also gave me some settings that he and other pro car photographers use to capture a moving car.

My friend told me that moving car shots often see the car travelling at no more than 20 mph and that they also use a shutter speed of around 1/15 sec or 1/20 sec … but ALWAYS shoot in burst mode.

So armed with these settings I set about finding a pro camera app that would allow me to manually dial in the shutter speed but that also had Burst Mode; and the app I turned to was MOMENT.

Camera app logo with a letter M in a circle

I’ve yet to use the app in a planned car shoot however when in Germany a couple of weeks back I was waiting for a friend to pick me up and whilst waiting near a fuel station forecourt I attached the Variable Neutral Density Filter to my iPhone using the Polar Pro Case and Adaptor, and set the shutter speed using the MOMENT app.

I then simply took a burst of panning shots of passing cars as they negotiated a roundabout and drove away, which from my position would have meant them travelling around 20 mph.

Here’s some of the results …

Panning shots of cars on a road with motion-blurred backgrounds

So, yeah I’ve been very impressed with how the iPhone has dealt with this and the results I’ve managed to get.

Lots more experimenting and fun to be had!

The Photographer’s Guide to Lifelong Learning and Creative Growth | Marco Ter Beek

In this live broadcast recording I chat with professional photographer Marco Ter Beek about lifelong learning and creative growth. We discussed why it's so important to keep being a student if you want to grow, how that helps you find inspiration and stay creative, and how it ultimately leads to creating work you can be proud of. It's a conversation about the mindset behind the photographs as much as the photographs themselves.

links mentioned in the video:

Portrait of a woman with long dark hair in a white strapless top, looking over her shoulder
Portrait of a man with a grey beard in a grey beanie and black roll neck against a dark background
Boxer in red standing in a boxing ring under bright arena lights, seen from behind
Woman seen from behind in a draped white skirt with a bare back, in a dark room
Grey Land Rover Defender driving along a country road with motion-blurred trees

Photoshop Blending: How to Use Brushes for Realistic Composites 💥

You don't need anything complicated to blend images together realistically in Photoshop. In this video I show how a very simple use of a brush, with a few basic settings, can blend images so convincingly that you can create a completely new background and composite your subject into a new scene. It's a straightforward technique, but once you've got the brush set up, it makes a real difference to how believable your composites look.

No Limits Creativity and Visual Storytelling with Kirk Nelson aka The Pixel Pro

This is the recording of a live broadcast where I chatted with photographer and Photoshop artist Kirk Nelson, also known as The Pixel Pro. Kirk's work is all about creativity without limits and visual storytelling, and during our conversation he explained how he creates his fantasy art composites and how he produces the special effects in his images, giving a real insight into the thinking behind his work.

links mentioned in the video:

50% OFF Courses, Overlays ans Bruashes in Kirk’s Store using code: friendsofglyn

Kirk’s link for a FREE PASS at the Photoshop Creativity Virtual Summit:
https://bit.ly/pixelpro-creative

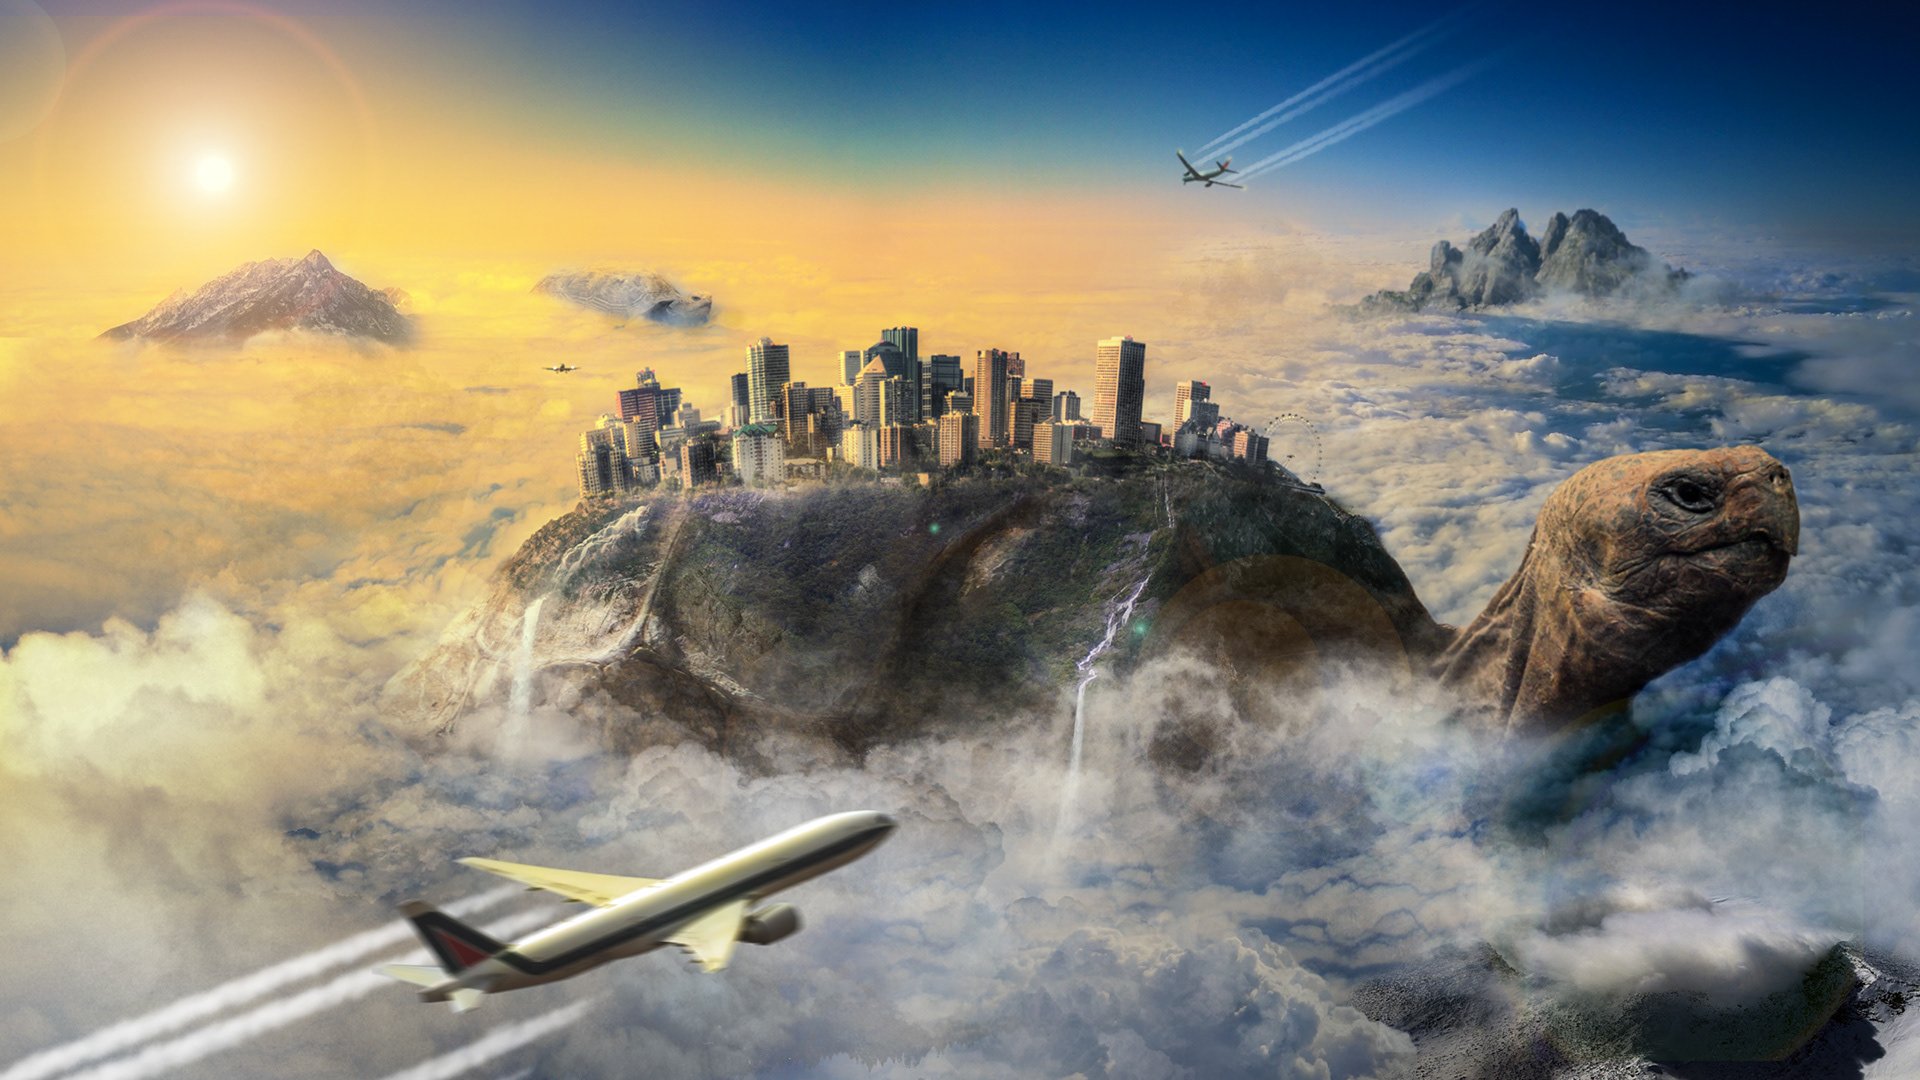
Fantasy composite of a giant tortoise carrying a city above the clouds with aircraft flying past
Light painting of a figure with glowing rainbow wings standing in water before mountains
Young baseball player in a pinstripe number 7 uniform holding a bat behind his head under stadium lights
Light painting of a woman in armour with glowing golden wings standing in water at night
Silhouette of a figure inside a glowing orange light painted orb by a river at twilight

AI versus Old-School Photoshop – Which One Wins?

AI has changed a lot about how we work in Photoshop, but it isn't always the best option. In this video I expand the same image in different ways, starting with Generative Expand and then comparing it with tools that have been in Photoshop for years: Content Aware Fill and Content Aware Scale. I show how to get the best results from Content Aware Scale, and then how to take things further for an even better result, which might surprise you when you see how well the older technology holds up.

Warrior Photo Shoot Behind the Scenes

Recently I was back with friends in the studio to take a portrait for what was to be a new image in my ongoing Warrior series …

Black and white portrait of a bearded warrior kneeling with a sword on a hillside

So in this post I thought I’d share some of the Behind the Scenes including the inspiration, sourcing the clothing and props, lighting and background …

inspiration

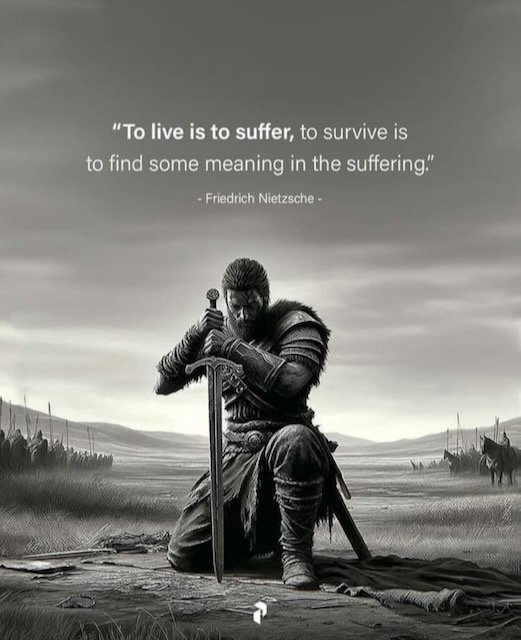
The inspiration for this image came purely by fluke when posting on social media and seeing the below motivational digital art poster having been shared …

Motivational poster of a kneeling knight with a quote that inspired the warrior portrait

Whenever I see images online that I like and inspire me I always take a screen shot and save them in a Private “Inspiration” Album in my iPhoto Library for reference later on just incase I plan on a photo shoot.

clothing and props

For clothing, a few days beforehand we headed to Maroigold Costumes in Cardiff who provide clothing to the TV and Film Industry. I’ve used clothing and props from here several times in the past; more recently for the Viking pictures of my friend Simon ‘Foxy’ Fowler and before then when I took portraits of my friend Anthony and Make Up Artist Sarah in 1940’s attire … to mention just a couple.

Film poster-style composite of a Viking warrior titled Ragnar
Two studio portraits: an older man in a suit and hat, and a woman in a 1940s-style hat and coat

With our friend Gerwyn set to be the model for this Warrior photo shoot, we all ( Ian, Anthony, Gerwyn and myself ) met up at Marigold, and in a short space of time managed to find eveything that was needed …

Model in warrior costume standing in a costume store surrounded by clothing rails

As for the props ( the sword ) this was intentionally not sourced as I wanted to combine the Photo Shoot and Retouching with the use of AI ( more about that in a moment ) but with everything sorted it was then studio time …

photo shoot in the studio

Lighting for this was kept clean and simple with one light high up behind Gerwyn to provide light on top of his head and shoulders and an additional light in front and slightly off camera axis to create a little bit of shape to the light ( highlights and shadows ) rather than being square on to him lighting him evenly.

Also on the floor in front of Gerwyn i placed a silver reflector to bounce a little fill light into the shadow areas to reveal a little more detail.

As I was using constant ( LED ) light for this shoot, setting up was really simple because of the WYSIWYG ( What You See Is What You Get ).

To know that the reflector was positoned correctly to bounce light into Gerwyn’s face, he just needed to look at it and if he was seeing a bright spot on the reflector we were good to go.

kit used

Behind the scenes of the warrior shoot: photographer kneeling with a tethered camera and the model posed on set

I was also tethering into CaptureOne on my iPad Pro 12.9” which I had set into ‘Calibrated’ mode to give me a more accurate look at the files captured with regards to light levels and colour.

If you don’t know how to calibrate your iPad, check out this short video that I put together …

CAMERA settings

  • Focal Length: 70mm

  • Shutter Speed: 1/40 sec

  • Aperture: f/5.6

  • ISO: 3200

The L60-B LED directly behind Gerwyn on the boom arm was at 80% Power ; the L60-B LED directly in front of Gerwyn on the boom arm was at 50% Power.

results

Here’s a look at what was captured during the photo shoot; all very simple with just a few tweaks to the angle of wooden ‘stand-in’ sword and Gerwyn’s positioning …

Warrior portrait shoot images being reviewed in editing software

the background

For the background I was recommended a location called Triscombe Stone near Bridgewater in Somerset, UK so in the week since the shoot I dropped the postcode in my SatNav and headed off …

Two photos of an overcast sky over open hills, used as background plates

When photographing the background I set the tripod to the exact same height that it was when I photographed Gerwyn in the studio. This was made very easy to remember because it just meant opening out the 3 legs but not extending them …

Camera on a tripod on a grassy hilltop, photographing the background for the warrior composite

I set the same focal length on the lens and focused on the ground at a point that was approximately the same distance from the camera as Gerwyn was during the studio shoot.

The aperture when photographing the backgrounds wasn’t the same as in the studio; I went for f/9 - f/11 so that there was much more depth of field unlike the original f/5.6 … which is what Gerwyn was photographed at in the studio.

building the background

The background in the final image is made from 2 images that I combined together in Photoshop. The final merged background was then made wider using the Content Aware Scale function. Generative Expand and Content Aware Fill were not used because for this image they didn’t produce a desirable result.

Cloudy sky over rolling hills, the background for the warrior composite

Using adobe’s AI to create the sword

I used the Selection Brush Tool in Photoshop to select the stand-in wooden sword with a little bit extra added so that when the sword was generated, by typing a simple “Medievil Sword” prompt into the Contextual Task Bar, it gave extra space for additional elements to be added such as the dome shaped decorative element on the handle …

Warrior composite before and after, with the sword masked in pink
Colour composite of a warrior kneeling with a sword on a grassy hillside under a cloudy sky

The final composite image

Final black and white portrait of a warrior kneeling with a sword on a hillside

Anyway I hope that’s useful / interesting to you, but also to let you know … all of the retouching steps creating the composite I’m going through in one of the classes I’m presenting at FREE the upcoming Photoshop Creativty Virtual Summit …

Description of The Warrior Project meets Photoshop of the Future session

If you Register for a FREE PASS you’ll have access to this class for 48 hours from when it goes LIVE during the Summit Week. Also if you grab a VIP Pass you get to keep ALL of the content from all of the instructors PLUS I’ll be creating an additional video taking you through all of the Behind the Scenes showing the studio set up, lighting etc when capturing the photographs of Gerwyn.

With friends ( L to R ) … Ian Munro, Gerwyn Williams, Yours Truly and Anthony Crothers

Group photo with the model in warrior costume in the studio after the shoot

Of course I couldn’t resist doing a print …

This one from my Canon Pro 300 using Black & White Mode onto Portrait White 285 Fine Art Paper from Permajet …

Hand holding a black and white print of the warrior portrait

As always if you do have any questions, please make use of the comments section below and I’ll reply to you there.

Thanks for looking in,
Glyn

I received an Award from Save a Life Cymru and NHS Wales

“This certificate is awarded for the instrumental action taken to save the life of another, who required urgent assistance after suffering a cardiac arrest”

NHS Wales Certificate of Commendation, February 2025, awarded to Glyn Dewis

The ‘journey’ started in South Wales on Wednesday 9th October 2024 at 5pm in the Car Park of the Three Cliffs Café overlooking a stunning coastline and what was to be one final coffee before the drive home after a great couple of days photography ; the ‘journey’ ended yesterday, Friday 21st February 2025 at the Wales Air Ambulance Base in Llanelli.

Honoured to receive this Award from NHS Wales and Save a Life Cymru but even more so, Incredibly Grateful and Relieved that it was presented to me by my dear friend Anthony

Three men in an office, two holding framed certificates, all wearing lanyards

In a world where it can seem there is so much negativity, it is incredibly moving to see so many people whom you’ve never met before, people who don’t know you, pull together and show genuine love, concern and commitment to do whatever they can to help … and at the most serious and critical of times.

Group in hi-vis jackets standing in front of a red Wales Air Ambulance helicopter

When so many would turn the other way and, for whatever reason, choose not to get involved, it is truly a wonderful act of humanity that there are those ordinary people who will do the extraordinary and step forward

Group of people in uniforms and casual clothes standing together in an air ambulance base

By its very nature, the unexpected will happen when you least expect it. It might involve a stranger but it might involve a friend, a loved one and it could be YOU that fate calls on to step forward in some way.

People in hi-vis jackets and a crew member in a flight suit beside a red air ambulance helicopter in a hangar

No matter how scary, no matter how uncomfortable, no matter how much that little voice inside your head is telling you to not get involved … TAKE THAT STEP.

Large group in hi-vis jackets lined up in front of a red air ambulance helicopter on a wet airfield

On October 9th last year … humanity well and truly stepped forward and I will be eternally grateful to one person in particular who despite his fears stepped beside me to help and was there for the duration doing what I was telling him and needed him to do.

There were others too that went above and beyond when they didn’t have to, but chose to, and to meet them again yesterday was wonderful and a day I WILL NEVER FORGET.

LOVE CONQUERS ALL … I’ve witnessed it. I’ve experienced it !!!

Two men in dark jackets standing on a gravel path at sunset

Anthony’s wife Elaine has also set up a JustGiving Page to help raise funds for the Wales Air Ambulance Charitable Trust where she explains a little more of what happened; you can check that out using this LINK

Latest Gear, News and Events with The Photography Insider - Mark Baber

This is the recording of a live broadcast where I chatted with Mark Baber, The Photography Insider and Events Manager at London Camera Exchange, about the latest gear, news and events from within the photography industry. Alongside the gear and news, we talked through the kind of events London Camera Exchange runs, from experience days and hands-on sessions to workshops, and looked ahead to The South West Photography Show and The Photography Show 2025.

links mentioned during the LIVE Episode…

  • London Camera Exchange: ( LINK )

  • LCE Events, Experience Days, Hands-On, Workshops etc … ( LINK )

  • The South West Photography Show - Saturday 24th May 2025: ( LINK )

  • The Photography Show 2025: ( LINK )

😲 Most People MISS This! Perfect Compositing & Lighting in Photoshop

Most people think of Generative Fill in Photoshop as a way of adding objects, but it's also smart enough to match the lighting and shadows already in your photo. In this video I show how it blends new elements, such as hair, into an image while keeping the light, shadows and perspective looking realistic. I then put it to work on a Viking composite, including a different way of approaching the hair selection, so you can see how it all comes together on a more involved image.